I know you guys were most impressed with the way we
organized our closet, but what you *REALLY* wanted to know is how do we organize our pantry.
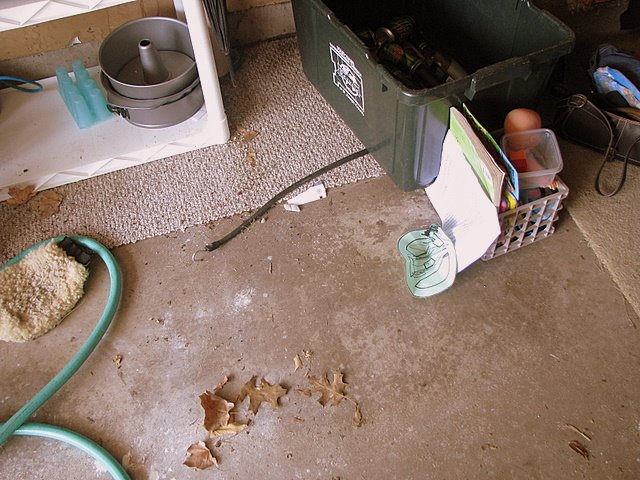
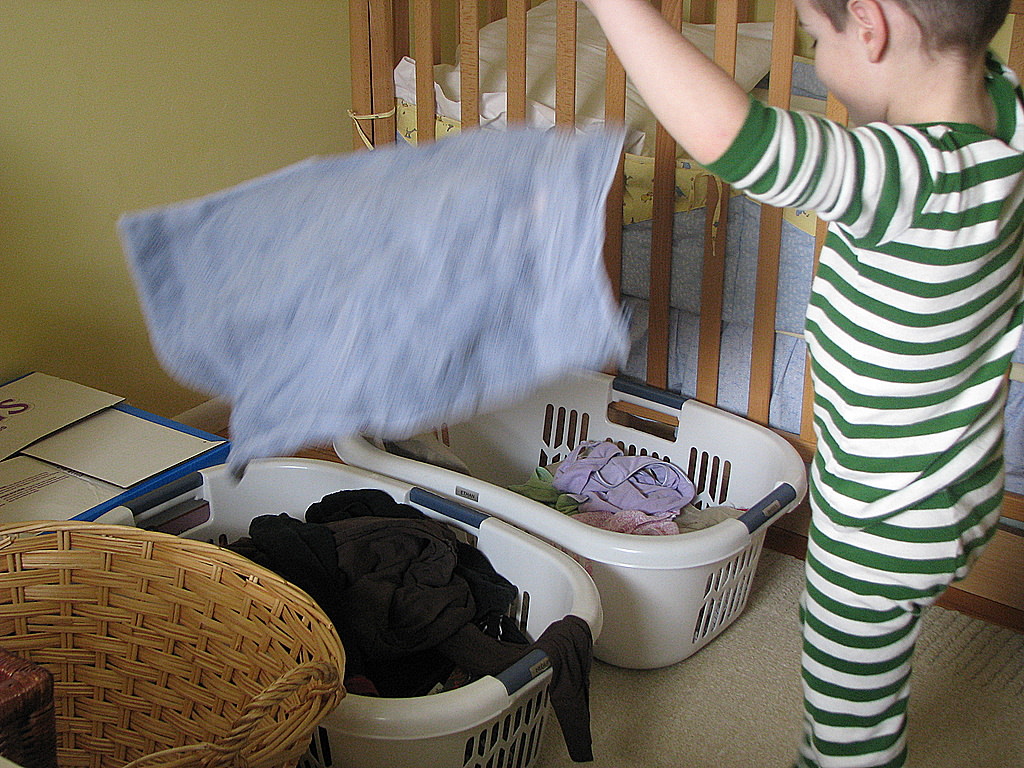
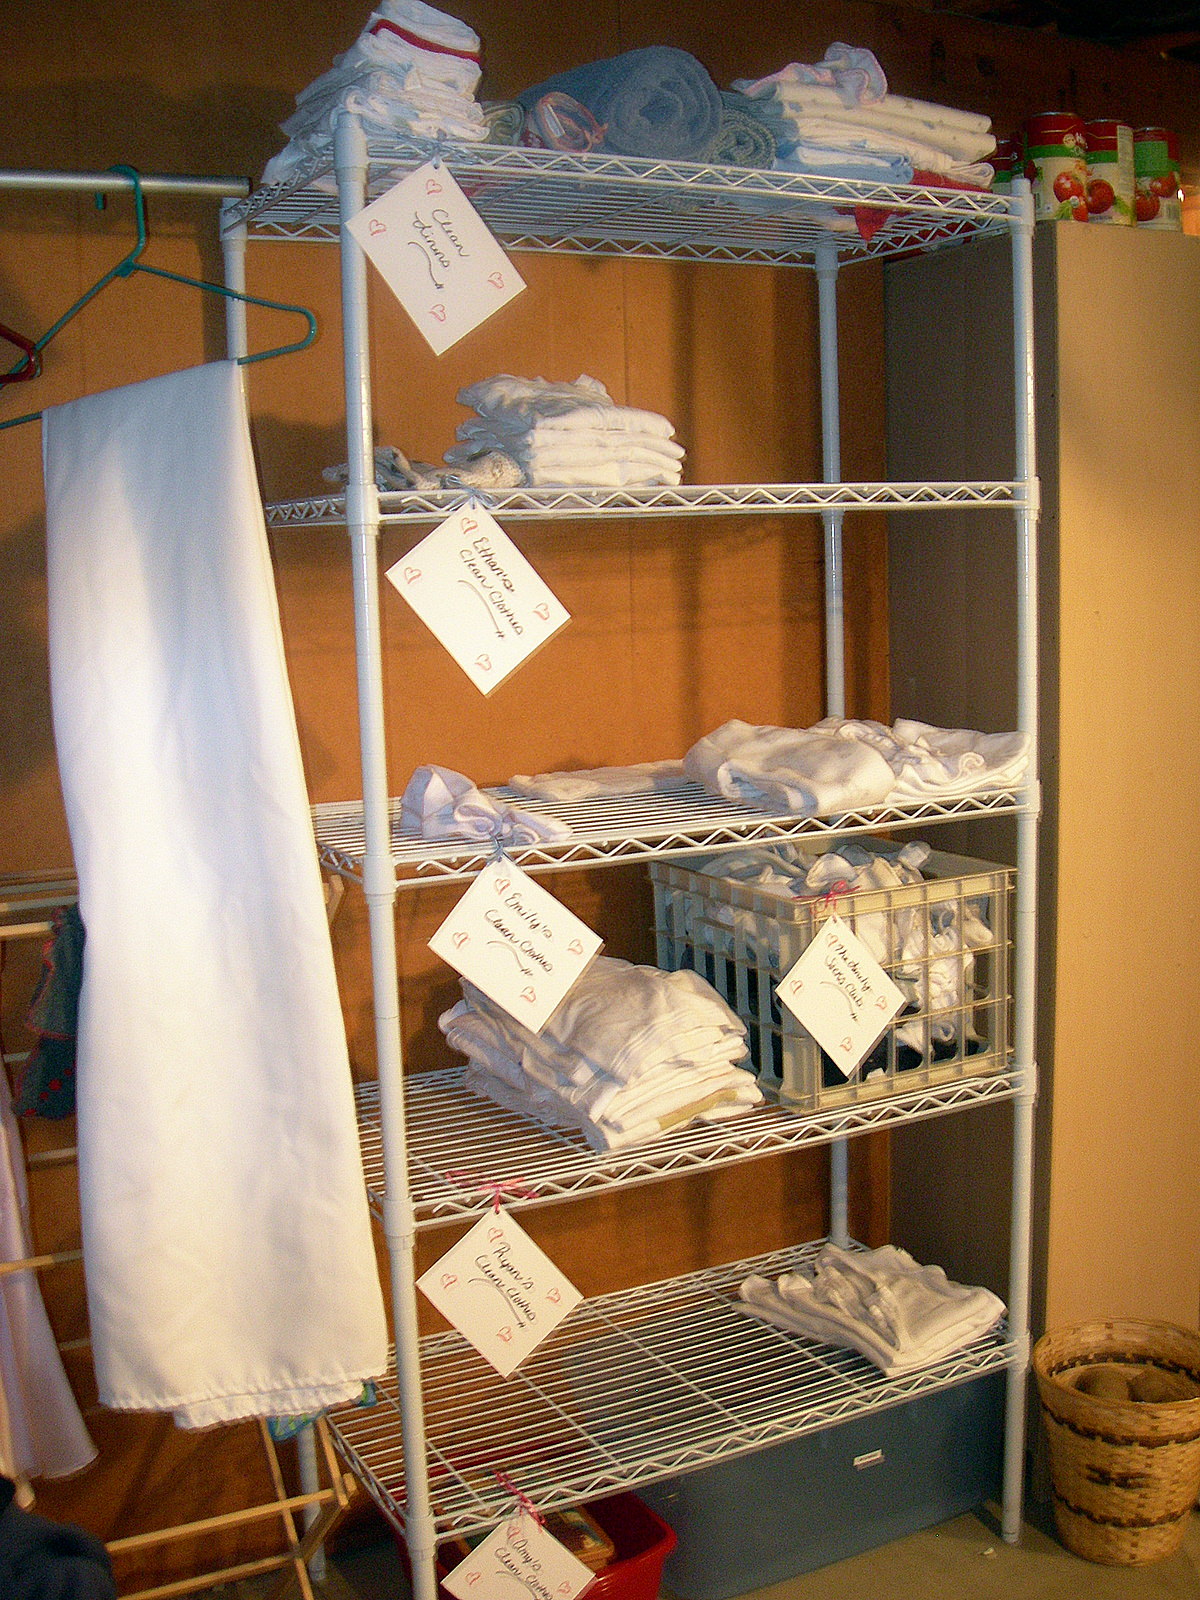
Remember when I revamped my
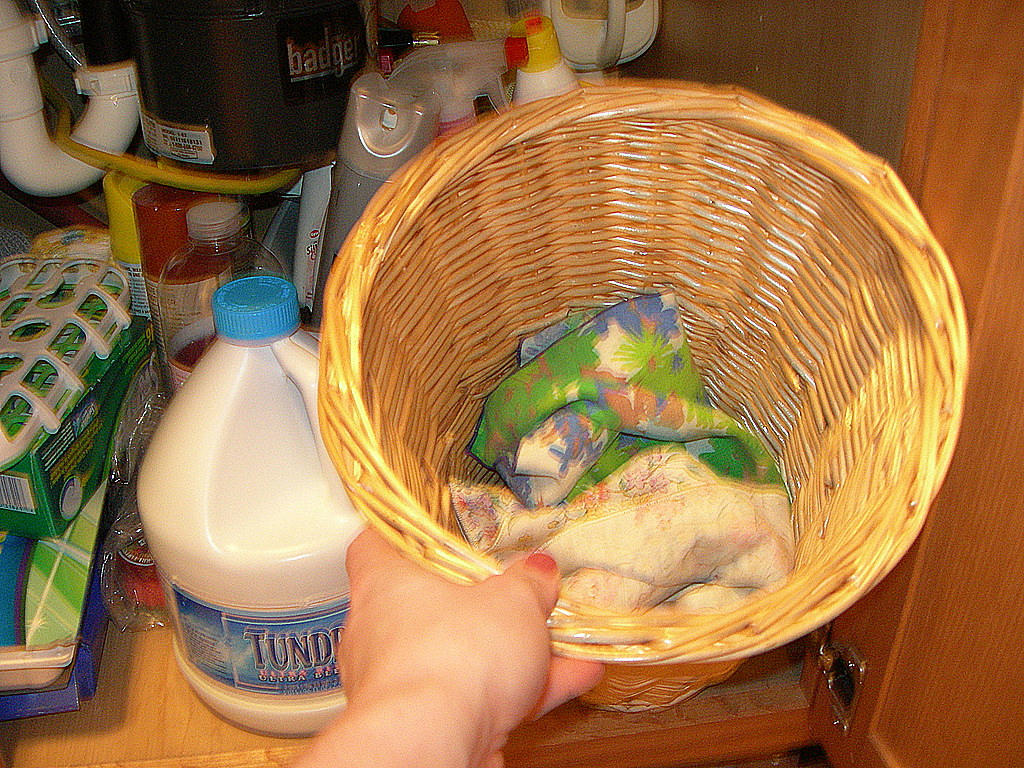
laundry system and my
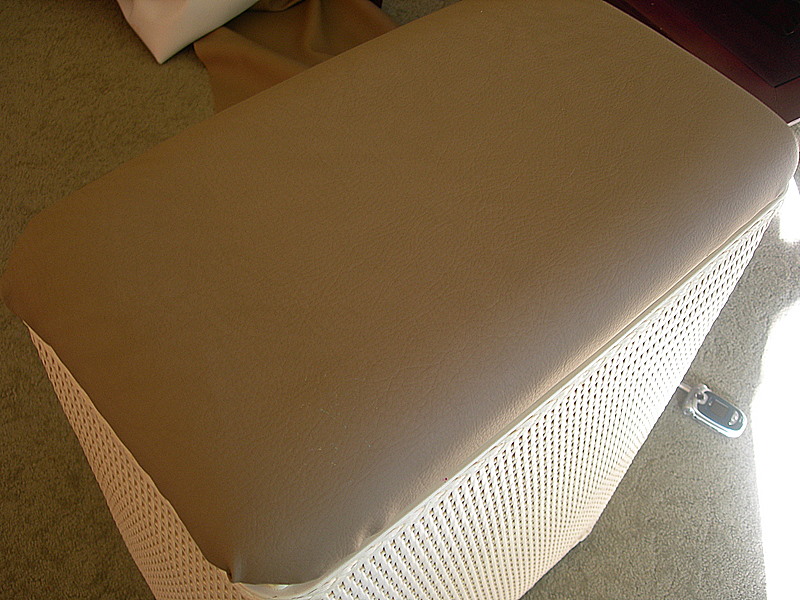
yard sale system? That day I hit up the same college student for a great bookcase that she was getting rid of for only $20! I knew right away what I wanted to do with it and couldn't wait to bring it home and put it in our basement.
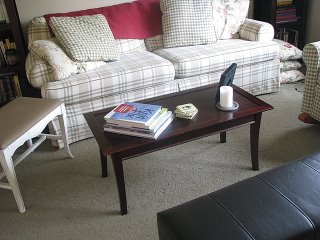
First, let me give you some background information on our house and previous storage solutions. My kitchen does not have very many cupboards or pantry space so I have had to be more creative with my storage. Our big dream is to expand my tiny utility closet into a walk-in pantry, but until that happens I have been storing the majority of my pantry items in our basement.
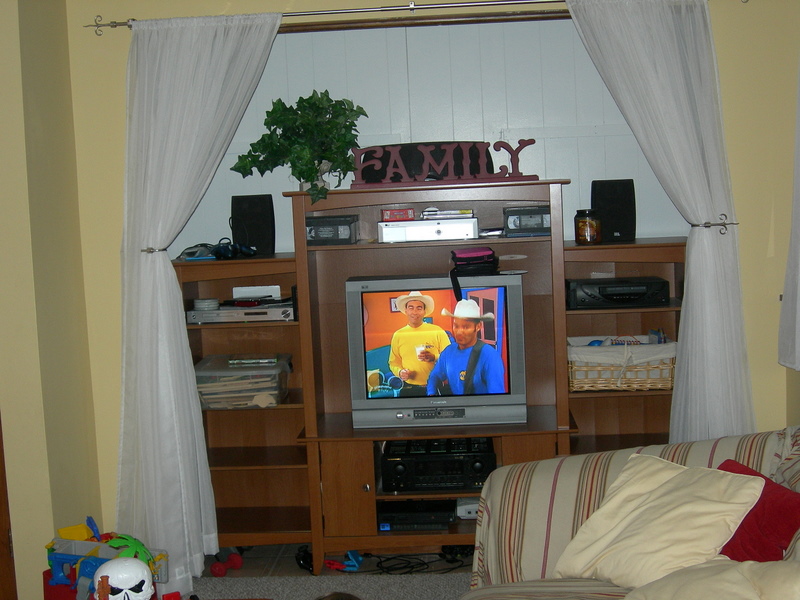
Previously, we had a dark wood bookcase that was extremely deep that we were using to store the pantry items. We had ripped this "bookcase" out of our
closet that we had turned into an entertainment unit. Yes, you could say that we are pretty creative with our smaller home. We have tried to maximize the space in places that were not being used properly instead of moving into a bigger home.
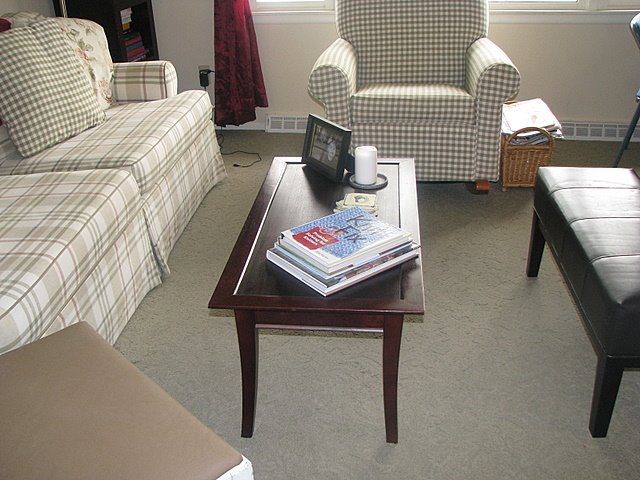
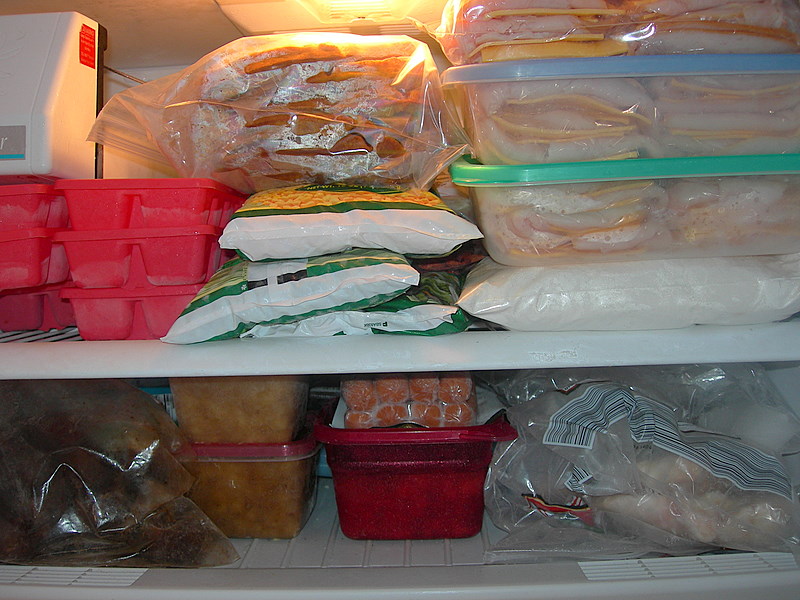
Due to the depth and darkness of the unit, what had ended up happening was that I found myself doing the repeat-buying. I would look in the unit and say to myself, "No tomato paste?" And then I would rush to the store and buy tomato paste. When I would pull items out though, I would see twenty cans of tomato paste that I had already bought. This was not frugal and the bookcase was working against me.
The location of the unit was also not the smartest place for me. With a quad level home, I was already making the trek down all of our stairs to retrieve items and then walking into the farthest corner of the basement to get what we needed. It was inconvenient and not a functional storage solution.
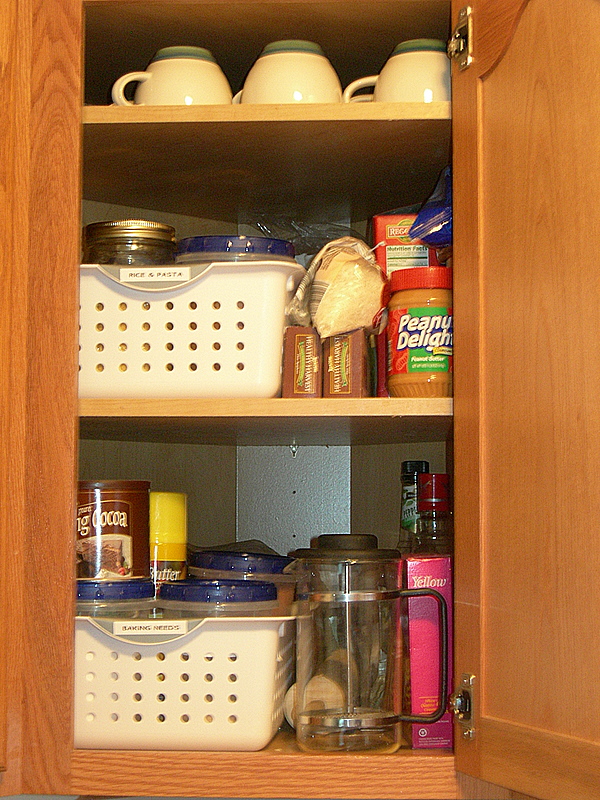
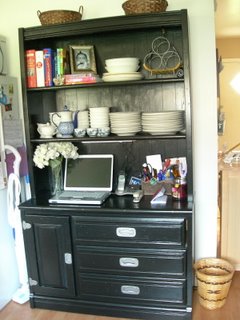
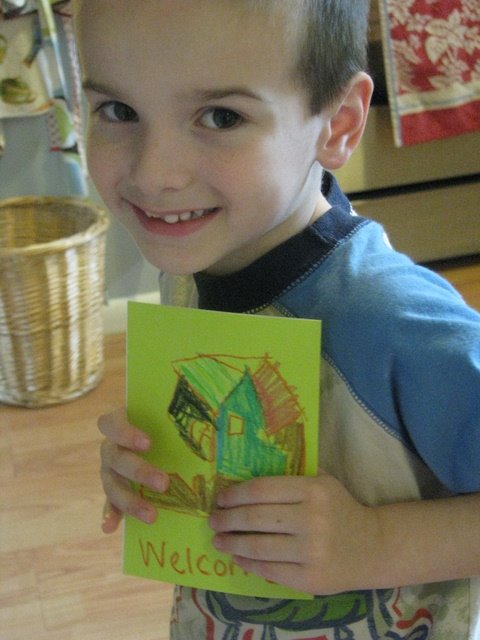
Welcome to the new home for my canned goods! This bookcase rests just at the bottom of the stairs in a we
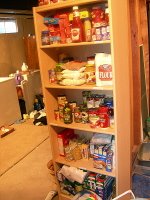
ll-lit area of our basement. The light wood color makes it easier to see what is in my pantry and the labels (created with my label maker) make it easy for even my husband to find what we need out of the pantry.
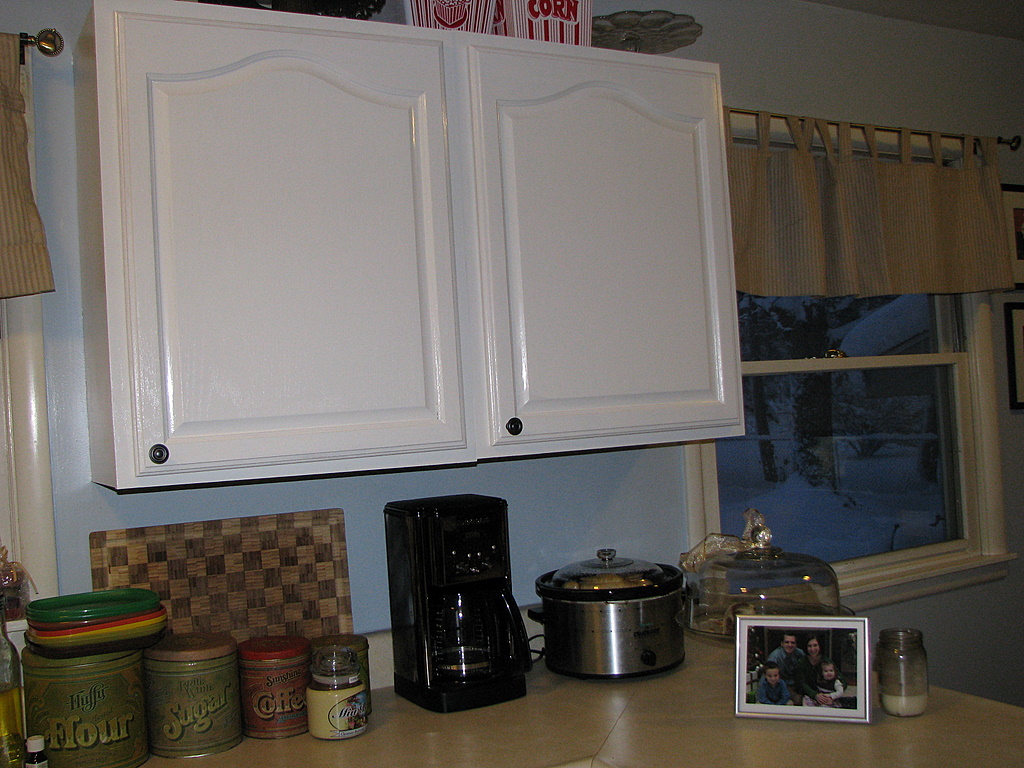
Our upstairs cupboards needed revamping as well. We have the same problem with our cupboards as we did with our former basement storage solution. One cupboard was extremely deep and items would get shoved back there until we said, "Hmmm... do you think that this is still good if it expired in 2003?" Obviously, we were wasting food and valuable cupboard space.
Repeat the same scenario above with the Lazy Susan unit that we had, but just make the items revolve in mass chaos. Clearly, we had a serious problem!
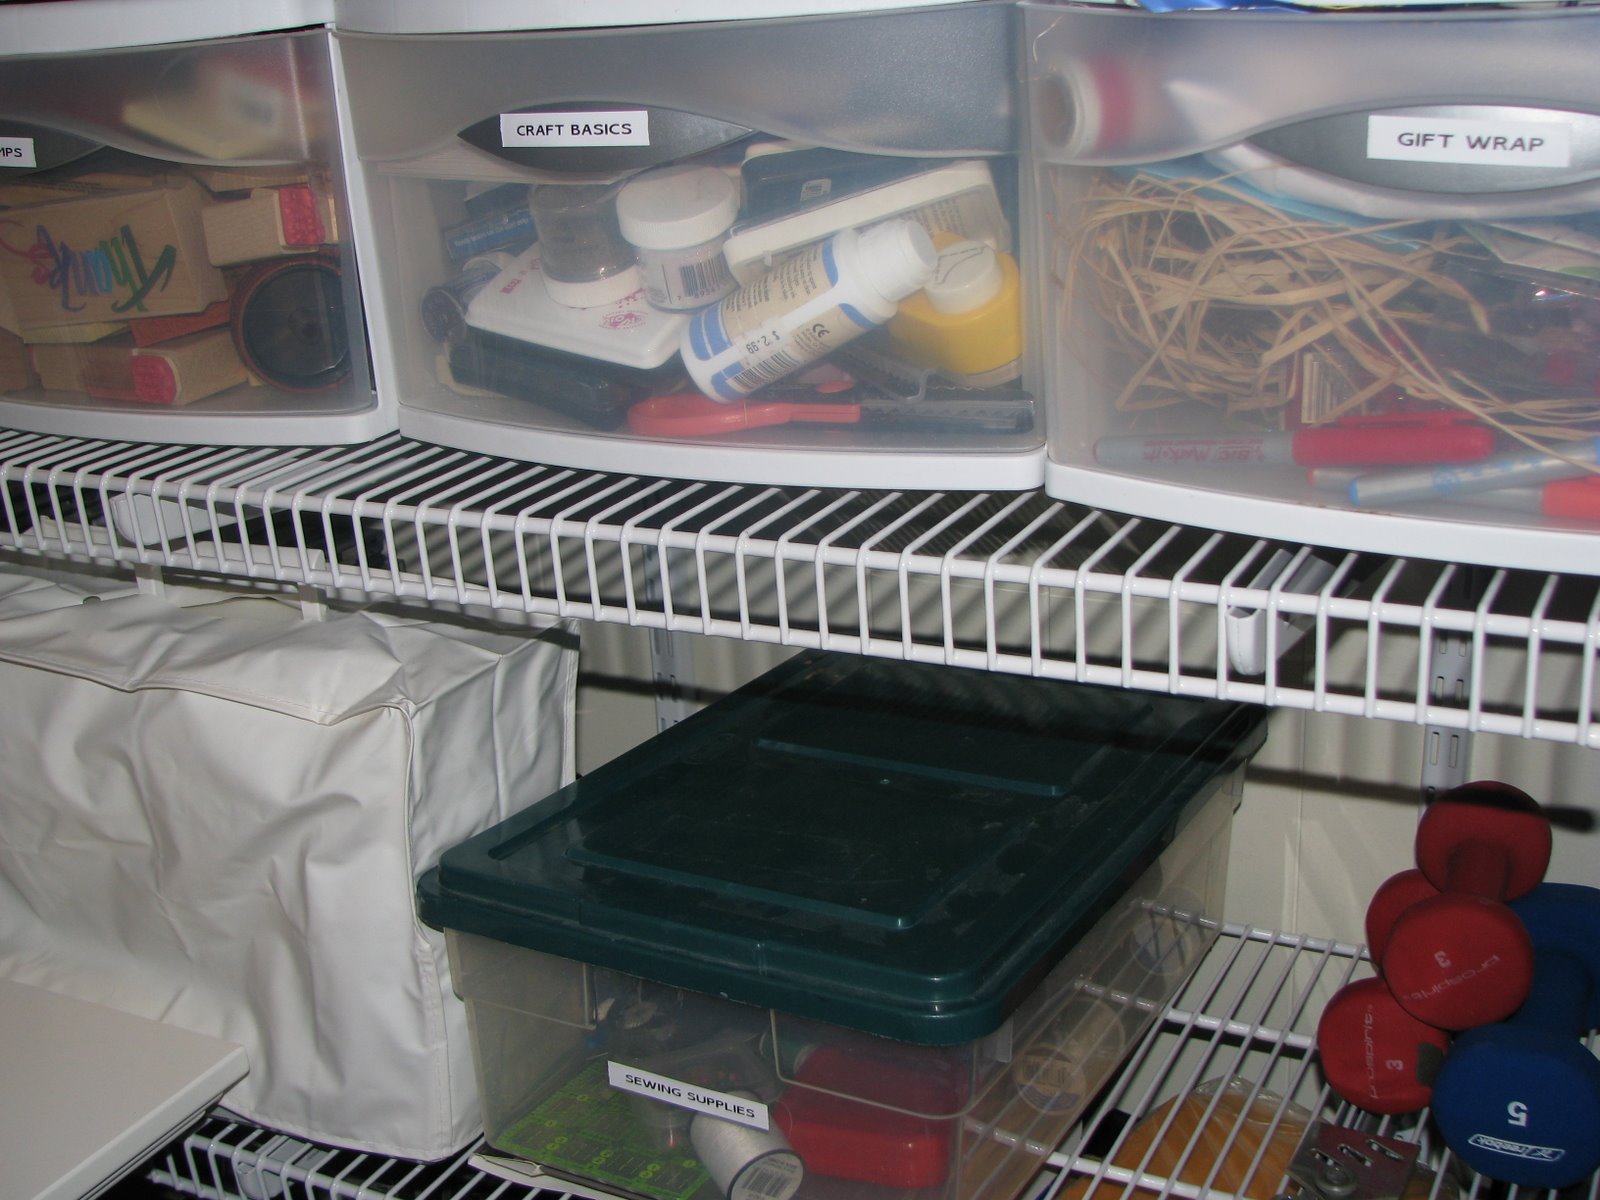
I got these handy storage baskets for less than two dollars each and divided our pantry items into categories. The storage baskets made it much easier for me to pull down exactly what I needed, rather than climbing up on a chair to try and dig through the back of the pantry. It also makes throwing items out quicker, when I need to clean out the pantry, and makes tasks easier bec
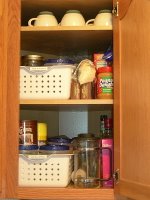
ause I had grouped like items (or cooking projects) together.
Here is how I grouped the items:
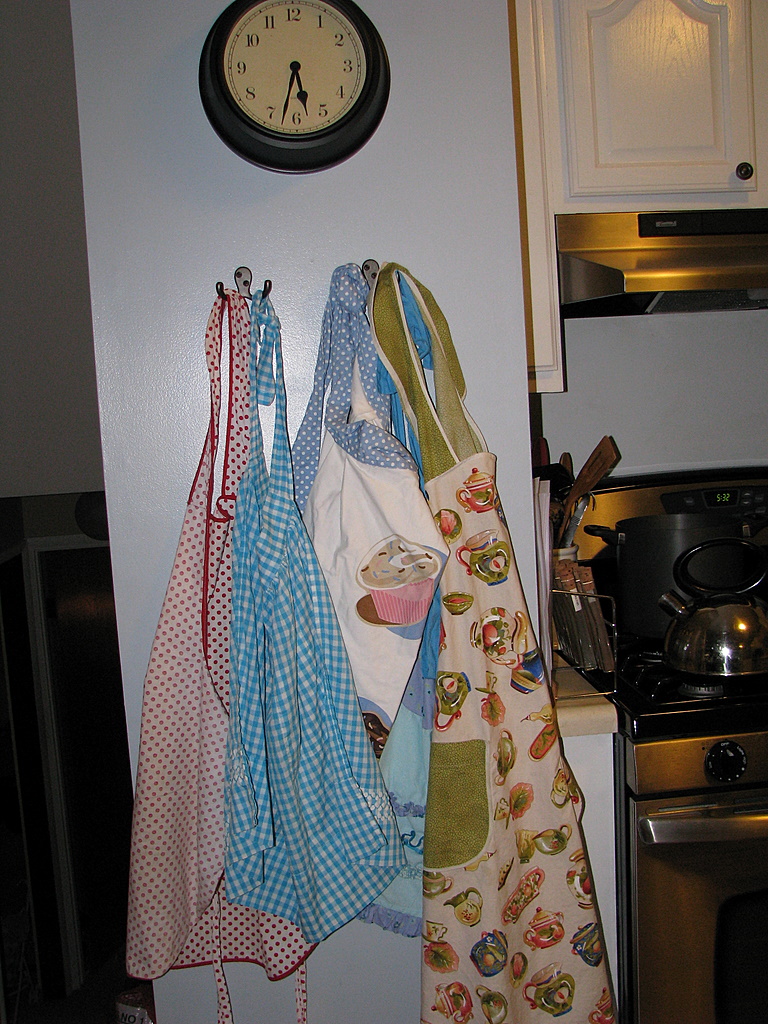
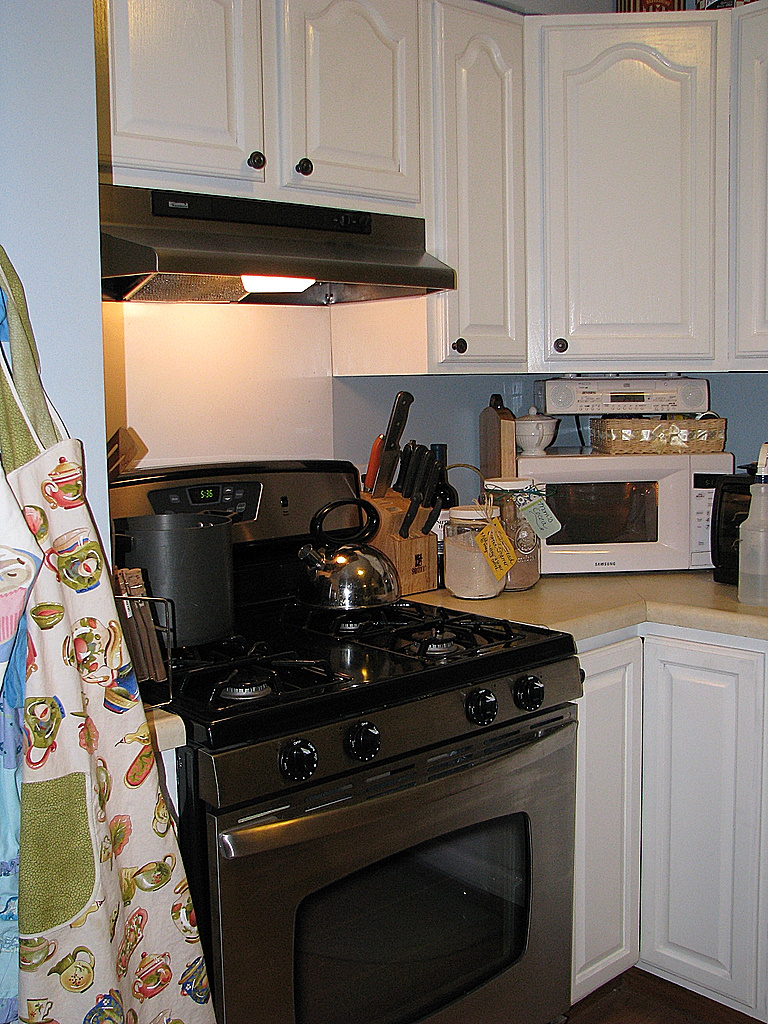
Spices- All of the spice containers were gathered together and imagine my surprise that we had plenty of repeat performers in this category. I wiped down the spices and consolidated them into one container. The spice container is residing in the cupboard closest to the stove. I can pull the small basket down and take out whatever we need and slip it back into the cupboard when I am done cooking. This is much easier than rifling through fifty teeny bottles and makes shopping day easier too!
Cake/Cookie Decorating Supplies- These are items that are used less frequently, but still needed a home. I put these higher up in a basket with handles. Piping bags, piping tips, cookie cutters, food coloring, sprinkles and the birthday candles (that no one could ever find) all went into this container.
Baking Supplies: This is a pretty general category, but it was all of the items that I needed, but could never find. In this larger basket went our baking powder, baking soda, confectioners sugar, shortening, and cocoa powder.
Rice/Pasta: These ingredients went into a larger basket and all of the boxes were consolidated and smaller pastas and the rice were placed into clear Mason jars. The mason jars were labeled and have the cooking instructions labeled on them (unless I knew the directions by heart). In the Mason jars were white rice, brown rice, jasmine rice, orzo pasta, macaroni, and couscous. Larger pasta included linguine, angel hair, and thin spaghetti. Everything fit more neatly and anything extra went into the downstairs bookcase unit.
Flour/Sugar: This organizing unit went into our Lazy Susan. This included wheat flour, white flour, self-rising flour, cake flour, brown sugar, and white sugar.
Syrups/Oi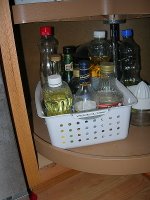 ls/Vinegars:
 This organizing unit also went into our Lazy Susan and included corn oil, vegetable oil, canola oil, olive oil, balsamic vinegar, white wine vinegar, red wine vinegar, molasses, honey, and maple syrup. Using this unit eliminated the "sticky" factor, which usually occurred, making a huge mess in the bottom of our pantry. Any extra condiments also get put in there, as they are often used in recipes.
Finally, the items that I like to keep on hand upstairs all go into our pantry door. We bought one of these wire units that mounts on the door and keep items that I might need on hand. A smaller unit, that clips onto the larger unit, houses all of those little packets that we might need to assemble a meal. I try to keep what we need for the week in the upstairs pantry door and then the excess (or whatever doesn't fit) ends up going downstairs.

If you want, I am happy to share where we keep appliances and stuff like that, just leave me a comment!
I hope that this will help give you some creative storage solutions for your pantry!
Note: You can click on the pictures to expand the size.
Related Readings:Free Up Pantry Space & Make a SnackMaking Your Spice Rack UsableGetting the Car OrganizedGettin' Quick in the KitchenLiving Out of Your PantrySound Off: What storage solutions have you found work in your pantry?
Labels: Ask Frugal Momma, Cleaning, Homemaking, Organizing

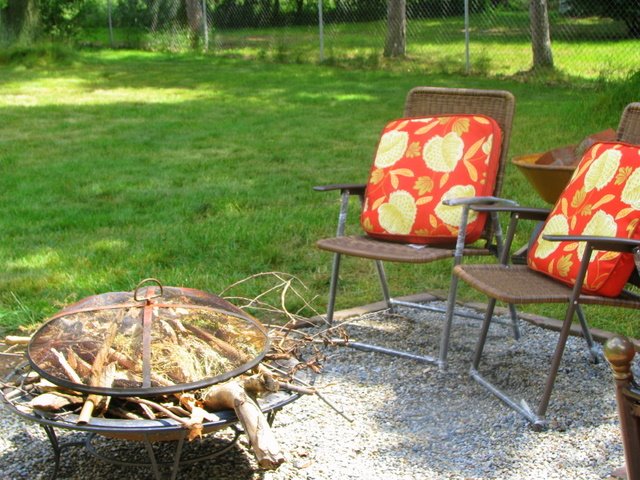
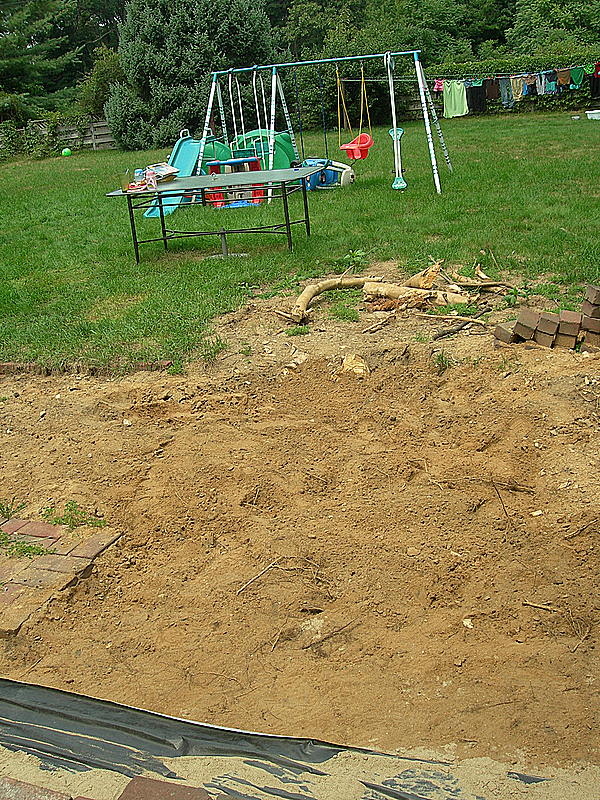
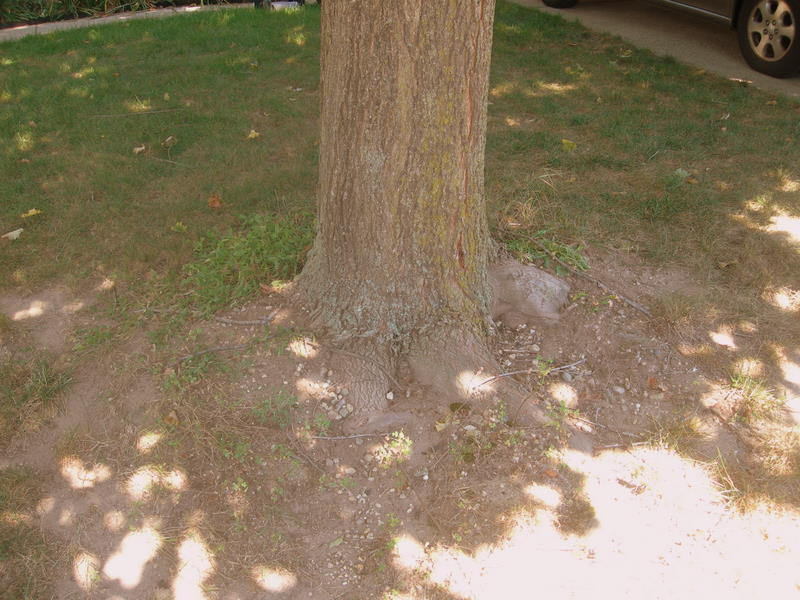
 When we moved into our house, one of the things that I really wanted to change about our house was the landscaping. There were, however, many more pressing concerns though that required our funds and attention- a leaking roof, a monstrosity of an air-conditioner, cosmetic updating that made the space more livable. All of these repairs have trumped the landscaping funds for now and we have been doing things little by little in our yard.
 Subscribe to this blog


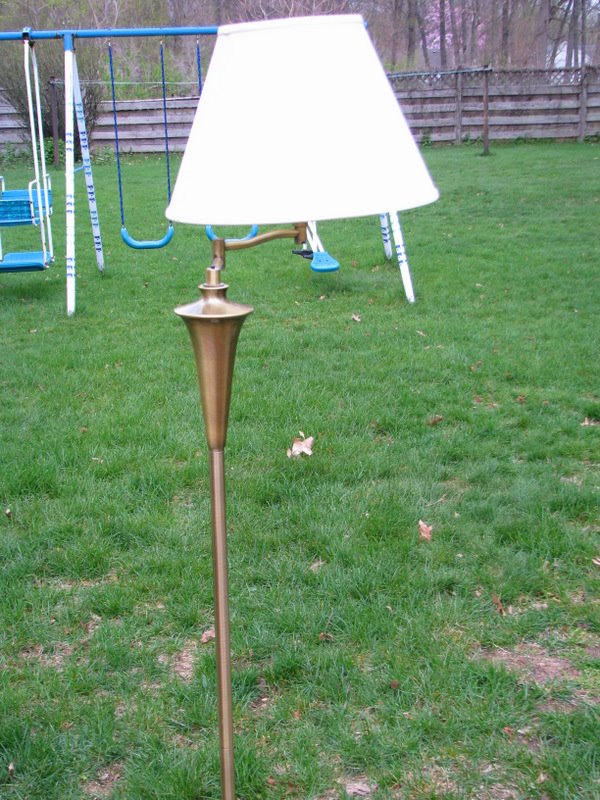


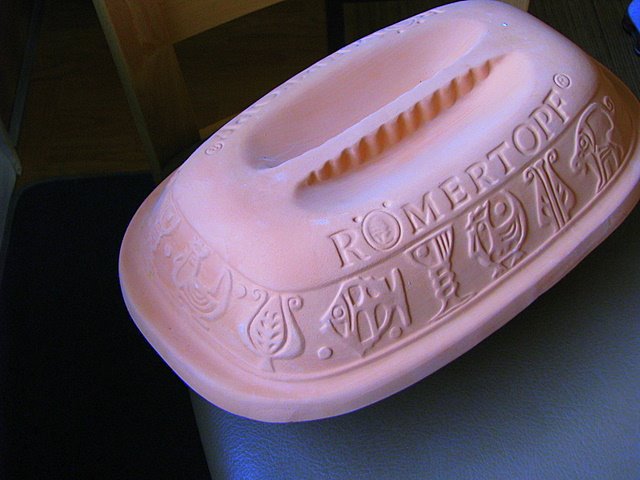


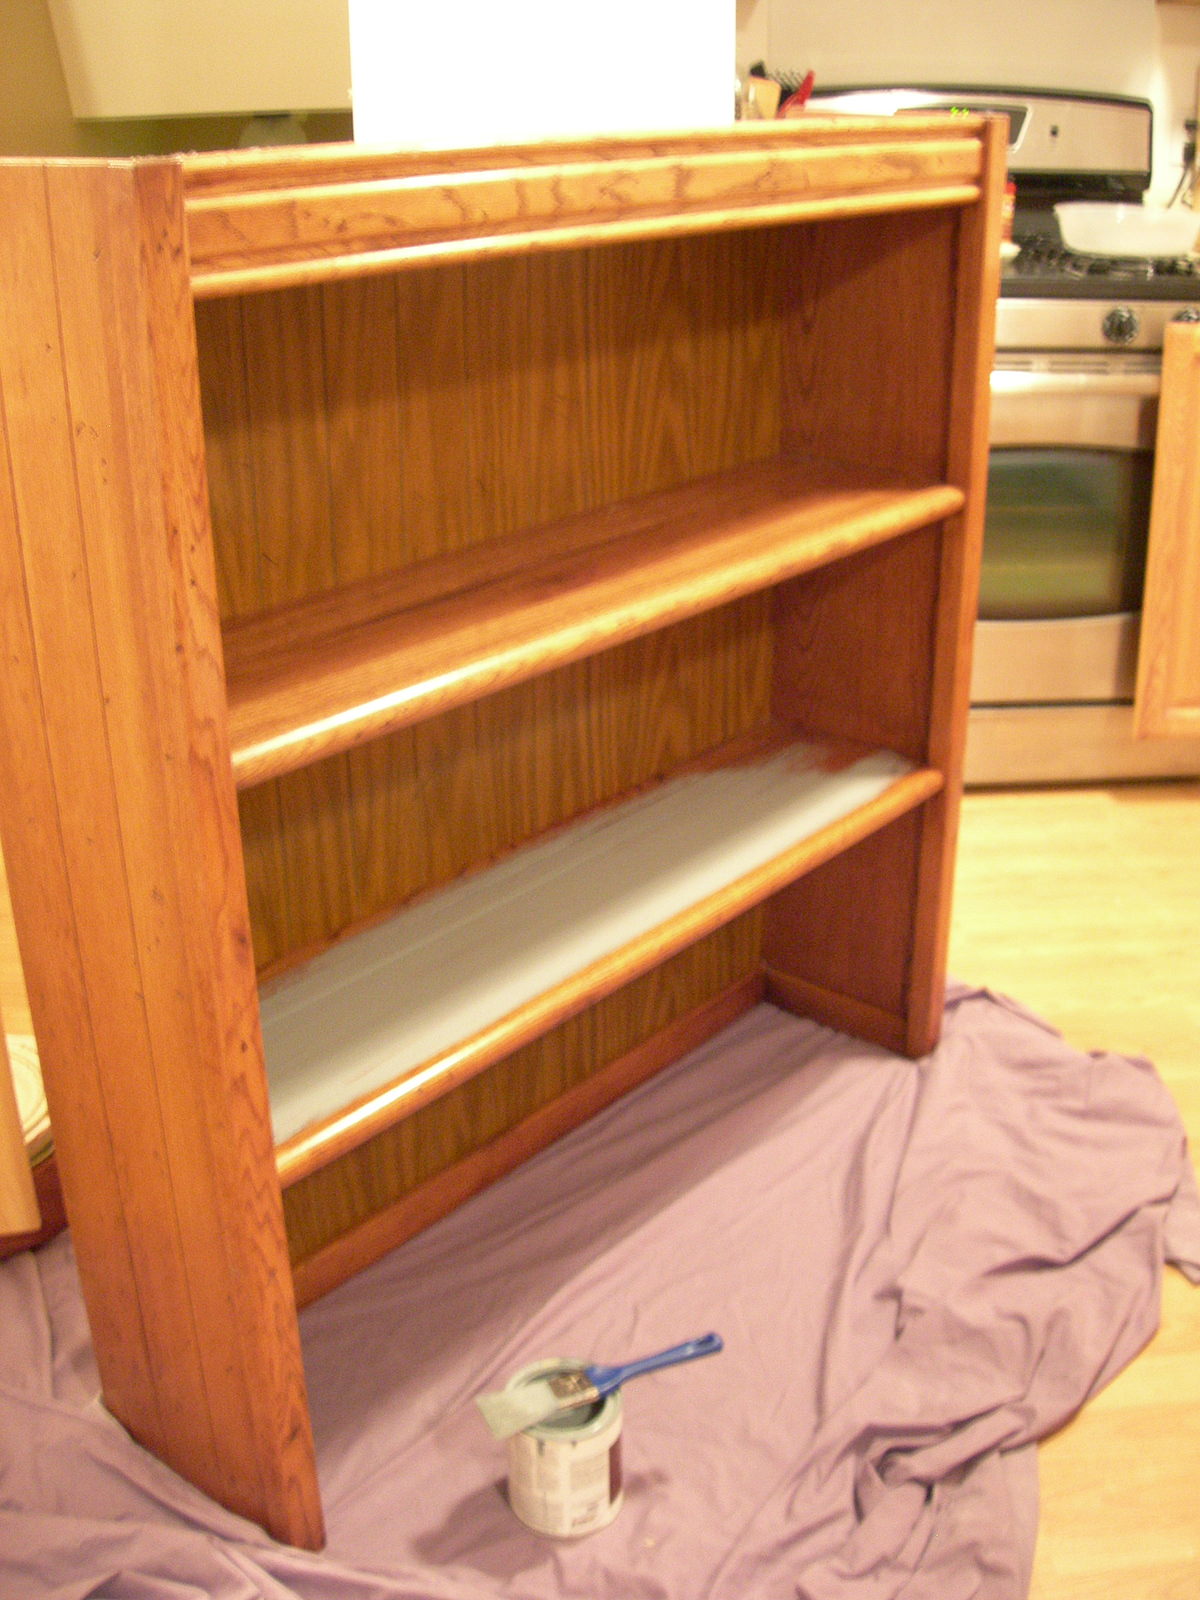
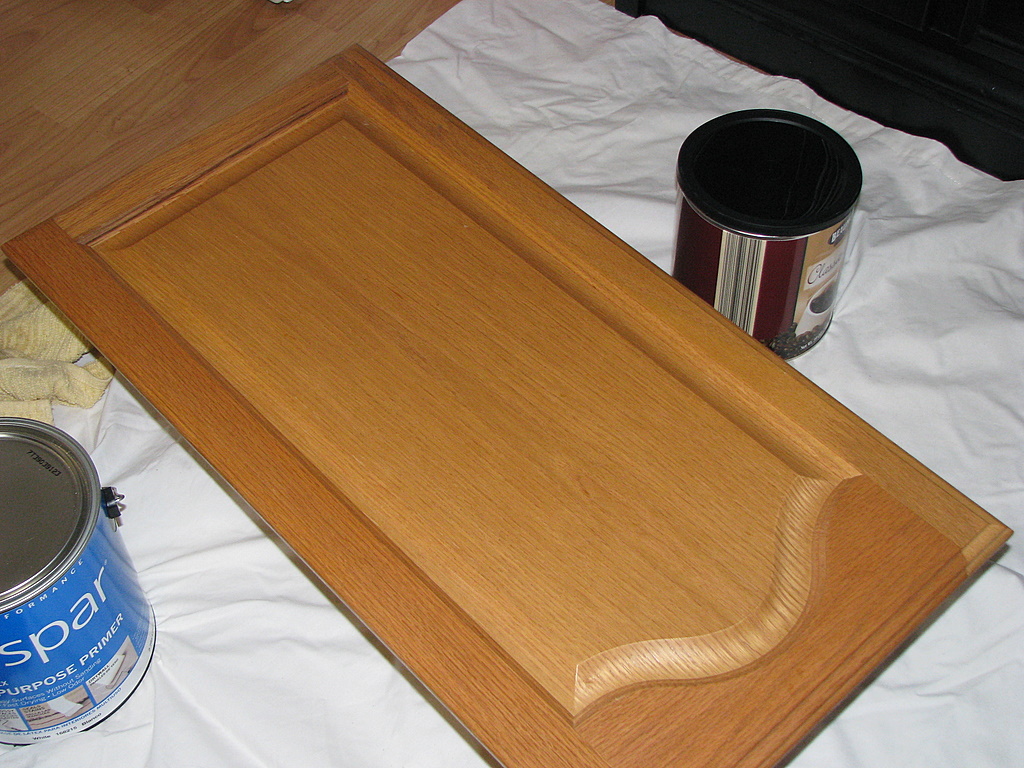
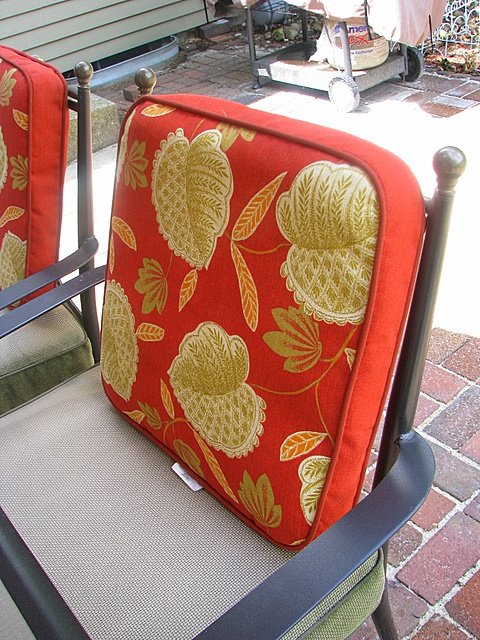
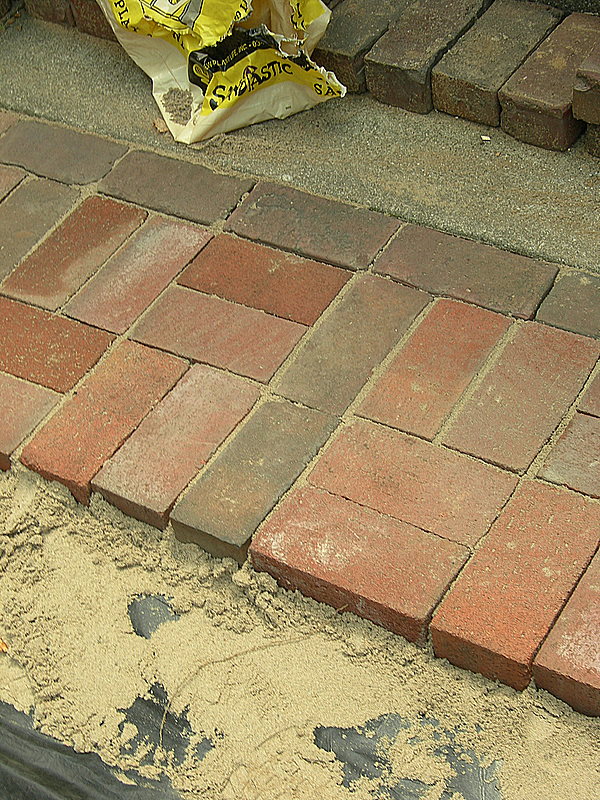
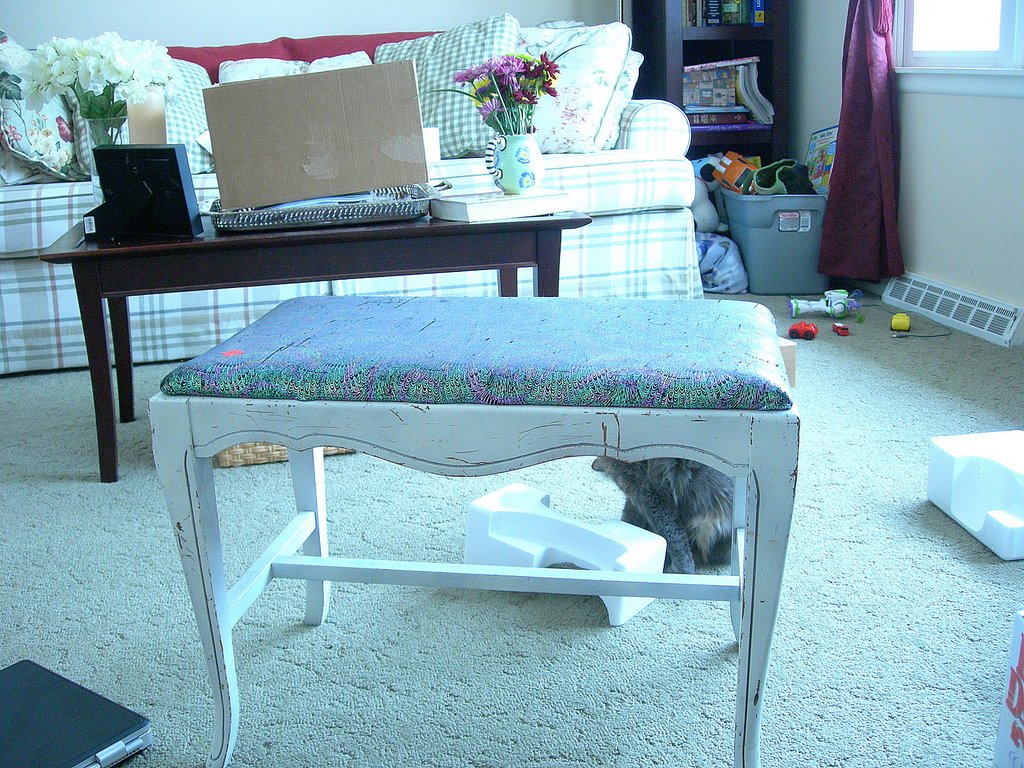
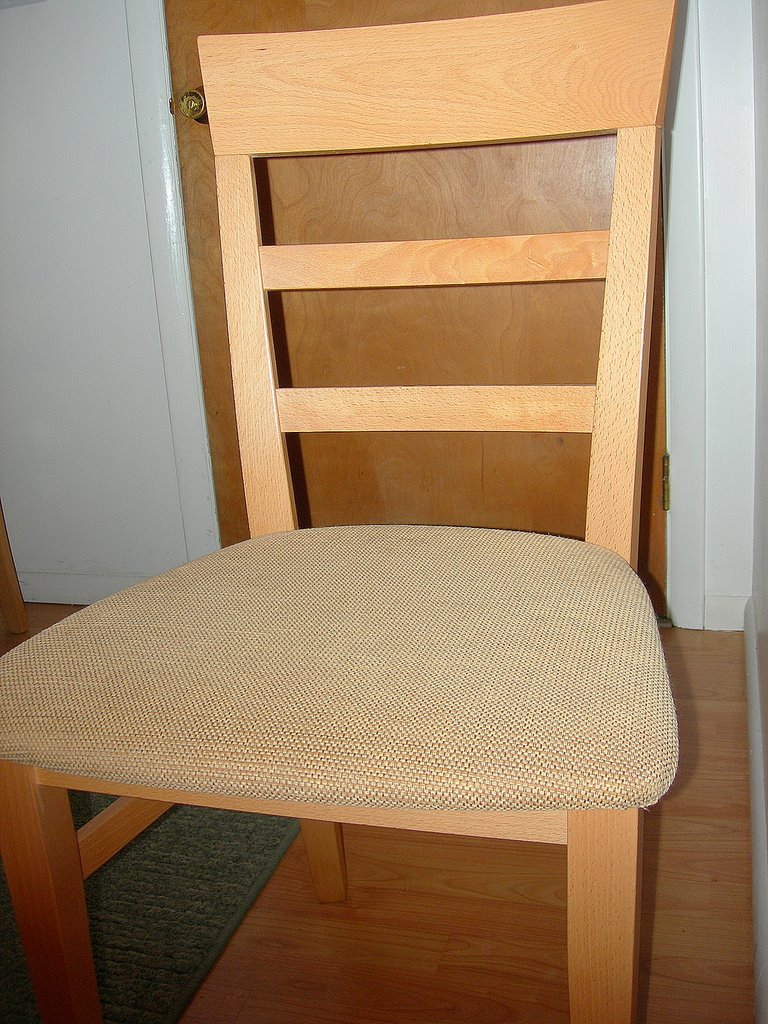
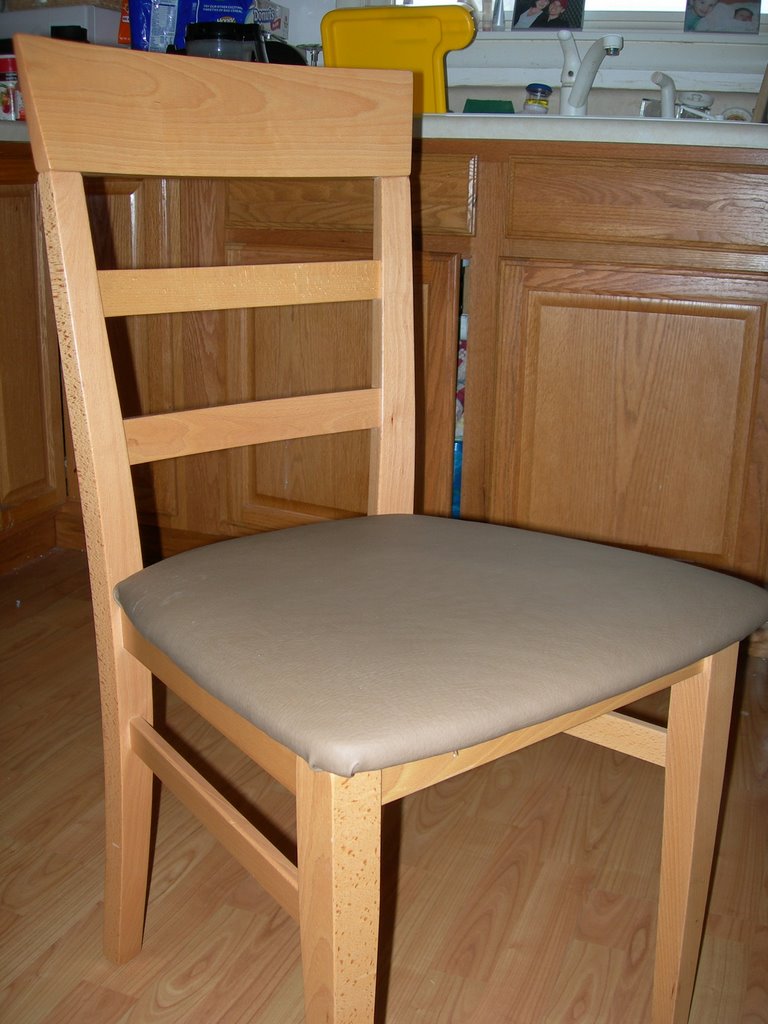
 I decided to leave the piece with the knots in the wood, opting to skip the
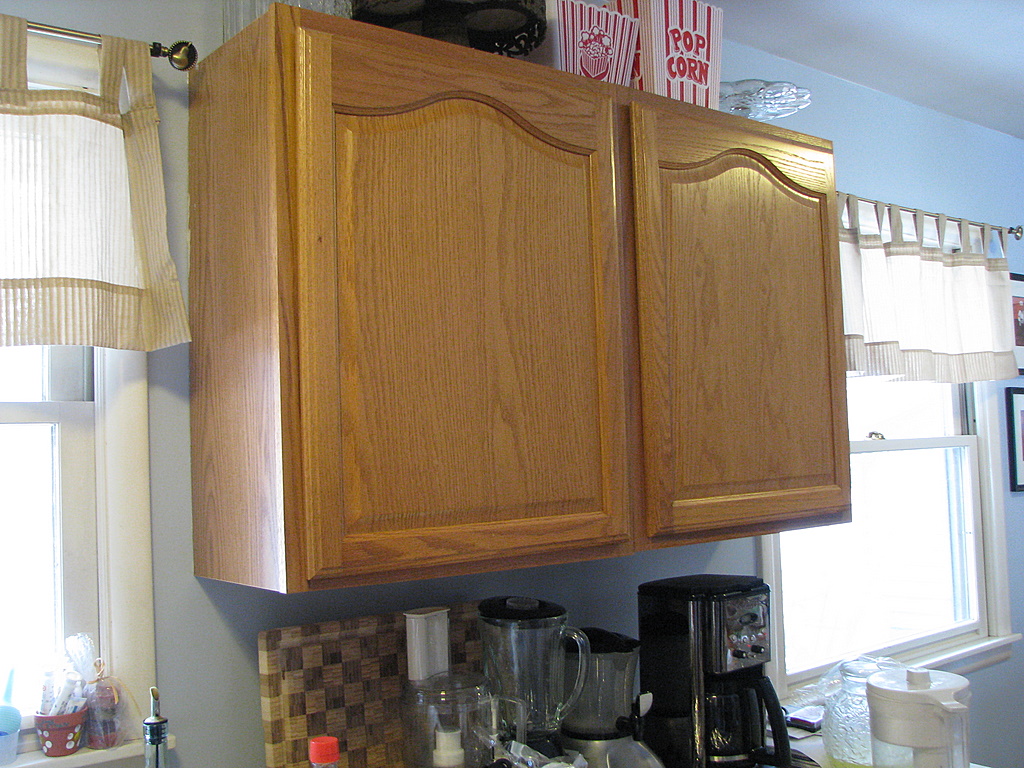


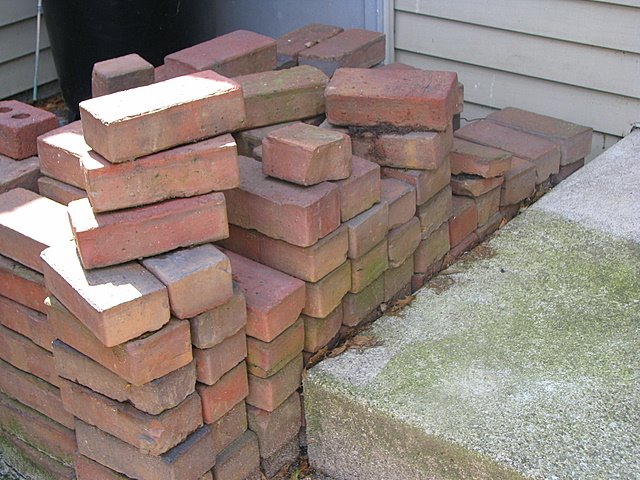


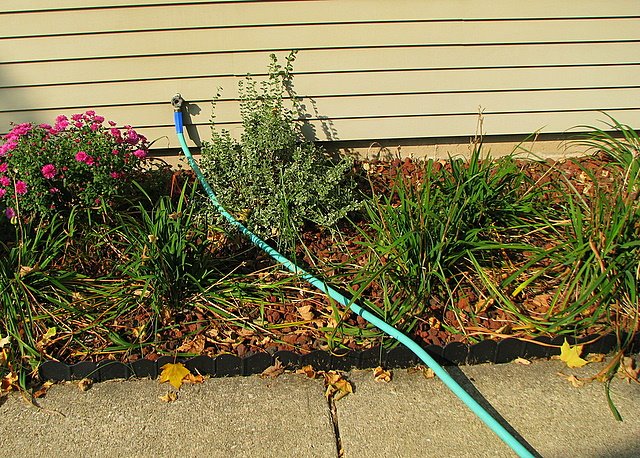
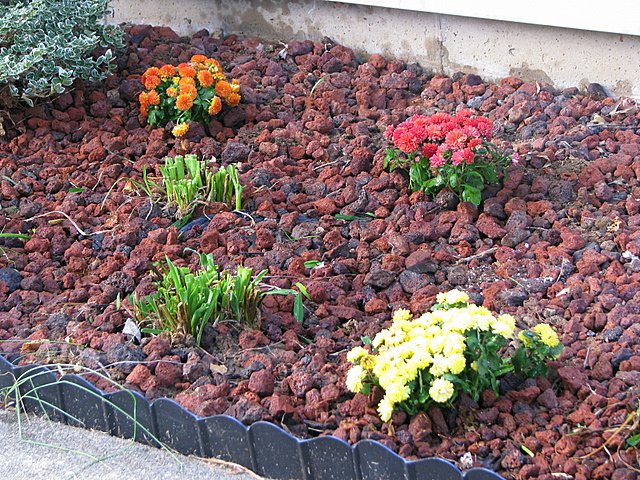
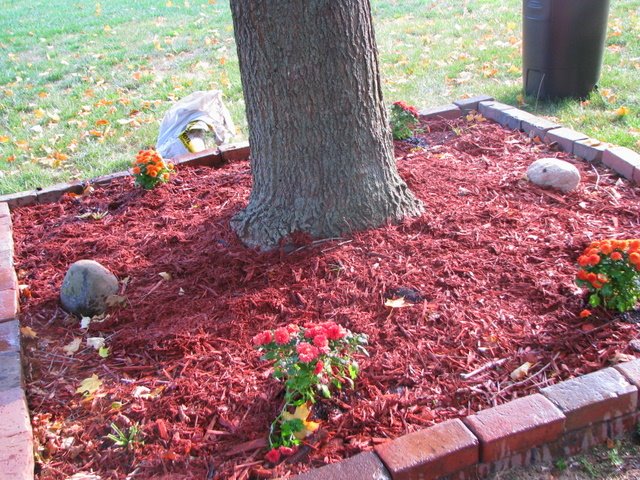
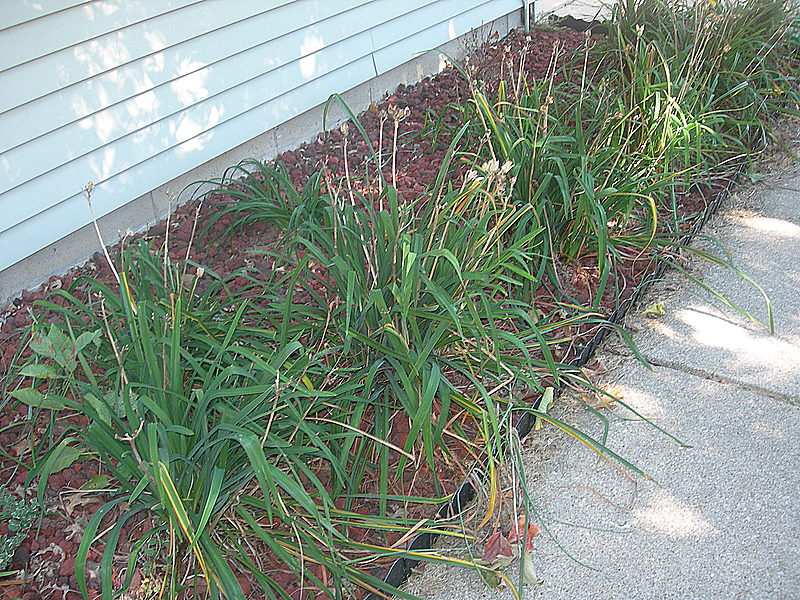
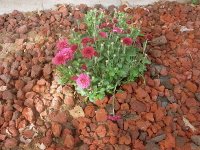 I love fall mums for my flower beds so I bought some of these from Home Depot for $3.88 each. It adds a little color to my beds and I love that these plants will be back next year. An inexpensive solution for a boring bed.
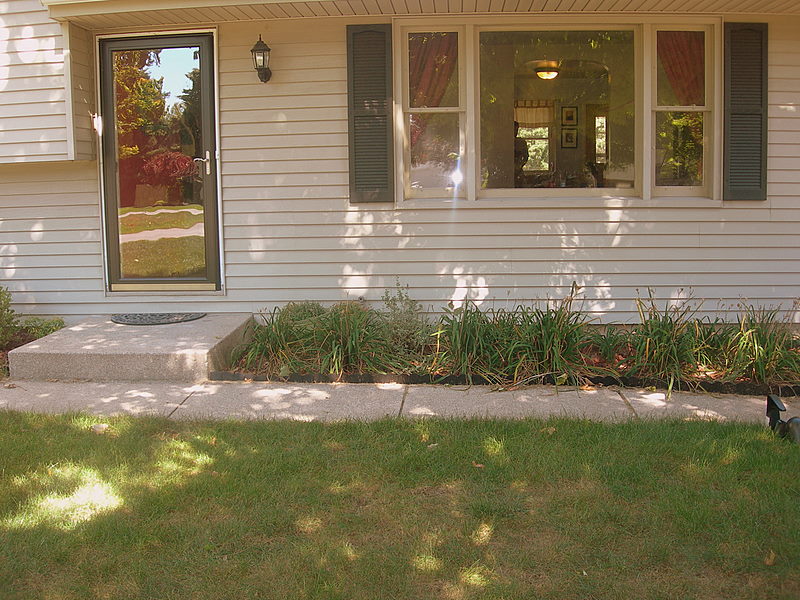
 These beds also were looking overgrown and tired so I thinned them out and cleaned them up. This was a free solution for freshening the beds up a bit!
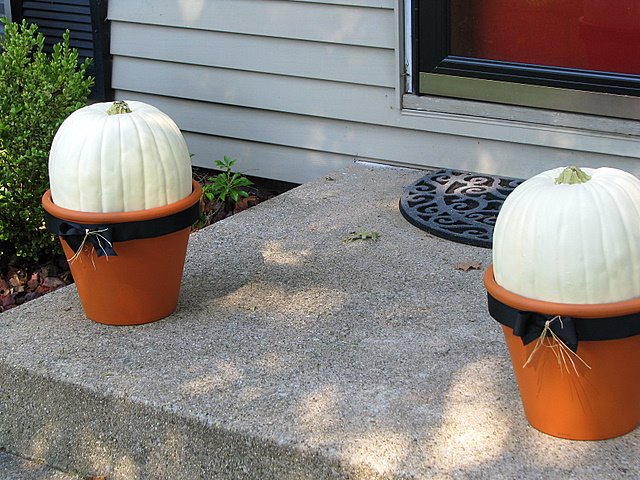
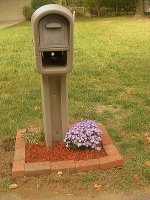
 I loved the color of these mums so I added them to a pot for my front step. It was a great way to make our front step look more inviting and add some color to the front of the house.
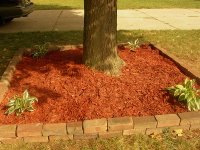


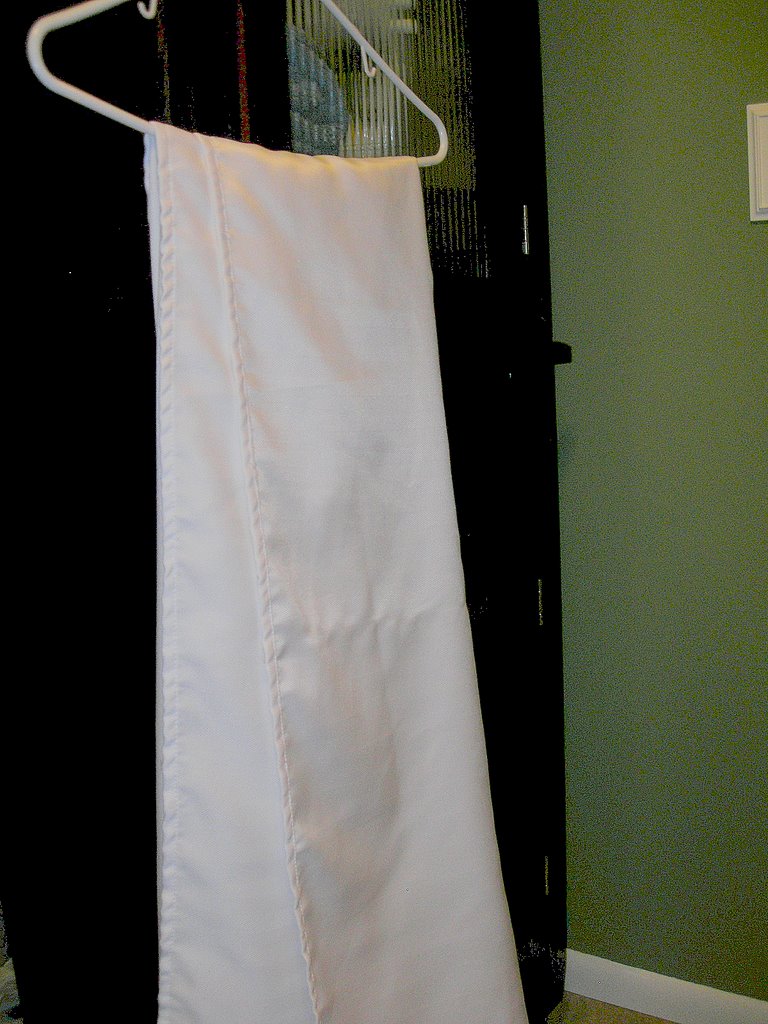


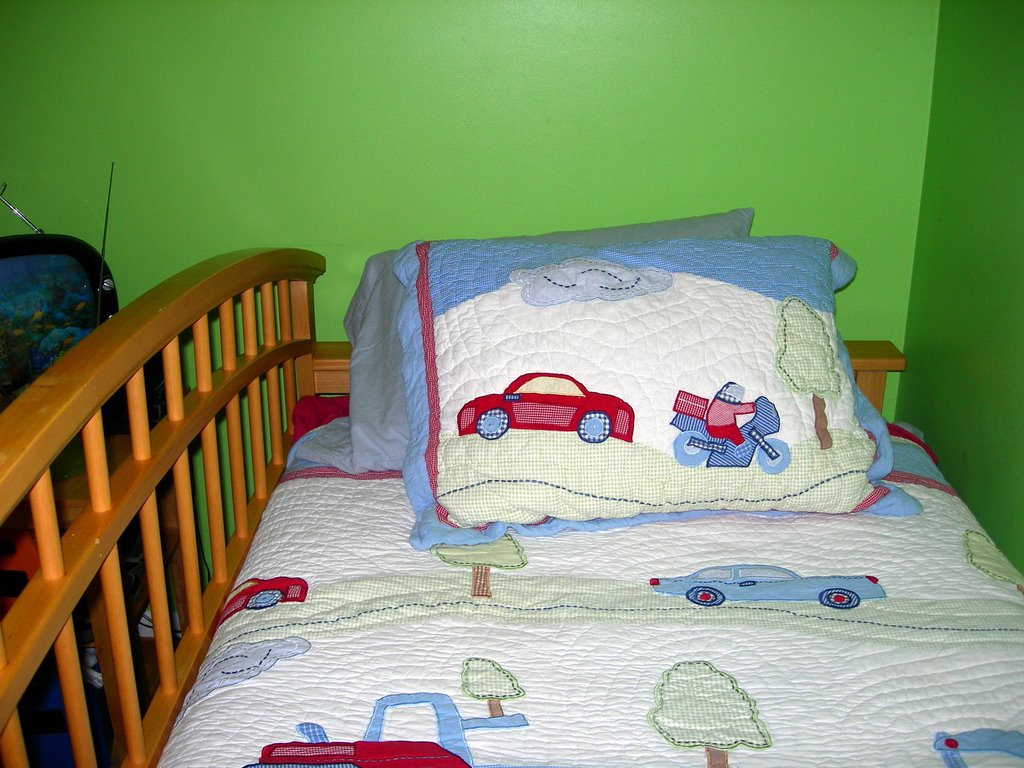
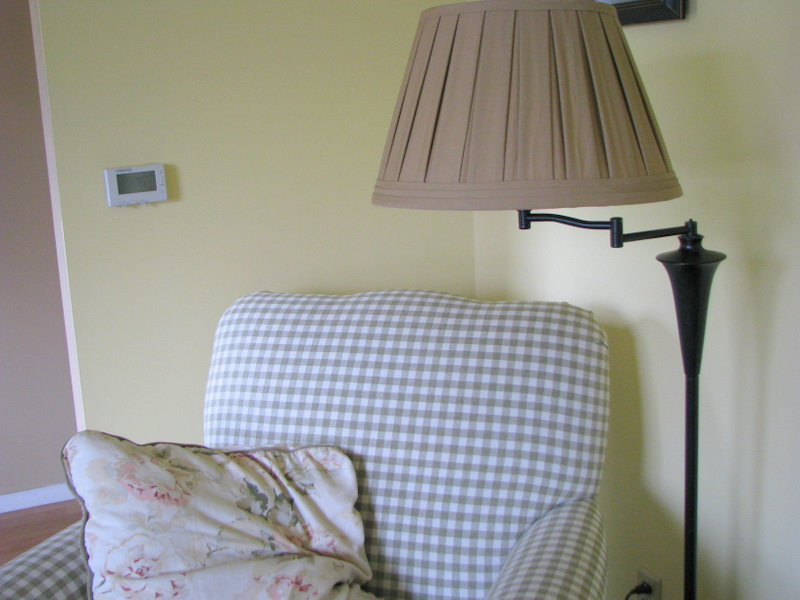
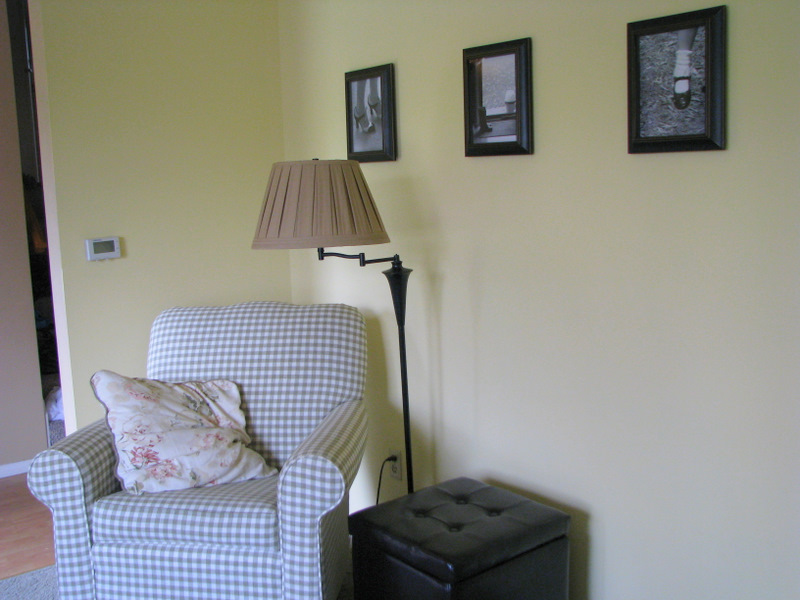
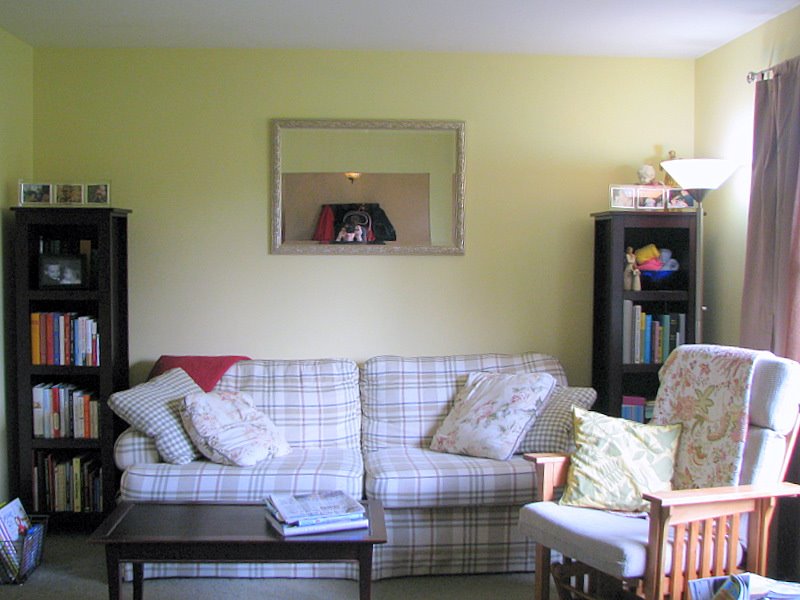
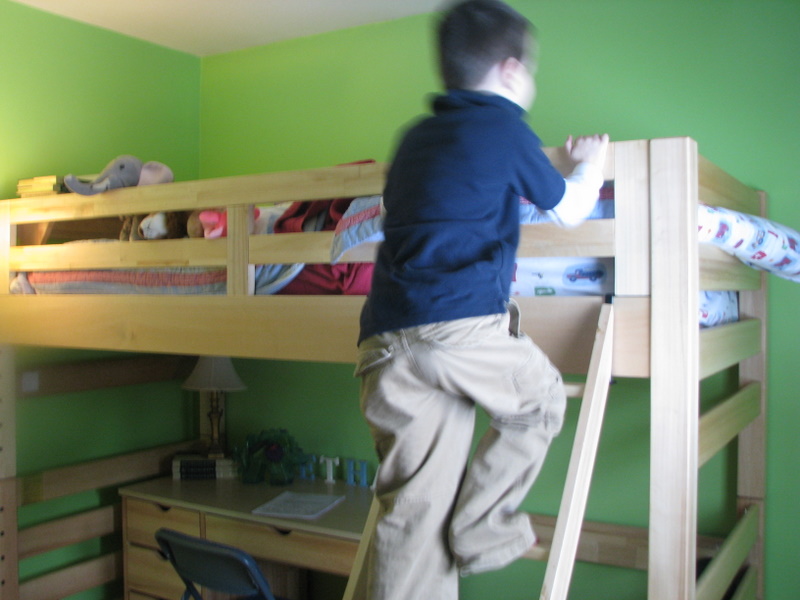
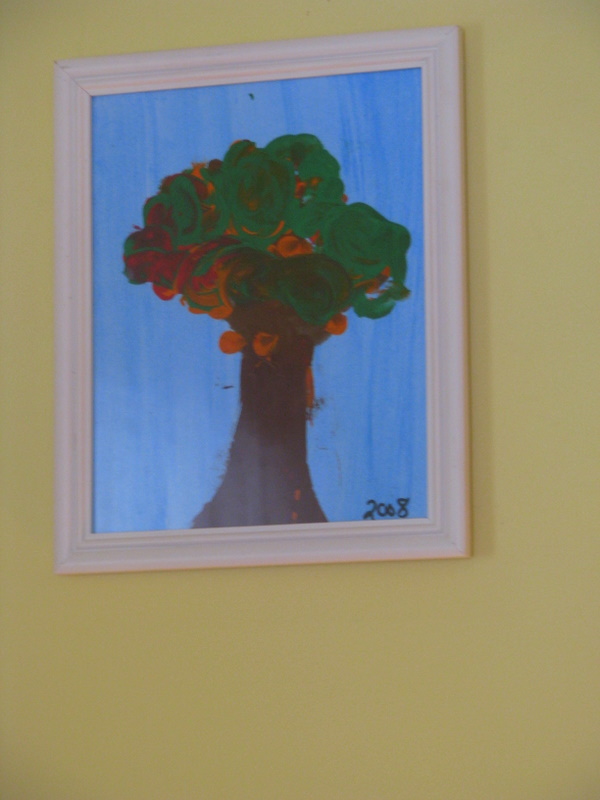
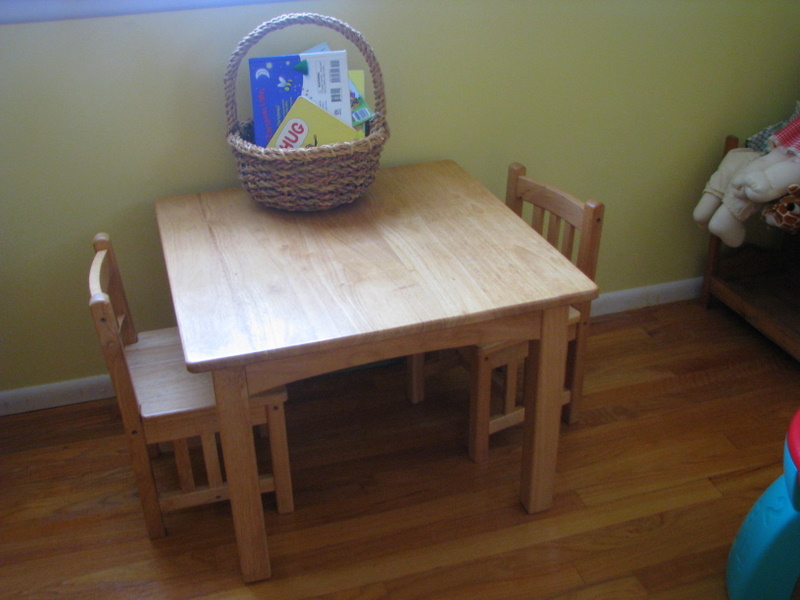
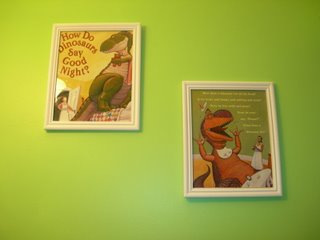 First, do not be intimidated by the bright colors on our son’s walls. What appeared to be a cheery Granny Smith apple shade assaulted us with its fluorescent glow instead when applied to the walls. Although the color is a bit brighter than I had hoped, where else except our children’s rooms could we be so bold?