
7 Tips For Leading a Balanced Blogger Life
I have been talking to a lot of bloggers recently that have been asking my advice on blogging and balance. It can be tough to come up with great content week after week and still maintain your home and family activities.
My life is very busy with two small children. We have family obligations, business obligations, church obligations, friend obligations, and volunteer obligations... as most families do. I am thankful for all of these things that shape my life!
On top of those obligations though are my work obligations. As my site grows, the obligations grow too and that is when your life and your blogging can easily become out of balance. In this last year, it is something I have been really working on improving because my family is so important to me.
I would love to share with you some of the tips and techniques I have been using this year to help me lead a balanced life. I hope that they will offer some inspiration to those of you who are feeling tapped out and tired.
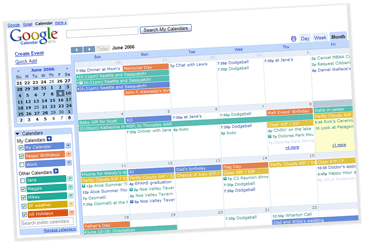
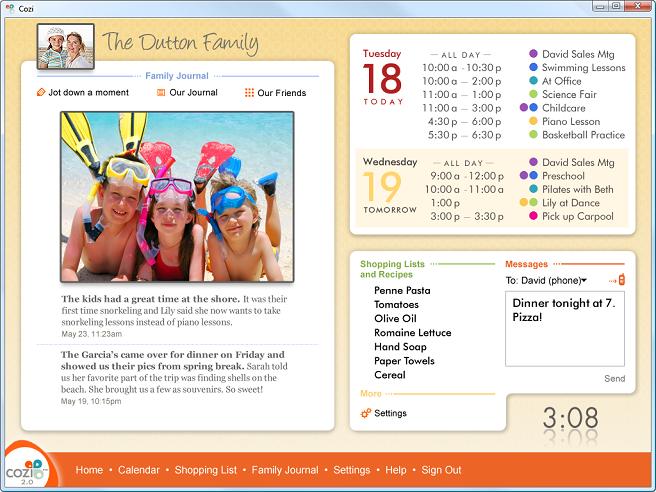
1. Schedule Working Hours- Some people might be surprised to know that I rarely write during the week. I have regularly scheduled time on my calendar on Saturday mornings and Sunday evenings where I complete 90% of the work that I need to get done for the week. There are times where time sensitive items have to be scheduled during the week, but for the most part I rarely am working on my blog during weekdays.
Anything that I can get done during working hours, I do my best to get it done. Even tiny detail items like choosing a picture and title for time-sensitive entries is done during my scheduled work hours. These tiny details can easily suck up an hour's worth of time so I know that anything I can get done during my work sessions will free up more time for me with my children during our week.
You can also schedule everything to appear at the same time each day. On here, for example, each entry is typically scheduled for 7:00 AM and publishes as scheduled in the morning. Now you all know that I am actually still laying in bed while all of these entries are posting. Did I deceive you with my supposed morning productivity? I hope so!
The information that I write is not time-sensitive so freebies/deals/coupon sites could not adapt to this schedule, but you could try to supplement deal information with how-to information that could be set up within your own working schedule.
2. Cut Down on Distractions & Set Limits- It is very easy to become distracted when doing your work and these distractions can slow down your pace. When you schedule your time to work, shut down social networks and other websites and tackle that to-do list with as little interruption as possible.
You know what your distractions are and what can take you away from the task at hand. Make it a goal that when you are working that you will try to tune all of the distractions out until you have completed your tasks.
Likewise, set limits for yourself on how much time you spend on social networks as they can definitely suck up a great deal of your day if you allow them to. For me, I try to not spend time on Twitter or Facebook on the weekends. I use my weekends to work and spend time with my family so I try to sign off of these networks on Friday and return back to socializing on Monday.
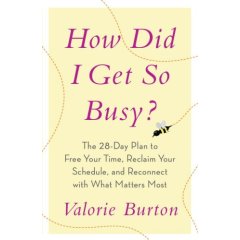
If you are looking for more information on staying on task in business and in life, I encourage you to read "The Power of Less," by Leo Babauta (founder of ZenHabits.net). It is a very quick read, but has helped me greatly in increasing my productivity while leading a fuller life. I found this book at the library and my husband and I both read it and got some great tips from it.
3. Slow Down Your Blogging Schedule- For me, this is one of the most difficult challenges because I love sharing new information with my readers. What I don't realize though, is how few of you have read me every single day since I began blogging.
Don't be afraid to shake the dust off of those entries in your archives and use them during the week. I do my best to reuse one article each week to give me a day off from creating new content. You could also utilize guest bloggers once a week or even dedicate a post that will share with your readers things that other people are writing.
Whatever your blogging schedule, routine has been essential in keeping my creativity flowing and knowing what to tackle throughout the week. On our blog, we typically offer recipes on Monday, crafts/things to do on Tuesday, highlighting others in our Notebook entries & tackling a project highlighted in the notebook on Wednesday, a Play it Again, Momma entry on Thursday (where I revisit an old entry), and freebies on Friday. Of those items, I am actually coming up with truly new information two or three times a week.
If at anytime I feel that something is too much or not working with our family schedule, it is my blog schedule to tinker with. I shared with you that my podcast would not work with our summer schedule and I switched our notebook entry to a day that fit better with my family life.
Remember that it is your schedule to switch, but know that whatever you set up your readers will begin to expect from you. It used to bother me when people would email me because A, B, or C had not been posted during the week. I began to realize that even if it was my schedule to switch, it is also imperative to let them know when and why I make these changes. Communication and consistency is the best way to keep your readers coming back for more!
4. Figure Out What You Are Worth- My business coach offered this sound advice to me when we first began our sessions together. She encouraged me to figure out what my time was worth and then choose what was the best use of my time based on that dollar figure. Now that I am able to grasp how much my time is worth, I am better able to say no to things that do not bring in the money or the website traffic that I need for the opportunity to be lucrative.
If I am not sure if an opportunity is worth my time, I try to give it a thirty day evaluation. Within 30 days, I am able to take a look at my past month of web traffic and it can showcase whether or not an opportunity has brought in the traffic needed for it to be lucrative.
How do you figure out what your time is worth? As someone who is self-employed my worth varies from month to month, but I do have a dollar figure in mind when I am approached for an opportunity. The best way to figure out what your time is worth is to start tracking your time for one month and figure out how many hours you are working during a 30 day period. Now evaluate all that your site is bringing in during the month (even a rough average is great). Now you can use those numbers to figure out what that hourly rate is. This should give you a rough idea of what your time is worth and if an opportunity is worth that amount of time.
5. Limit the Extras- Just recently it seems that I have gotten a lot of opportunities to travel for my work. It is a wonderful opportunity to get to go into a company and see how they work or sit in a round table discussion about their products and services.
The pitfall of traveling though is that I am away from my children and my life begins to feel out of balance because I am not able to keep up with my normal routines. Going away for even two days can put my household routines behind, my work schedule can become interrupted, and I become stressed.
I am now being more selective about those extra opportunities that come along and picking things that will benefit my readers the most, relationships that I would like to form with specific companies, and paid opportunities. I have also made the decision that one trip a month is all that I feel I can handle and it has to fit our criteria for that opportunity to come into fruition.
This doesn't just apply to travel though, this also applies to all of those extras that can take me away from spending time with my family. Things like guest blogging for others, product reviews that are not a good fit for my audience, and many of the unpaid extras that I would have done before have been greatly reduced in efforts to remain balanced.
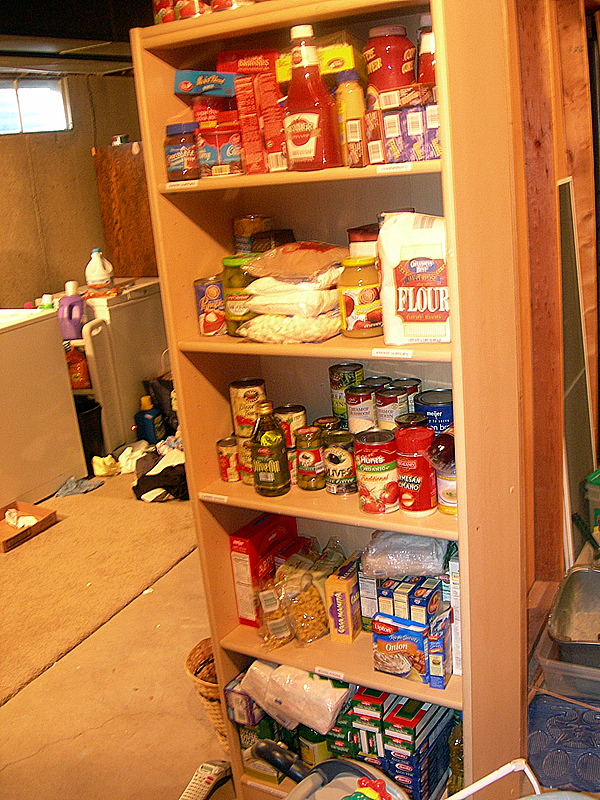
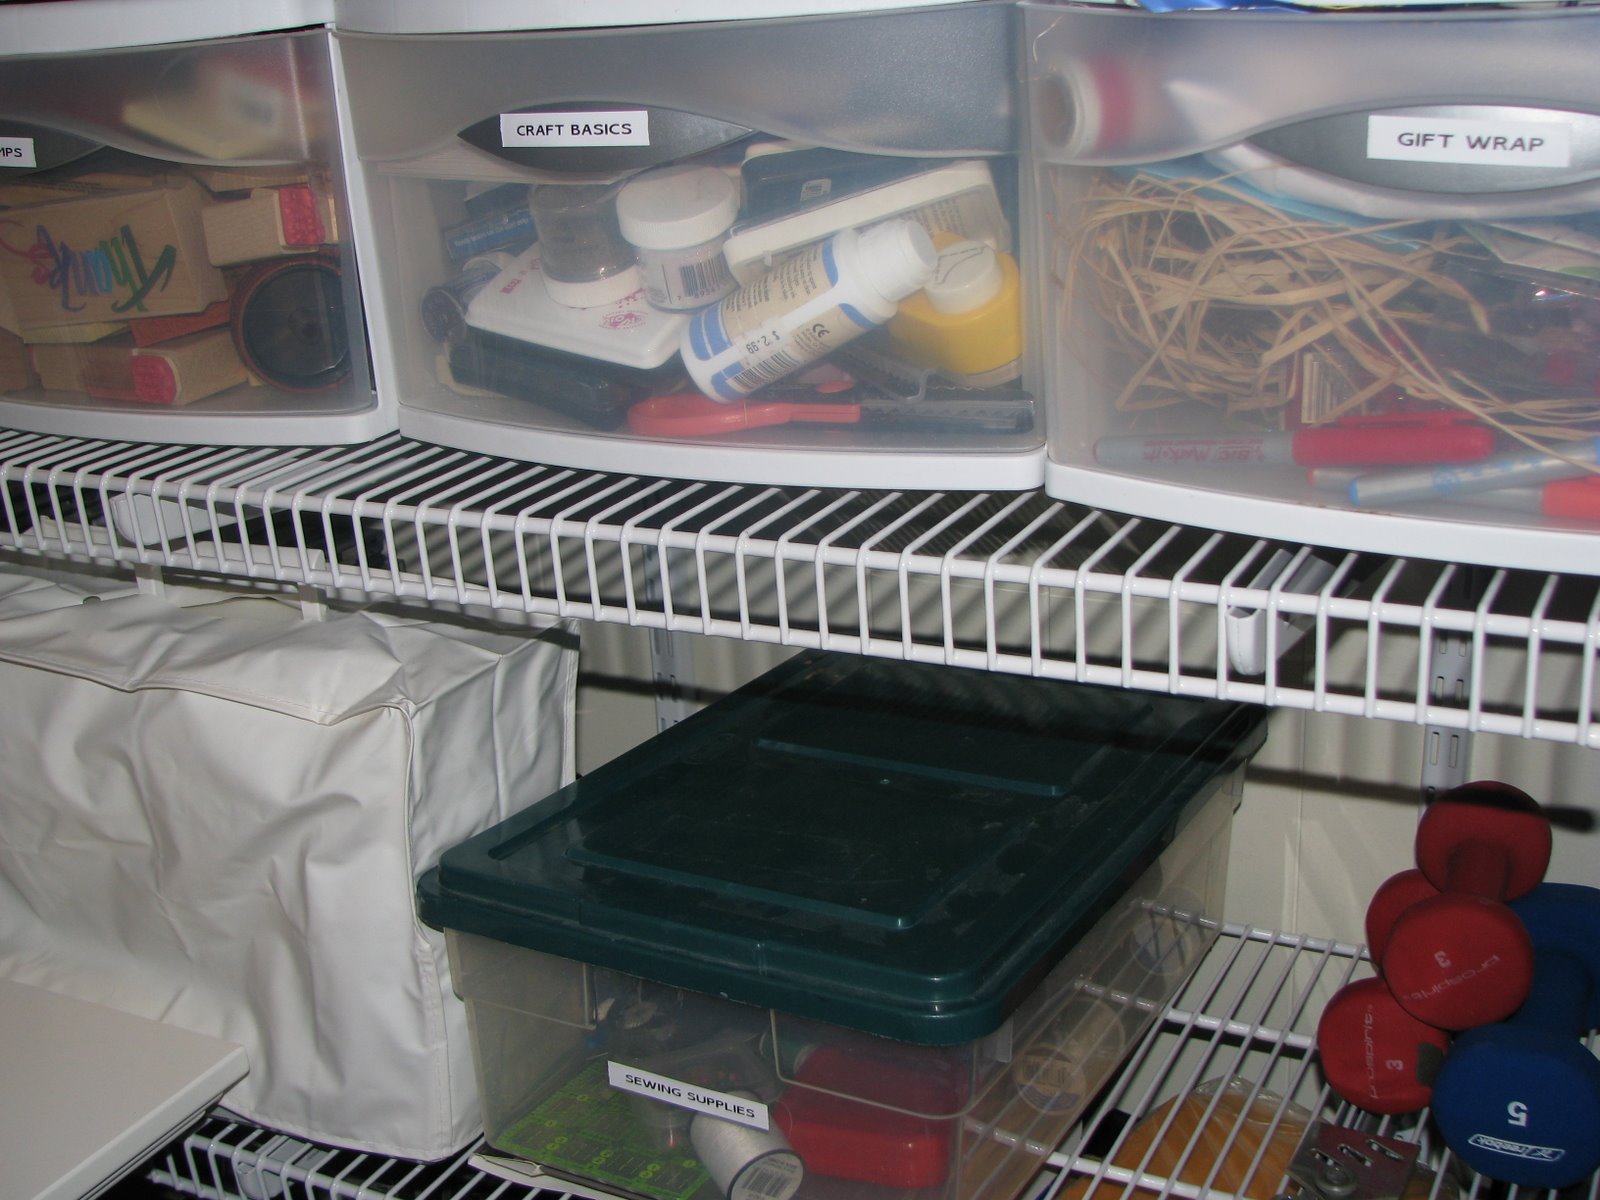
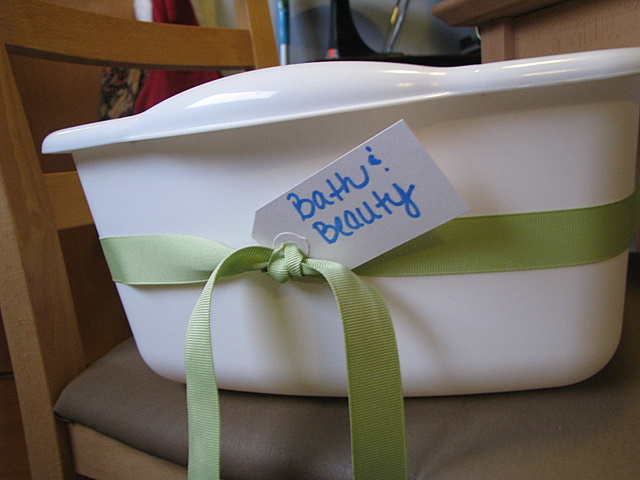
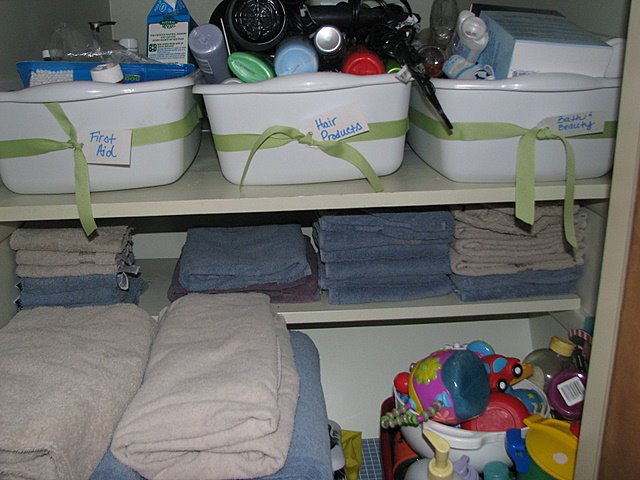
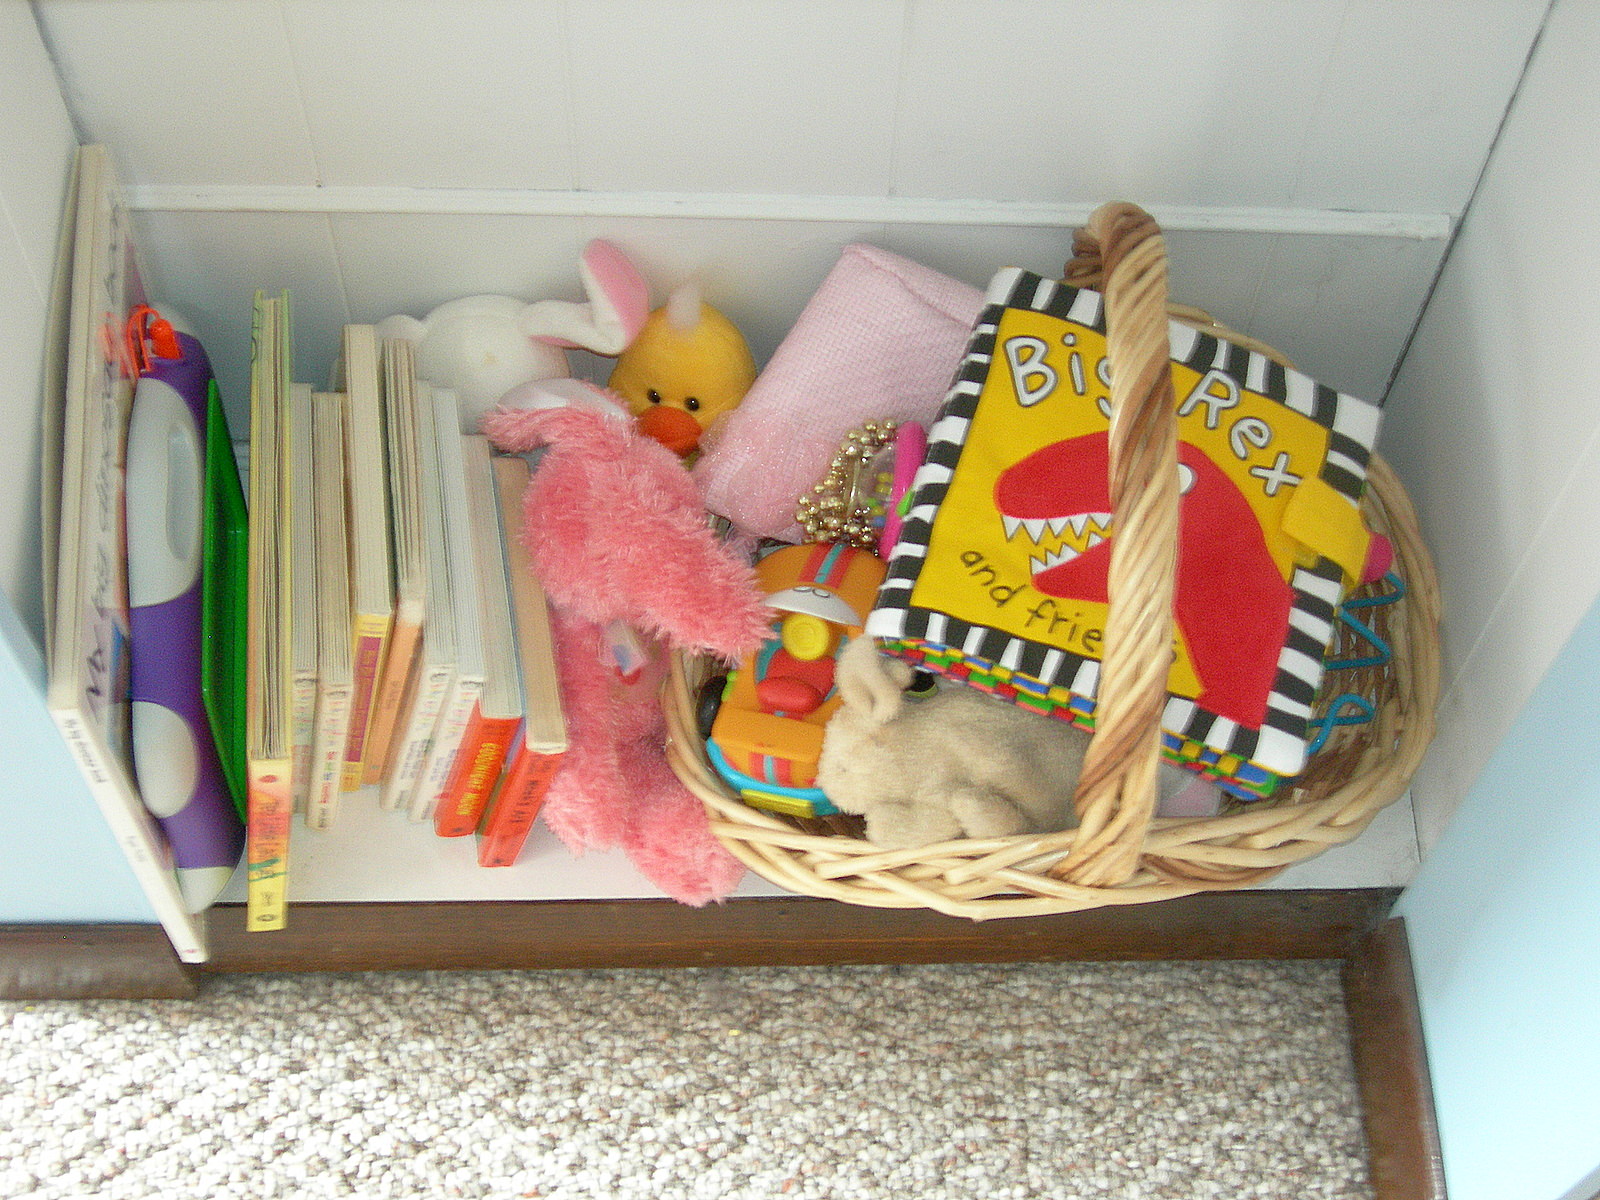
6. Develop Household Management Routines- What does household management have to do with blogging? In my opinion, it has everything to do with feeling balanced and running a successful business out of your home.
Just as I suggest scheduling working hours, developing a schedule for your home management will free up the time that you need to spend with your family. Don't go overboard with your routines, but develop a rhythm that will make those day-to-day tasks more manageable.
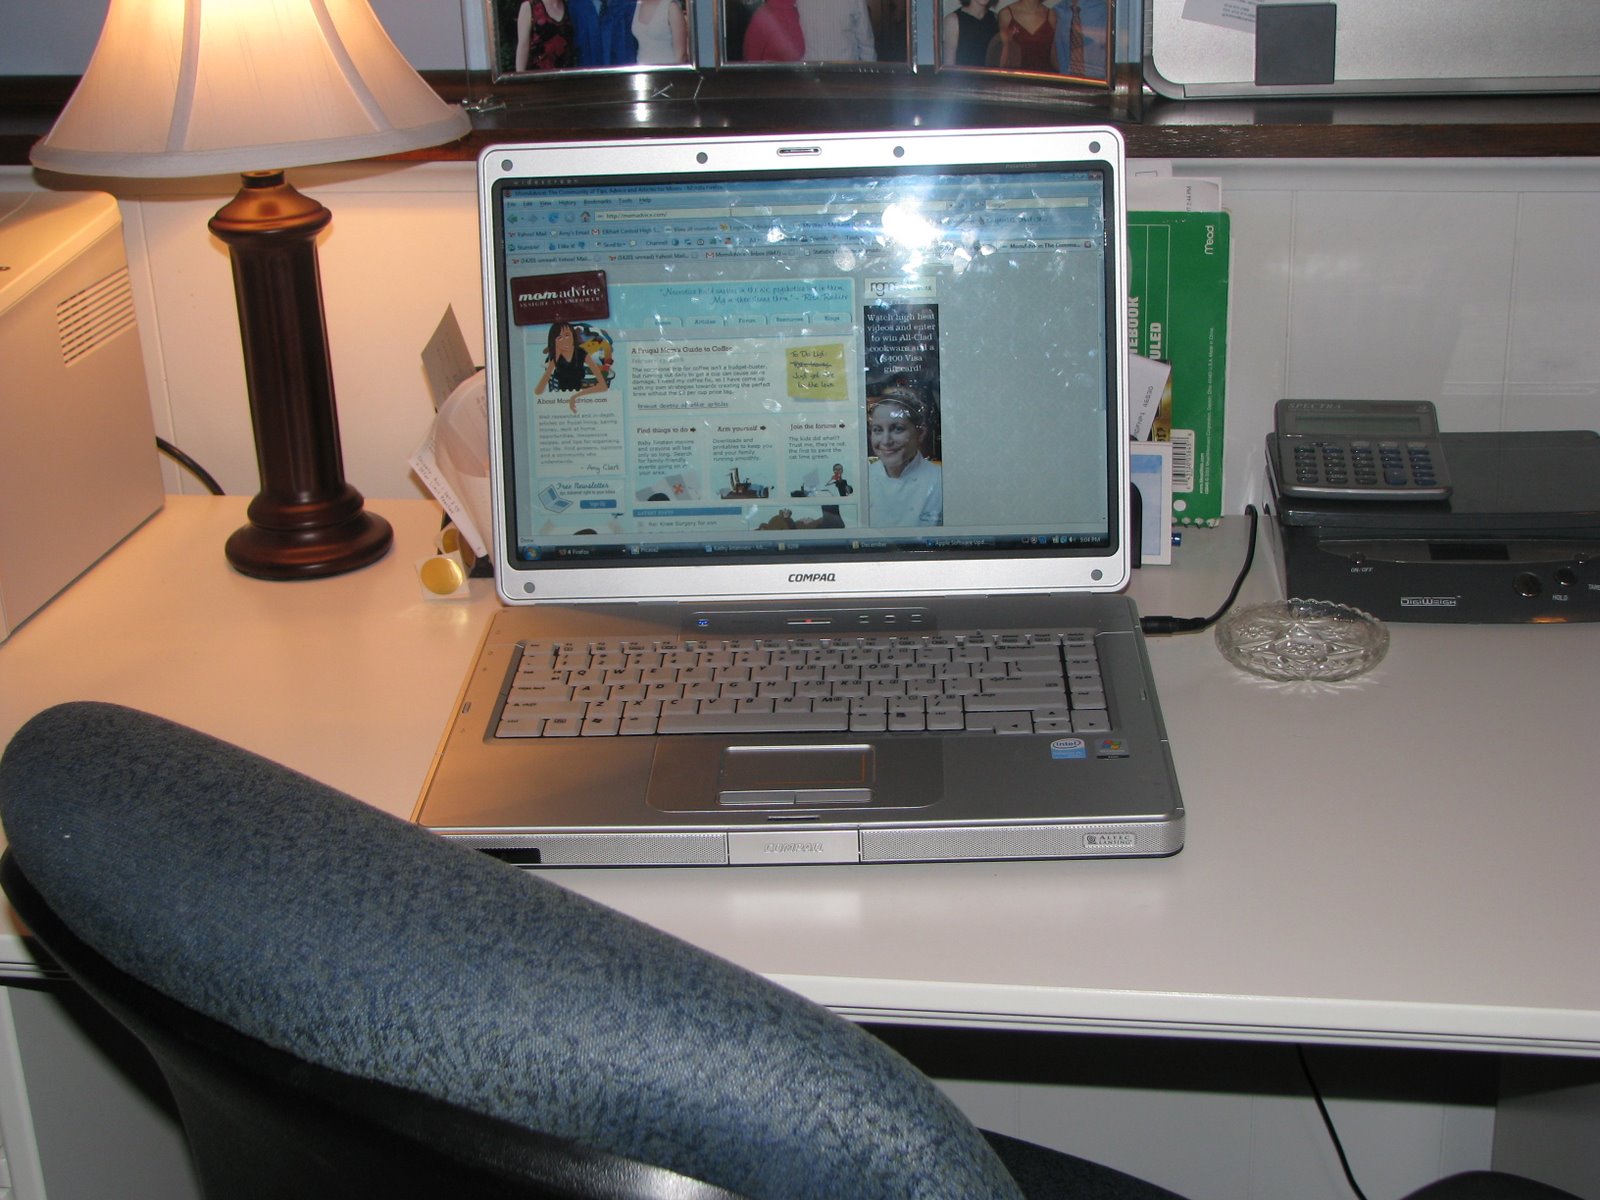
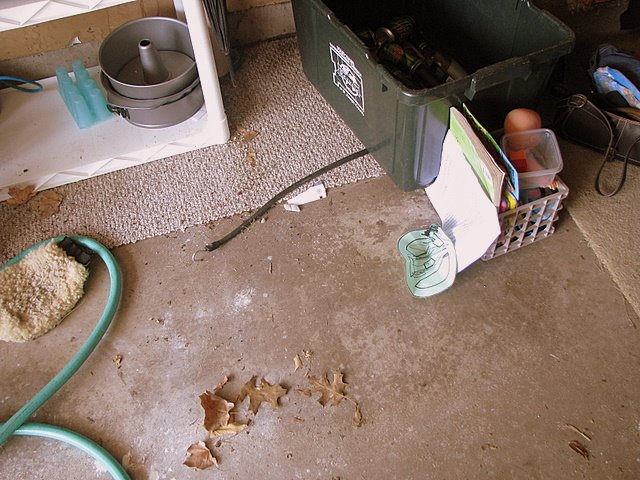
Make sure that your work area is a pleasant place to be by tackling those piles of papers and creating a space that will allow you to be the most productive you can be. Add this time of clearing your desk as part of your weekly routine so that you can be the best blogger you can be in a distraction-free zone!
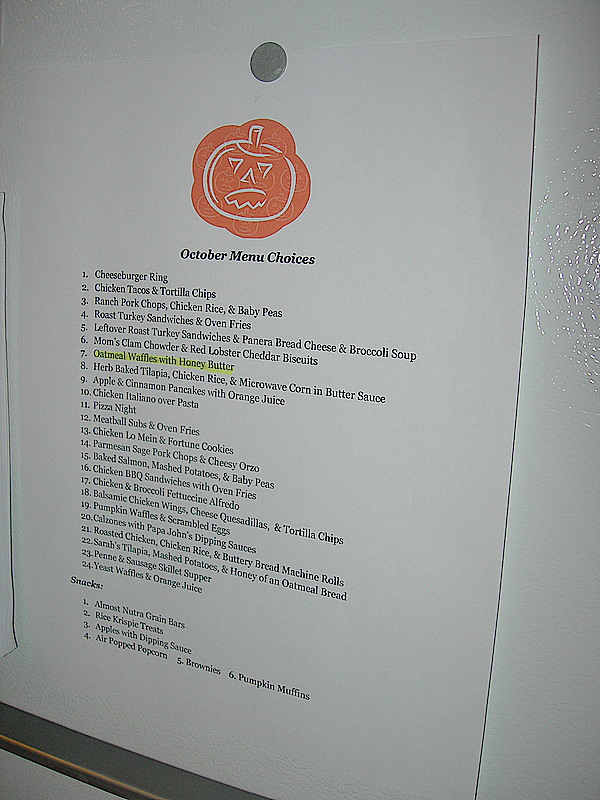
If you are looking for home management inspiration, my weekly routine can be found here. There will always be things that can get in the way of those tasks, but I do my best to stay within this routine so that my home life can remain balanced.
7. Allow Room for Creativity in Your Schedule- The best thing that I have started doing for myself is giving myself an hour to do whatever I want with absolutely no guilt whatsoever. I use this time to knit, read, craft, or listen to music.
Before I was doing this, I would go to bed with my stomach in a ball and my head swirling with all the things I needed to get done the next day.
Do something that is creative or calming to you that hour before you head to bed and see how much balance it can bring back into your life. I feel no guilt about it because the more creative I am the more inspiration I can offer to others.
Out of all of these tips though, the one thing I can tell you is that if you are not living a great life offline, it will be difficult to live a full life online. You have to be living, loving, and engaging with your friends and family in order to feel completely balanced.
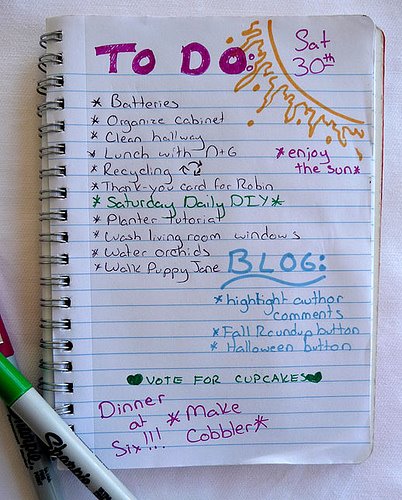
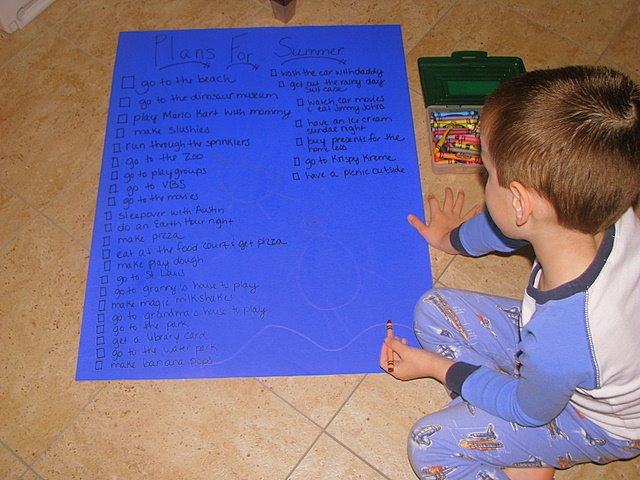
If your well is tapped dry, sit down with a notebook and jot down ways that you can bring balance back into your life. It will be the best thing that you can do for yourself and everyone will benefit from it- your readers, your family... but most of all, YOURSELF!
Are you struggling with balance? What helps bring balance to your life? Do you have any questions on my blogging routine? Please share or ask away!

My life is very busy with two small children. We have family obligations, business obligations, church obligations, friend obligations, and volunteer obligations... as most families do. I am thankful for all of these things that shape my life!
On top of those obligations though are my work obligations. As my site grows, the obligations grow too and that is when your life and your blogging can easily become out of balance. In this last year, it is something I have been really working on improving because my family is so important to me.
I would love to share with you some of the tips and techniques I have been using this year to help me lead a balanced life. I hope that they will offer some inspiration to those of you who are feeling tapped out and tired.

1. Schedule Working Hours- Some people might be surprised to know that I rarely write during the week. I have regularly scheduled time on my calendar on Saturday mornings and Sunday evenings where I complete 90% of the work that I need to get done for the week. There are times where time sensitive items have to be scheduled during the week, but for the most part I rarely am working on my blog during weekdays.
Anything that I can get done during working hours, I do my best to get it done. Even tiny detail items like choosing a picture and title for time-sensitive entries is done during my scheduled work hours. These tiny details can easily suck up an hour's worth of time so I know that anything I can get done during my work sessions will free up more time for me with my children during our week.
You can also schedule everything to appear at the same time each day. On here, for example, each entry is typically scheduled for 7:00 AM and publishes as scheduled in the morning. Now you all know that I am actually still laying in bed while all of these entries are posting. Did I deceive you with my supposed morning productivity? I hope so!
The information that I write is not time-sensitive so freebies/deals/coupon sites could not adapt to this schedule, but you could try to supplement deal information with how-to information that could be set up within your own working schedule.
2. Cut Down on Distractions & Set Limits- It is very easy to become distracted when doing your work and these distractions can slow down your pace. When you schedule your time to work, shut down social networks and other websites and tackle that to-do list with as little interruption as possible.

You know what your distractions are and what can take you away from the task at hand. Make it a goal that when you are working that you will try to tune all of the distractions out until you have completed your tasks.
Likewise, set limits for yourself on how much time you spend on social networks as they can definitely suck up a great deal of your day if you allow them to. For me, I try to not spend time on Twitter or Facebook on the weekends. I use my weekends to work and spend time with my family so I try to sign off of these networks on Friday and return back to socializing on Monday.
If you are looking for more information on staying on task in business and in life, I encourage you to read "The Power of Less," by Leo Babauta (founder of ZenHabits.net). It is a very quick read, but has helped me greatly in increasing my productivity while leading a fuller life. I found this book at the library and my husband and I both read it and got some great tips from it.
3. Slow Down Your Blogging Schedule- For me, this is one of the most difficult challenges because I love sharing new information with my readers. What I don't realize though, is how few of you have read me every single day since I began blogging.
Don't be afraid to shake the dust off of those entries in your archives and use them during the week. I do my best to reuse one article each week to give me a day off from creating new content. You could also utilize guest bloggers once a week or even dedicate a post that will share with your readers things that other people are writing.
Whatever your blogging schedule, routine has been essential in keeping my creativity flowing and knowing what to tackle throughout the week. On our blog, we typically offer recipes on Monday, crafts/things to do on Tuesday, highlighting others in our Notebook entries & tackling a project highlighted in the notebook on Wednesday, a Play it Again, Momma entry on Thursday (where I revisit an old entry), and freebies on Friday. Of those items, I am actually coming up with truly new information two or three times a week.
If at anytime I feel that something is too much or not working with our family schedule, it is my blog schedule to tinker with. I shared with you that my podcast would not work with our summer schedule and I switched our notebook entry to a day that fit better with my family life.
Remember that it is your schedule to switch, but know that whatever you set up your readers will begin to expect from you. It used to bother me when people would email me because A, B, or C had not been posted during the week. I began to realize that even if it was my schedule to switch, it is also imperative to let them know when and why I make these changes. Communication and consistency is the best way to keep your readers coming back for more!
4. Figure Out What You Are Worth- My business coach offered this sound advice to me when we first began our sessions together. She encouraged me to figure out what my time was worth and then choose what was the best use of my time based on that dollar figure. Now that I am able to grasp how much my time is worth, I am better able to say no to things that do not bring in the money or the website traffic that I need for the opportunity to be lucrative.

If I am not sure if an opportunity is worth my time, I try to give it a thirty day evaluation. Within 30 days, I am able to take a look at my past month of web traffic and it can showcase whether or not an opportunity has brought in the traffic needed for it to be lucrative.
How do you figure out what your time is worth? As someone who is self-employed my worth varies from month to month, but I do have a dollar figure in mind when I am approached for an opportunity. The best way to figure out what your time is worth is to start tracking your time for one month and figure out how many hours you are working during a 30 day period. Now evaluate all that your site is bringing in during the month (even a rough average is great). Now you can use those numbers to figure out what that hourly rate is. This should give you a rough idea of what your time is worth and if an opportunity is worth that amount of time.
5. Limit the Extras- Just recently it seems that I have gotten a lot of opportunities to travel for my work. It is a wonderful opportunity to get to go into a company and see how they work or sit in a round table discussion about their products and services.
The pitfall of traveling though is that I am away from my children and my life begins to feel out of balance because I am not able to keep up with my normal routines. Going away for even two days can put my household routines behind, my work schedule can become interrupted, and I become stressed.
I am now being more selective about those extra opportunities that come along and picking things that will benefit my readers the most, relationships that I would like to form with specific companies, and paid opportunities. I have also made the decision that one trip a month is all that I feel I can handle and it has to fit our criteria for that opportunity to come into fruition.
This doesn't just apply to travel though, this also applies to all of those extras that can take me away from spending time with my family. Things like guest blogging for others, product reviews that are not a good fit for my audience, and many of the unpaid extras that I would have done before have been greatly reduced in efforts to remain balanced.
6. Develop Household Management Routines- What does household management have to do with blogging? In my opinion, it has everything to do with feeling balanced and running a successful business out of your home.
Just as I suggest scheduling working hours, developing a schedule for your home management will free up the time that you need to spend with your family. Don't go overboard with your routines, but develop a rhythm that will make those day-to-day tasks more manageable.
Make sure that your work area is a pleasant place to be by tackling those piles of papers and creating a space that will allow you to be the most productive you can be. Add this time of clearing your desk as part of your weekly routine so that you can be the best blogger you can be in a distraction-free zone!
If you are looking for home management inspiration, my weekly routine can be found here. There will always be things that can get in the way of those tasks, but I do my best to stay within this routine so that my home life can remain balanced.
7. Allow Room for Creativity in Your Schedule- The best thing that I have started doing for myself is giving myself an hour to do whatever I want with absolutely no guilt whatsoever. I use this time to knit, read, craft, or listen to music.

Before I was doing this, I would go to bed with my stomach in a ball and my head swirling with all the things I needed to get done the next day.
Do something that is creative or calming to you that hour before you head to bed and see how much balance it can bring back into your life. I feel no guilt about it because the more creative I am the more inspiration I can offer to others.
Out of all of these tips though, the one thing I can tell you is that if you are not living a great life offline, it will be difficult to live a full life online. You have to be living, loving, and engaging with your friends and family in order to feel completely balanced.
If your well is tapped dry, sit down with a notebook and jot down ways that you can bring balance back into your life. It will be the best thing that you can do for yourself and everyone will benefit from it- your readers, your family... but most of all, YOURSELF!
Are you struggling with balance? What helps bring balance to your life? Do you have any questions on my blogging routine? Please share or ask away!
Labels: Organizing, Work
 Subscribe to this blog


 The gifts might not all match, they may not be overly red and green, they also aren't going to be uniform, but at least each gift will have their own original style.


