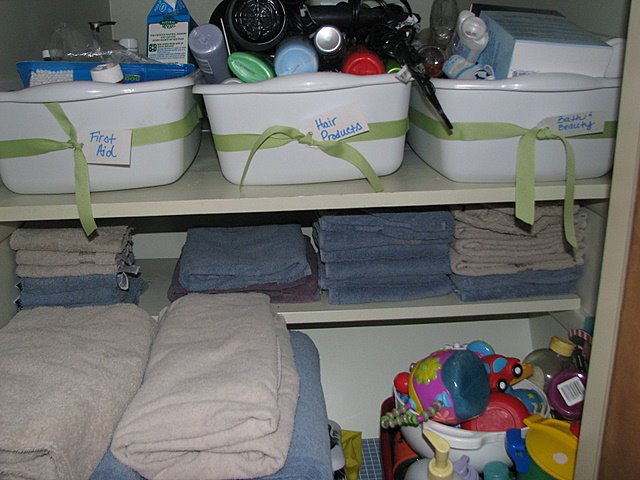
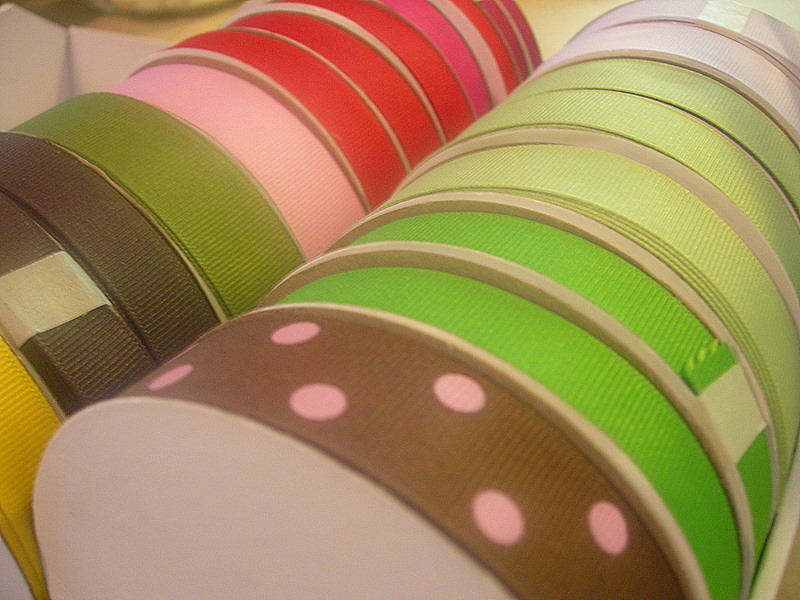
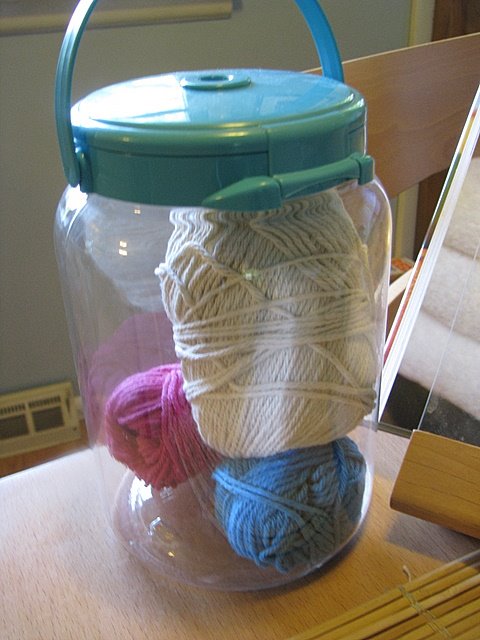
In my basement are bins and bins of beautiful art supplies and oodles of crafty fun.
I could spend years making things out of the items that I have already bought…and yet when I go to the craft store, I still feel that familiar tug that I really need more. I love to explore different hobbies and I love to craft. The fact that I am no good at crafting doesn’t seem to stop me and maybe you are in the same boat? Have you ever really thought about the amount of money you are spending on your hobbies? Have you ever thought about how most of the really popular hobbies cost lots of money to accomplish? Do you have oodles of craft supplies and still have an urge to buy more?
Hobbies are great for a number of reasons and I think they are important to be shared in this series. For one, if you have a hobby it can be a wonderful diversion from shopping and spending money. Hobbies can cost money, but you can choose to embrace hobbies and use your talents creating things that don't cost much. Although some people might consider shopping a hobby, it shouldn't be and finding things that fill your life in a positive way can have a positive impact on your wallet.
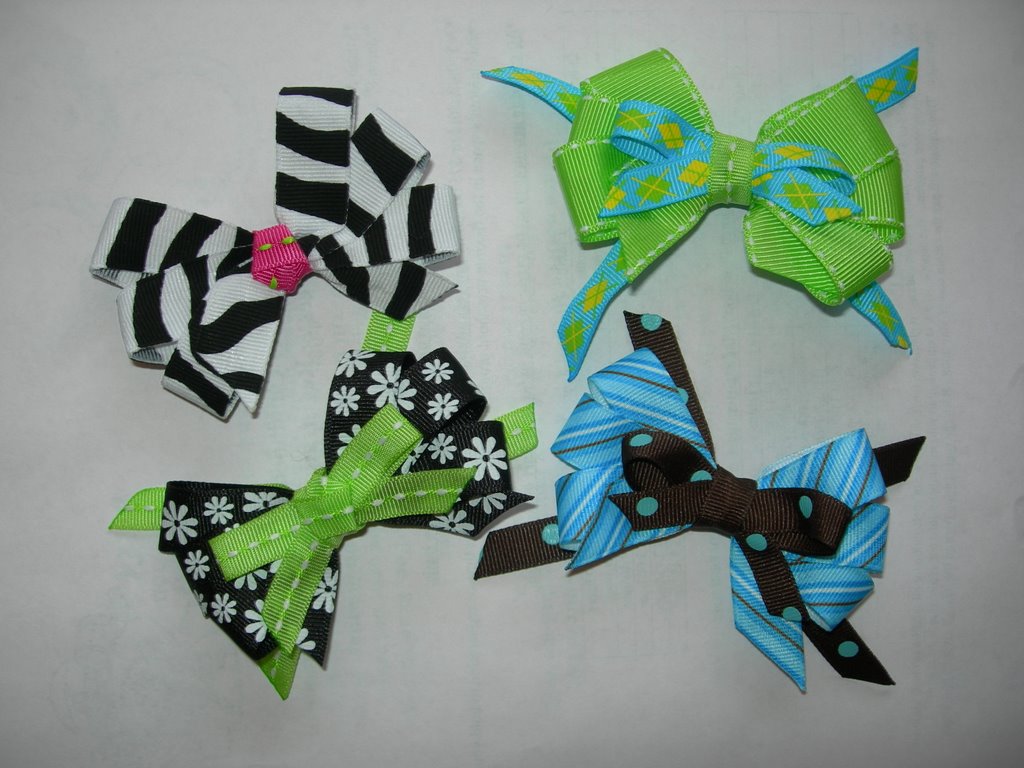
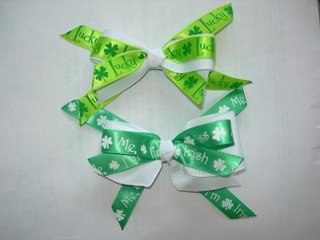
Not only do hobbies keep you away from shopping, your hobbies can also be turned into profits for your family. If you become good at one of your hobbies, you could potentially earn money with the talents that you have. For example, I love to create hair accessories for my daughter and my friend's love the accessories that I have made for her. I wasn't really intending to go crazy selling them, but my interest in making things for her created a small amount of revenue for me.
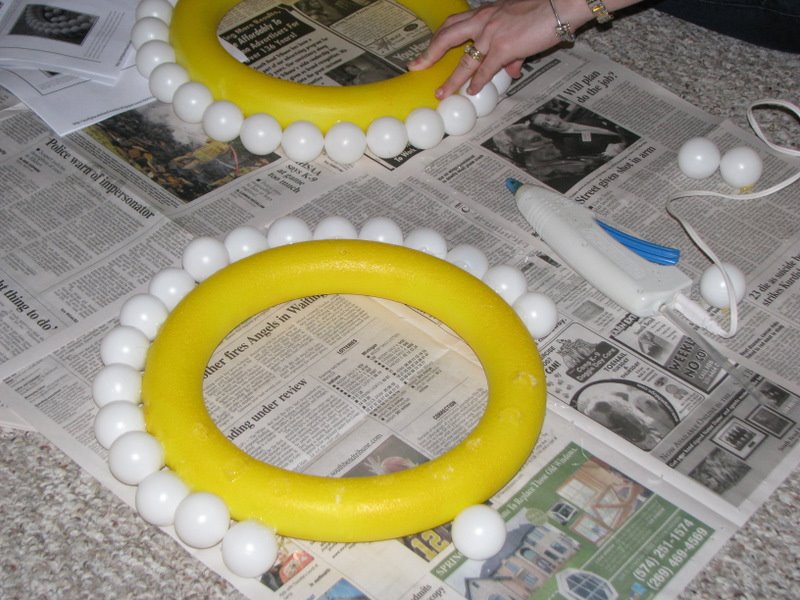
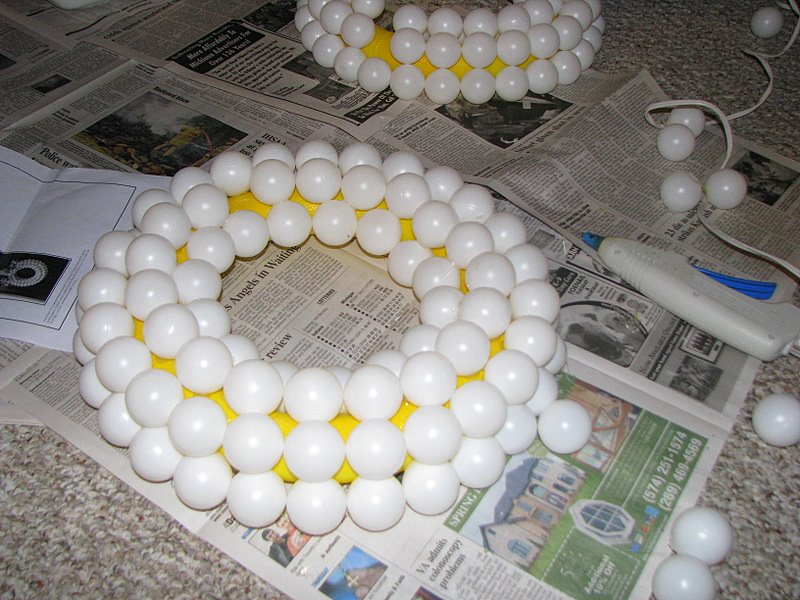
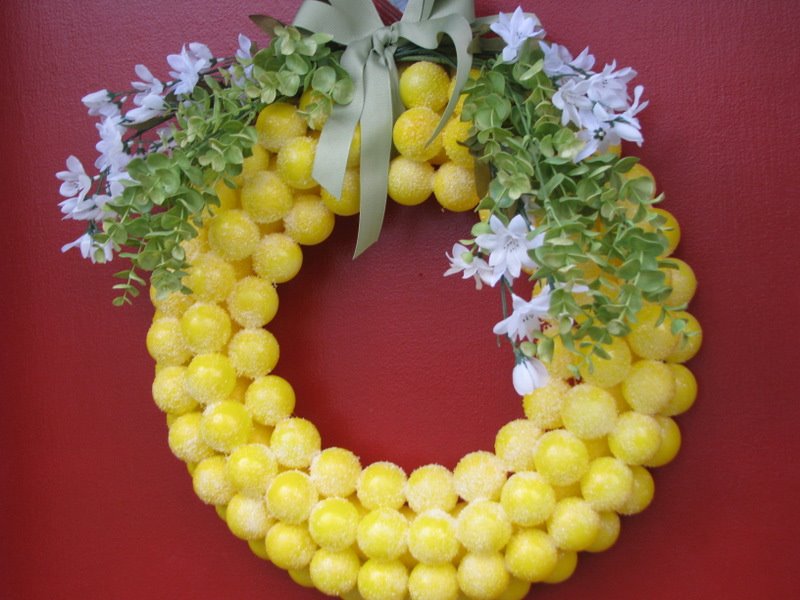
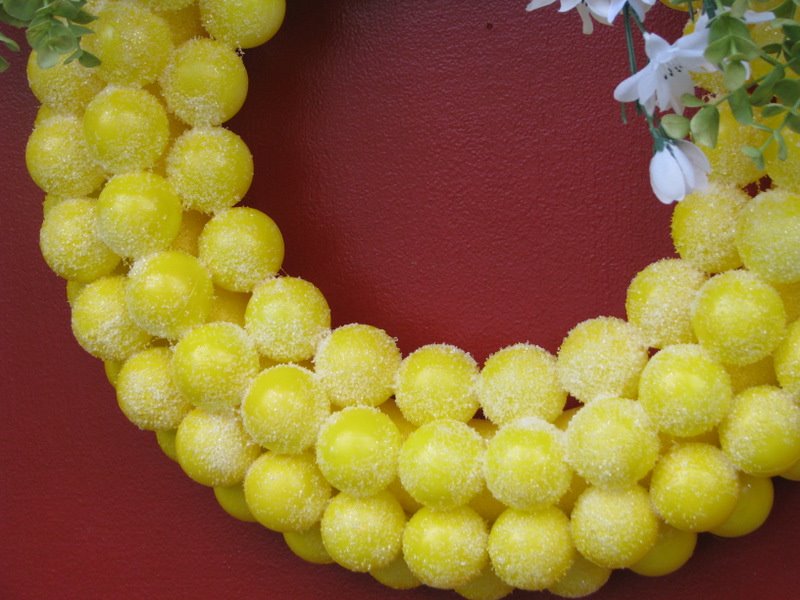
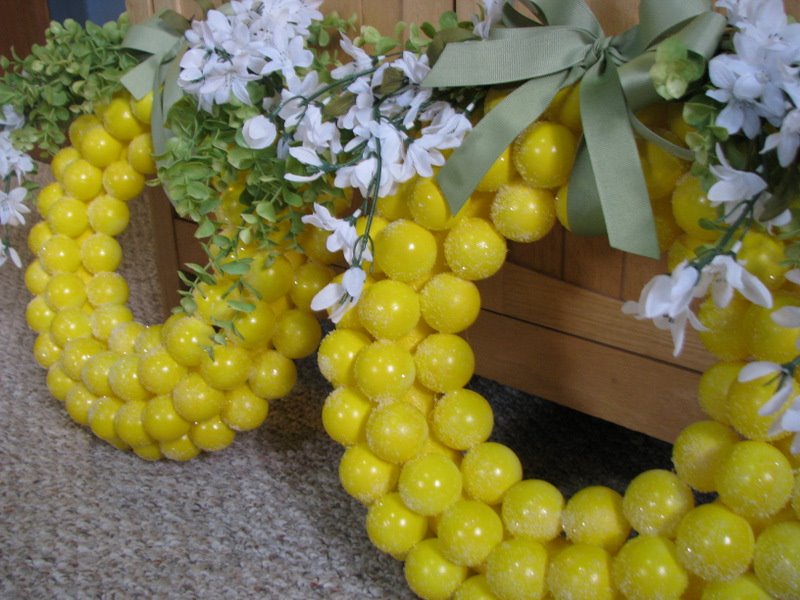
I can also use my hobbies to help us save our family money. Instead of buying a wreath for our front door, for example, I can make my own out of things in our home or by buying a small amount of greenery from a craft store. Learning to make things that you would buy can help your finances a lot!
Hobbies also have been proven to help people medically. People who are chronically stressed have poor health, while regular relaxation can promote good health. If I relax and really enjoy something in life, I can prevent things like high blood pressure, digestion problems, ulcers, heart disease, and insomnia. Having a relaxed attitude and enjoying the little things in life lead to better health and fewer doctor visits. Who could argue with that?
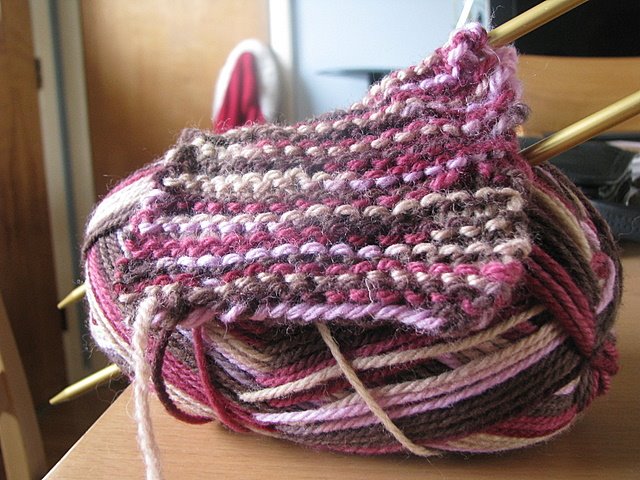
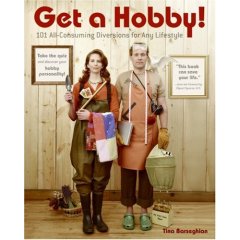
Hobbies don’t have to be expensive and many hobbies, in fact, don’t even cost a dime. I found a great book on exploring hobbies called (no less!),
“Get a Hobby.” In it are tons of great ideas for hobbies that cost little to nothing and can keep you busy for months on end.
Here are some hobbies that you can pursue that shouldn’t cost you a lot of money and will help to keep you out of those craft stores:
Genealogy- Much of your research can come from things that you already have or from items in your relative’s possessions. Try to gather as much information as you can from your family members (names, birthdates, marriages, deaths, significant life events, etc…) and explore this information first. Next, look through old cookbooks, photo albums, newspaper clippings, resumes, scrapbooks, and yearbooks for more family information. You can then begin looking to websites like Genealogy.com or the Family History Library of the Church of Jesus Christ of Latter-Day Saints. Utilize this information to make a family tree.
Tina Barseghian, the author of “Get a Hobby” also suggests creating a living history interview with people in your family. Record them on camera or with a tape recorder and ask them questions about the family and about themselves. (Note: I am going to be exploring this more through another avenue of recording your life history and I can’t wait to share it with you all!)
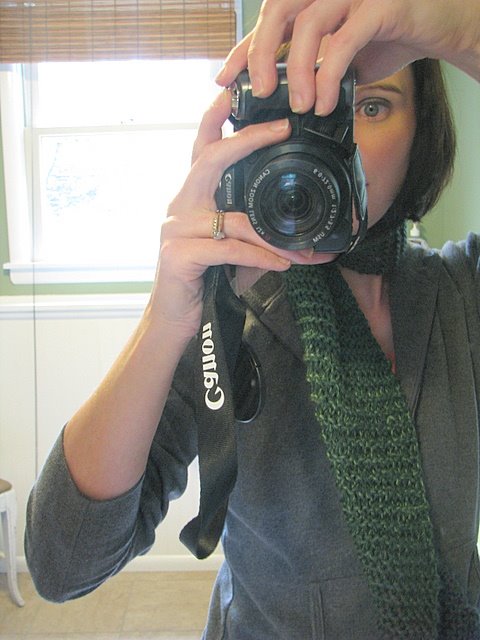
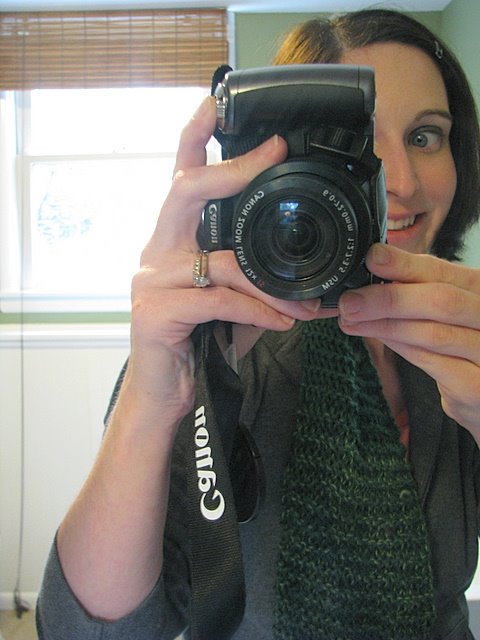
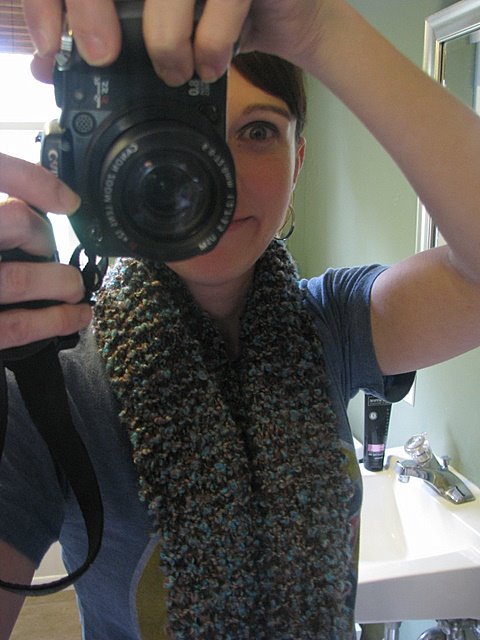
Journaling & Blogging- To be honest, I have never really thought of my blog as a hobby, but I guess this would be one of the best hobbies I have ever taken on! Blogging and journaling are wonderful ways to preserve memories, to share your life story, or to talk about things you are passionate about.
After I went to a viewing of "The Secret" I began keeping a gratitude journal. For me, this has helped to remind me of all that I have and I also try to do this when I feel the impulse to shop. This has been very therapeutic for me and I feel like it has had a positive affect on my attitude too.
I try to keep all different types of journals that I look forward to sharing with my children. We have a journal of all the funny things that they have said, a Christmas journal, my gratitude journal, and then I do my blogging about things that we do around the house.
You can find beautiful journals at the dollar stores and for one dollar you can begin focusing on all of the wonderful things you have in life.
You can start a free blog through Blogger, My Space, or LiveJournal (just to name a few!)
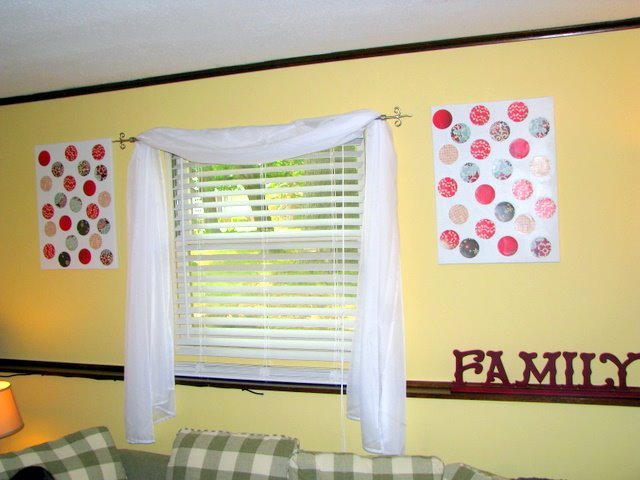
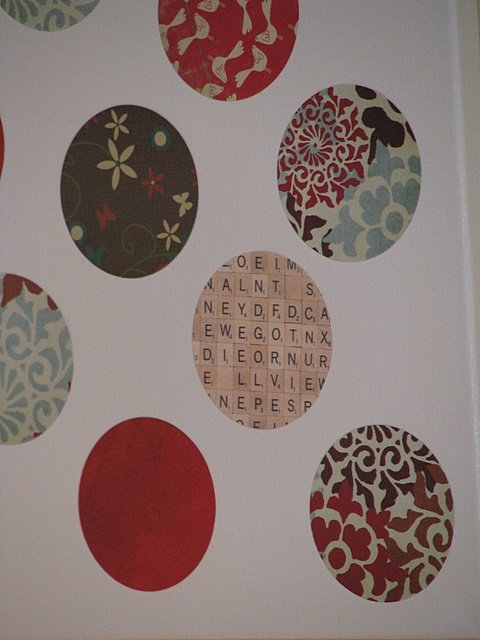
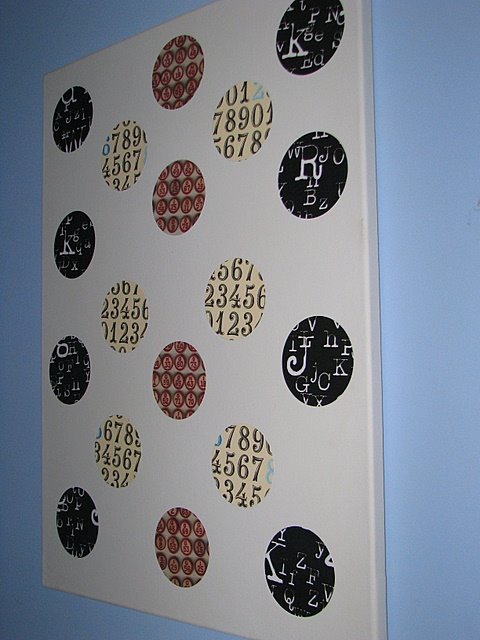
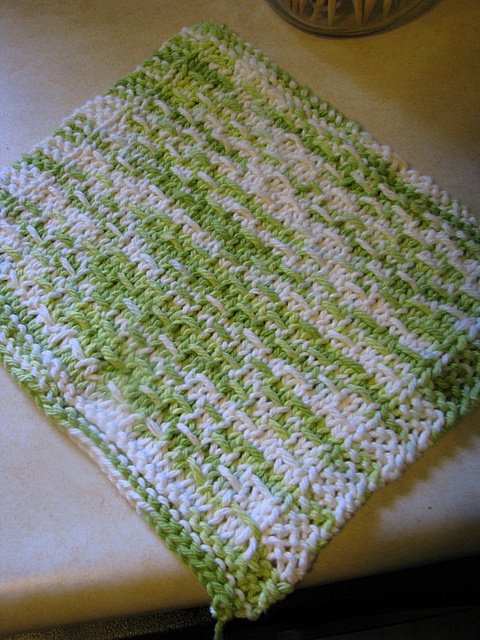
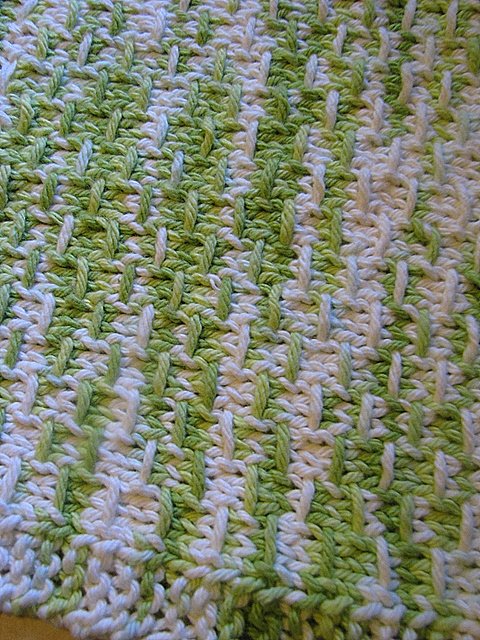
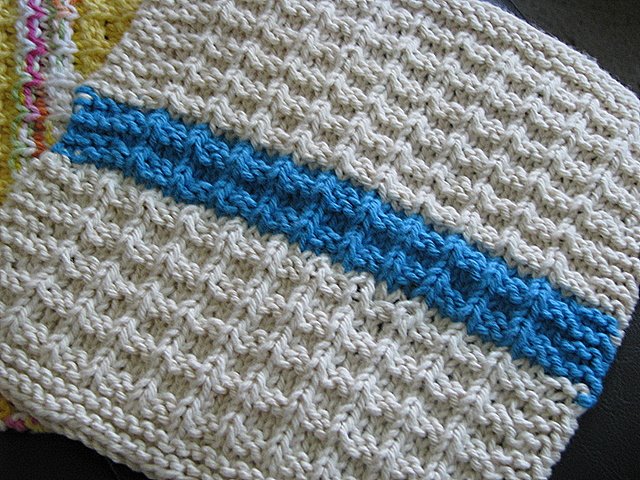
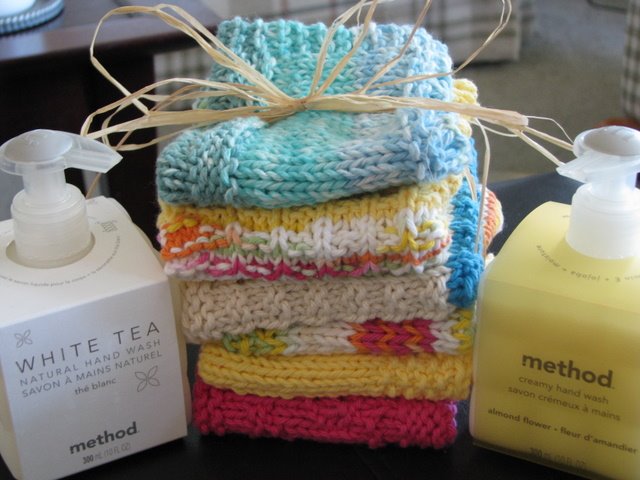
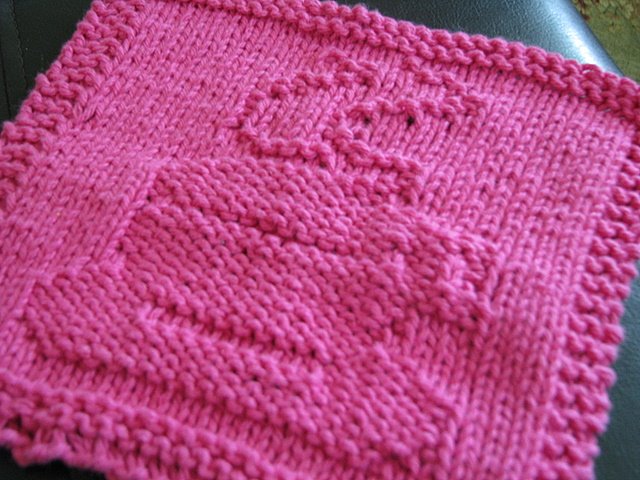
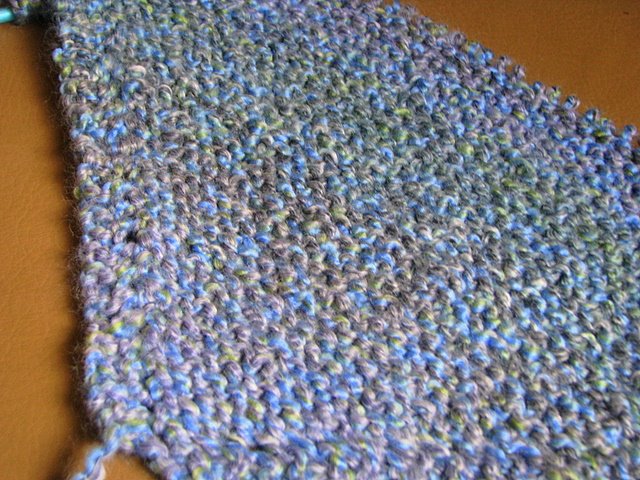
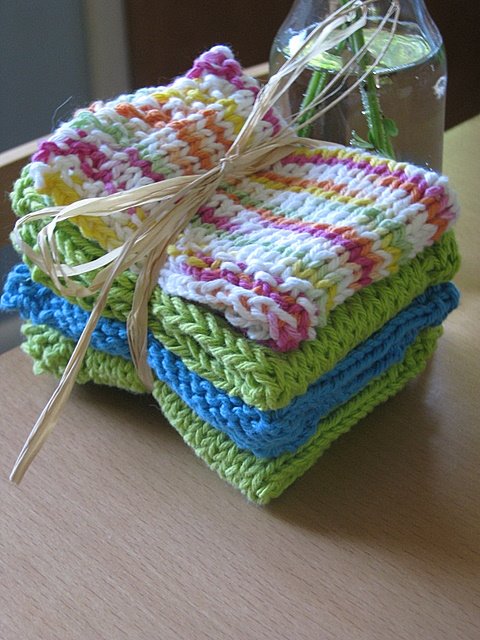
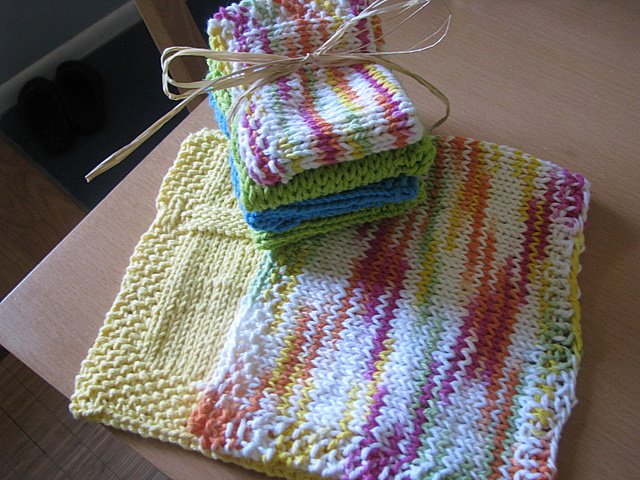
These are just two examples of great hobbies that you could start today. There are tons others like gardening, cooking, sewing needlework, rubber stamping, decoupaging, or calligraphy.
If you need crafty inspiration, visit the
Martha Stewart site and behold her crafting glory! I love to just hunt through the archives and see cool ideas that I can do in my house, that don't require a lot of money.
I also spend lots of time at our local library hunting through books on crafts that I would like to explore. Many times just reading about the crafts gives me a feel for whether or not I would like to try something, without making the time or money investment into the craft itself.
If you want to learn how to tackle new hobbies, check the big hardware stores (Home Depot or Lowes) for free classes that they offer. Many craft stores also offer free or very inexpensive classes, where you can try a hobby out.
Just remember when going into a hobby, that you really want a hobby that will not require a huge financial investment. If it will require an investment, tell family and friends what items you will need to accomplish the hobby or ask for a gift card to the store to buy the items. One year, I used my gift card to take a cake decorating course at our craft store. The time invested has helped me greatly and saved us lots of money on birthday cakes.
Potential Monthly Savings: $20 or moreSound Off: What are your favorite hobbies? How do you save money when it comes to buying the supplies needed to do these?
Labels: Crafting, Frugal, Month of Savings

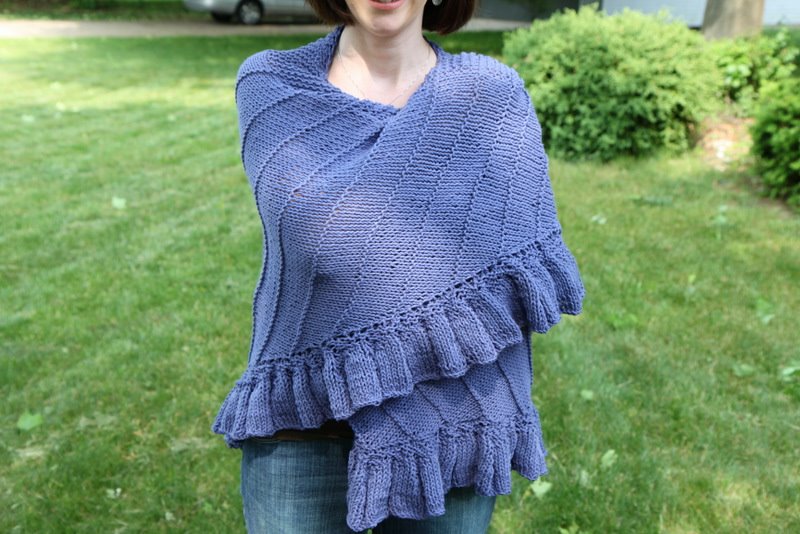
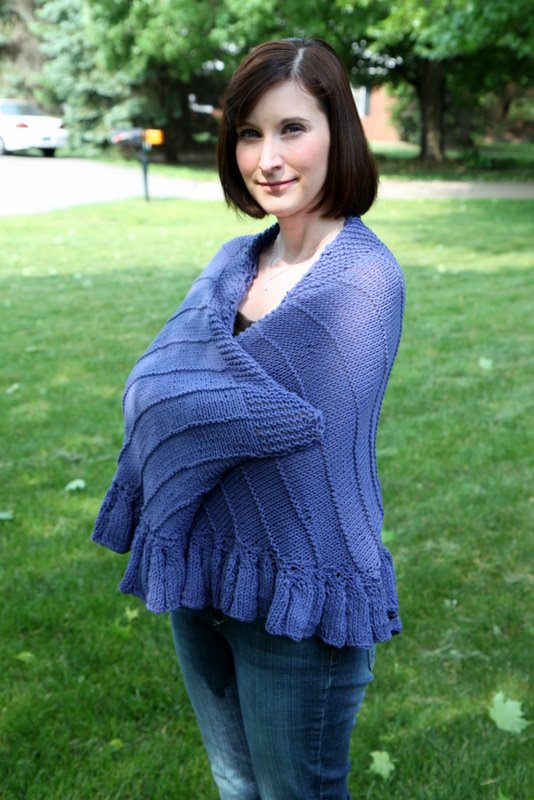
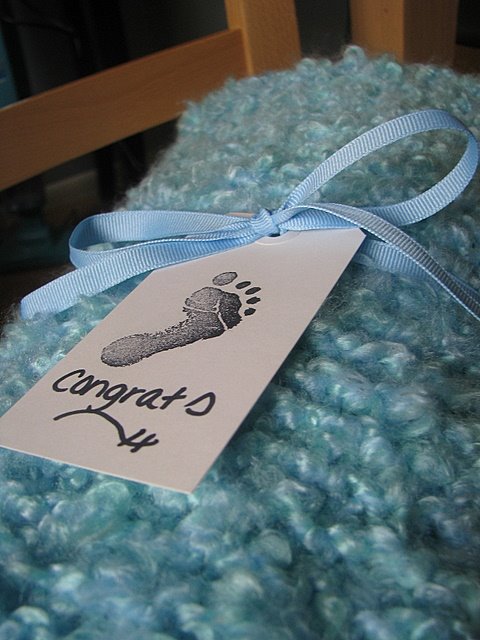
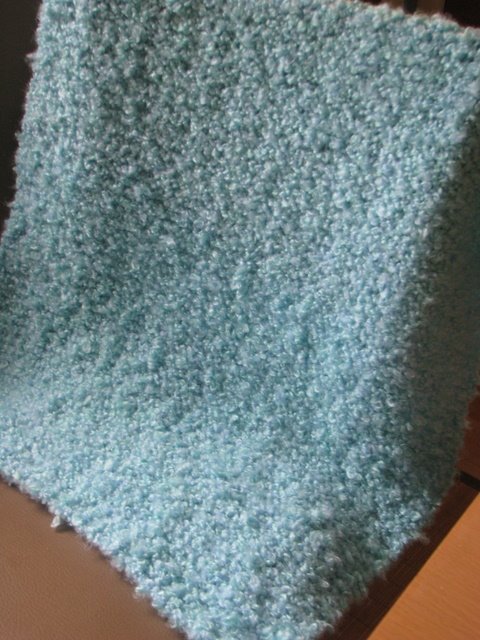
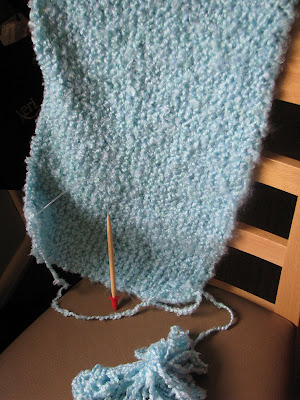
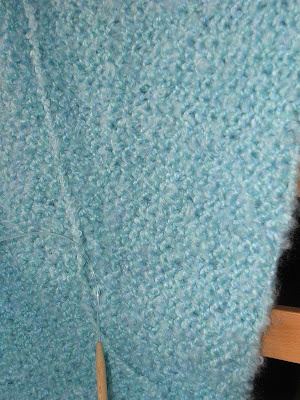
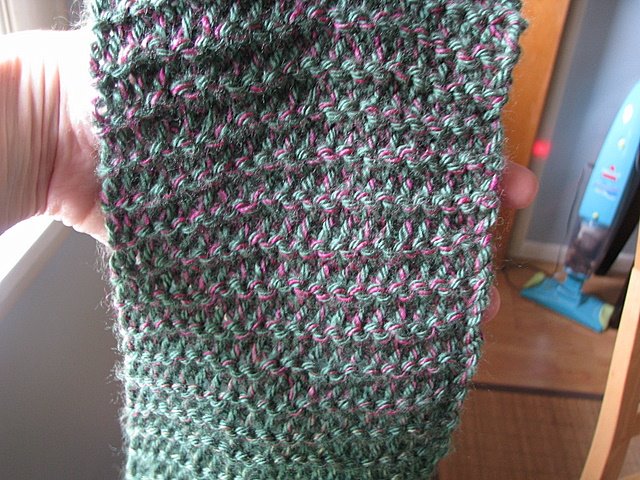
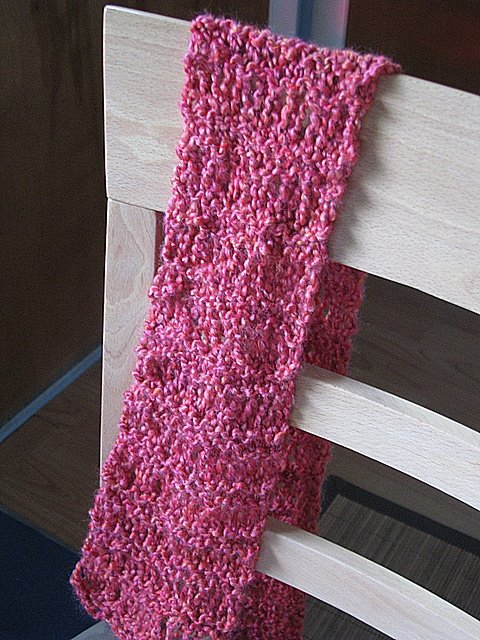
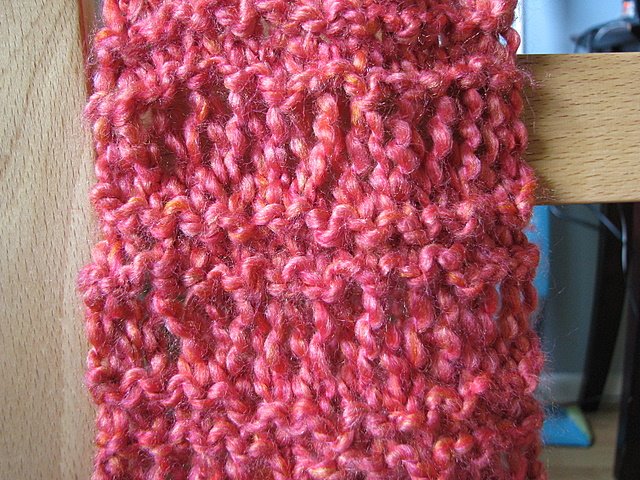
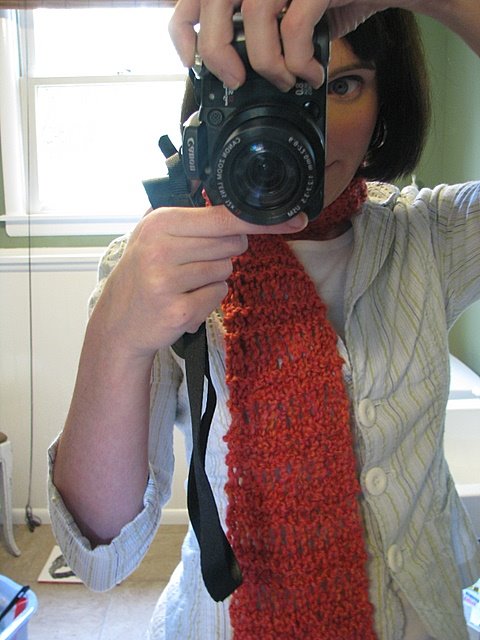
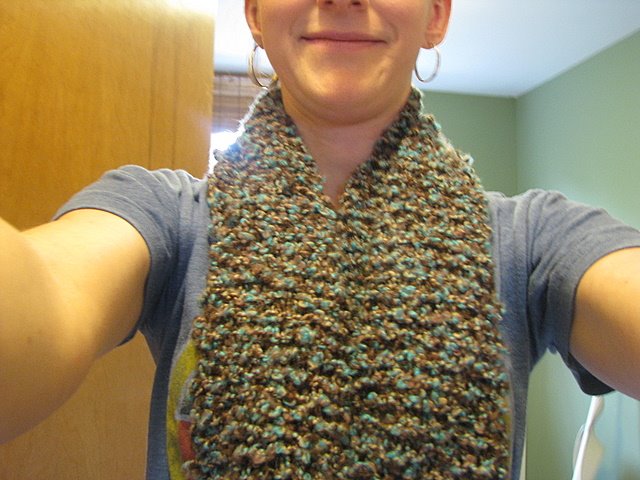
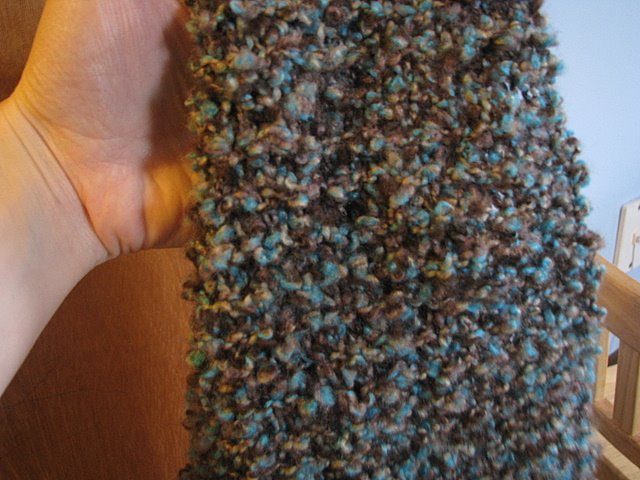
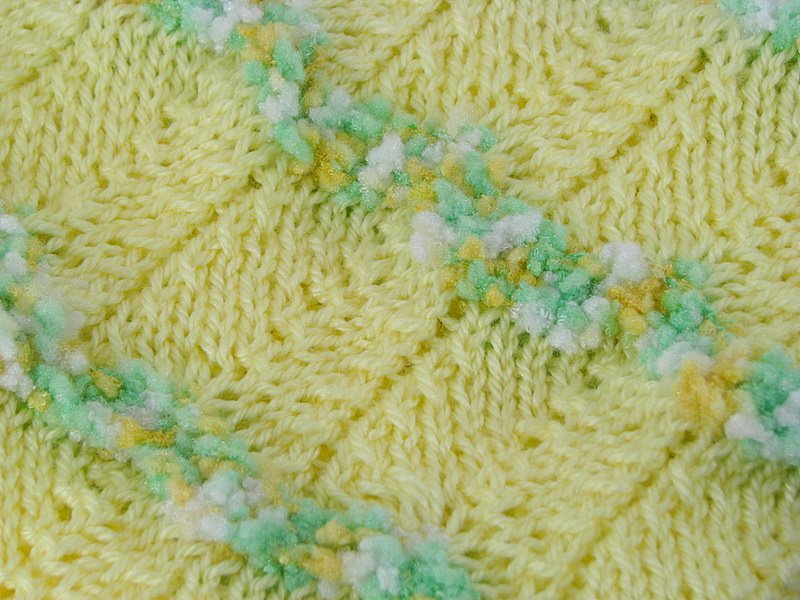
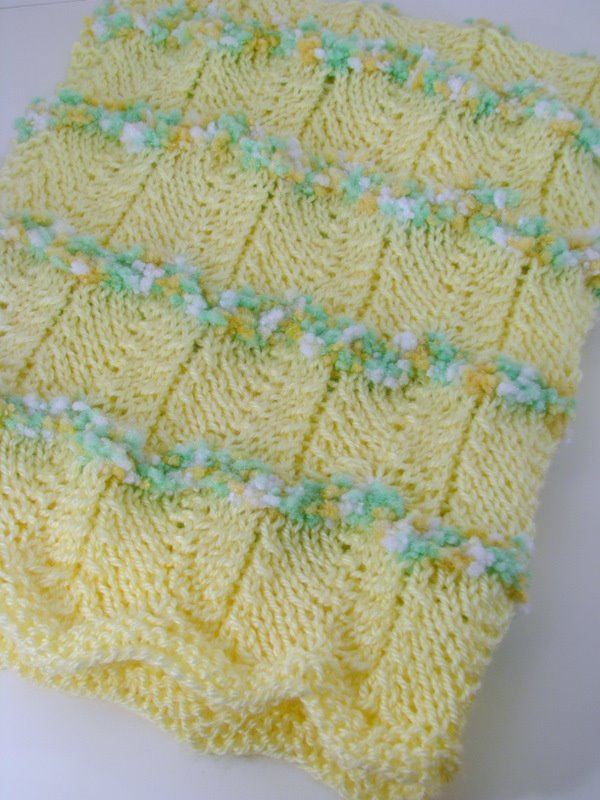
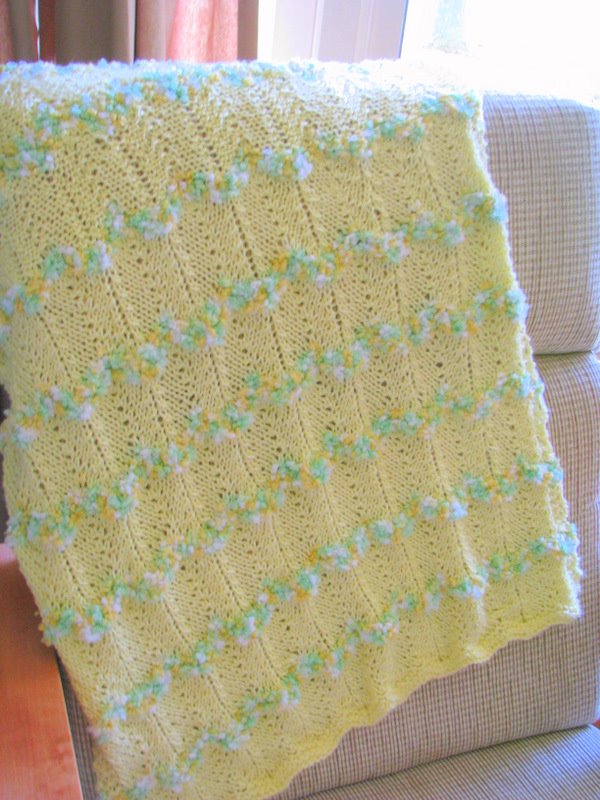
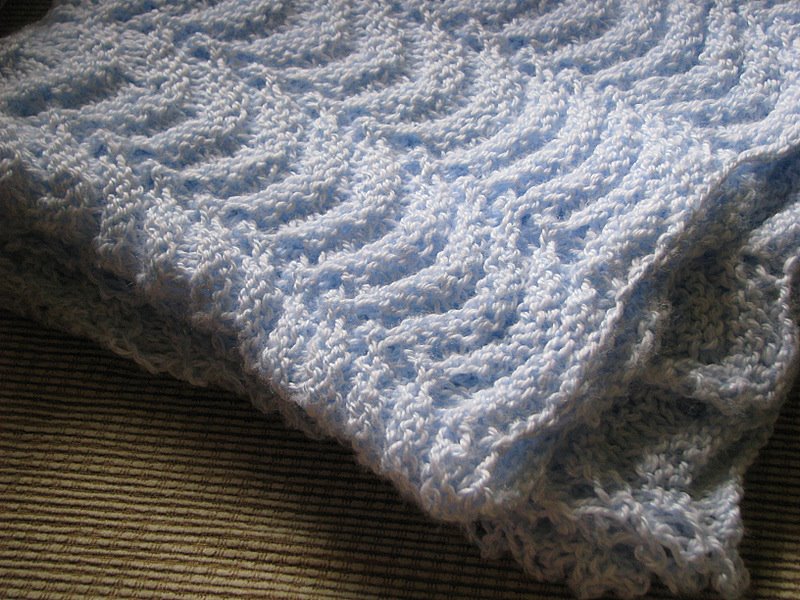
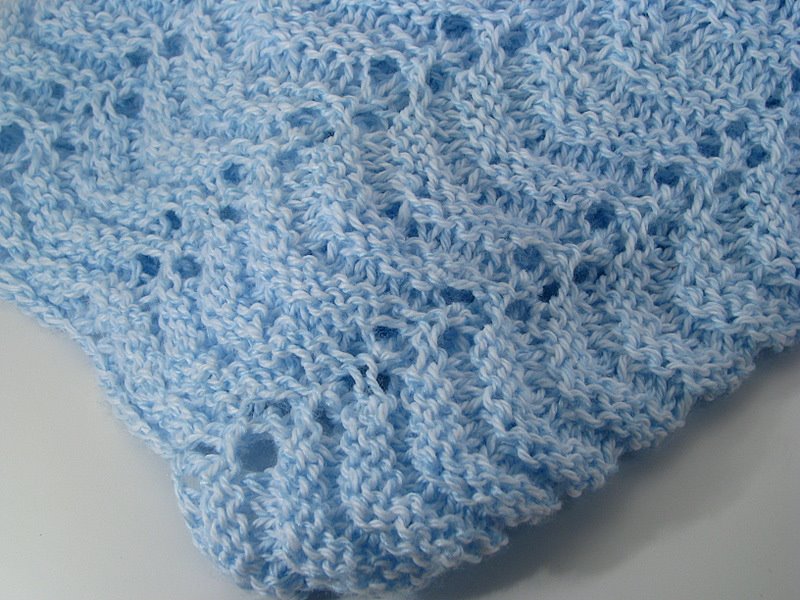
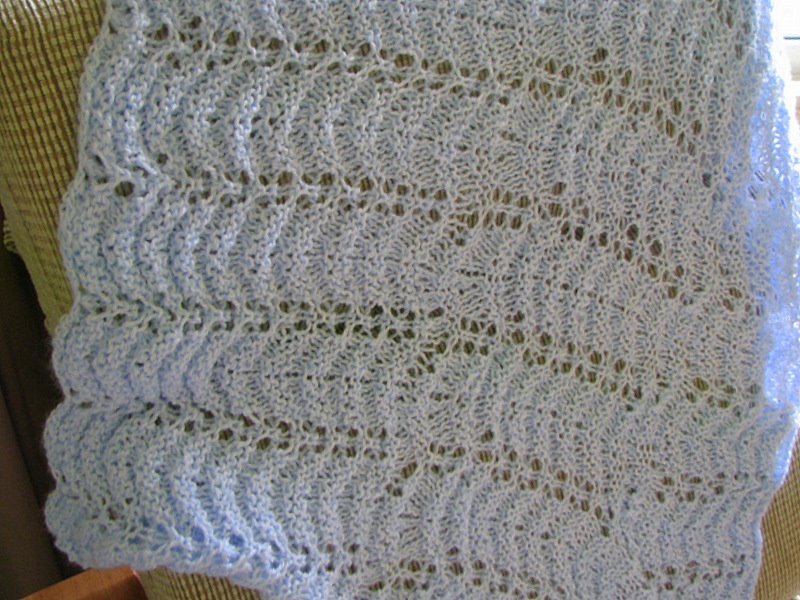
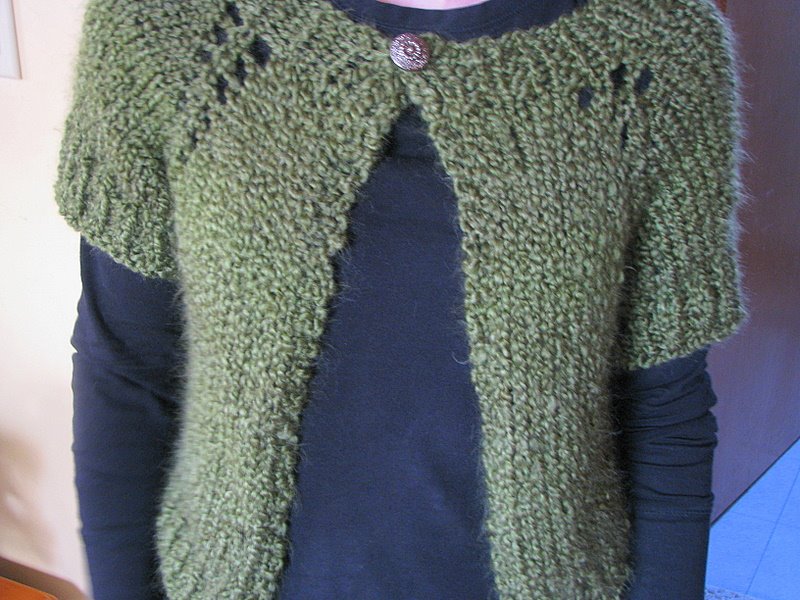
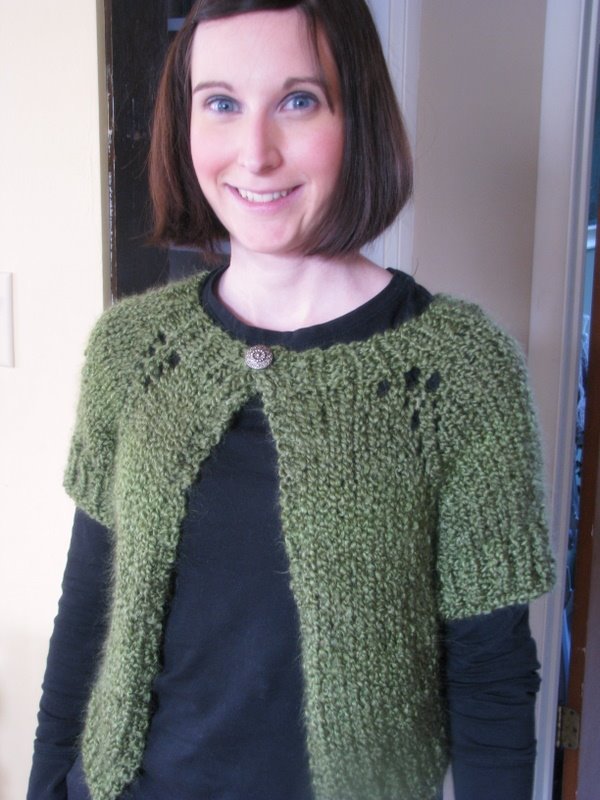
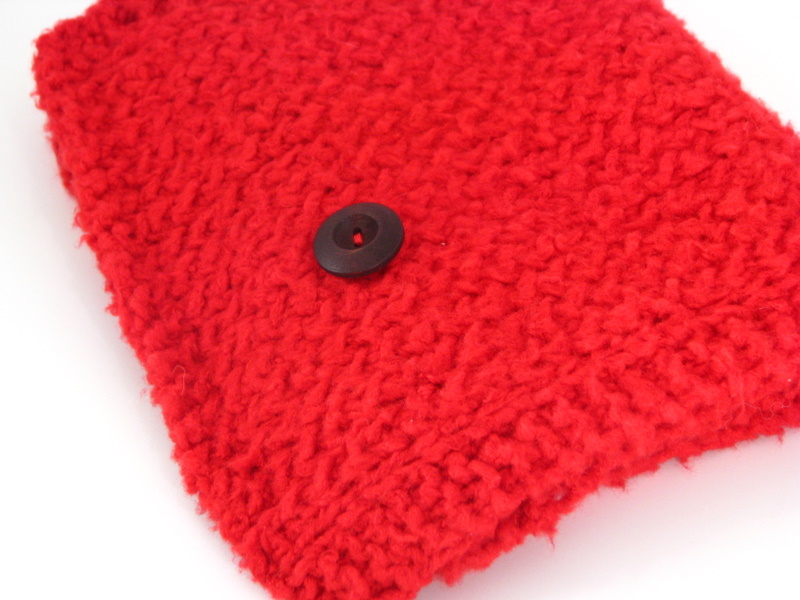
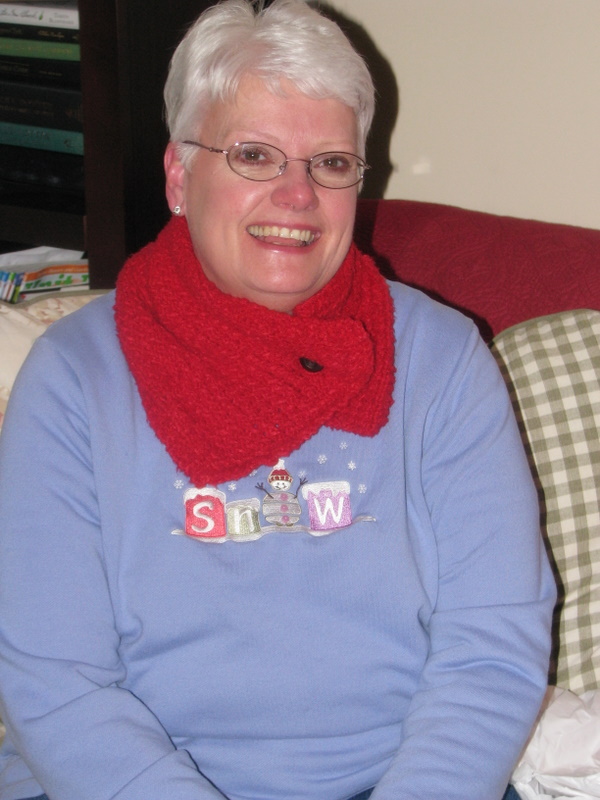
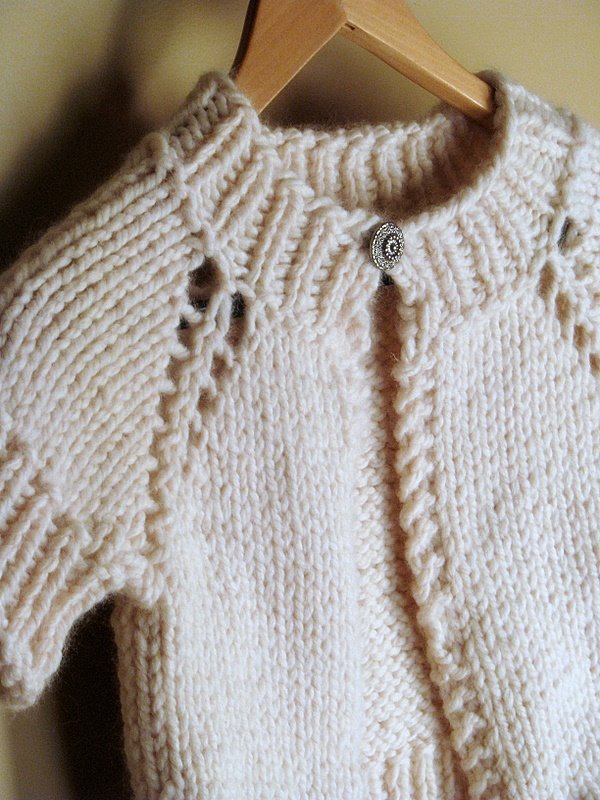
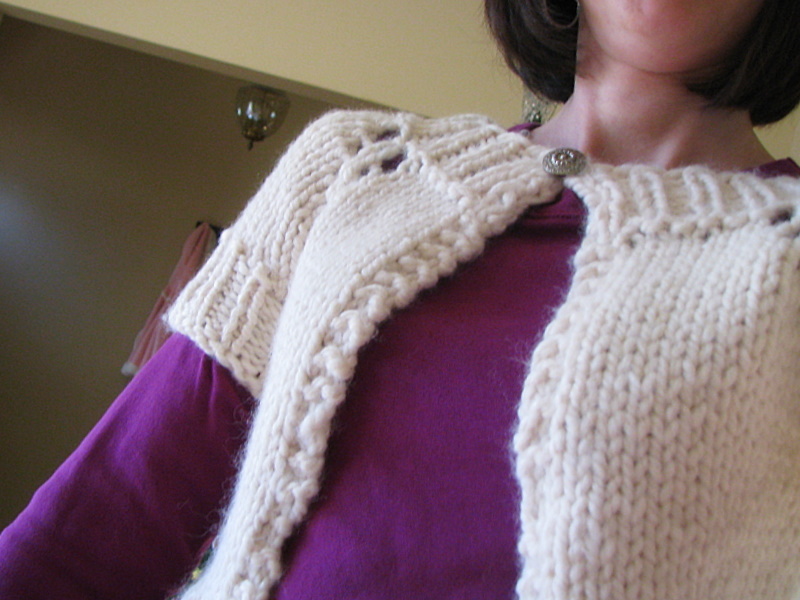
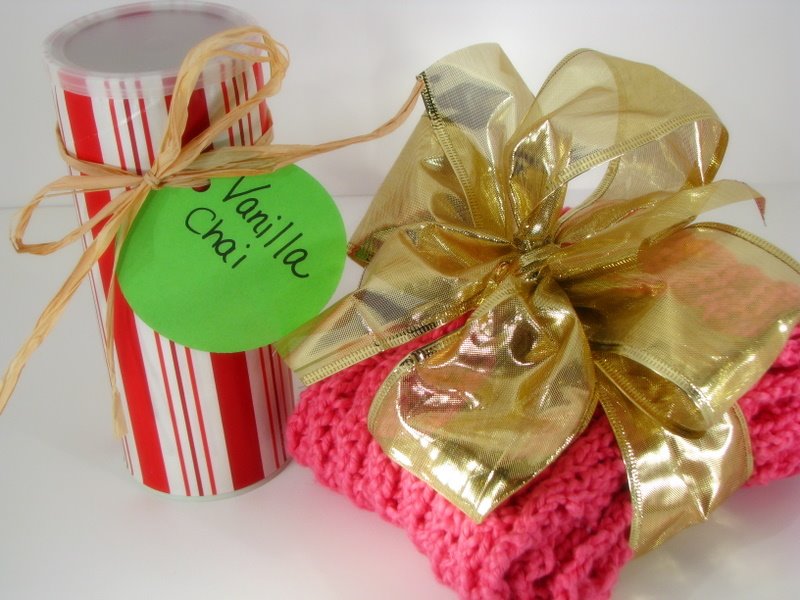
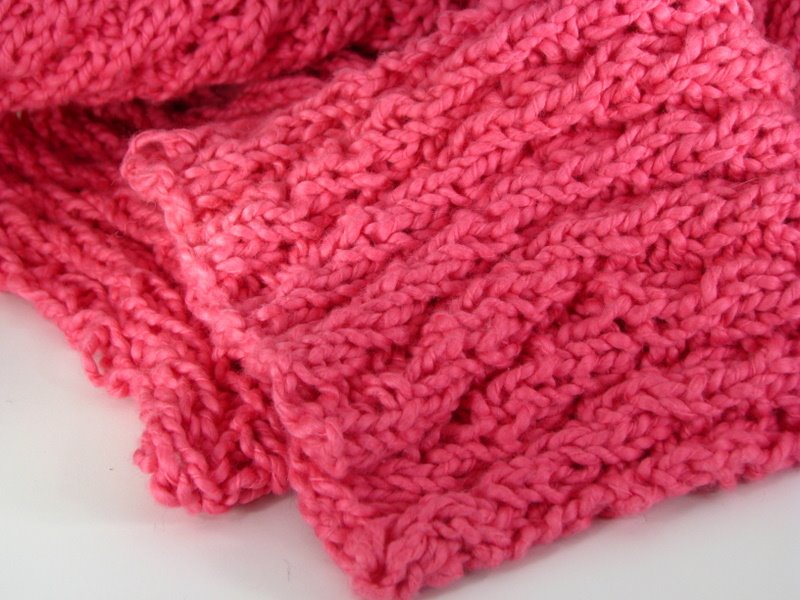
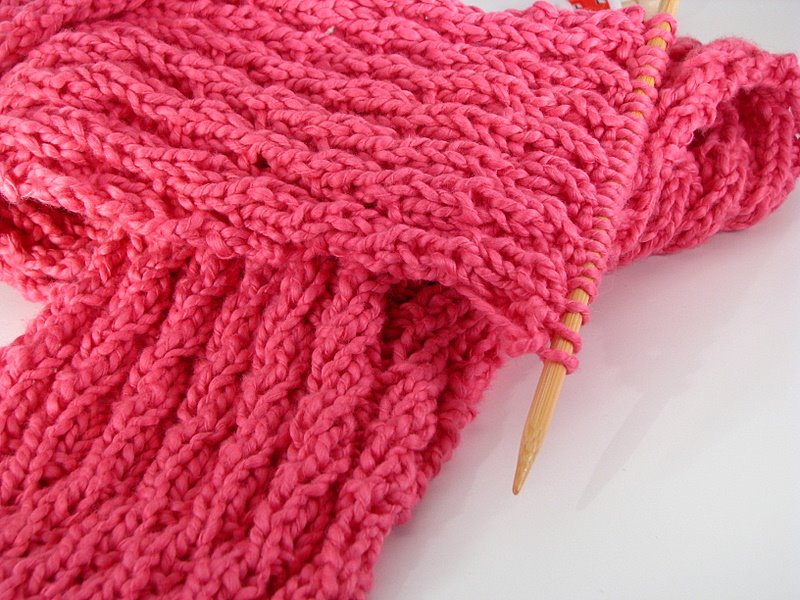
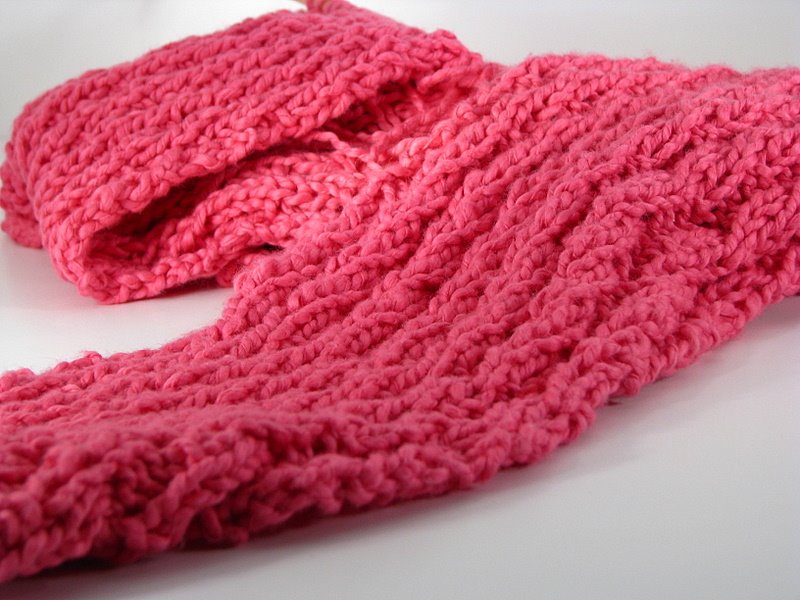
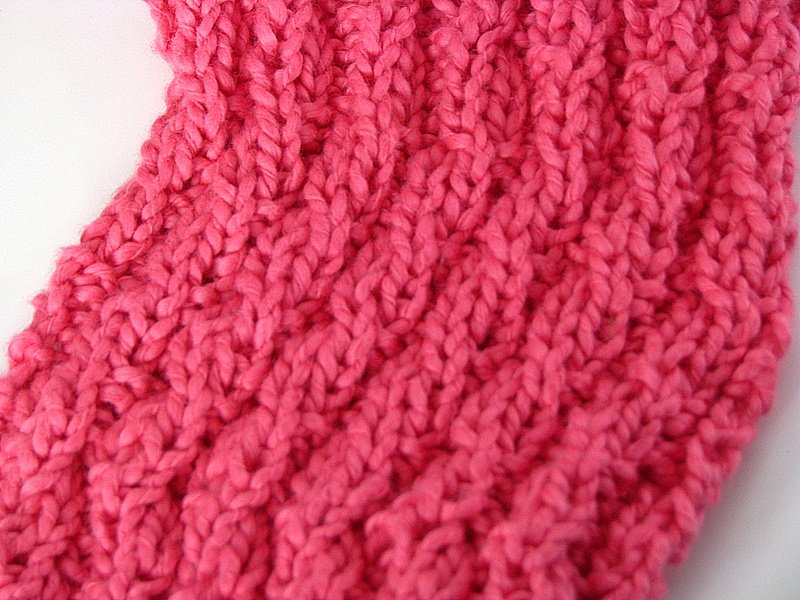
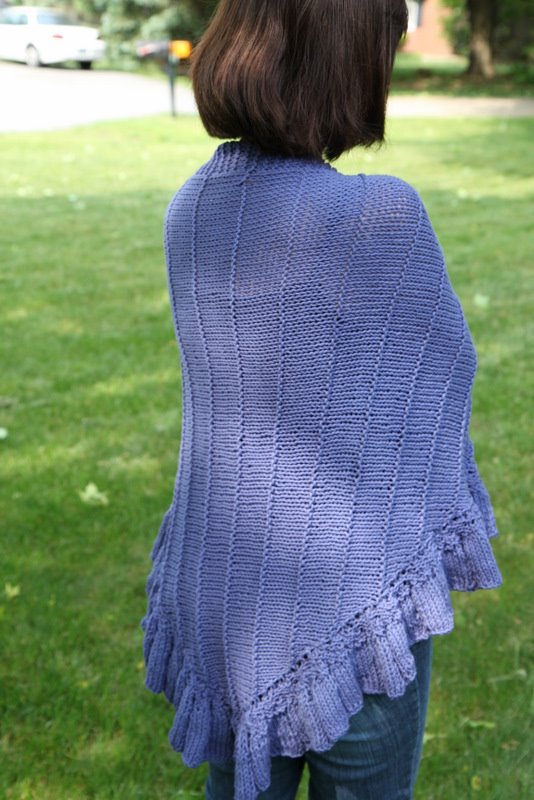 Pattern: Ruffled Shawl by Gail Tanquary
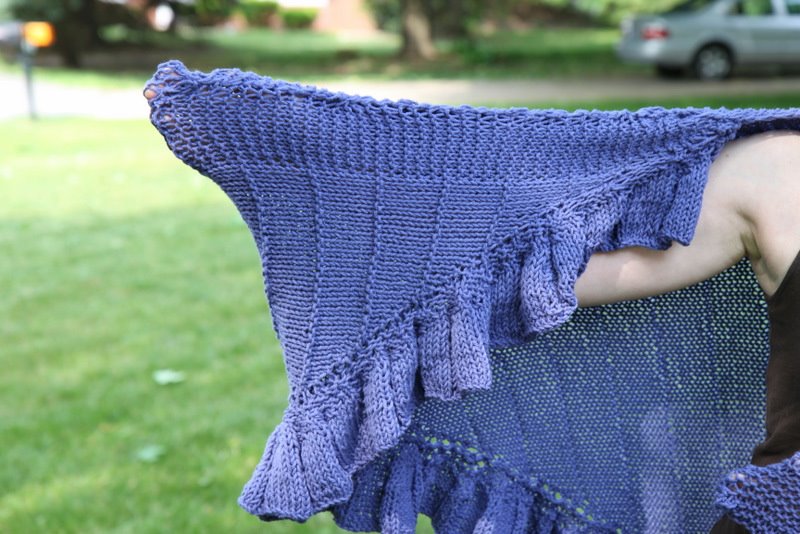 Pictured here is my modification to the pattern. I folded each side of the corners of the shawl in sixteen inches on each side and seamed it to the top of the neckline. This created a pocket that I can tuck my hands into when I am cold and created a sizing more appropriate to my body type.
 Subscribe to this blog


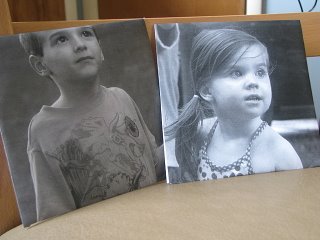
 Now that you have your pictures, it is time to get creative with them. Go to
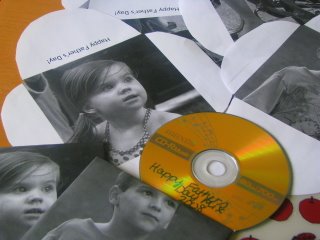
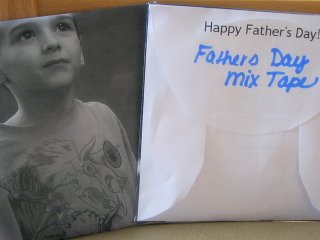
 You will, of course, need to slip some rocking music in for your dad, but that will be the fun part! I am trying to introduce my dads to some new music, while still staying within their genres and tastes. I find it a challenge to introduce people to music that they haven't heard of before, and it makes me so happy when I can discover a new favorite for someone.