Notebook Experiments: Will Zoo Maps Keep My Child Busy?
 This notebook experiment is a lovely little repeat and I plan to do this again with my son this summer. It is a handy little rainy day activity to keep in your back pocket!
 Experiment: Can a few printed out zoo maps keep my child busy for an afternoon?
 Experiment Taken From: Notebook Entry 06.19.08
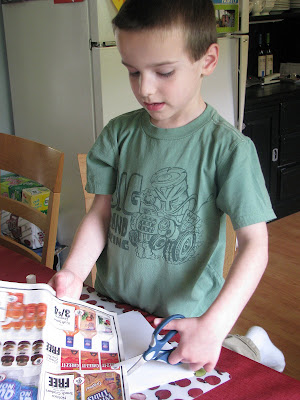
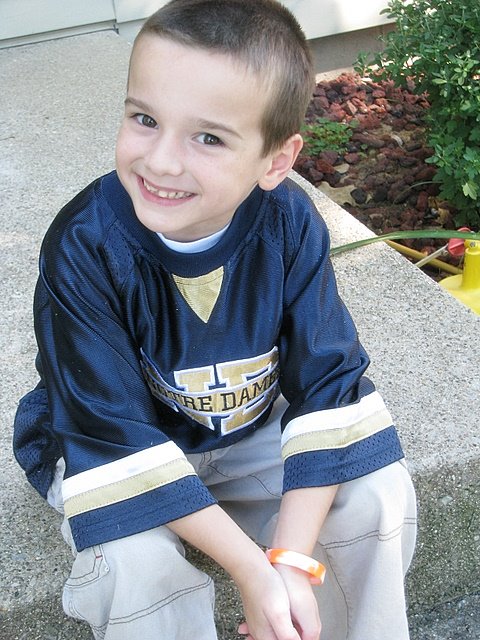
Materials Needed: Please see Let's Explore for specific directions on how to complete this experiment. I printed out the zoo maps that Let's Explore had suggested along with maps from our own local zoos for my son to look at. I wished we had a color printer to print these out, but Ethan still was able to visualize where all the animals were in the zoo.
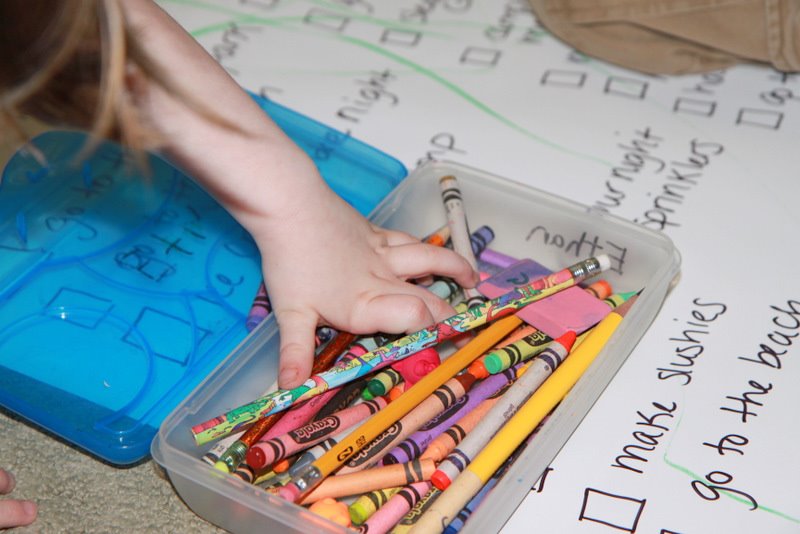
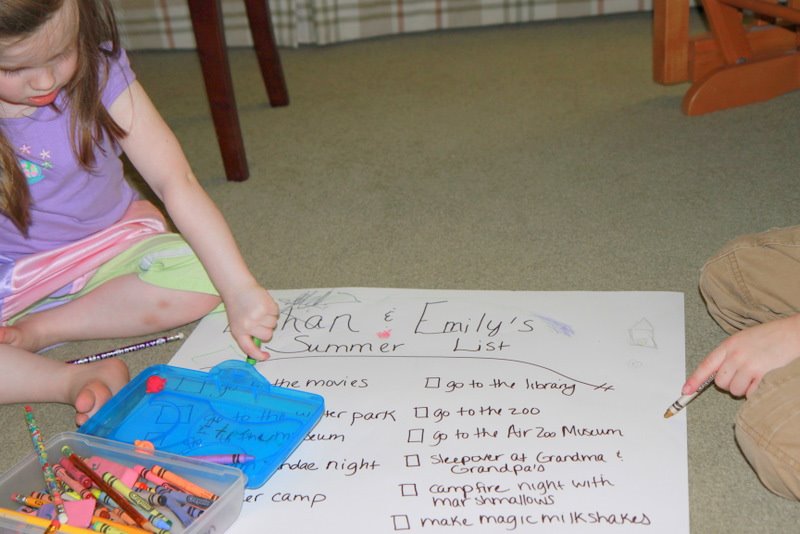
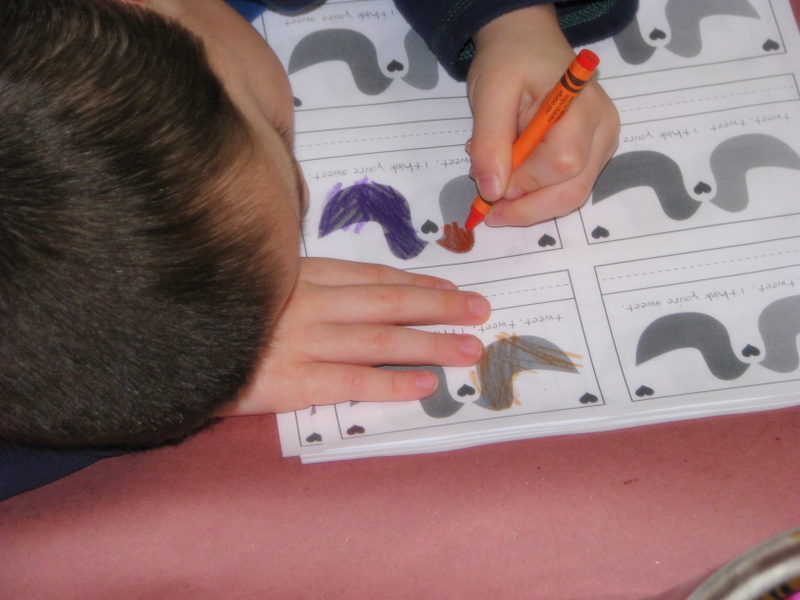
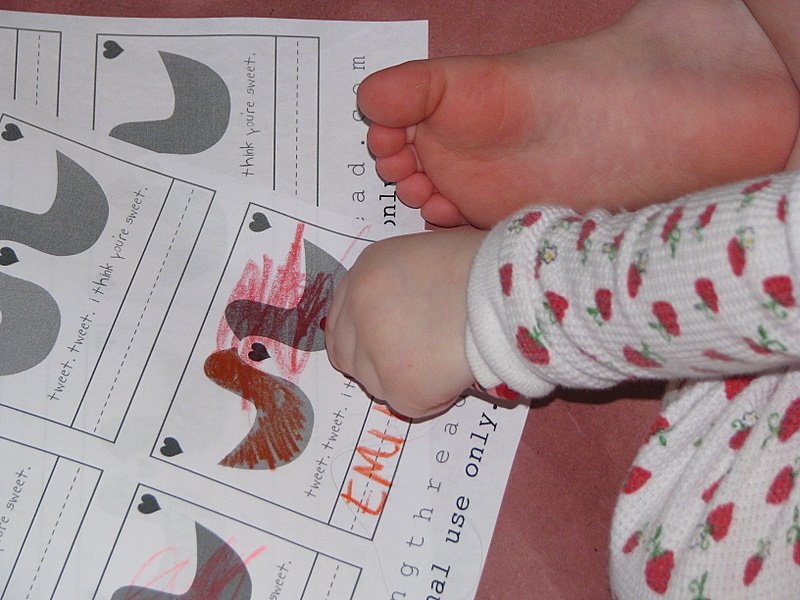
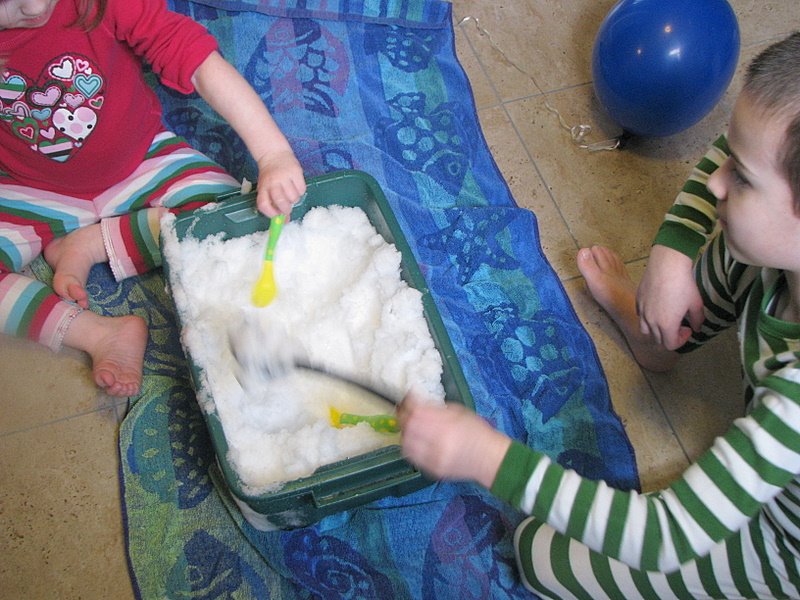
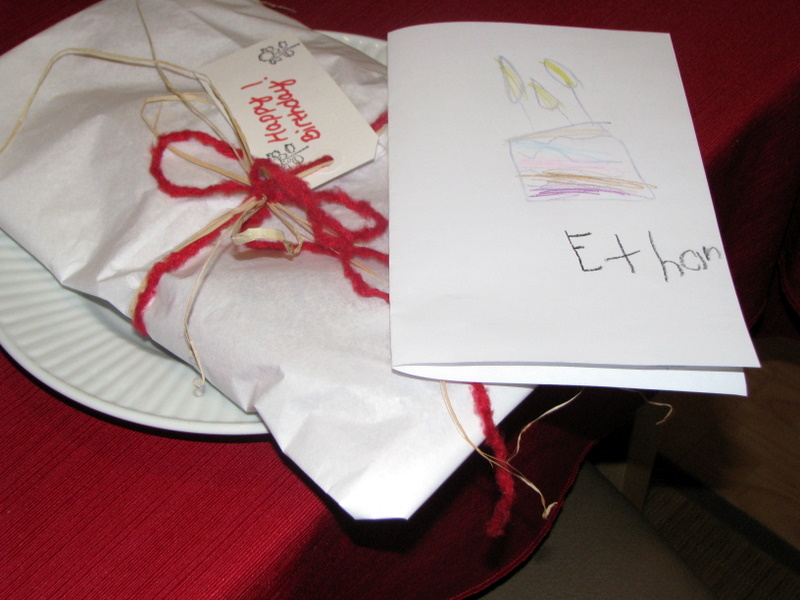
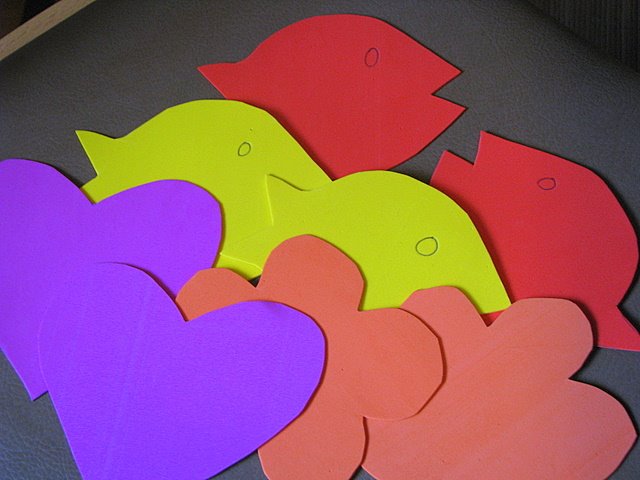
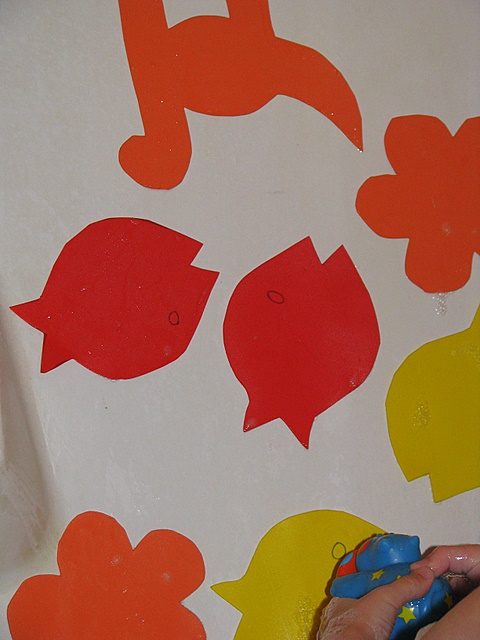
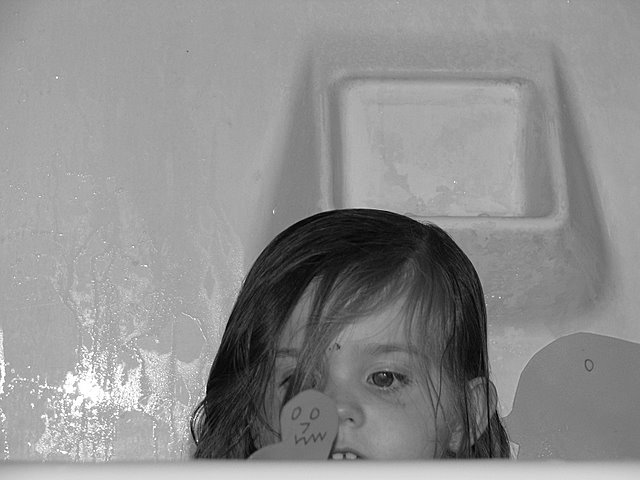
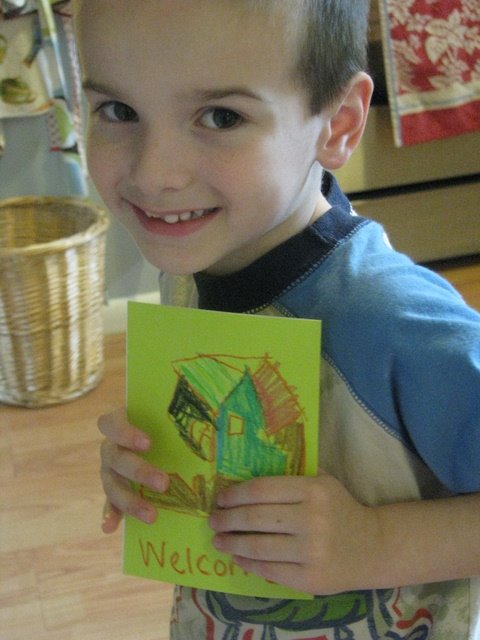
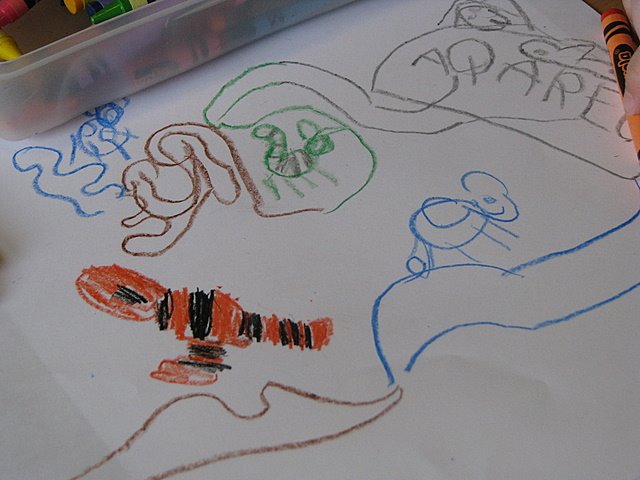
Results: I planned this activity the day after we went to the zoo so all of the exhibits were fresh in his mind. At first he copied the maps and used those as a template for his own map. I then asked him to make a map of his very own imaginary zoo and he filled this with the traditional zoo animals. I challenged him a little and asked where the dinosaur exhibit was and he looked at me like I had two heads, "Um, mom...dinosaurs are extincted." This is when I stressed that it was an imaginary zoo and he could fill it with whatever he wanted. That is when he really let loose on his map and created some interesting exhibits like a squid exhibit, a special T-Rex exhibit, and some animals that I can't even pronounce.
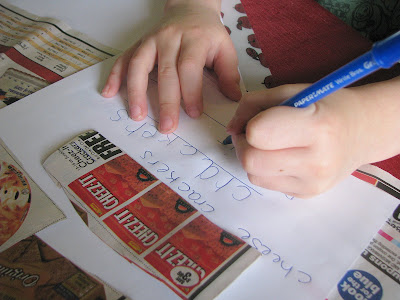
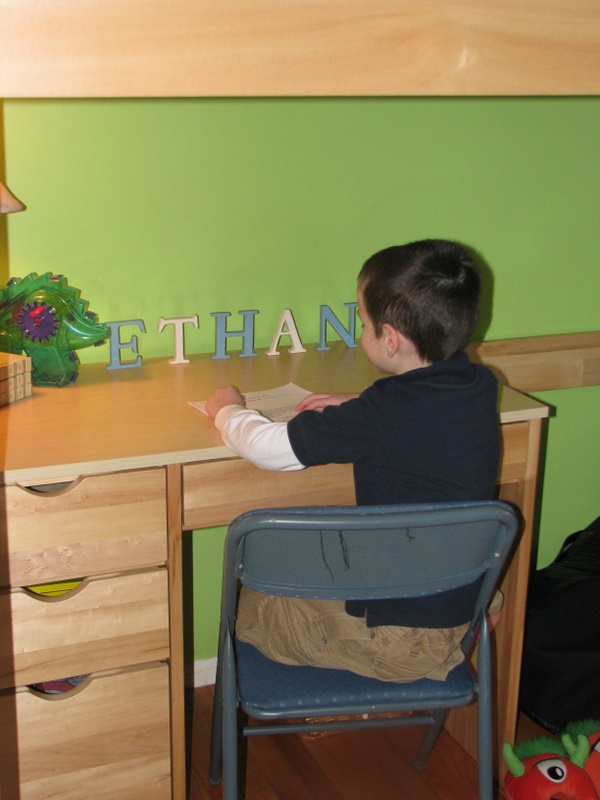
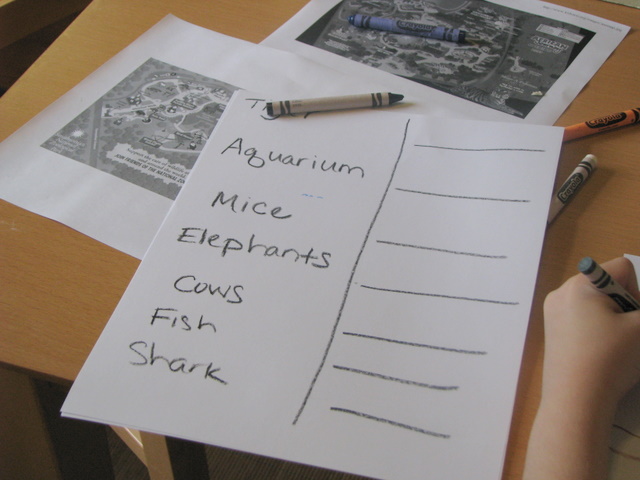 Just like our grocery store experiment, we also wrote the zoo words out and I had him practice on his writing. I am trying to encourage this as much as I can so he will have a great start to his first year at elementary school.
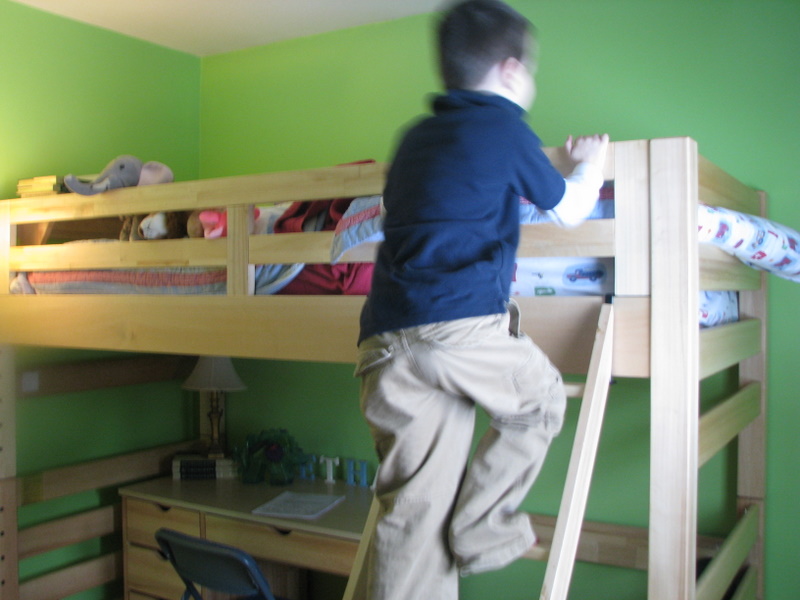
Once we completed this, I told Ethan that he could build a zoo out of the Little People sets that we had. He was very quiet for an hour while I worked and then told me that I could come downstairs. "Ticket please, ma'am." Every toy in the world was out and lined up for an exhibit. I applaud the effort, and silently cringed as I saw every toy bin dumped to build the masterpiece.
Conclusion: This was a wonderful activity to foster creativity, build our writing skills, and also kept my son relatively quiet for an afternoon. I did have some clean-up on my hands, but building a zoo can sometimes create a bit of a mess. Many thanks to Let's Explore for inspiring me as a parent!
********************
 I am so excited to open our Notebook Experiments up to everyone and I hope that you will be able to participate this week or in weeks to come! I will be posting this each Thursday so please mark your calendars if you plan to participate. You can post your entries at any time throughout the week and then leave your entry in the links below.
We have this handy banner that you are more than welcome to use, but it is not a requirement! It is just something you can add to add a little sparkle to your entry.
Rules for Participation:
1. Choose anything from any of our notebook entries (past or present) to do with your family. We have hundreds of bookmarked links of crafts, ways to save money, and organizing ideas.
2. Complete an experiment from the notebook and share about it on your blog or website. We would love to see pictures of what you accomplished or a detailed description of how your projects turned out. Please include a link to this entry, a link to the original posting of the entry (at the original crafster's blog), and (to help us relocate the project) the date or link of the notebook entry where you found it. You can use the same formatting as our entries or you can just include that information in your post in your own unique way!
3. Post a link below. Please include your name or blog name & a fast description of your project. Example- MomAdvice (WHO bread)
I can't wait to see what you create and what you find inspiring!
Labels: Notebook Experiments, Things To Do
 Subscribe to this blog