Recently multi-platinum, Grammy Award winning singer/songwriter, Ashanti teamed up with
Johnson's Body Care to launch a new charitable program that enables real women across the country to support local charities through simply hosting get-togethers with friends.
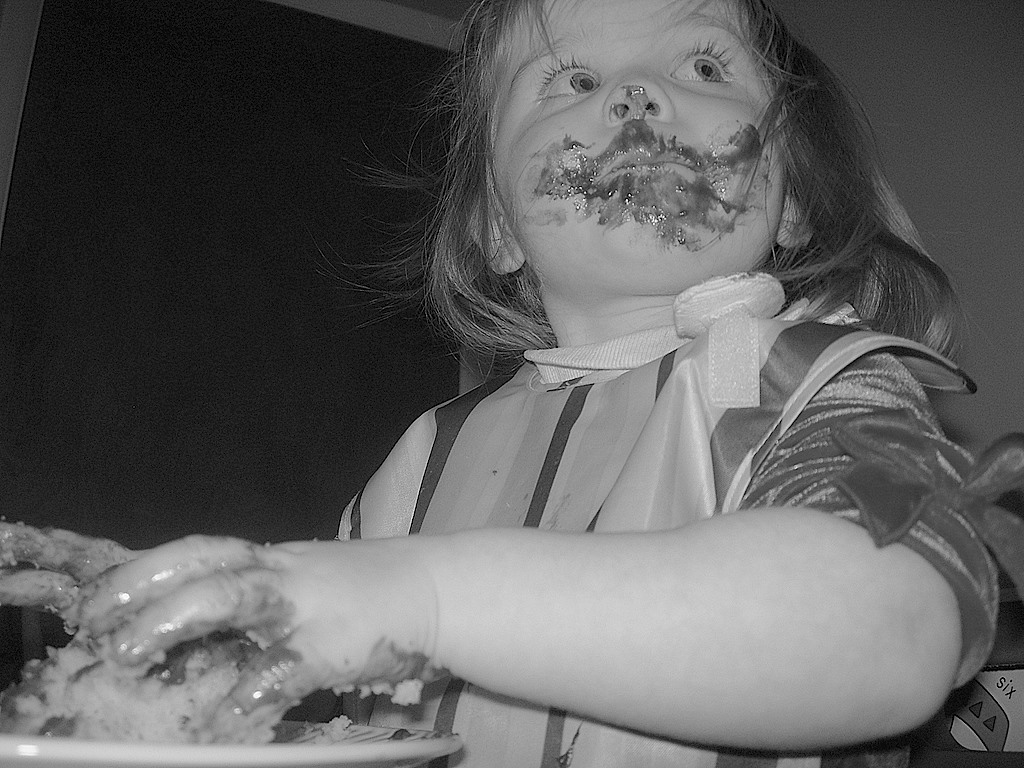
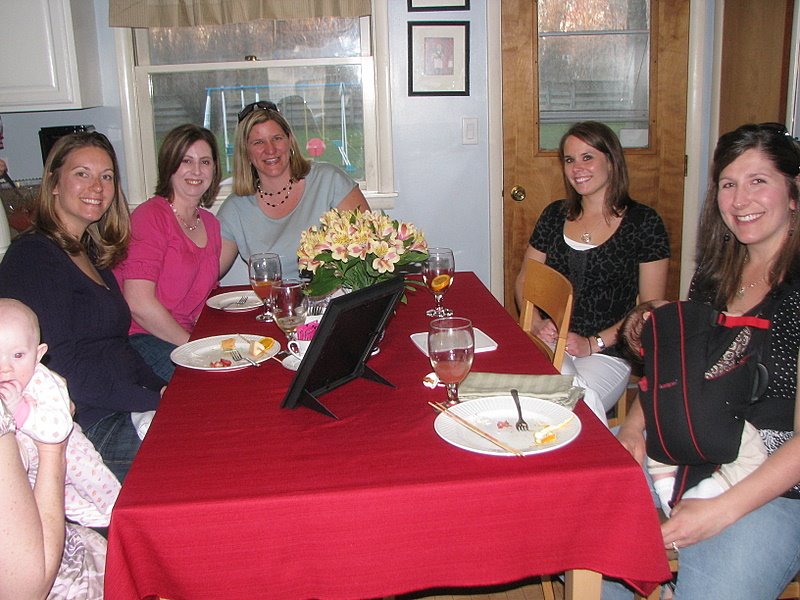
I was given the opportunity to host one of these "cause parties" where I could kick back with my girlfriends, pamper ourselves with Johnson's new line of lotions and body washes and help raise money for a local charity.
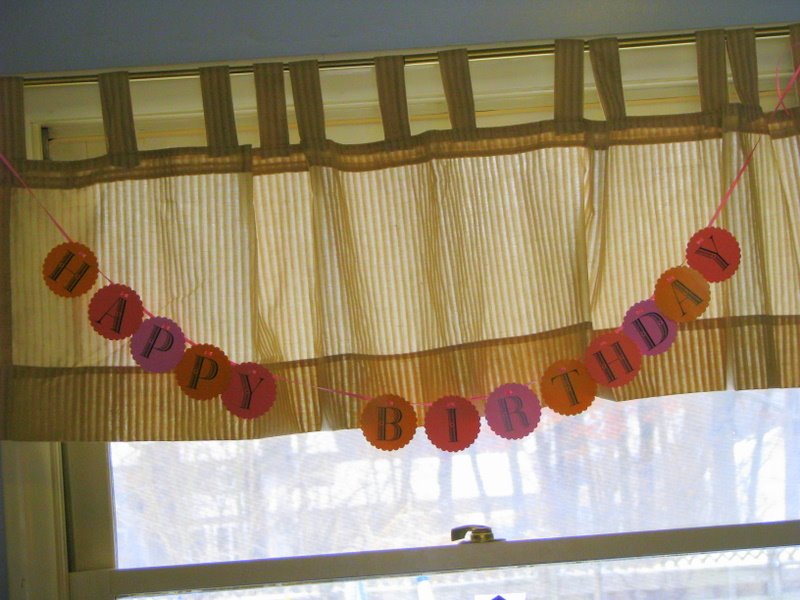
Lucky for me, it happened to be my turn to host our monthly Bunco so I decided to partner these opportunities together and host a Chari-Tea Bunco night at my house.
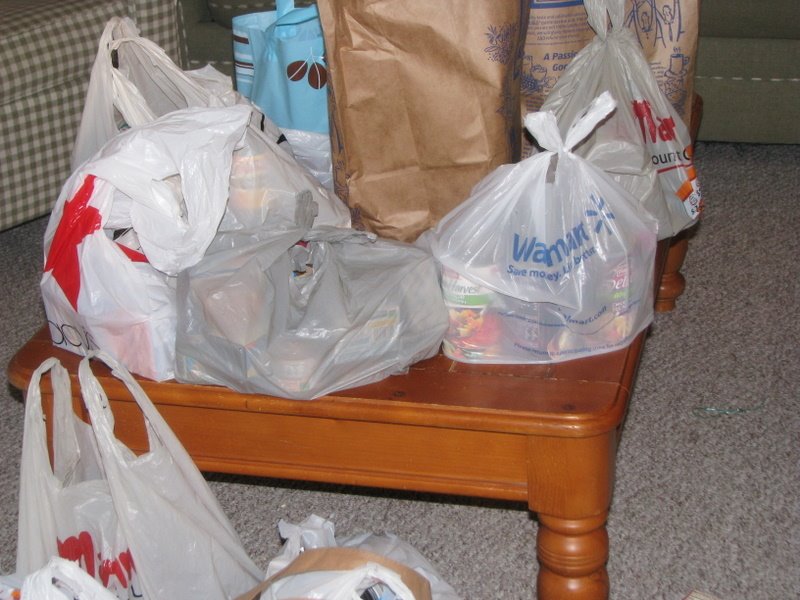
My guests were asked to bring monetary and/or food donations to support the St Joseph County Food Bank. Everyone also agreed that the winnings would be given to the food bank instead of divided among ourselves for the event and Johnson's gave us $100 to start the charitable pot for our charity.
By hosting this event with Johnson's they gave us the money to put towards the food and drinks for our event so I truly got to pamper my girlfriends in style because no one had to bring a single dish to share.

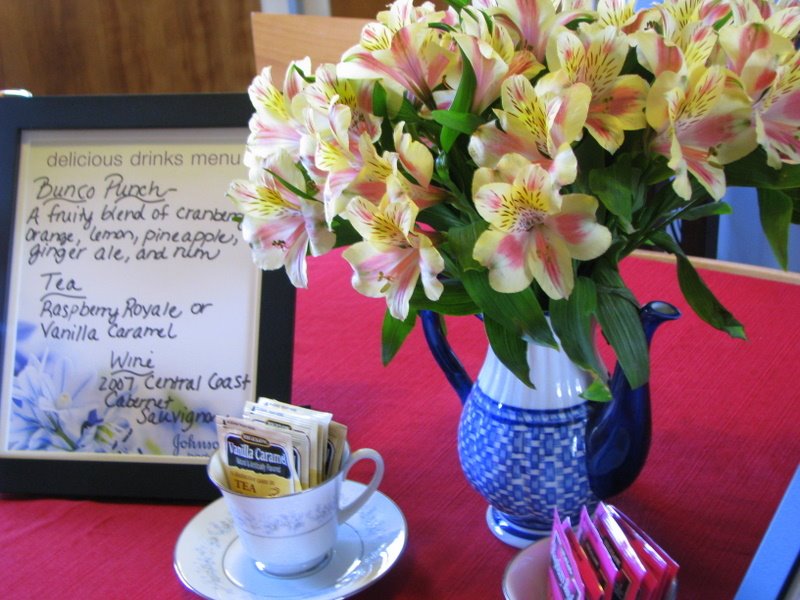
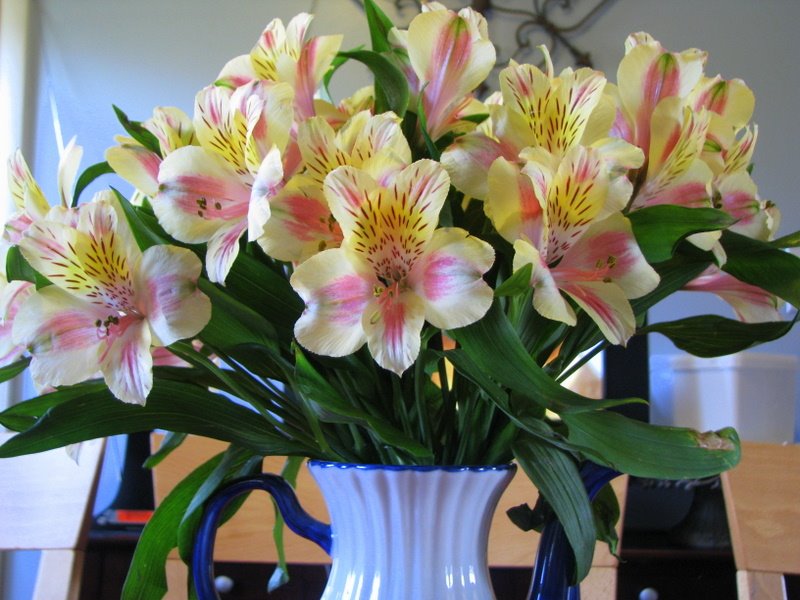
I still kept to a thrifty budget, but tried to add some special touches for our group. Our centerpiece was a bouquet of flowers displayed in a teapot with a variety of special teas in my china teacups for our table. These beautiful bouquets of flowers were purchased at Sam's Club for less than $5.

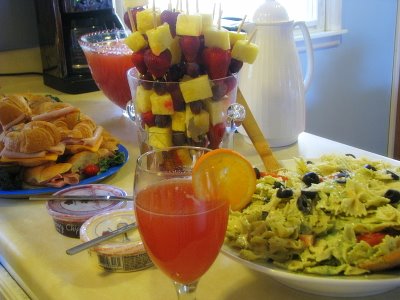
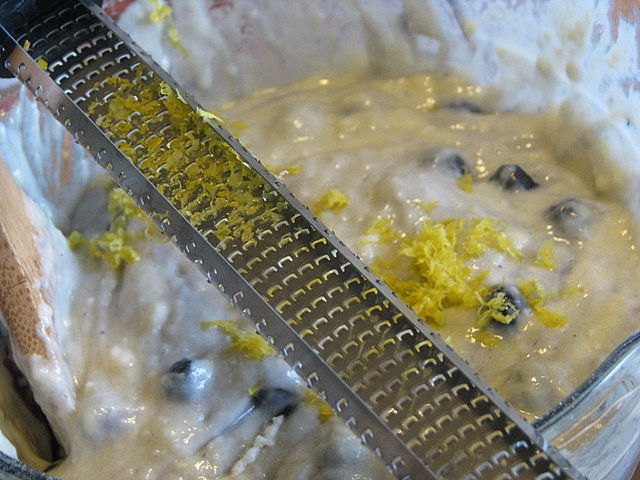
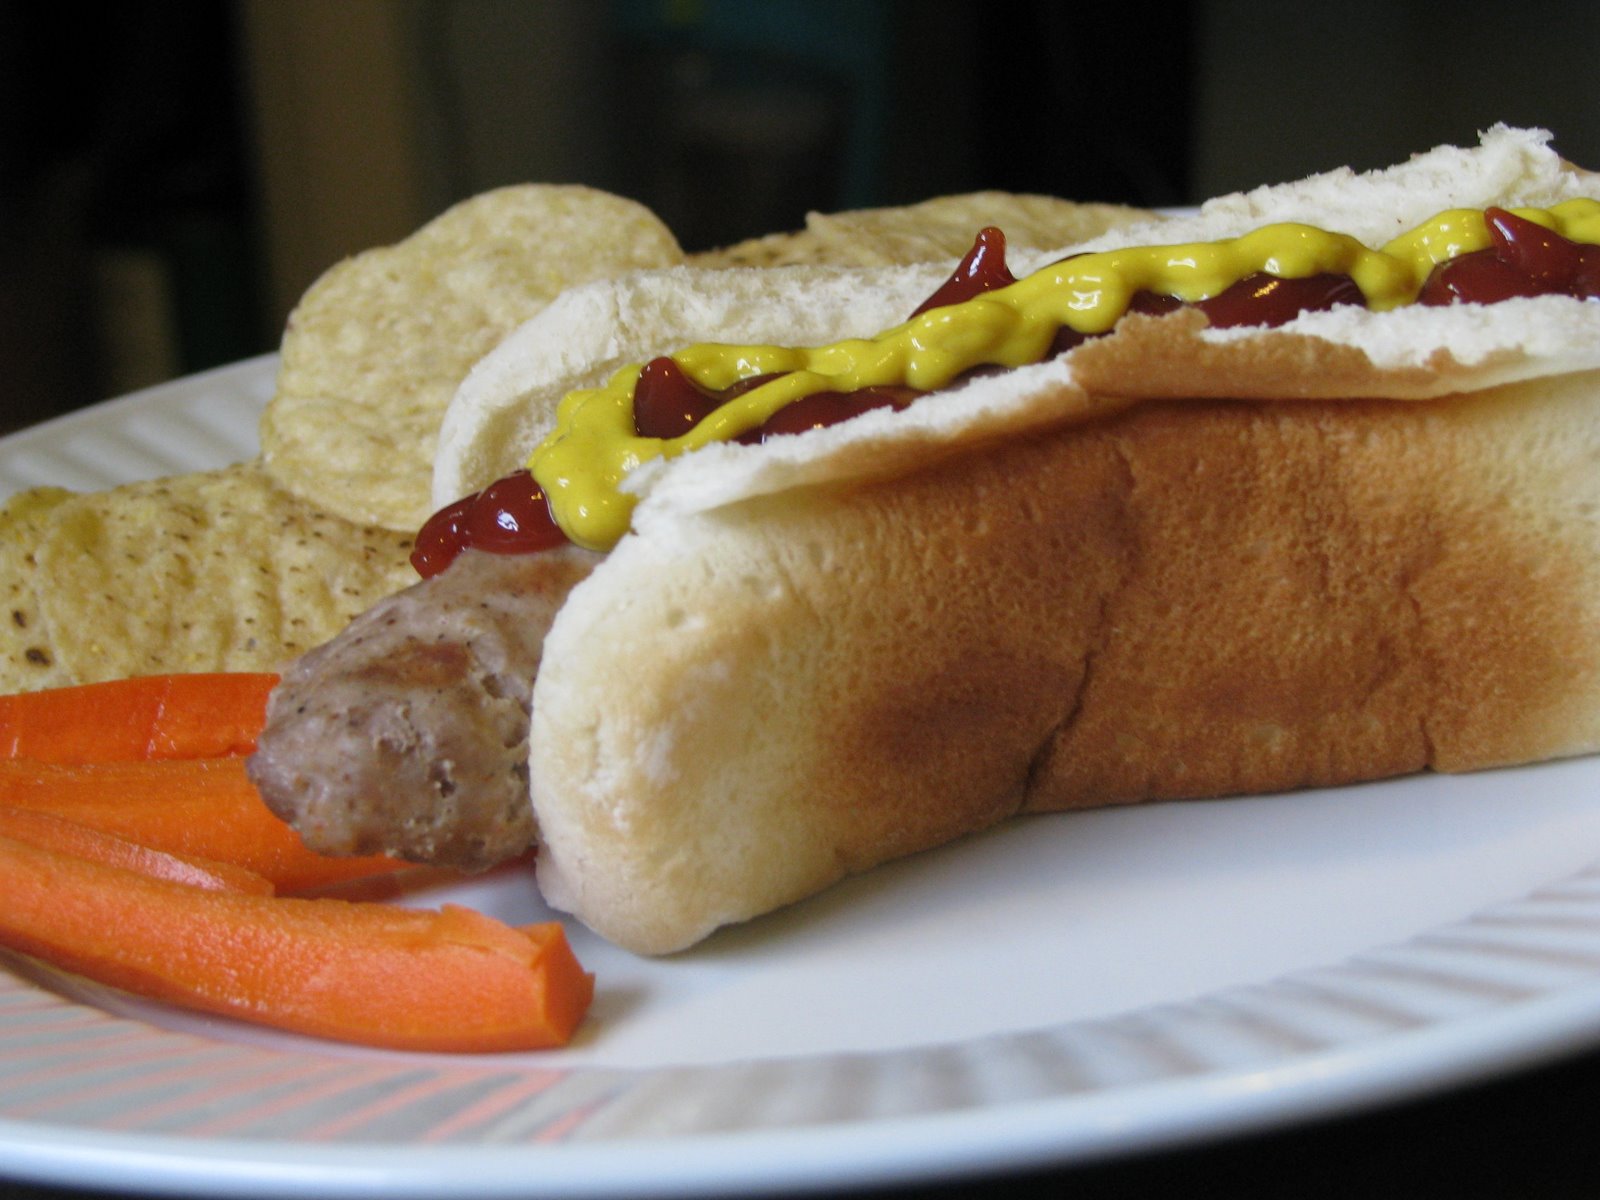
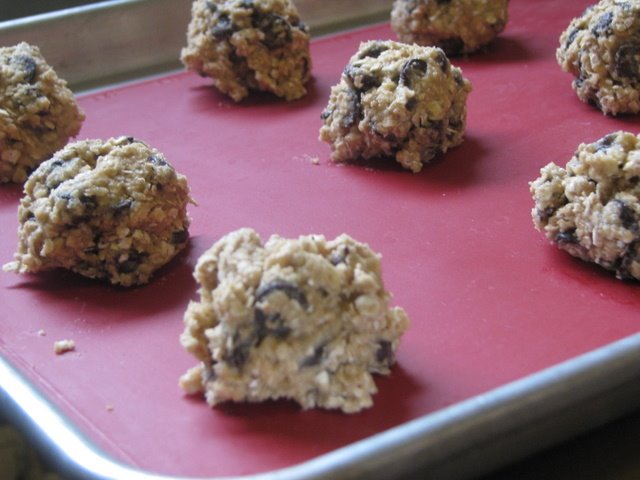
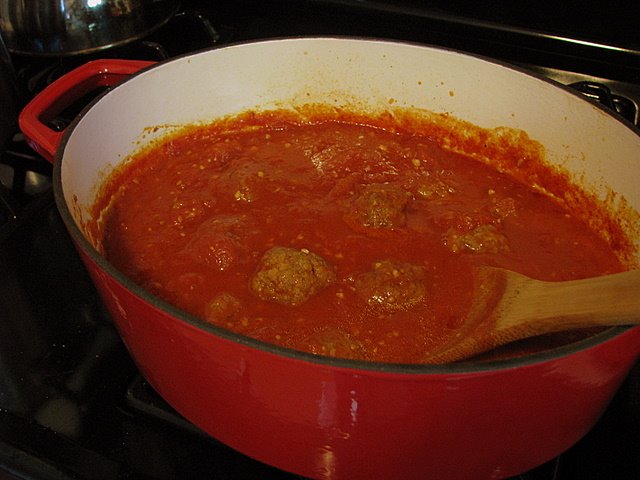
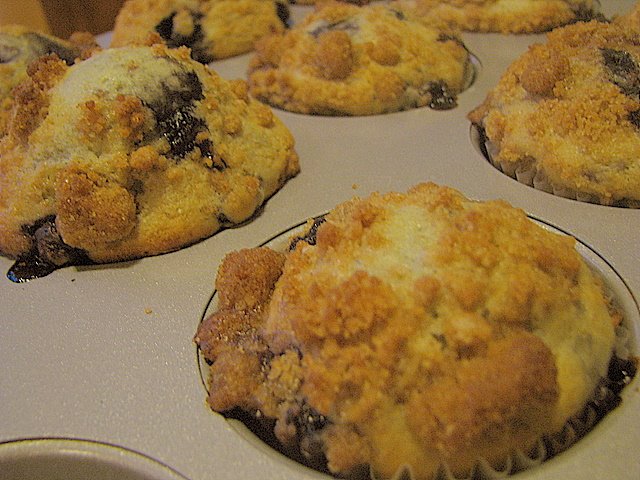
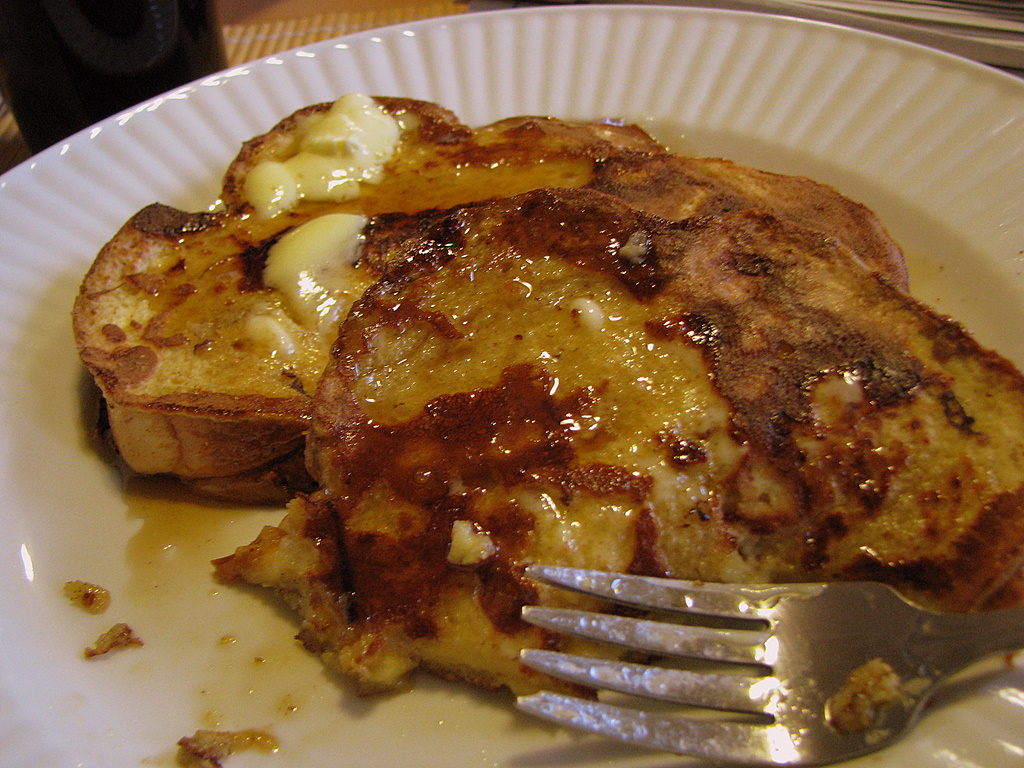
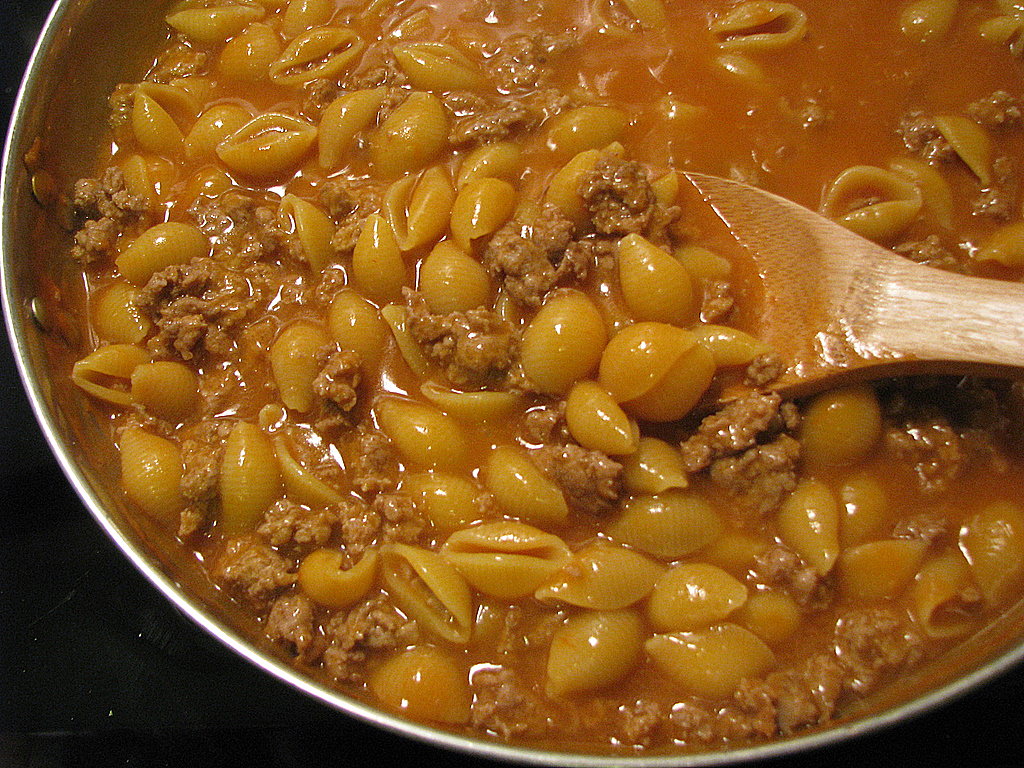
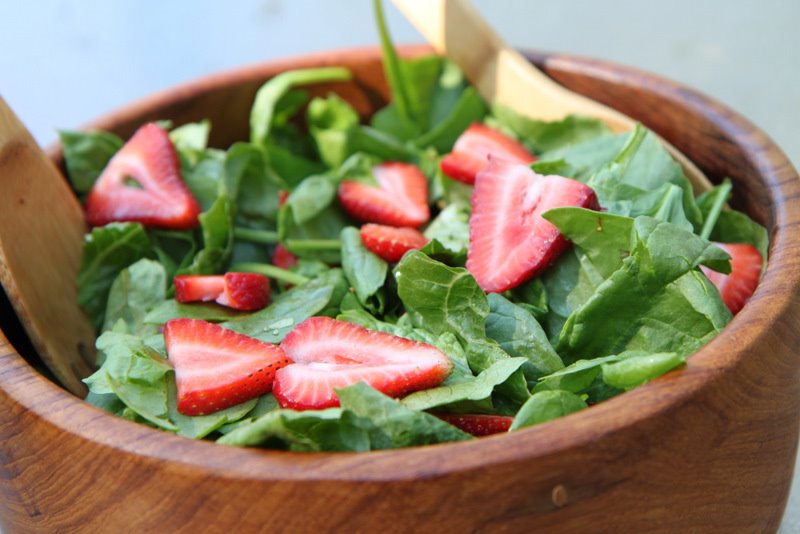
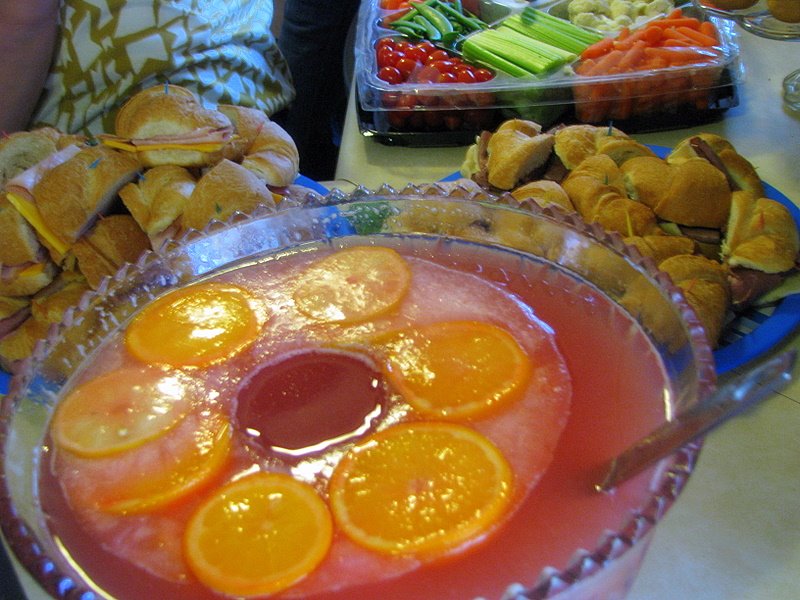
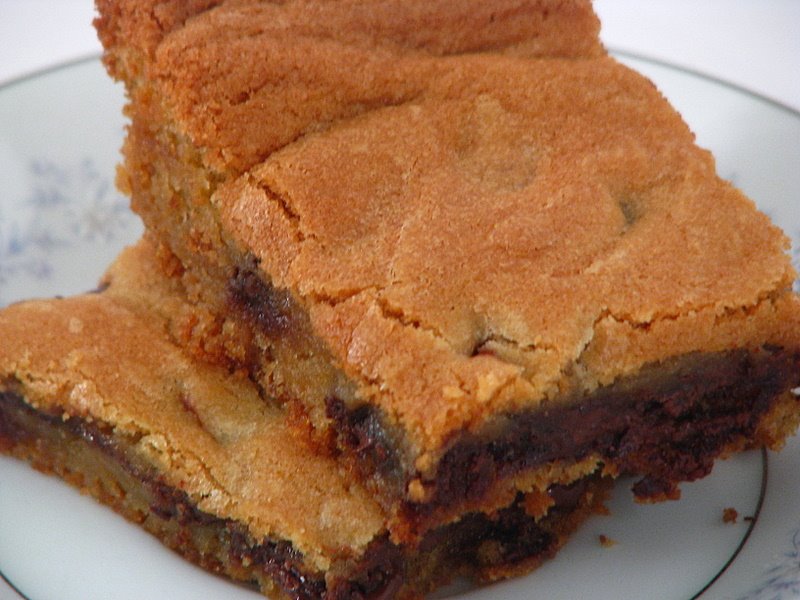
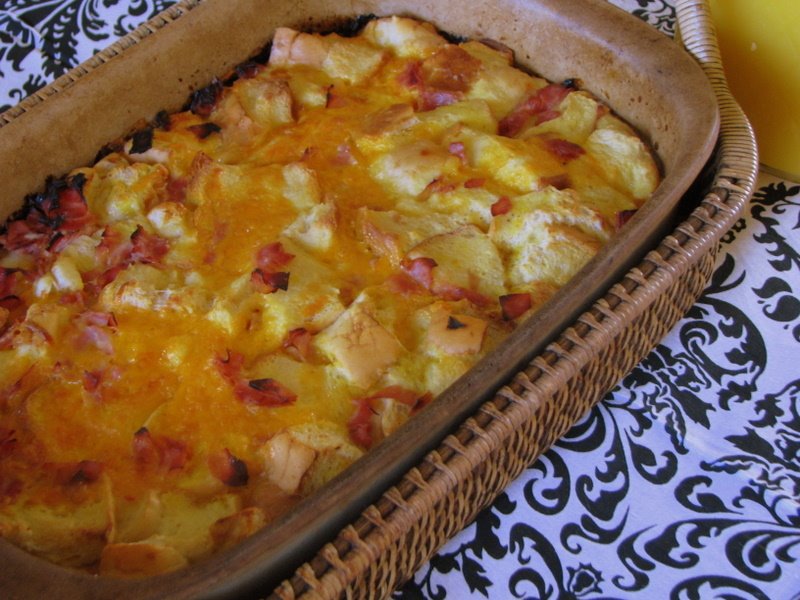
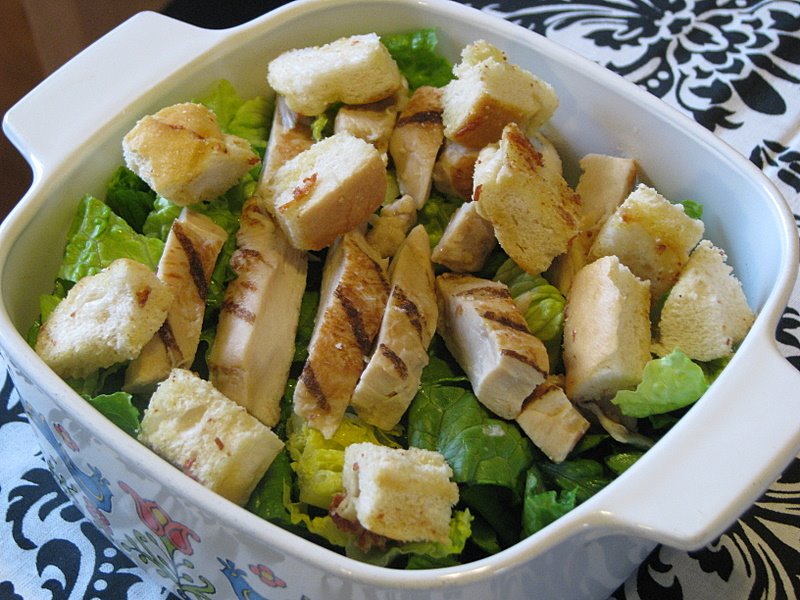
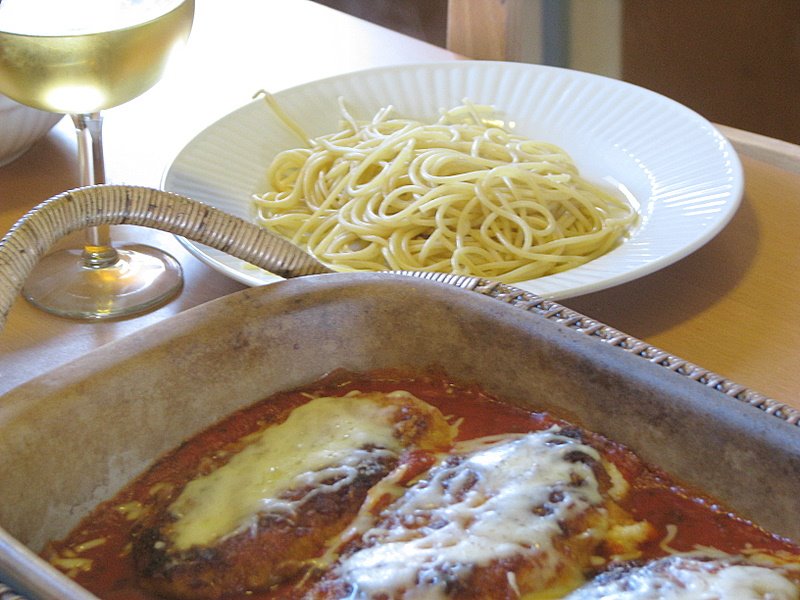
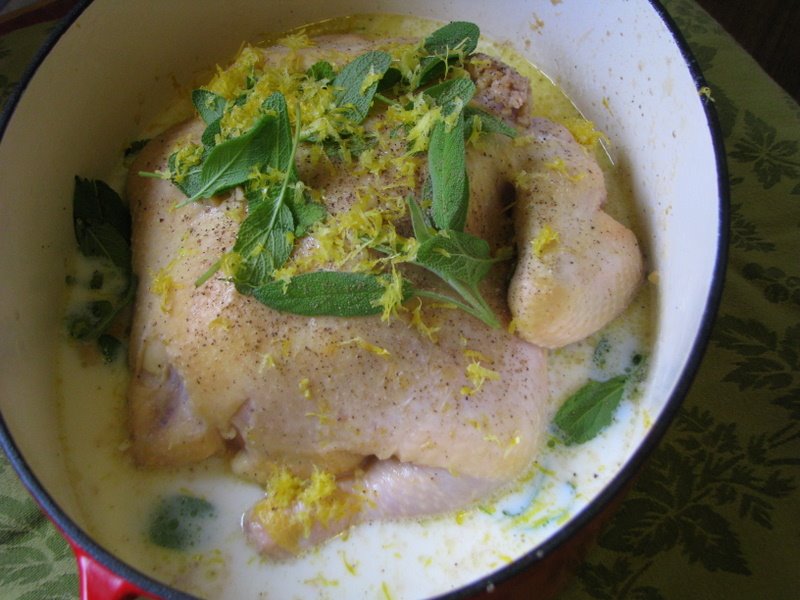
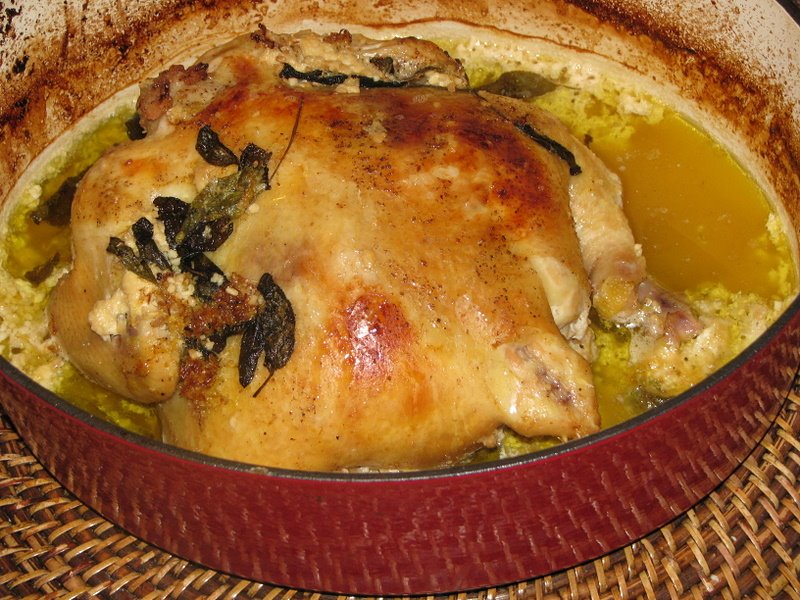
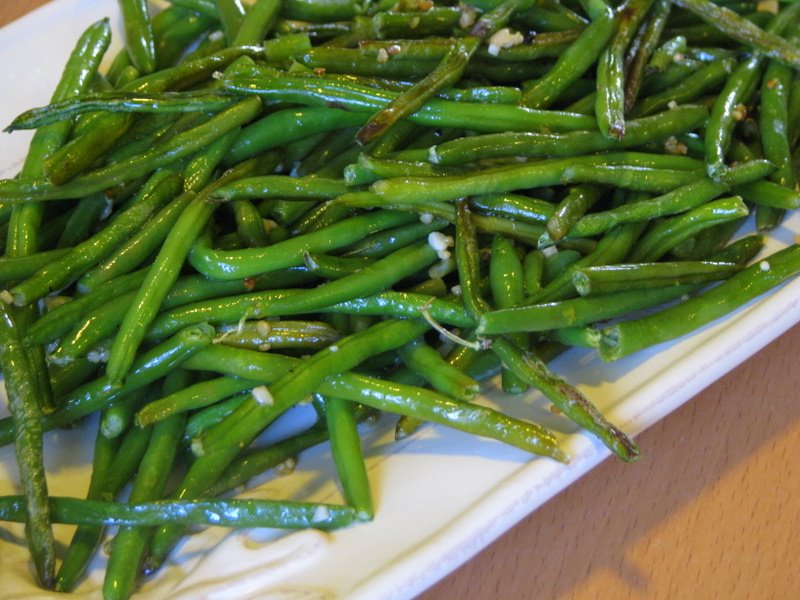
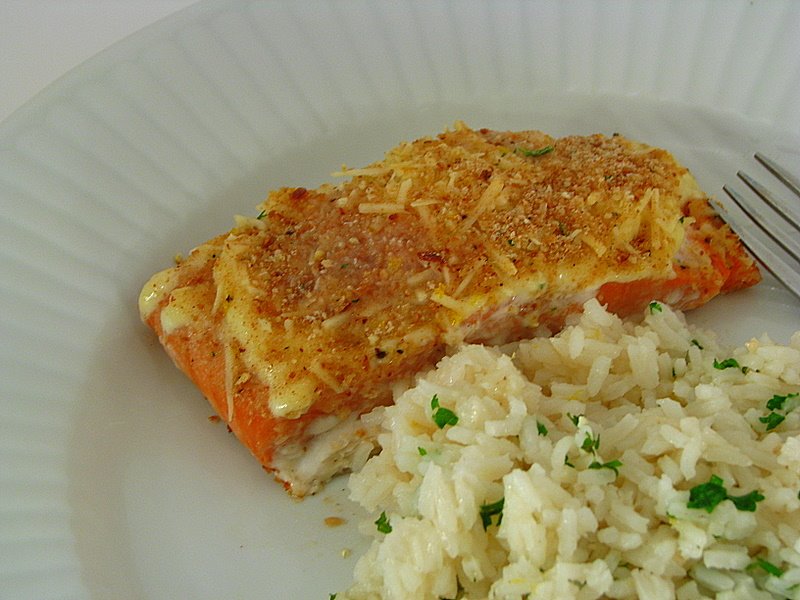
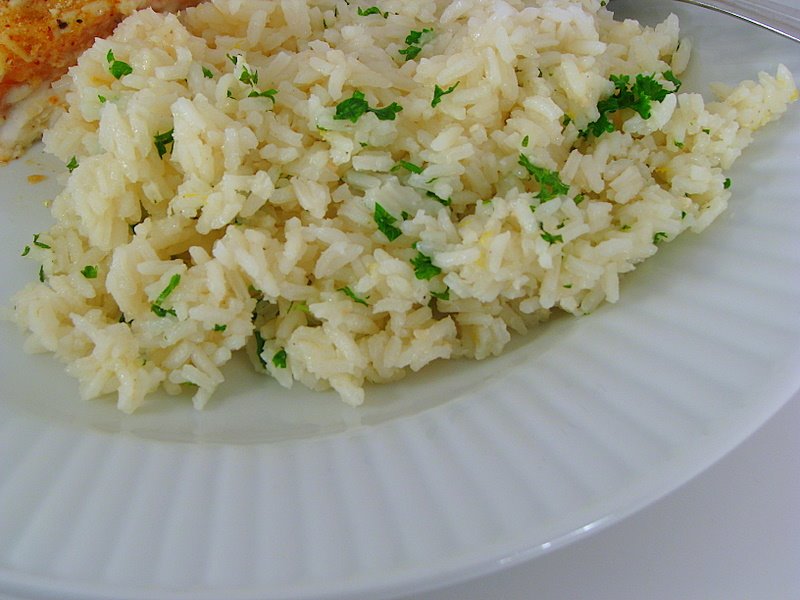
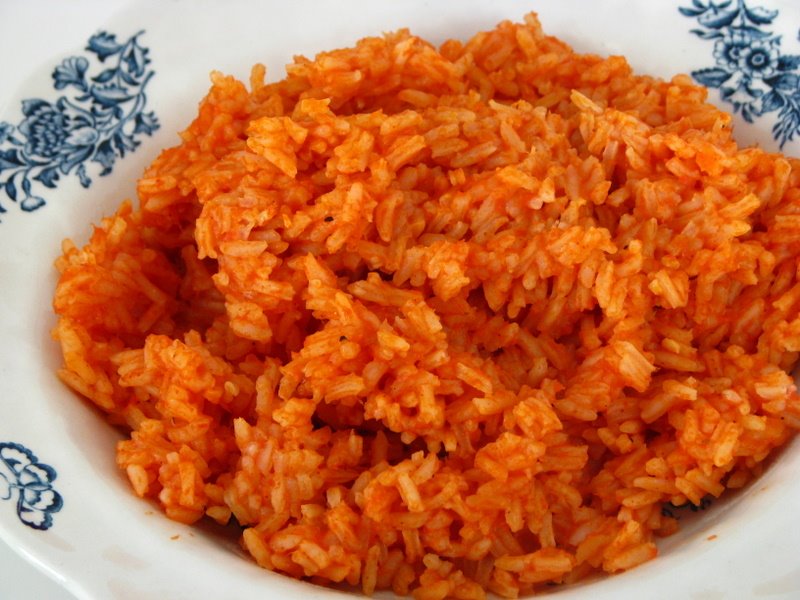
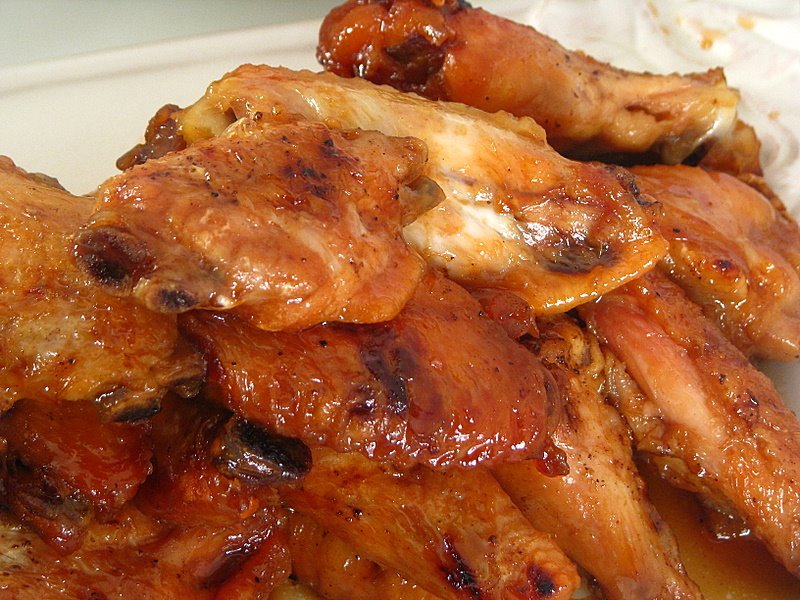
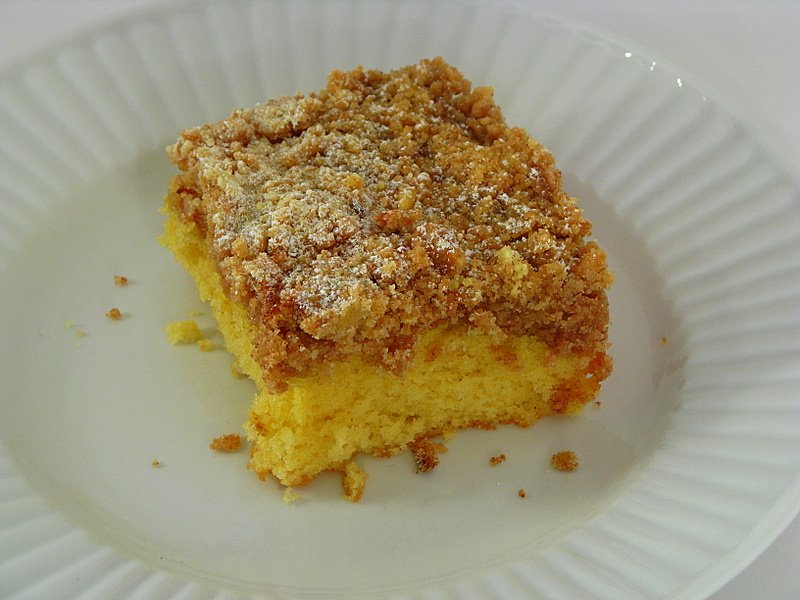
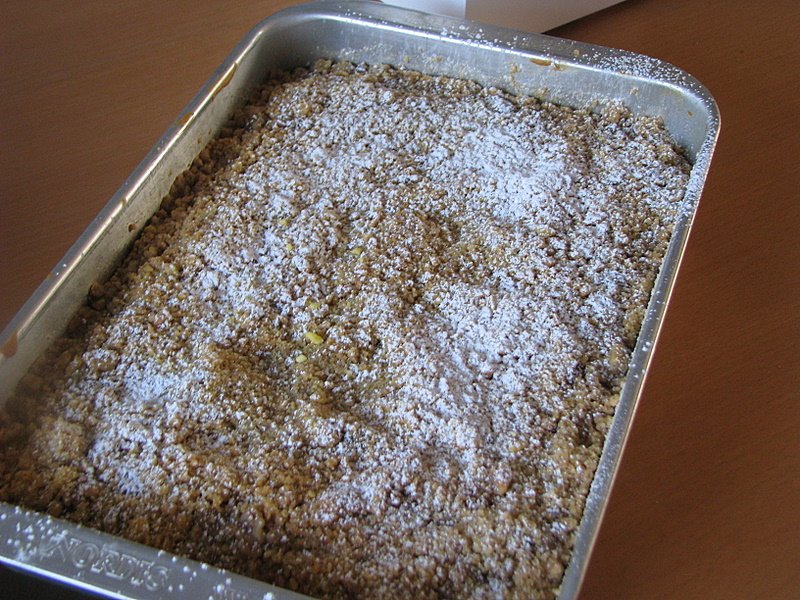
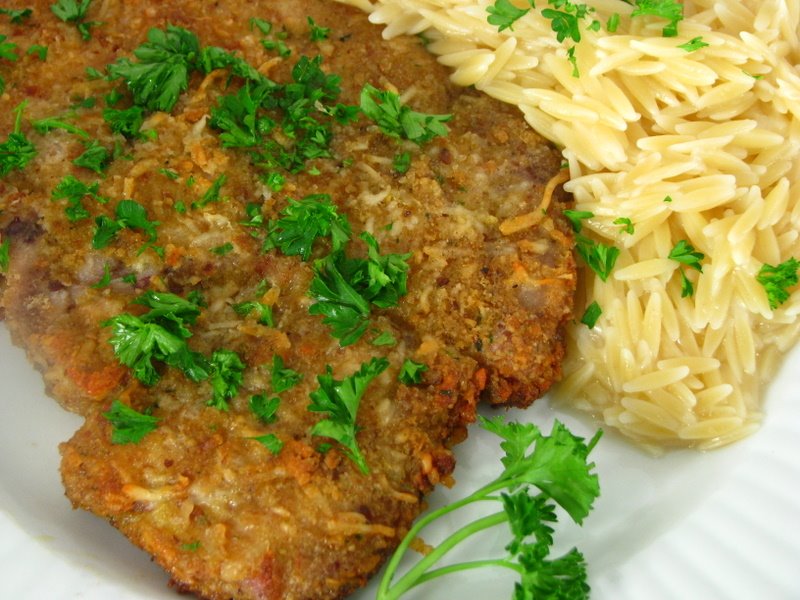
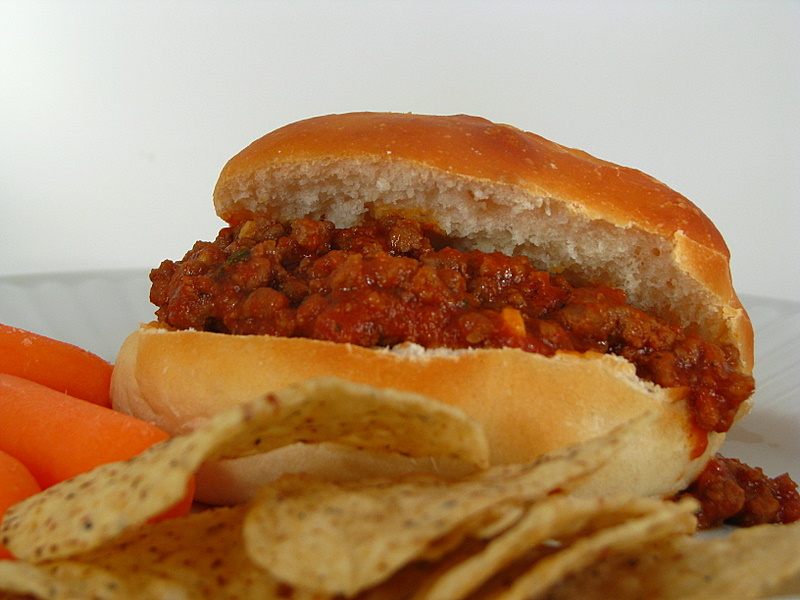
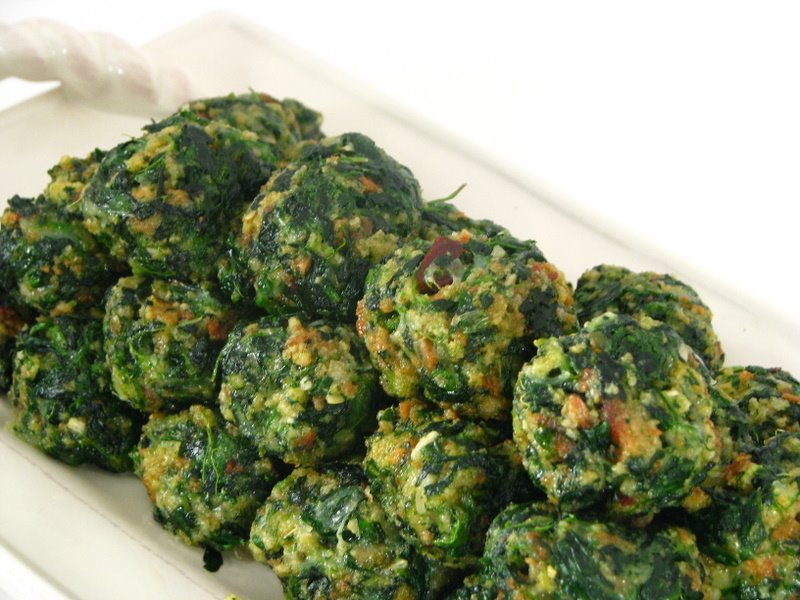
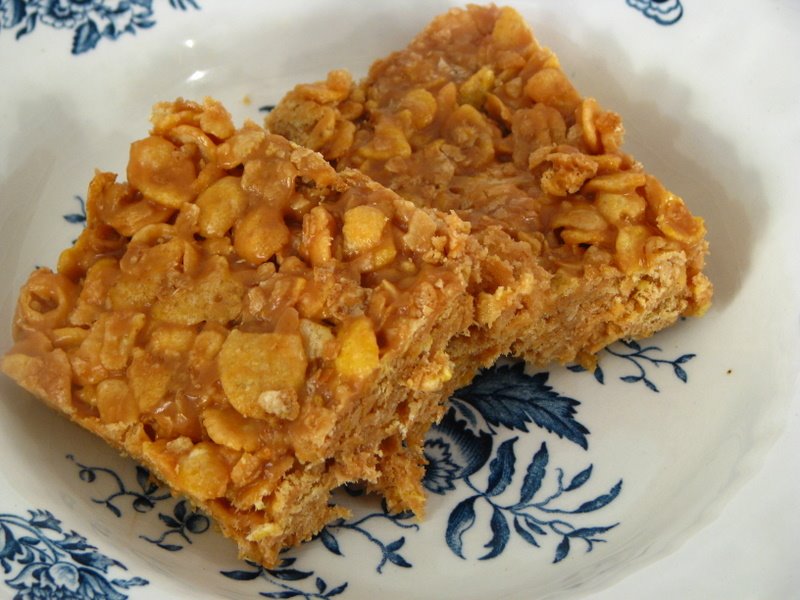
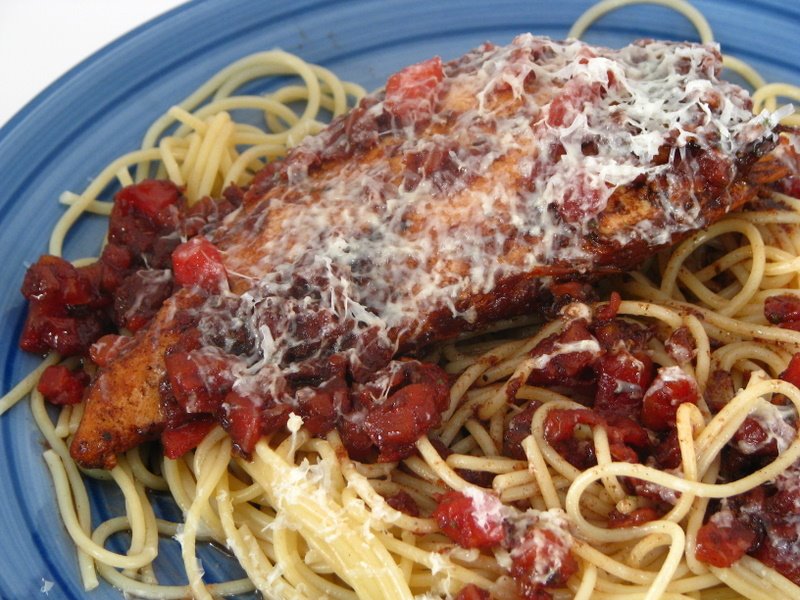
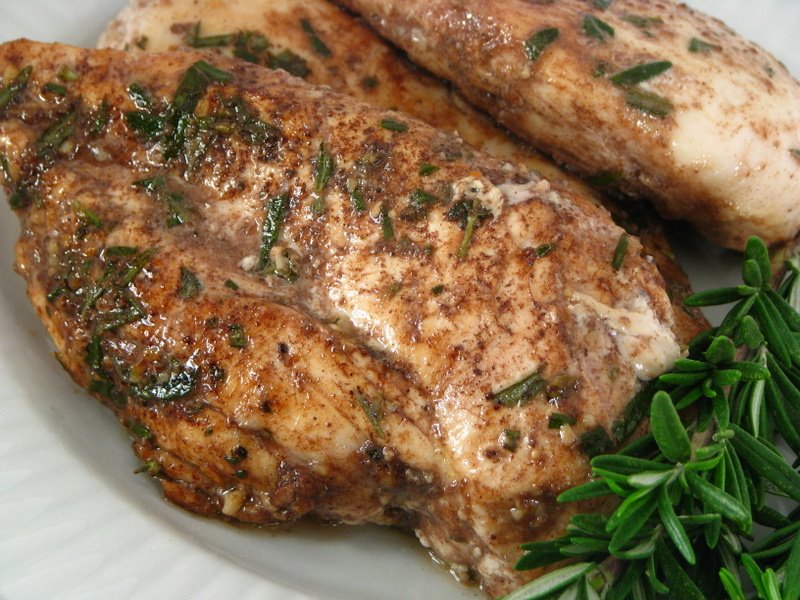
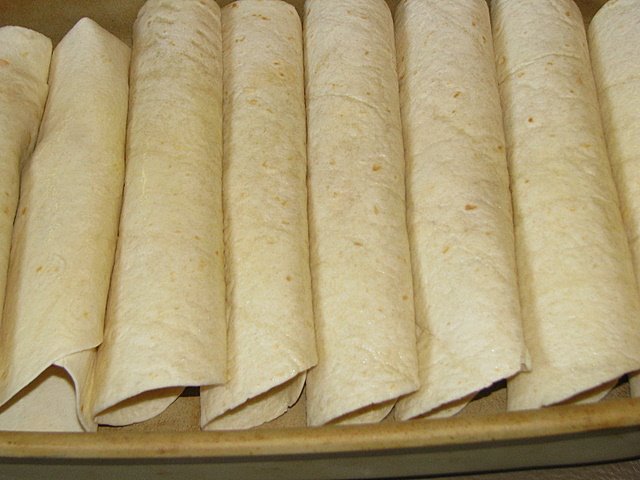
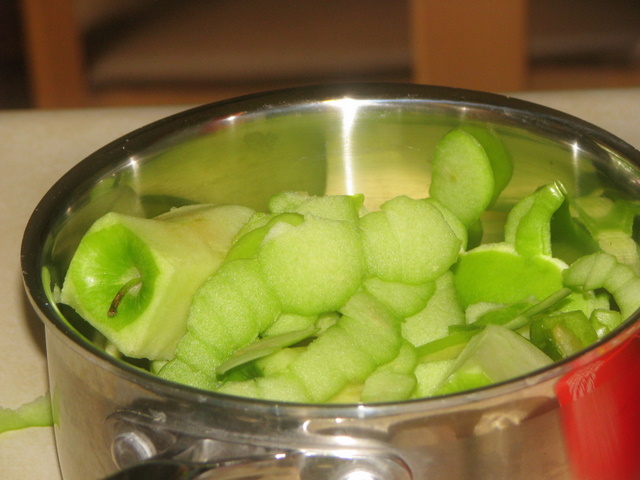
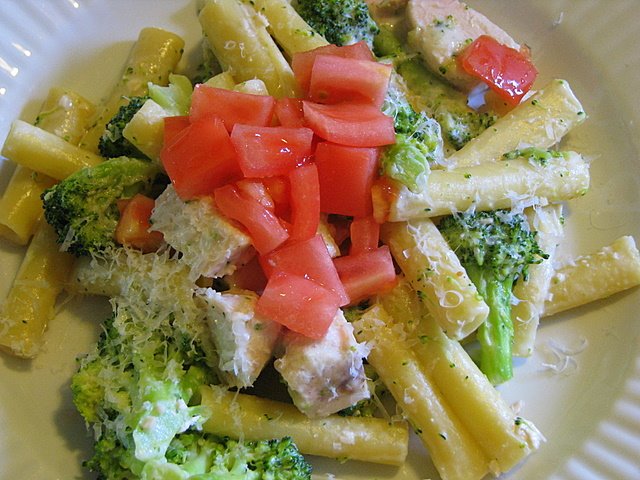
Here are some pictures of the great food that we got to eat. I wanted to stick with the tea party food and dishes that would be easy to handle while playing our game.
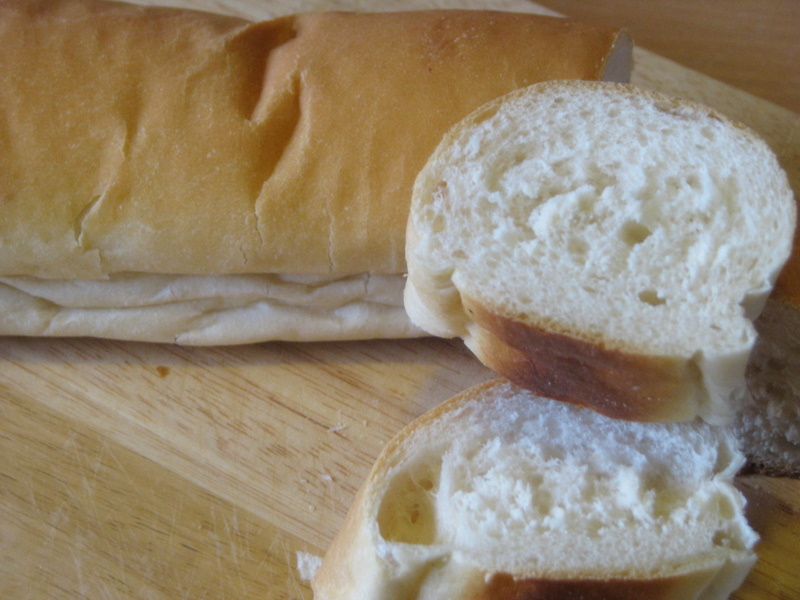
I got a huge croissant sandwich tray that served 18 for $32 at Sam's Club. I cut these sandwiches in half and then added colored toothpicks to hold them together so people could sample different varieties of sandwiches and to make them a little more bite-sized.
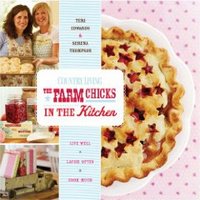
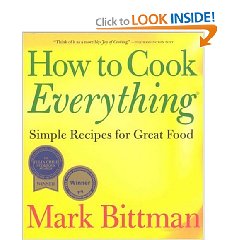
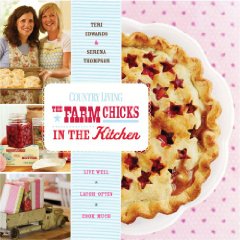
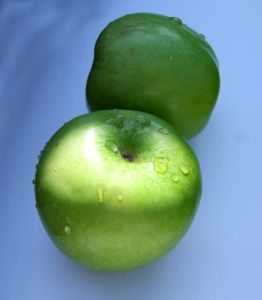
For side dishes, I purchased two huge vegetable trays for $9.87 each that were prepared by Sam's Club. I made a delicous pesto pasta salad from my new favorite cookbook, "
The Farm Chicks in the Kitchen," which you must check out! I then bought a variety of fruit and made fruit kabobs by skewering them for our guests out of pineapple, grapes, and strawberries. These fruit kabobs were thrown into a pretty wine bucket for everyone to grab.
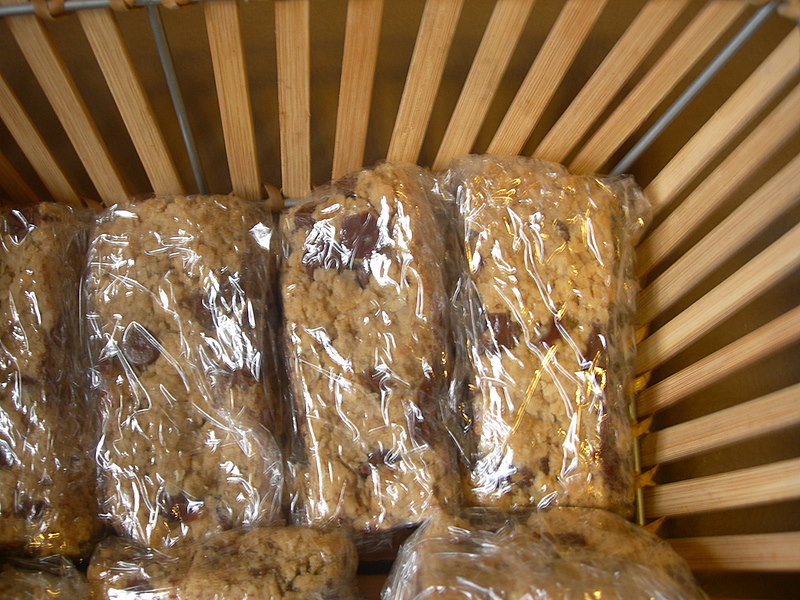
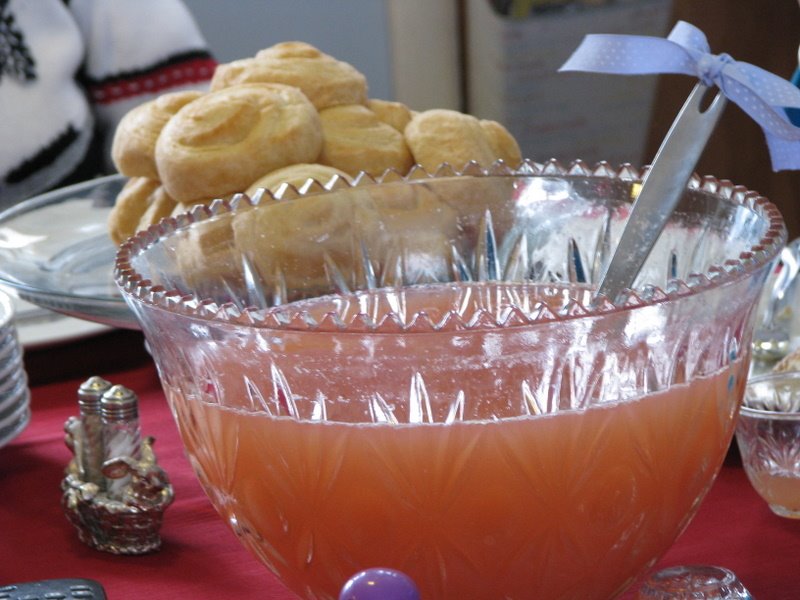
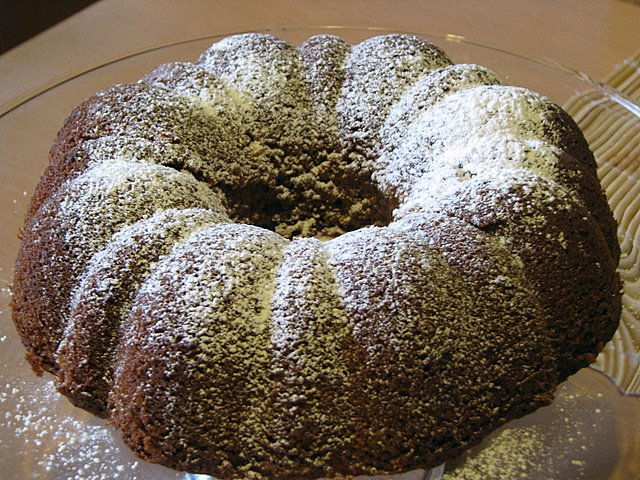
For dessert, I purchased two boxes of mini creme puffs that I served on cake platters with a decaf coffee to finish out the meal.
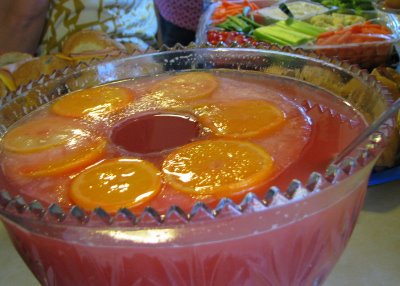
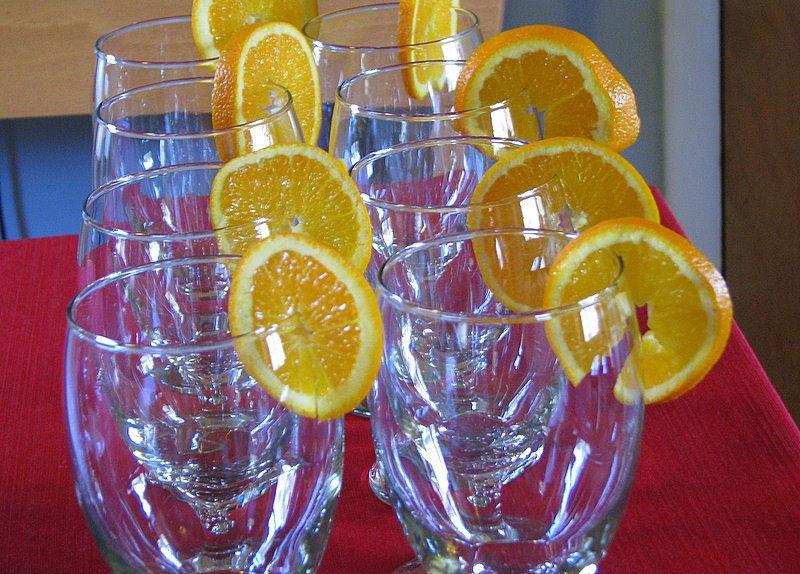
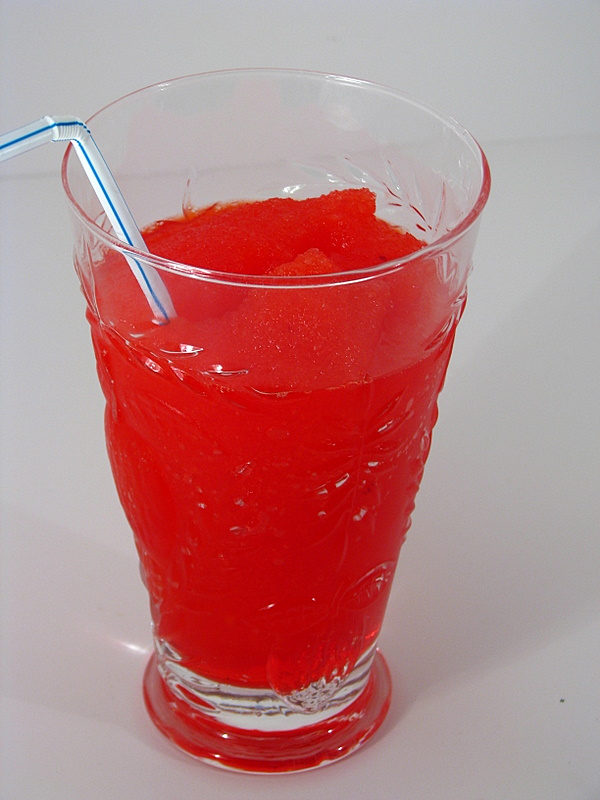
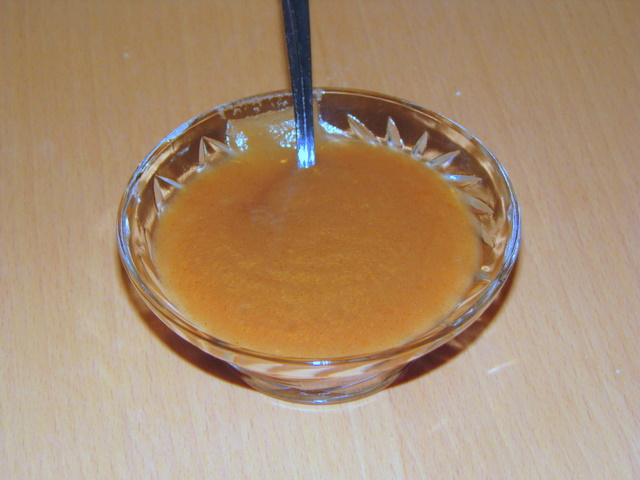
The star of the party though was the Bunco punch that I made that was a delicious summery drink to go with our food. We also had a box of the Black Box Cabernet which was another surprising hit with many of my friends who had not had the pleasure of
trying boxed wines before. Sam's Club had the best price on this with a box that was equivalent to four bottles for only $18.32. I have to say, these boxed wines are an affordable way to entertain on a budget.
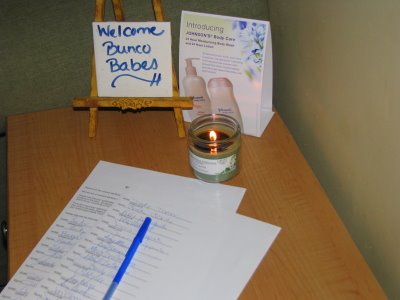

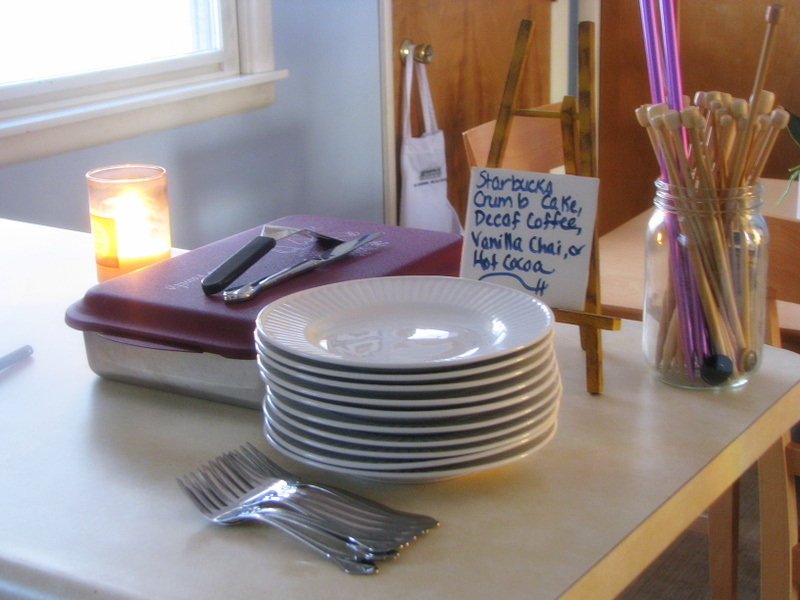
On my lower level, we had a little welcome desk where my guests could sign in and my coffee table got taken over by all of the great food donations.
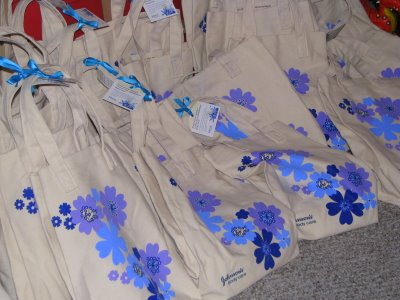
Each guest got to take home a really cute reusable bag filled with Johnson's products to sample and share with their friends as a thank you for their charitable efforts. Each bag contained their
24 Hour Moisturizer,
24 Hour Moisturizing Body Wash, & their
Be Radiant Cocoa & Shea Butter Lotions. These products were just for us, not for our kiddos, and they smell and feel great. My favorite is definitely the Be Radiant Cocoa & Shea Butter Lotion- it smells divine!


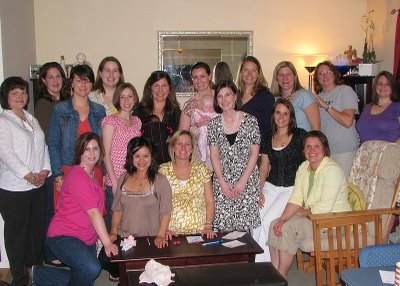
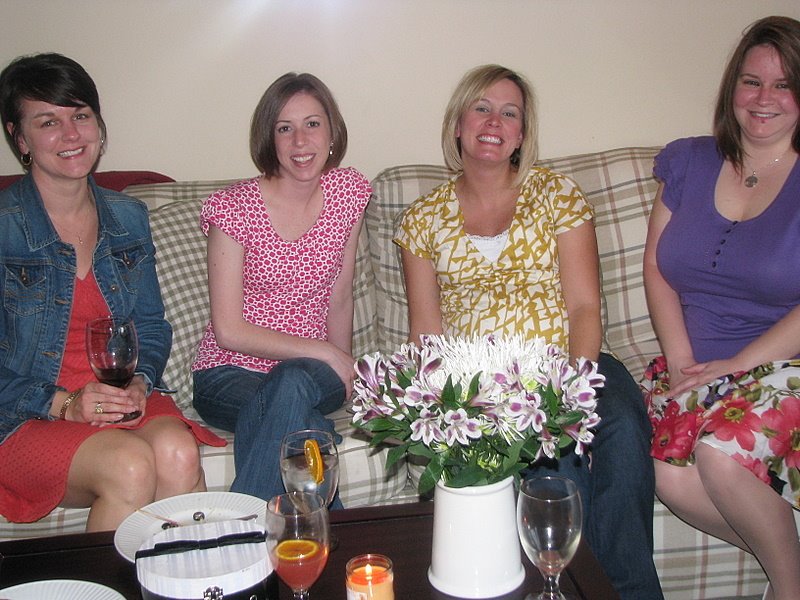
We had the biggest turn out for Bunco ever with seventeen great women in attendance and we were so excited about all we could do for our community. With the donation made by Johnson's plus our own donations, we were able to donate $205 to the St Joseph County Food Bank and an entire car full of food donations for the cause.
With the job loss in our area, our food banks and shelters are in critical need right now and if you are able to give anything at all, I encourage you to take the time to do it.
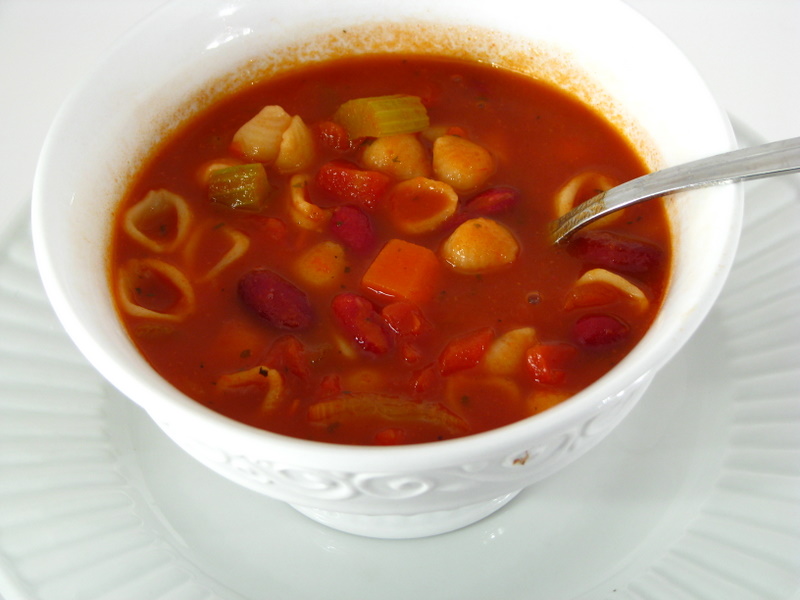
Here are some of the items the Food Bank of Northern Indiana critically needs:Cereal -- hot and cold
Meat, chicken or tuna
Mac/cheese, dry pasta
Vegetables
Potato flakes
Spaghetti O's, stews
Rice
Pork & Beans
Applesauce
Chicken Helper
Family-sized soups
Dry soup mixes
Fruit
Crackers
Spaghetti
Sauce
Juice boxes
Beans -- baked, refried
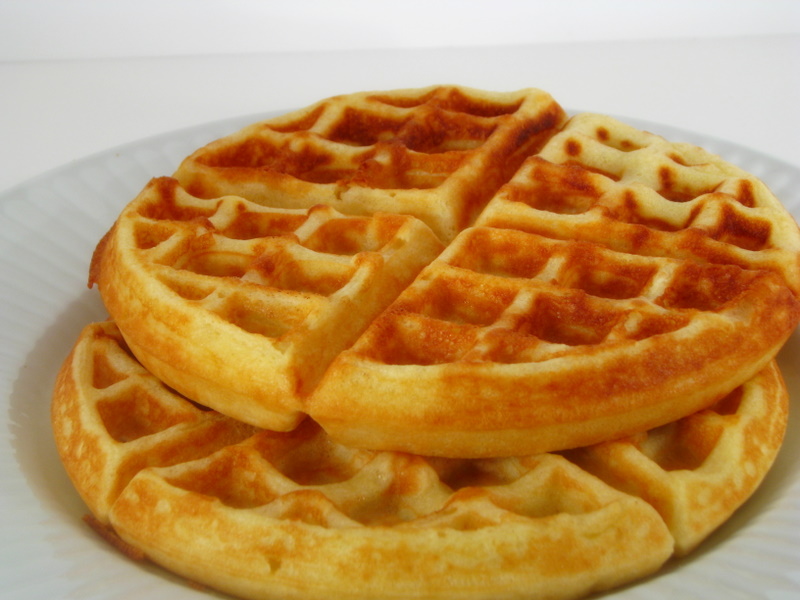
Pancake, waffle mix
Plastic containers
Individuals, clubs, churches, civic groups and local businesses can all conduct food drives. Donated food is a much needed commodity in their fight against hunger. They accept donated food between the hours of 8:00 am and 4:00 pm, Monday through Friday, at their location on 702 S. Chapin Street, South Bend, IN. If this location is not convenient to you, there are many other drop off points including all of the Martin's Supermarket grocery stores. For more information please visit
The Food Bank of Northern Indiana to find out how you can help.
Throwing a cause party was such a fun girl's night out and I encourage you to do the same with your girlfriends! It is a fun and easy way to give back to charities in your community and I am so thankful that Johnson's helped us support such a great cause in our own community!
Here are the star recipes from our fabulous Chari-Tea Bunco night that you could replicate for a charity night at your house!
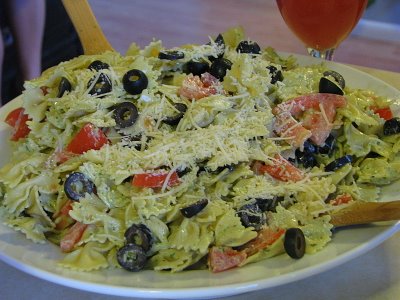
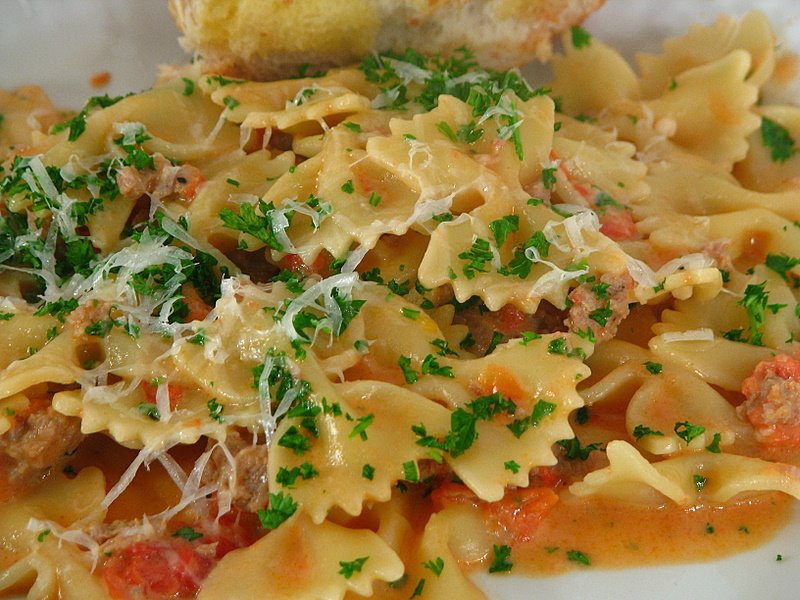
 Pesto Pasta Salad
 (courtesy of "
The Farm Chicks in the Kitchen") and you can visit
The Farm Chicks Blog too!
3 cups bowtie pasta (about 8 oz)
1/4 cup pesto (Sam's Club has pesto for really cheap, if your garden isn't ready for pesto-making yet)
1/4 cup sour cream
1 cup chopped fresh tomatoes (about two medium)
1/2 cup halved pitted black olives
1/3 cup grated Parmesan cheese
1/4 cup pine nuts (optional)
Cook pasta as directed. Drain and rinse under cold running water and let cool. Place in a salad bowl. In another bowl, mix the pesto and sour cream together and add to the pasta, tossing to coat. Add the tomatoes, olives, parmesan cheese, and pine nuts and toss to mix. Serve.
 Bunco Punch
ICE RING:
Orange slices
Lemon slices
Lime slices
Maraschino cherries
Cherry juice or red food coloring
Water
Metal ring mold
SIMPLE SYRUP (Prepare ahead) :
3 c. water
3 c. sugar
Combine, boil and cool.
PUNCH:
Simple syrup, chilled
4 c. chilled cranberry juice
3 c. chilled bottled lemon juice
2 c. chilled orange juice
2 c. chilled unsweetened pineapple juice
2 qt. chilled ginger ale
16 oz. rum or vodka or wine or champagne
Create your ice ring by throwing in the citrus fruit slices and then pouring in the jar of cherries (juice and all) Top the bundt pan off with water and then freeze overnight.
To serve: Unmold ice ring into punch bowl; add juices and liquor; add ginger ale.
This makes approximately 30 (6 ounce) servings.
What are some fun charitable activities you do with your friends and/or family? I would love for you to share how you make charity a priority in your house?
Related Links:
Good Cheap Fun: Bunco
Retro Housewife Bunco
Kentucky Derby Bunco
'70's Bunco Style
Labels: Entertainment, Friendship, Frugal, Recipes, Reviews, Shopping

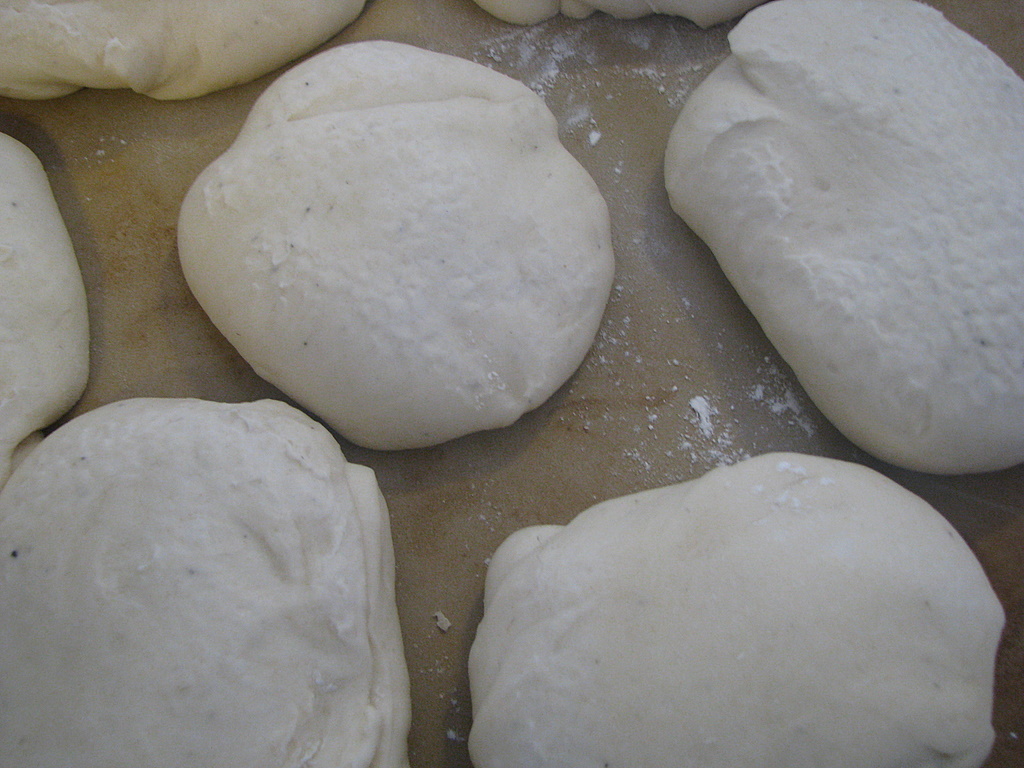
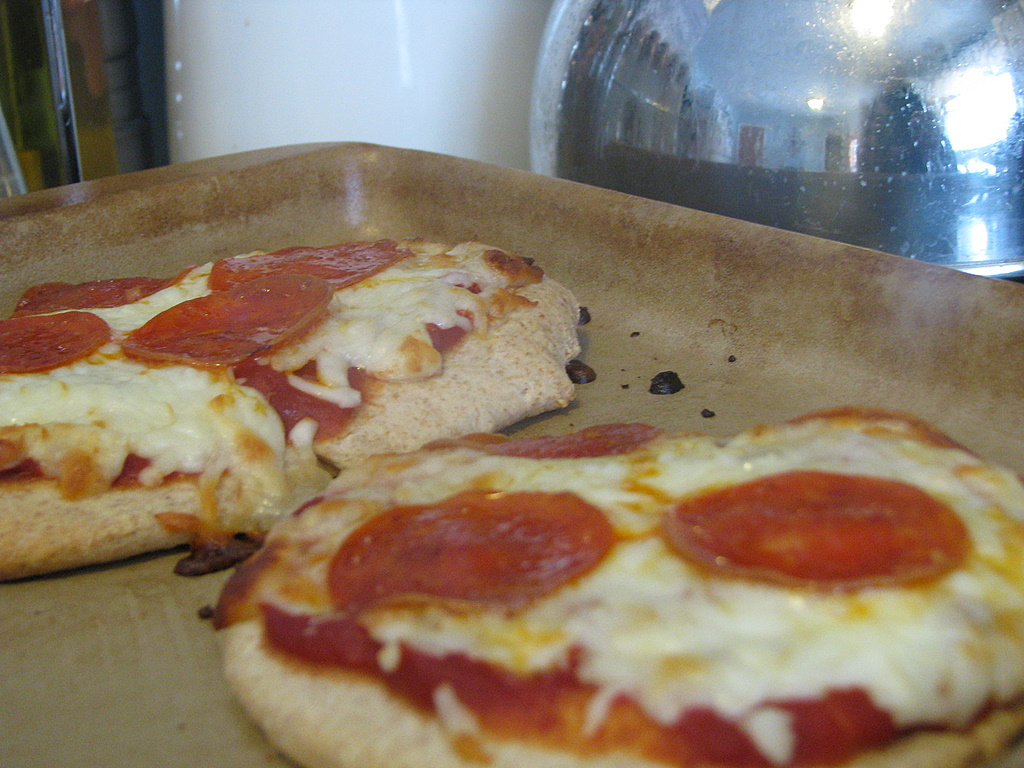
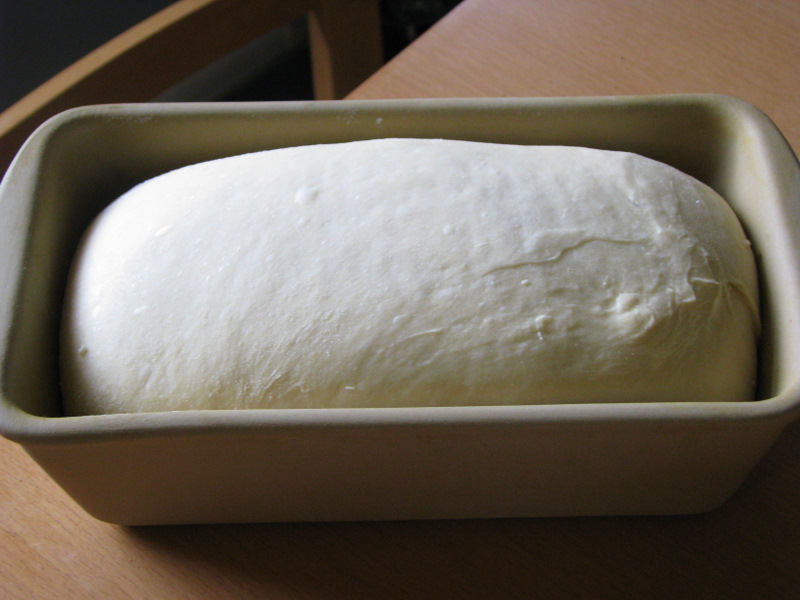
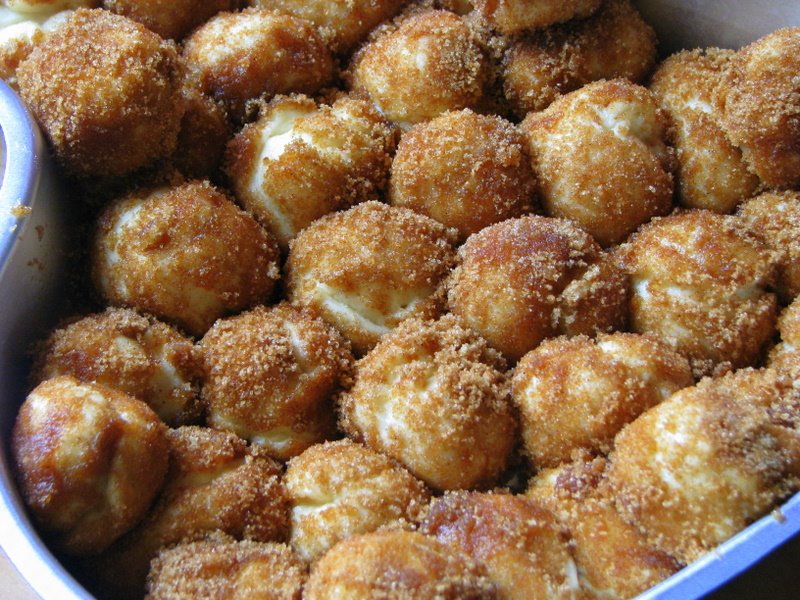
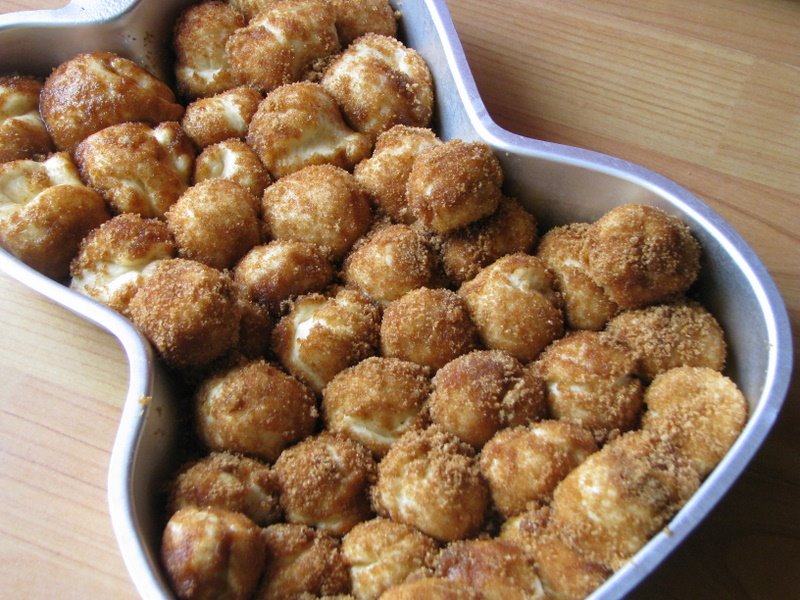
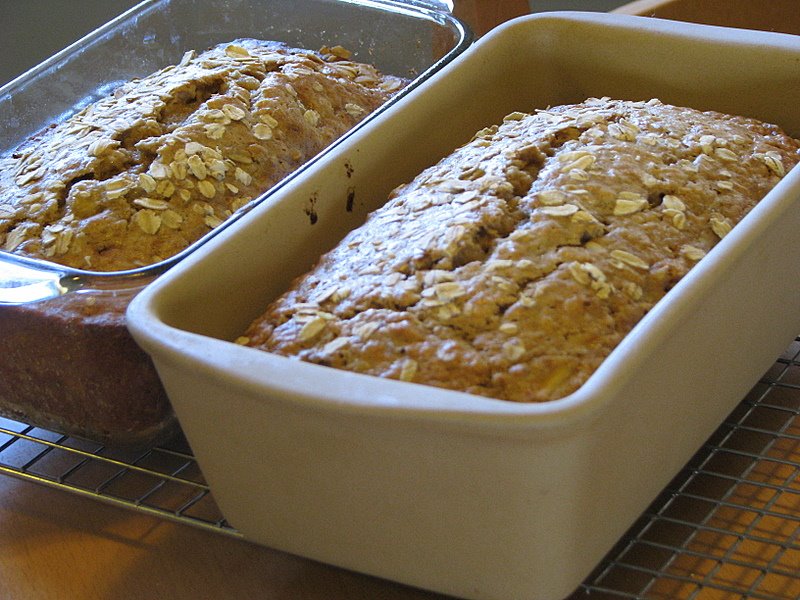
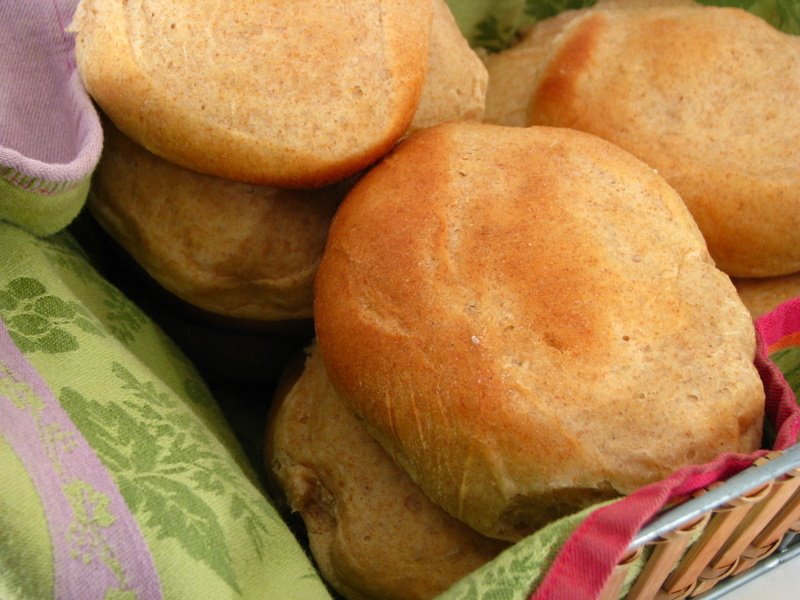
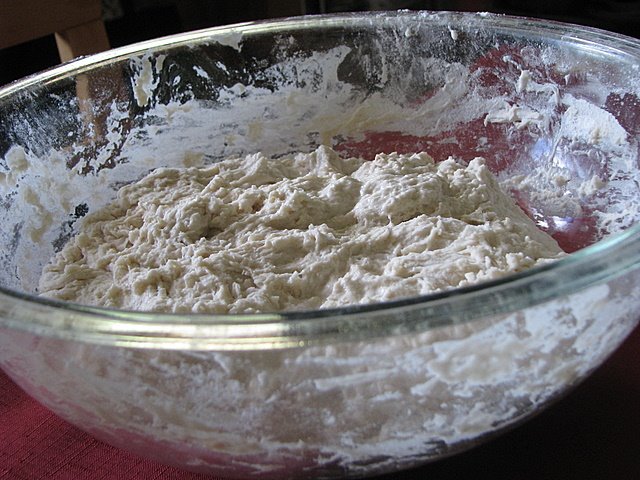
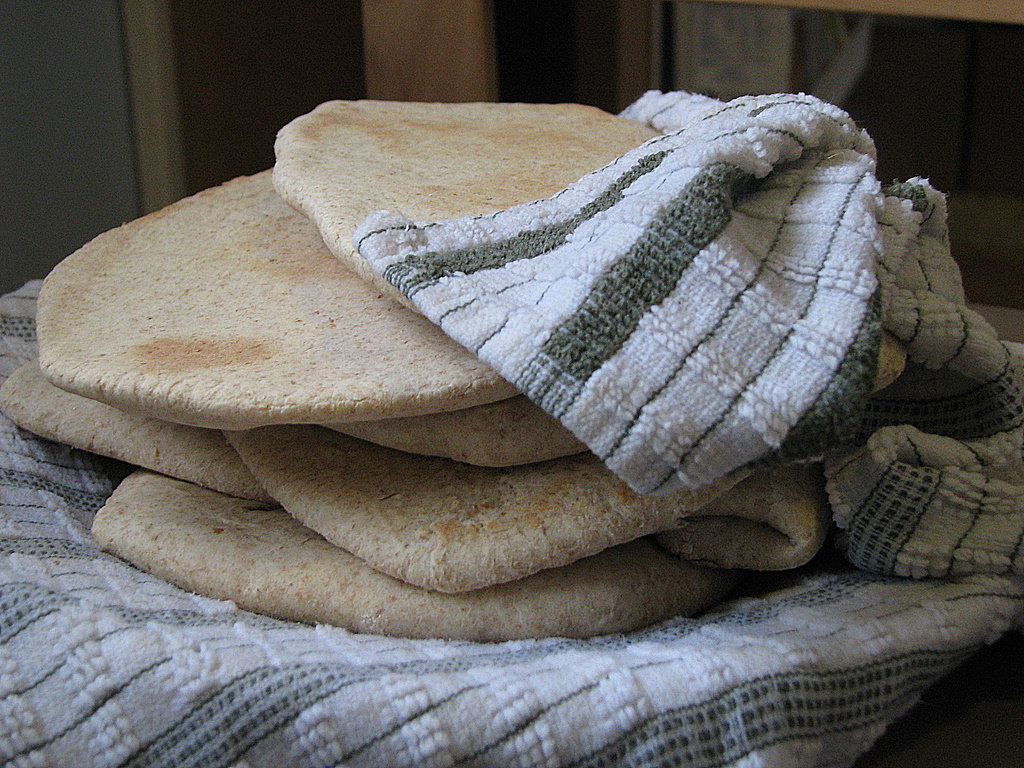 If you would have asked me I thought I could whip up some pitas for my family a few years ago, I would have told you no. I have had this recipe in my collection for so long that I don't even know where it originated from, but I decided to dust off the old recipe collection and see if these could come together for me. After all, if it was a complete failure...well, at least I tried!
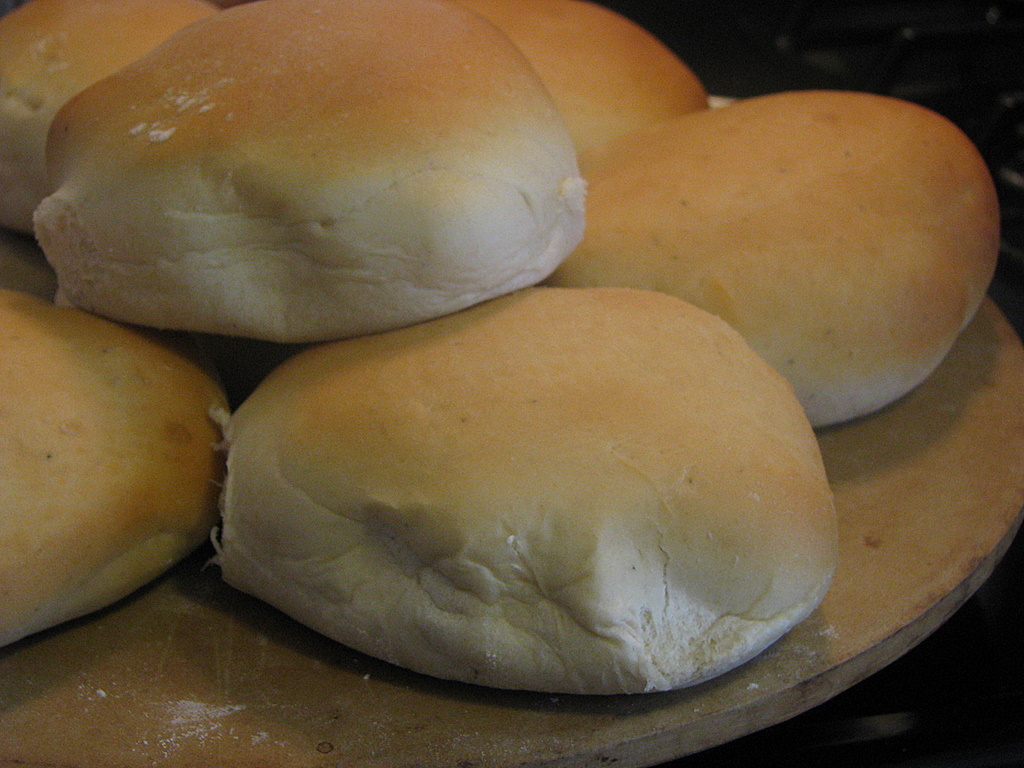
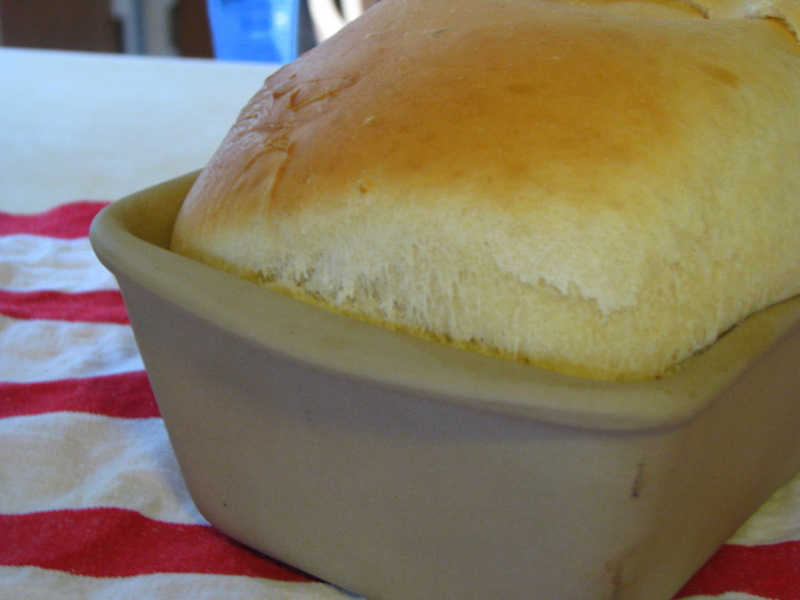
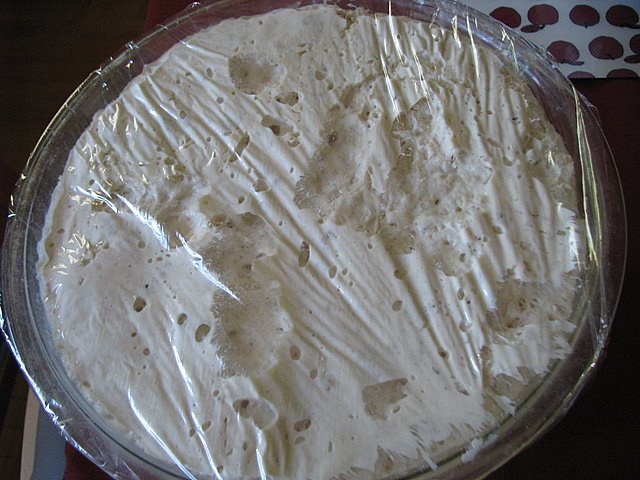
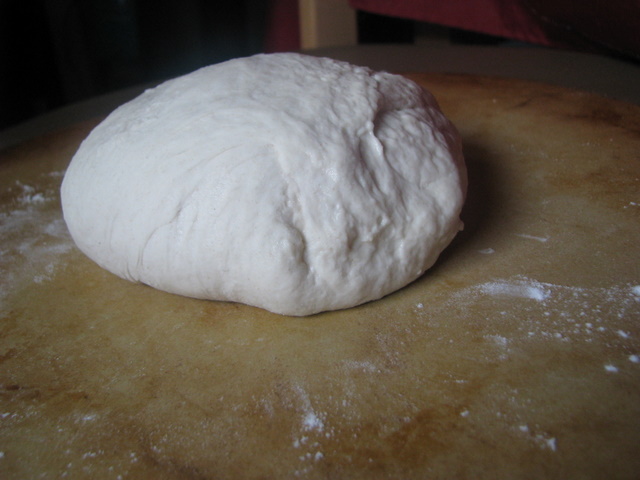
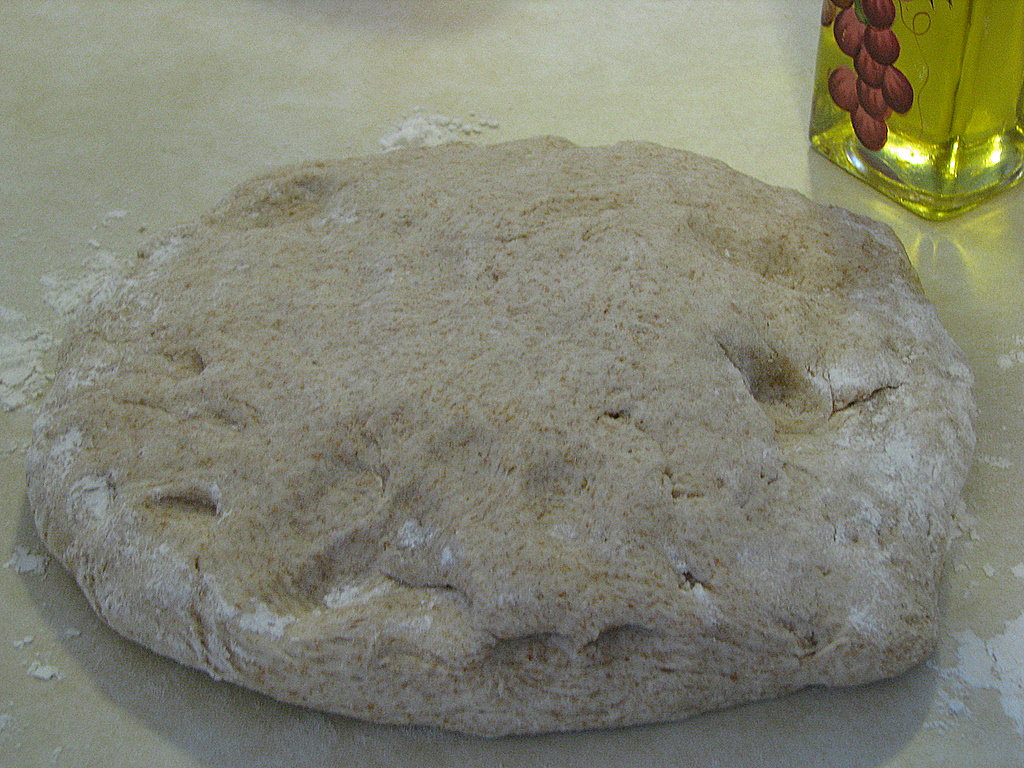 Put ingredients into the bread machine in order listed. Run the dough cycle on your machine. When the bread machine beeps, pull the dough out of the bread machine and divide the dough into ten pieces. Roll each piece into a six inch circle. Place these on a baking sheet (or your pizza stones) and let them rise for twenty minutes (I can fit about four rounds per pizza stone or three pitas per baking sheet). Bake at 500 degrees for three minutes. Using a spatula, flip the pitas and cook for another three to four minutes on the flip side.
  Subscribe to this blog


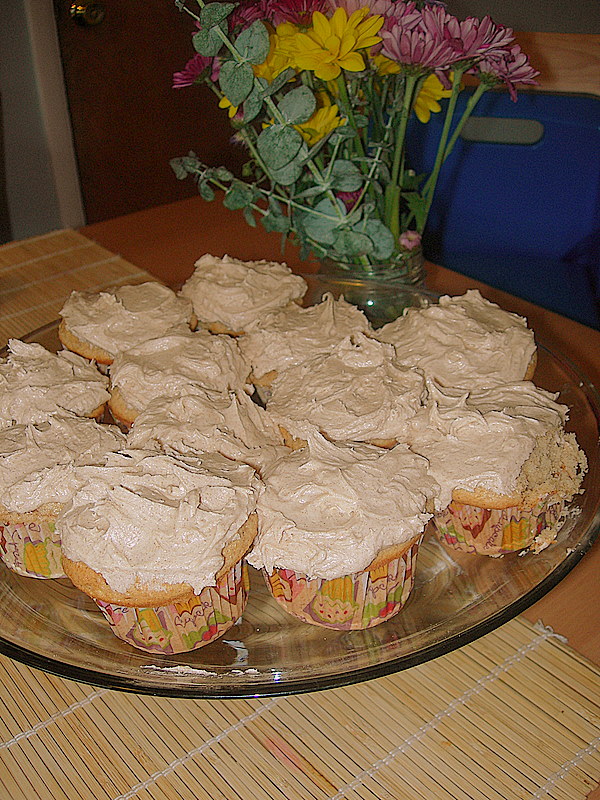
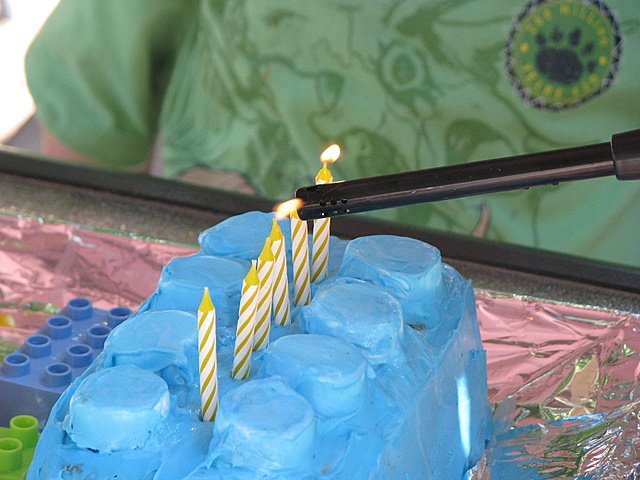
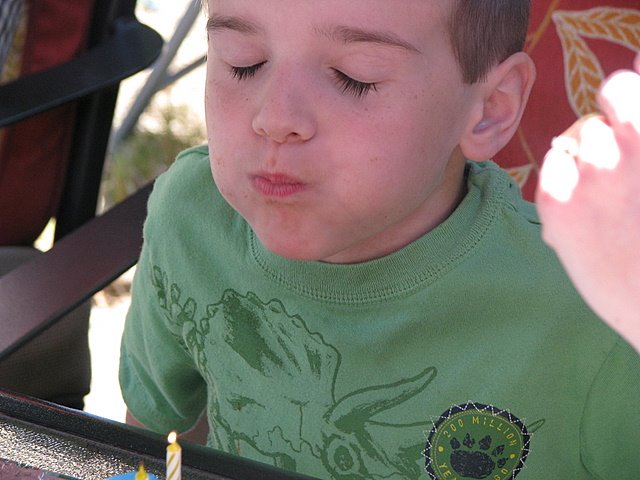
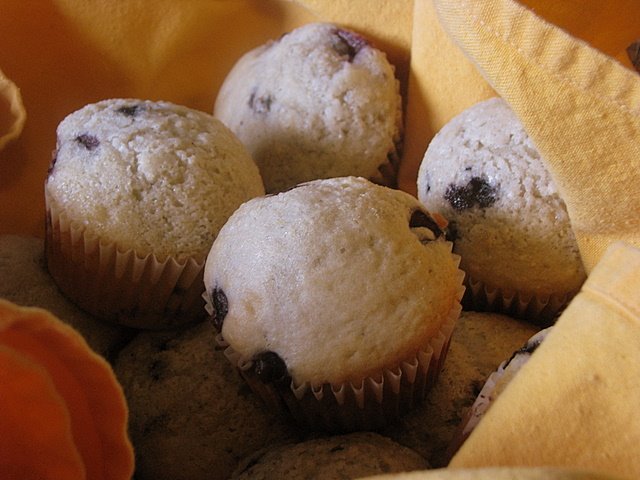
 The Best Birthday Cupcakes