Notebook Experiment: Can I Make Homemade Bunny Bread?
Experiment: Can I make homemade bunny (monkey) bread?
Experiment Taken From: Notebook Entry 02.05.09
Materials Needed: Please see Baking Bites for the original recipe. I took great liberties with the recipe though and made a bread machine version that came out beautifully. If you don't have a bread machine though, please visit Baking Bites for a version that can be prepared with a spoon or a stand mixer.
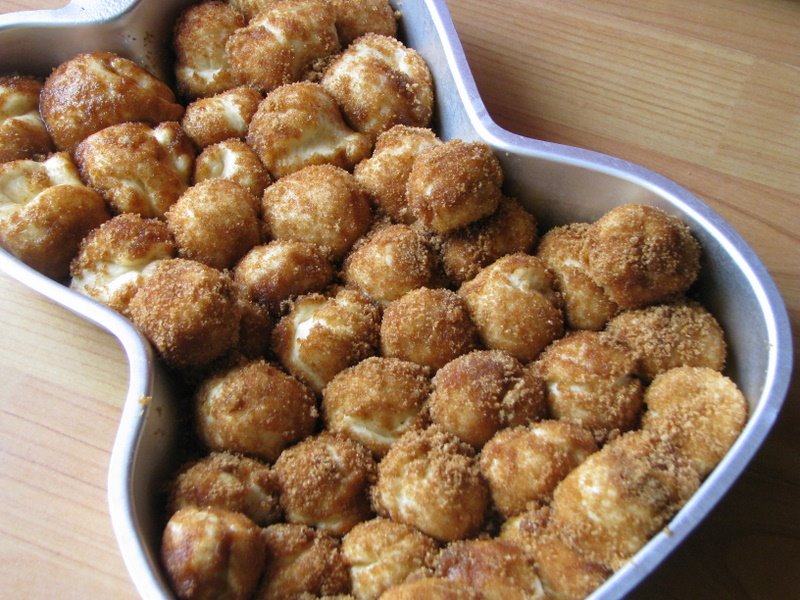
Results: When I see cake pans at the thrift store, I can't resist picking them up, even if I have nothing in mind to do with them. This bunny-shaped pan was $2 at Goodwill and has been gathering dust in my basement. I decided to break it out to make the kids a special Easter treat.
Our Easter tradition usually consists of my homemade cinnamon rolls, but I thought it would be fun to do something a little different this year. I remembered this great little recipe for homemade monkey bread and also know that it happens to be one of my husband's favorite childhood treats so I thought I would give this recipe a spin.
I opt for the lazy version though and prefer making things in my handy little bread machine, so I modified the recipe to put my little appliance to work and thought I would share my version here.

Bread Machine Monkey Bread/Bunny Bread (adapted from Baking Bites)
1/4 cup water, warm (100-110F)
2 tbsp butter, melted
3/4 cup milk, warm (100-110F)
1/2 tsp vanilla extract
1 large egg (beaten)
3 - 3 1/2 cups all purpose flour
1 tsp salt
3 tbsp sugar
2 1/2 tsp active dry yeast (.25-oz)
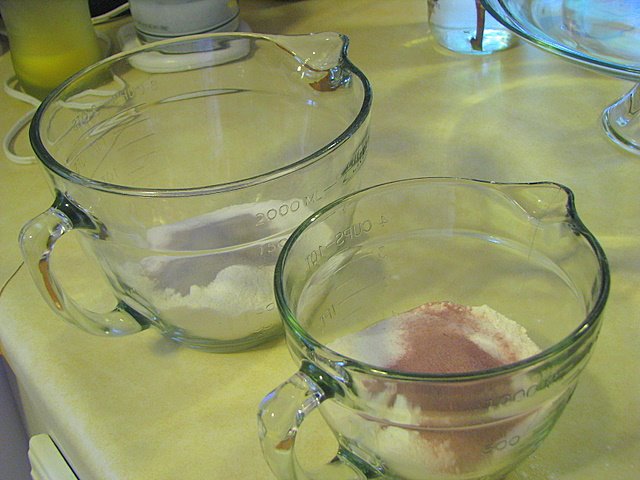
Sugar Mixture:
2 cups brown sugar
1 1/2 tbsp ground cinnamon
1/2 tsp ground allspice
1/2 cup butter, melted
Lightly grease a standard 10-in bundt pan with vegetable oil or any cake-shaped pan. Set aside.
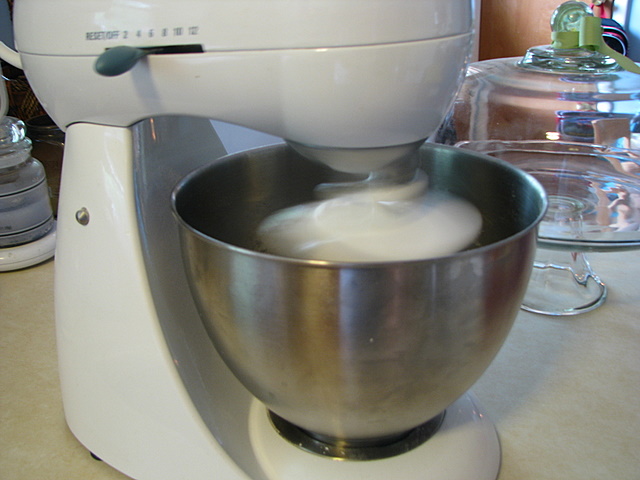
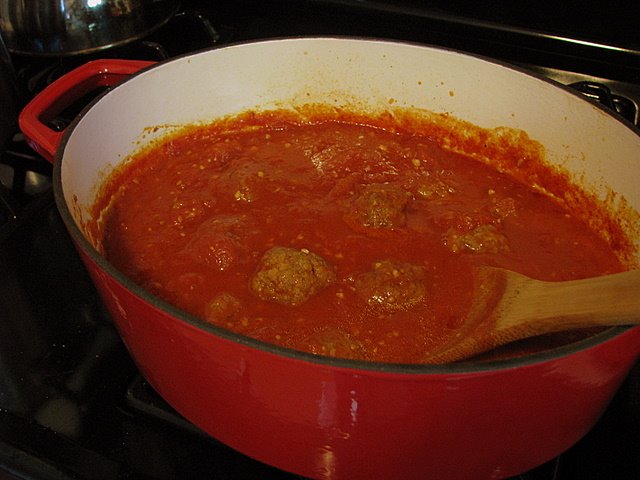
In a microwavable bowl, combine the water, milk, and butter and microwave it for one minute (or just until warm). Pour this into the bottom of your bread machine. Add the egg and vanilla next. Add the flour, salt, sugar, and then finally the yeast. Run the Dough cycle on your bread machine and let it run through the entire cycle until it beeps.
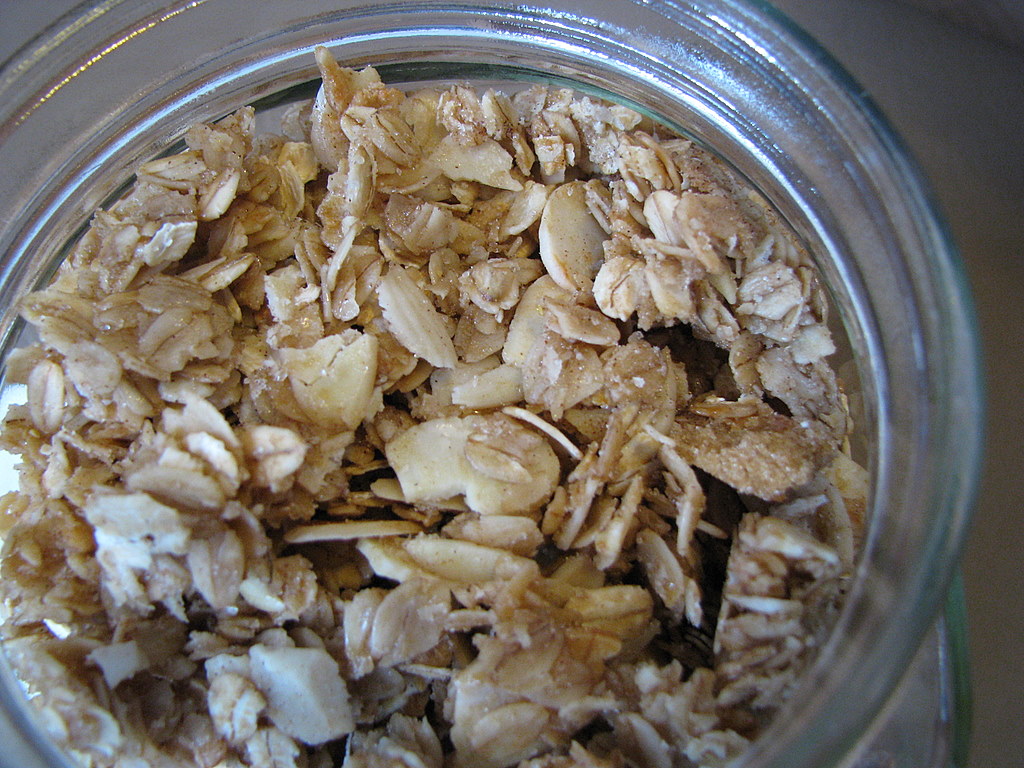
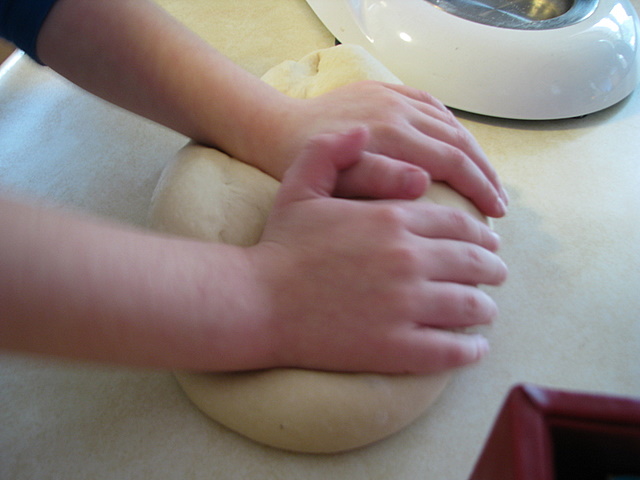
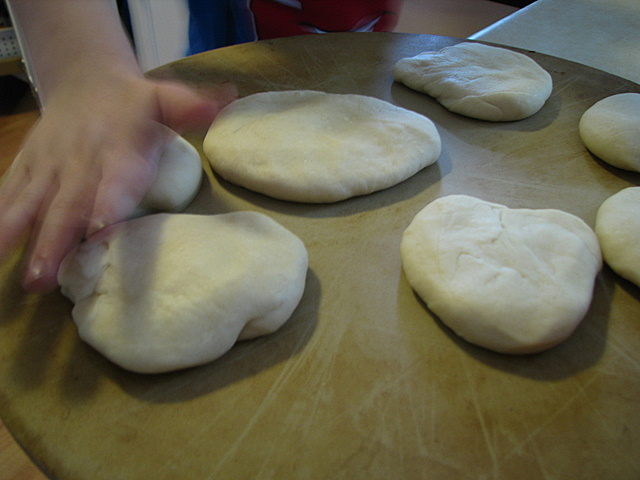
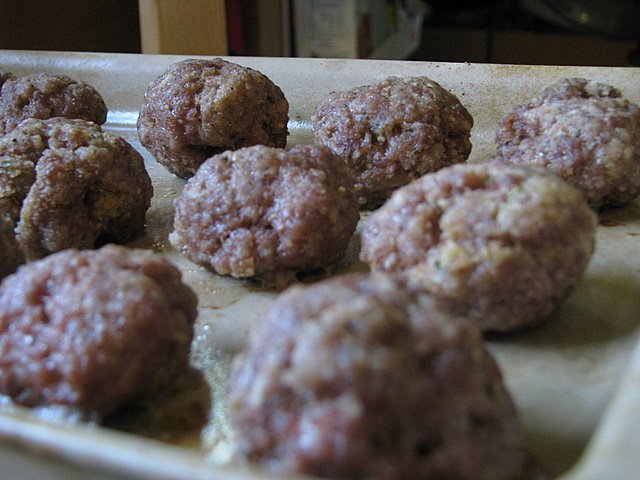
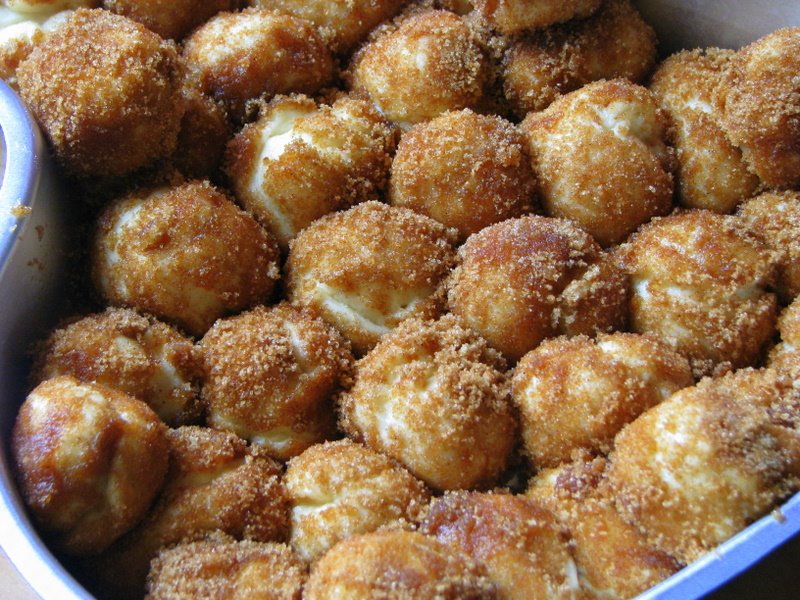
Turn dough out onto a very lightly floured surface and gently deflate so that dough is relatively flat (maybe 1/2-3/4 inch thick) Using a knife or a bench scraper, cut off small pieces of dough to form 1/2 to 1-inch balls. As you cut each piece of dough, roll it into a ball in the palms of your hands. Dunk each ball in butter, use the fork to remove it and transfer it to the sugar mixture to be thoroughly coated. Place all coated dough balls into prepared bundt pan.
Once all balls have been coated and places in the pan, cover the pan lightly with plastic wrap and let bread rise for 60 minutes, until almost doubled in size. I covered this with plastic wrap and then popped it in the fridge overnight.
Preheat the oven to 350F when you are ready to bake it. If it is in the refrigerator, pull it out a half hour before and let it rise on the kitchen counter before baking. Bake for 30-35 minutes. Bread will spring back when lightly pressed. Let bread cool in pan for 10 minutes, then turn out onto a serving platter. Eat immediately (or reheat leftovers), as the bread is best served warm and gooey.
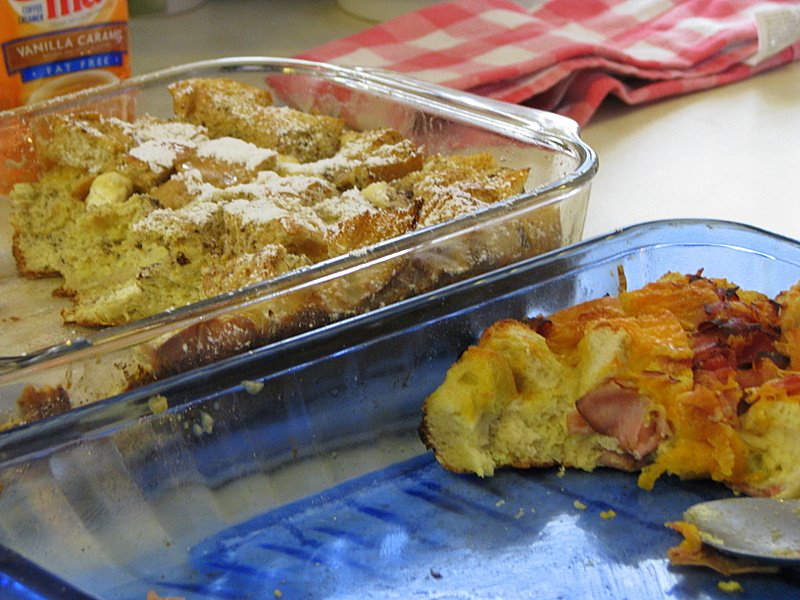
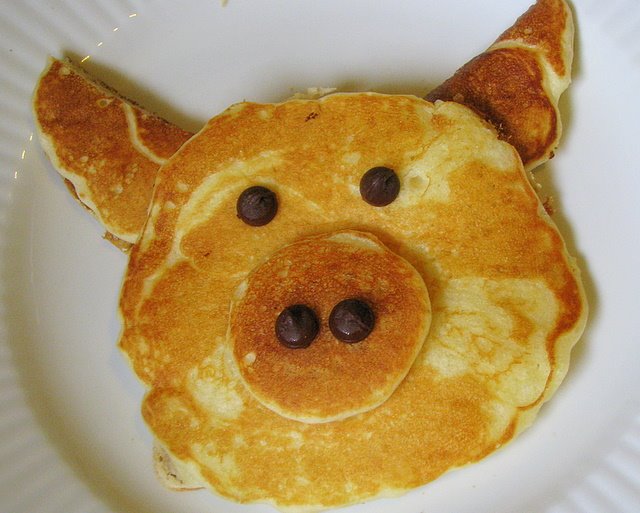
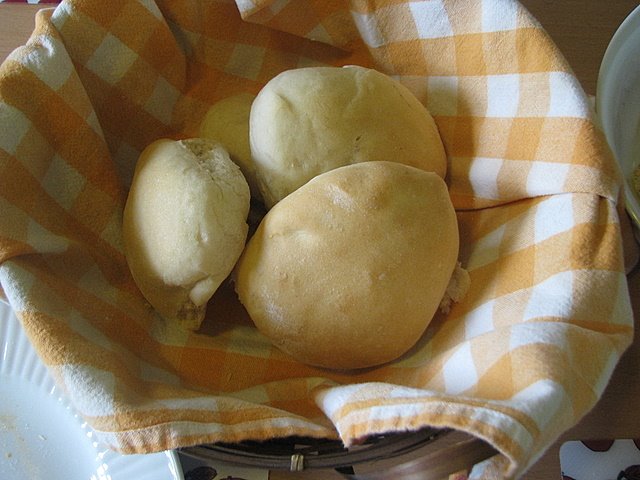
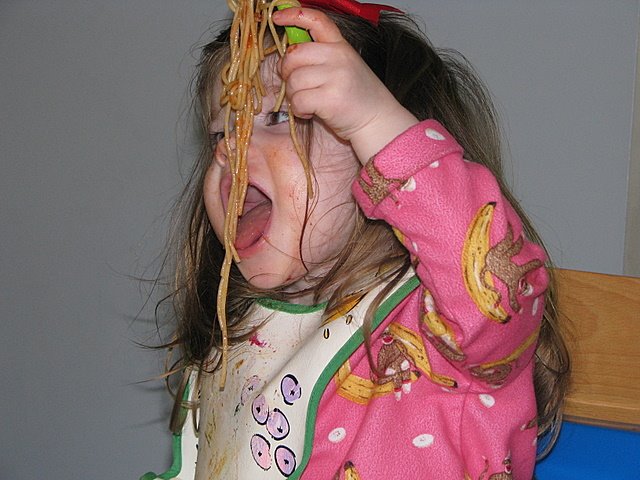
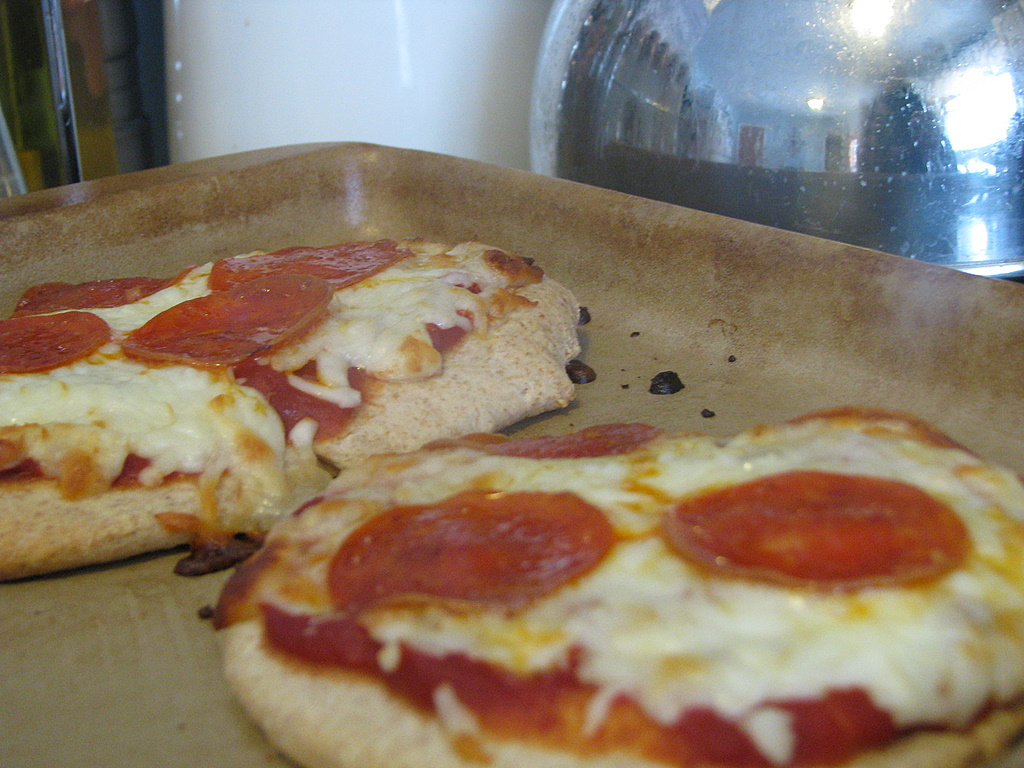
Conclusion: The kids absolutely devoured this bunny bread and my husband thought it was the perfect balance of sweetness. I, unfortunately, was struck with the stomach flu this year and got to watch them eat all of this deliciousness while laying on the couch dying, but I will definitely be participating in the devouring next year. Best of all, I found a great new use for that bunny pan and I can't wait to make this a yearly Easter tradition.
**********************
 I am so excited to open our Notebook Experiments up to everyone and I hope that you will be able to participate this week or in weeks to come! I will be posting this each Wednesday so please mark your calendars if you plan to participate. You can post your entries at any time throughout the week and then leave your entry in the links below.
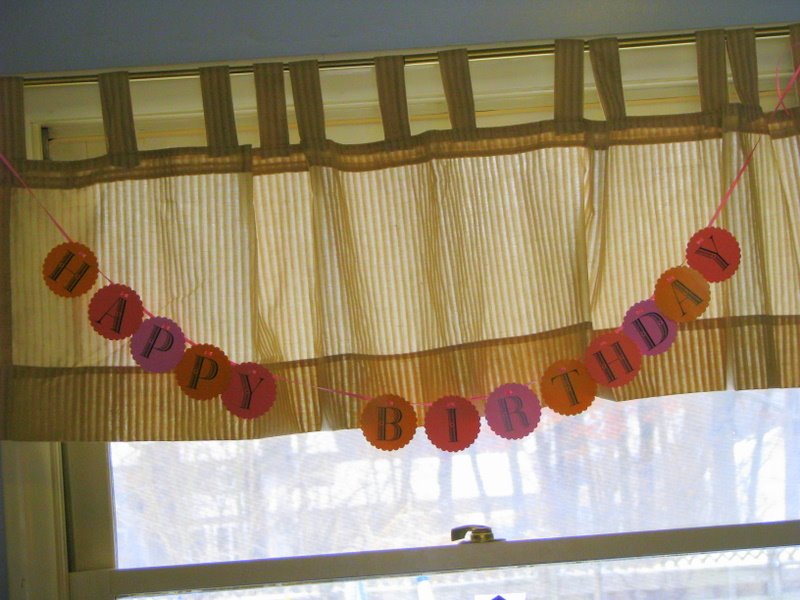
We have this handy banner that you are more than welcome to use, but it is not a requirement! It is just something you can add to add a little sparkle to your entry.
Rules for Participation:
1. Choose anything from any of our notebook entries (past or present) to do with your family. We have hundreds of bookmarked links of crafts, ways to save money, and organizing ideas.
2. Complete an experiment from the notebook and share about it on your blog or website. We would love to see pictures of what you accomplished or a detailed description of how your projects turned out. Please include a link to this entry, a link to the original posting of the entry (at the original craftster's blog), and (to help us relocate the project) the date or link of the notebook entry where you found it. You can use the same formatting as our entries or you can just include that information in your post in your own unique way!
3. Post a link below. Please include your name or blog name & a fast description of your project. Example- MomAdvice (WHO bread)
I can't wait to see what you create and what you find inspiring!
Labels: Kid Recipes, Notebook Experiments, Recipes
 Subscribe to this blog


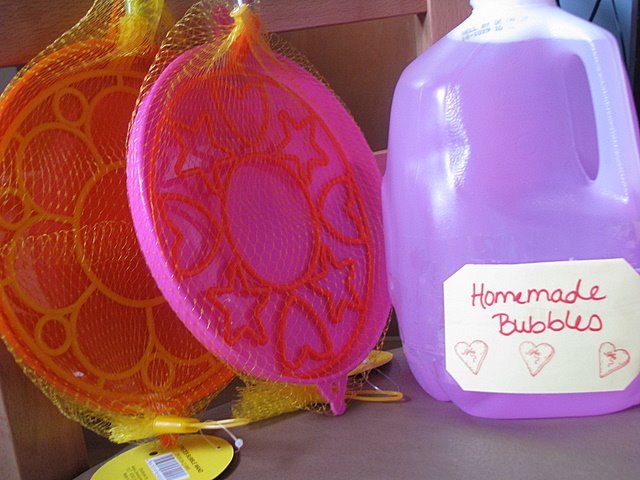

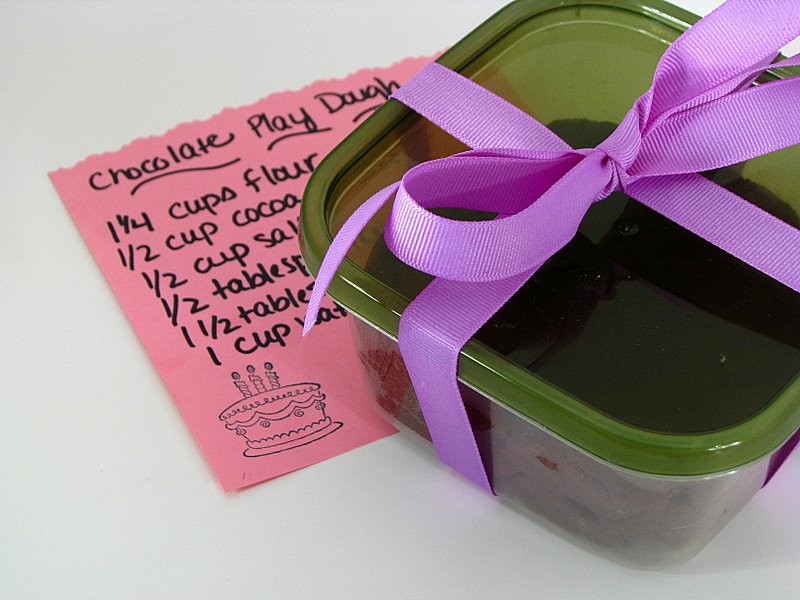
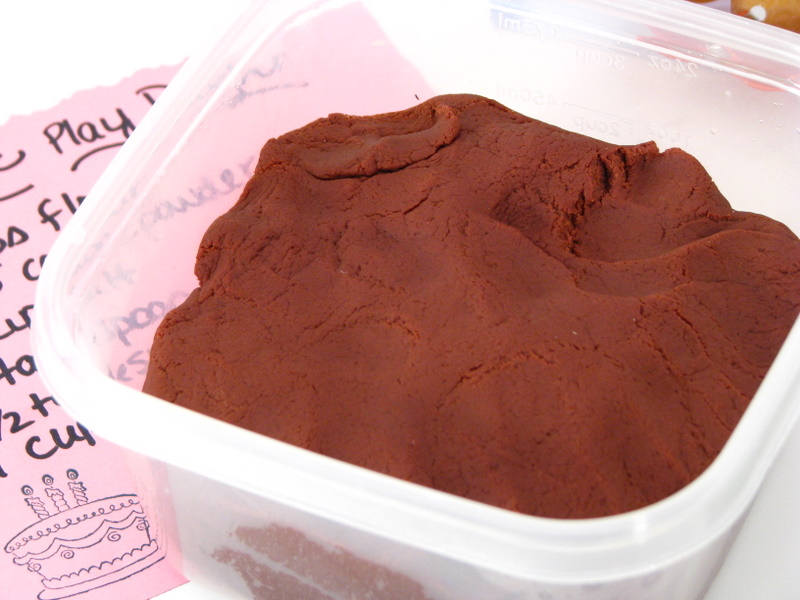
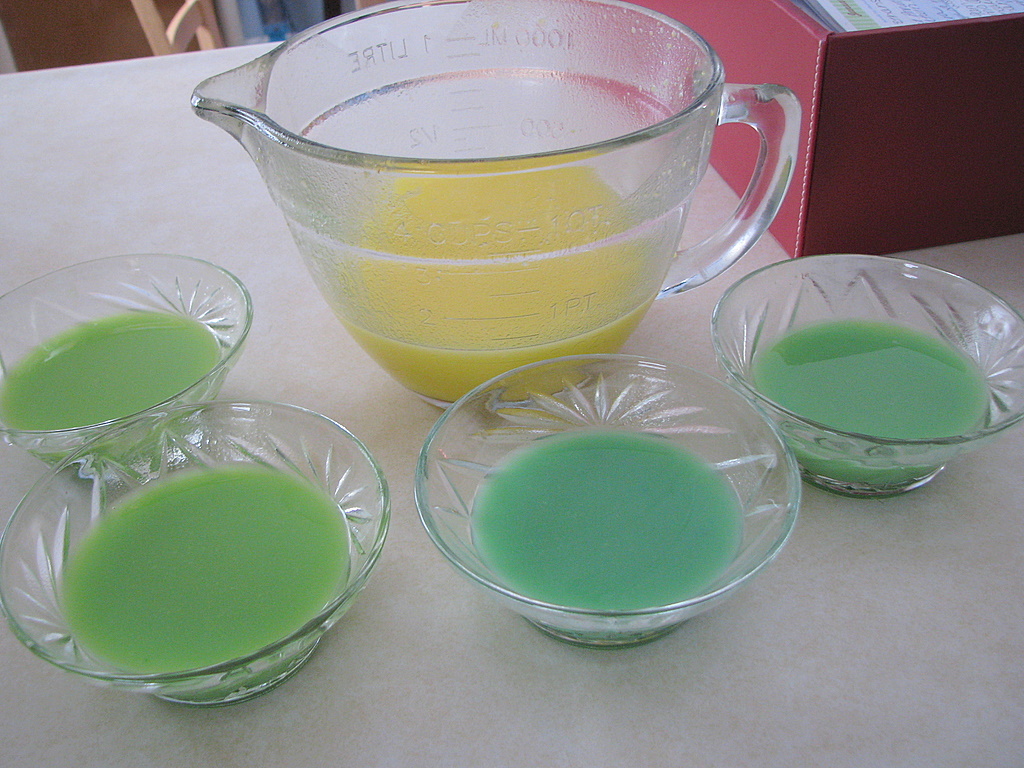
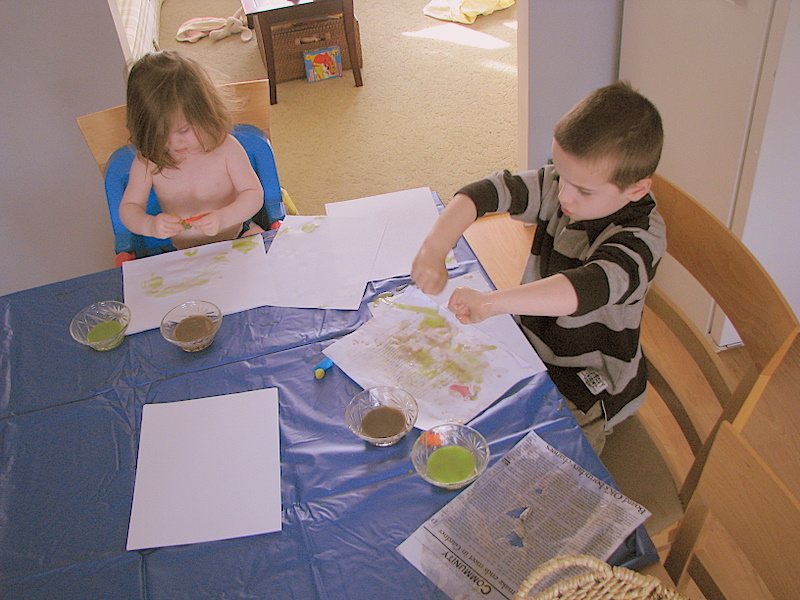
 I made a batch in each of the kid's favorite colors and was suprised how quickly and easily this dough came together. In about five minutes, the dough was ready to go for little hands to enjoy.
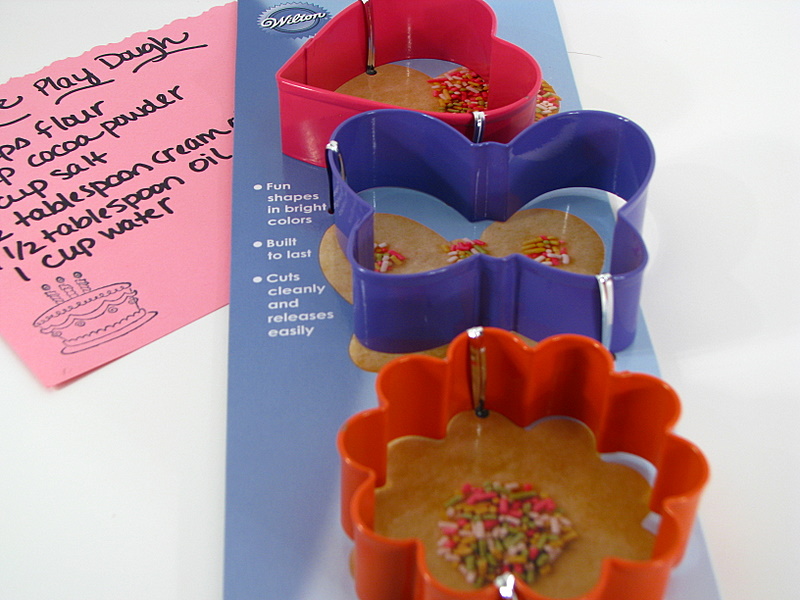
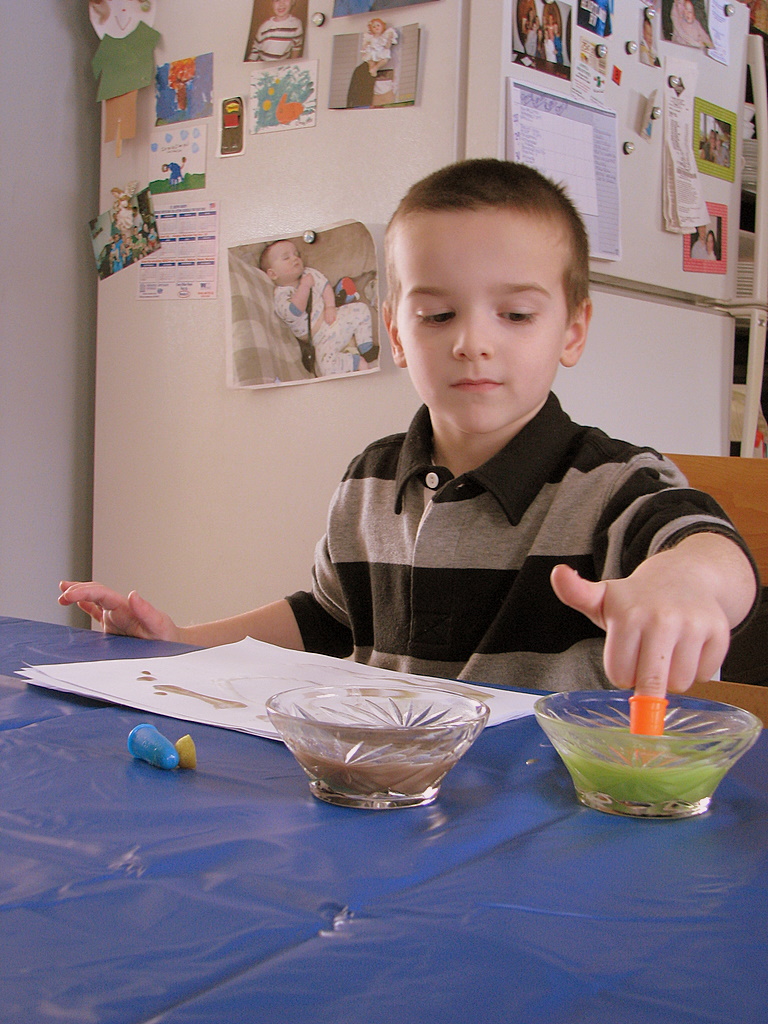
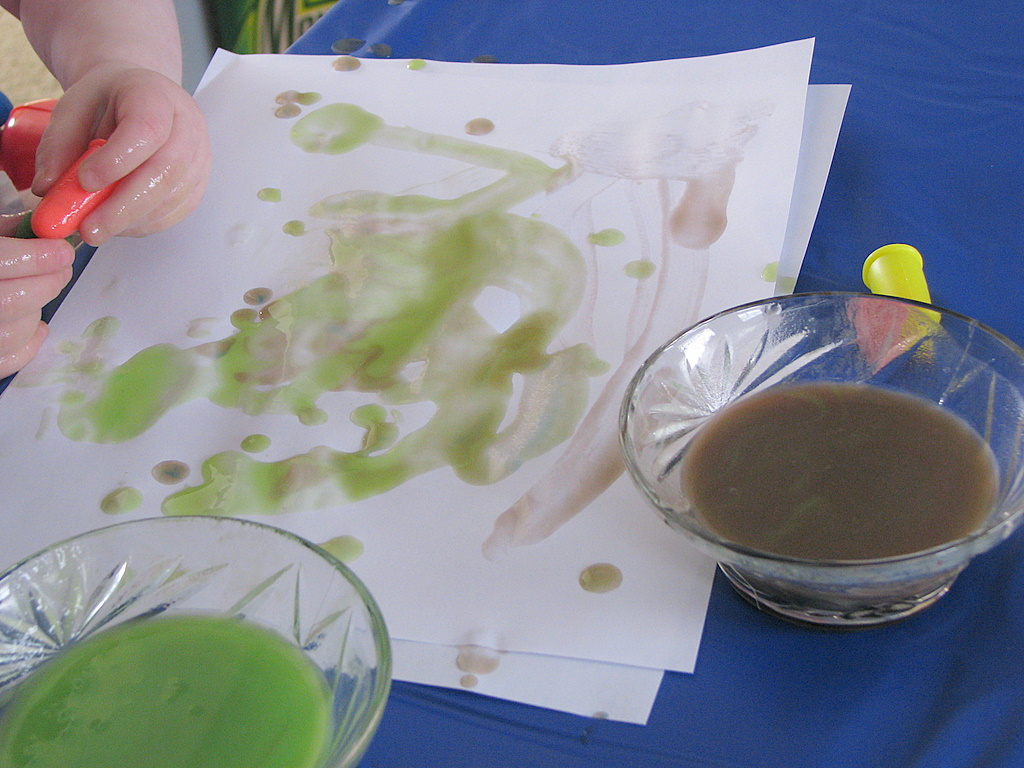
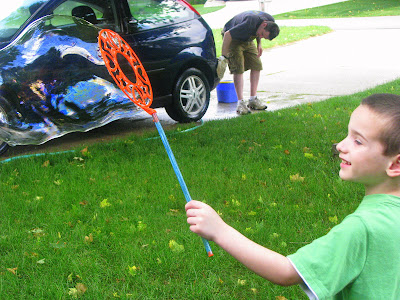
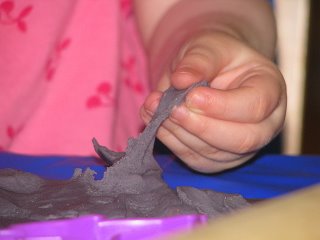 Boy, did they enjoy this! I put out my biscuit cutter, plastic forks and knives, cookie cutters, and a giant rolling pin- all items courtesy of my kitchen! The kids played in this for over an hour and then I stored the batches in plastic containers.