One of the most important and proud moments of my life happened almost 2 years ago when you all helped us give $8,000 total to provide clean water wells for Burkina Faso by donating $6,000 in just 2 weeks. You all blew us away!! I then shared this post on how to successfully raise funds for YOUR favorite charities. How fitting to end our November M Challenge focus on giving by republishing our story – if you’ve raised money for a charity using any of these tips, let me know in the comments!

I could not be prouder of my friends and readers than I am today. Today we were able to give $6,000 in raised funds to our Wells of Hope campaign for Burkina Faso and pitched in another $2,000 raising our total to an incredible $8,000 to build wells. This gift gives up to 4,000 men, women, & children access to clean water.
How did we do it? I am baffled myself! When we initially pitched the idea to the ministry team at our church that we wanted to do this, I had no clue if we would ever be able to pull it off. I am no Momastery, in traffic or in size of influence, but I did believe that my passion for this project could be contagious, if seen in front of the right eyes.
If you are trying to raise funds for a passion project of your own, I want to share with you the strategies I used for this campaign. I believe that there is enough love and money to go around to fund these projects, but it is finding ways to make that voice heard that is essential for funding.
Start With a Clear Plan & Goals
I am a big believer in getting everything on paper and when I came to the team with my big dreams of birthday wishes I didn’t speak vaguely of what I believed I could do. Let me be clear though, saying it out loud is hard. I did not want to let a single person down. At the same time, knowing that I was trying to commit to a goal, offered motivation for me to really pull through for Burkina Faso. We shared that our family was financially committed to one well and we hoped to raise enough funds for at least two more wells.
I shared every avenue I was willing to tap into, how we could gather our funds, what I would need from the team to get people to connect to our cause, and what would be happening each day in that first week on our site.

Get People Curious About What You Are Doing
I began posting teasers that we were up to something a couple of weeks in advance of launching our project. We wanted to get people excited that something big was going to be happening and that we would be calling on them to be a part of it. You can do this even if you don’t have a blog or website, but just through your social media channels.

State Your Needs Clearly So People Know Who They Are Helping
People need to know what they are funding and what organizations they are helping. In a case like ours where there are numerous organizations involved, I tried to clearly state exactly who the partners in this project were, facts about the community & people that would be impacted, and what a donation would mean to this cause.
Saying that we need clean water for people in Africa would not be as impactful as, “One out of three children will probably die before they ever reach the age of ten. The deaths are mostly due to a lack of fresh water. The women of Burkina Faso often walk several miles to a dirty stream or stagnant pool, just to fill a bowl with water.”
Children dying before they are ten?
Women walking for miles to find a water source?
It is awful, but truthful information that calls upon people to help in a very visual way.

Find an Avenue for Easy Collection
I have been a longtime fan of Pure Charity and knew that I wanted to use this site to spread the message of what we needed. I cannot recommend their site enough for what they can bring to your passion projects.
I could go on and on about why I love them so much, but it all boils down to people being able to connect with your cause, see their money grow, and know how many they have impacted. You can take a peek at my campaign to see how this looked. I can’t tell you how many people went back in and donated a little more after their first donation to the project, just see the money bar go up a little more. After each donation is given, through Pure Charity, the person is told exactly how many lives their donation impacts. Even if you were only about to offer $10, you knew that you had impacted five people that day once your funds were submitted.
This method of collection was easy and you can connect your organization right to the funds.

Donations Are Great- Whether Big or Small
Unless the organization’s collection form states that you need to have a minimum donation, show people small and approachable ways of donating. Anything over $1 was considered a donation on Pure Charity so I tried to think of things that were a little over $1 that people could “give up” to give a child clean water. A Redbox flick, a Starbucks coffee, a ticket to the latest movie, or a quick stop for a burrito is money that could be spent to give clean water to Burkina Faso.
It worked so well that people were donating after they went through the drive-thru or they gave up their weekly latte run or pizza night for my cause.
The point of this was to prove that you don’t have to be a millionaire to give. Every donation was important to me. Every. Dollar.
Connect Your Cause With Your Social Media Channels
If you are active on social media, use it to your advantage and ask your friends to spread the word. My two biggest audiences on social media are Facebook & Instagram.
Here’s a fun fact, I absolutely despise video or hearing myself on video or anything to do with video. That being said, some people like pictures, some people like videos, and some people just like to read a status. I tried to utilize every avenue from the beginning. An intro video connected you to our cause, I did a couple of thank you videos to thank people as we met goals, and we shared lots of pictures. If you want to make quick banners or collages for your cause, PicMonkey is great for your websites and if you are looking to add text to your phone images, I love Rhonna Designs app.
Thank Everyone for Everything Often
Each time we received a donation, I thanked them, whether publicly or privately. I was so grateful to everyone who gave, whether it was a dollar or a hundred dollars. The fact that they connected with my cause and helped meant the world to me.
Anytime I have ever donated to someone and received a thank you, it acted as double validation for what I did. With 121 contributors to our campaign, I tried not to overlook a single person and sent an email or message to them as soon as I could to say thank you.
After all, if we didn’t have these AMAZING friends we could never be sharing our success story with you today. My friends ROCK!
Don’t Stop Once You Reach Your Goal
 Our goal was to raise enough funds for three wells. In the end, the money kept trickling in and bit by bit we were inching closer to our fourth well. If we would have given up when we reached our goal, we would have never known we could have achieved an additional well.
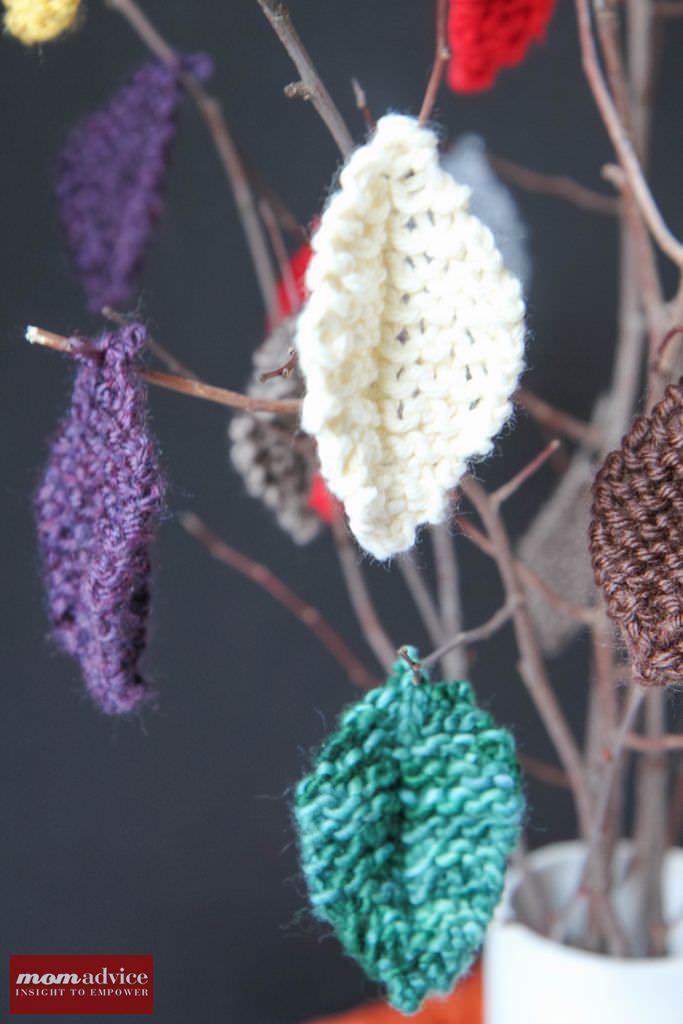
I’m not done with Burkina Faso though. The water of funds will continue to trickle as I knit my way to another well this year. I am working on my first round of wares for an Etsy shop to give all the profit to Burkina Faso.
If you have a talent for something and a burning desire like this amazing young lady that shared her story with our readers, you can continue raising funds in whatever little ways and pockets of time you have in your day.

Whatever your project, I pray that God blesses you abundantly in it. I also thank each of you for helping us reach and surpass our goal of giving clean water to the people of Burkina Faso. Thanks to your donations, we will have water for up to 4,000 people. What an incredible gift you have given us and these people.
Thank you for celebrating the site’s tenth anniversary with us in such a grand and beautiful way! It solidifies my belief that this is just what God wants me to be doing with my life.
xoxo,
Amy
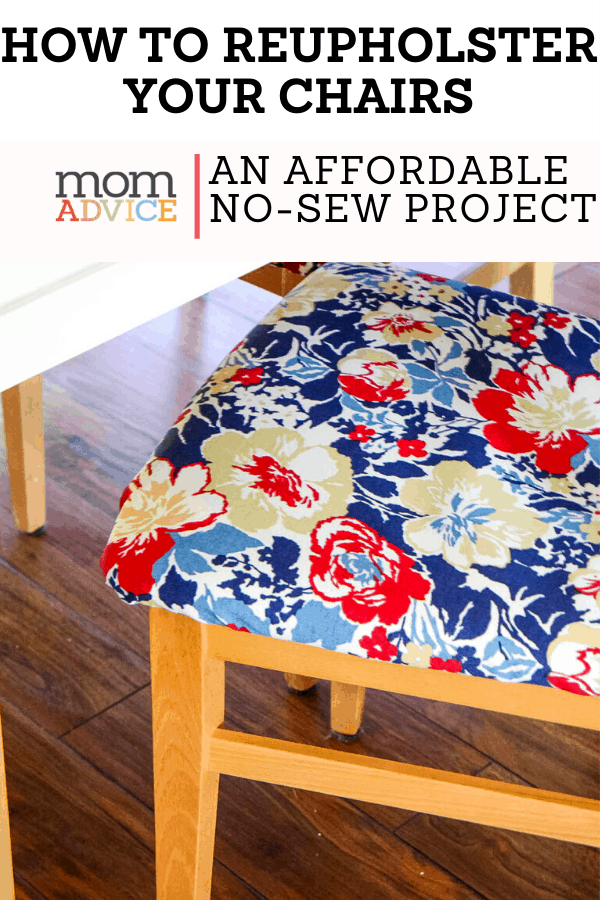
Pin It


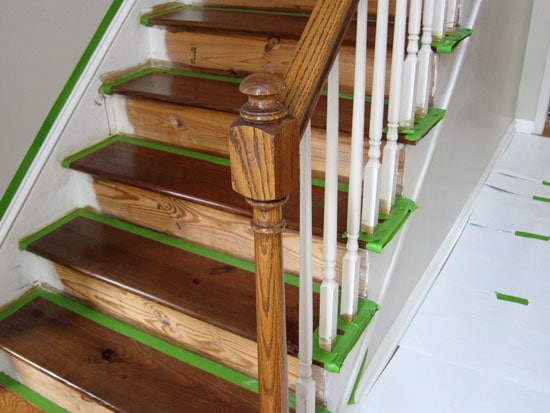


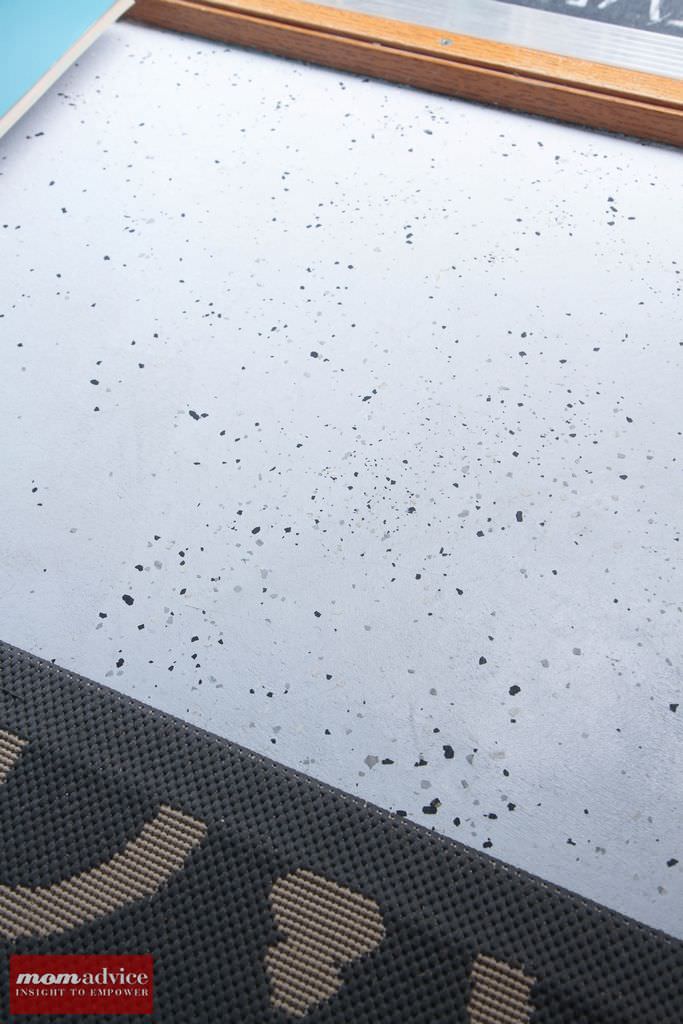
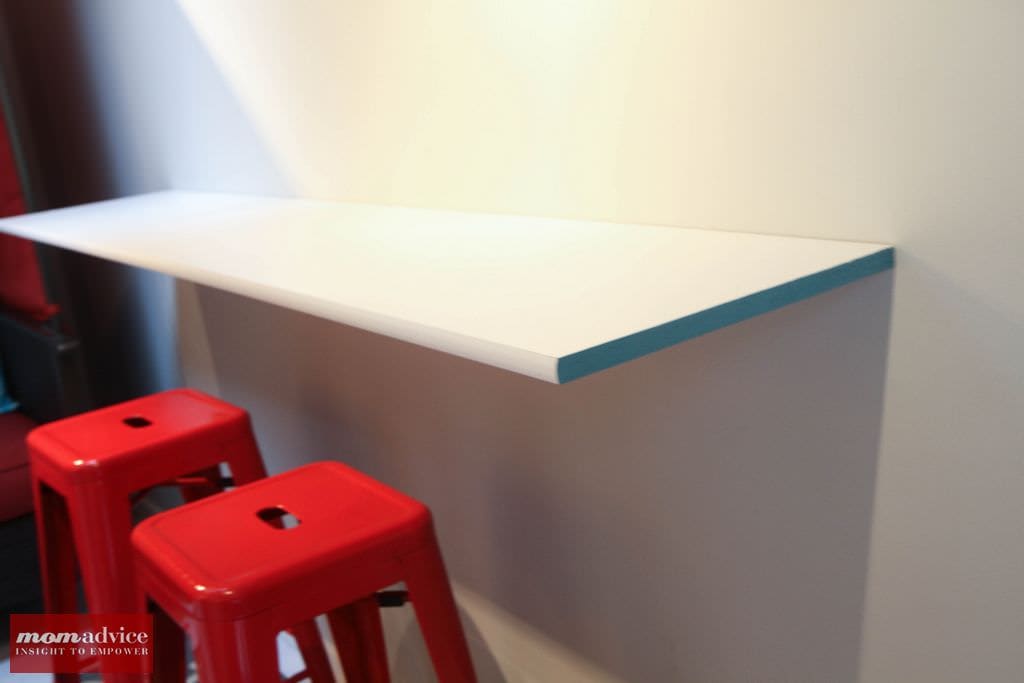
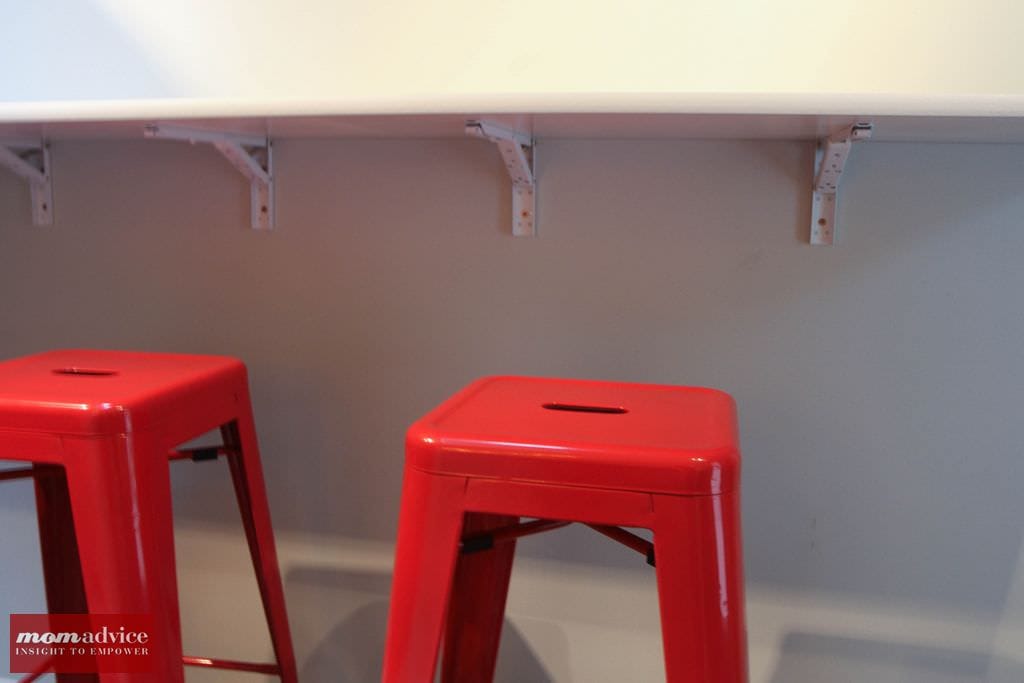
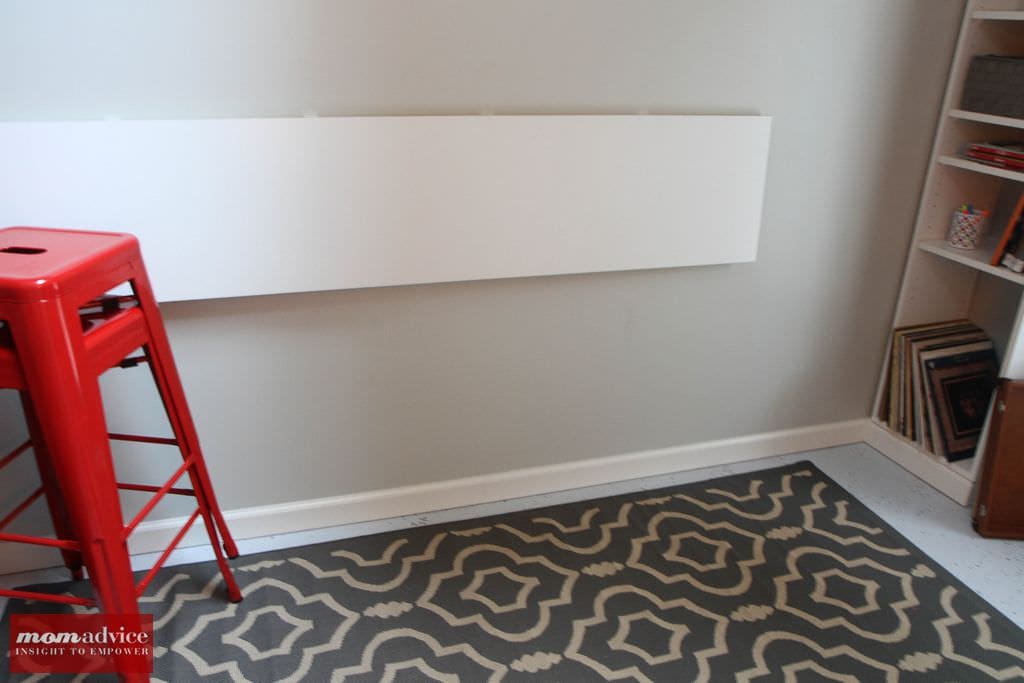
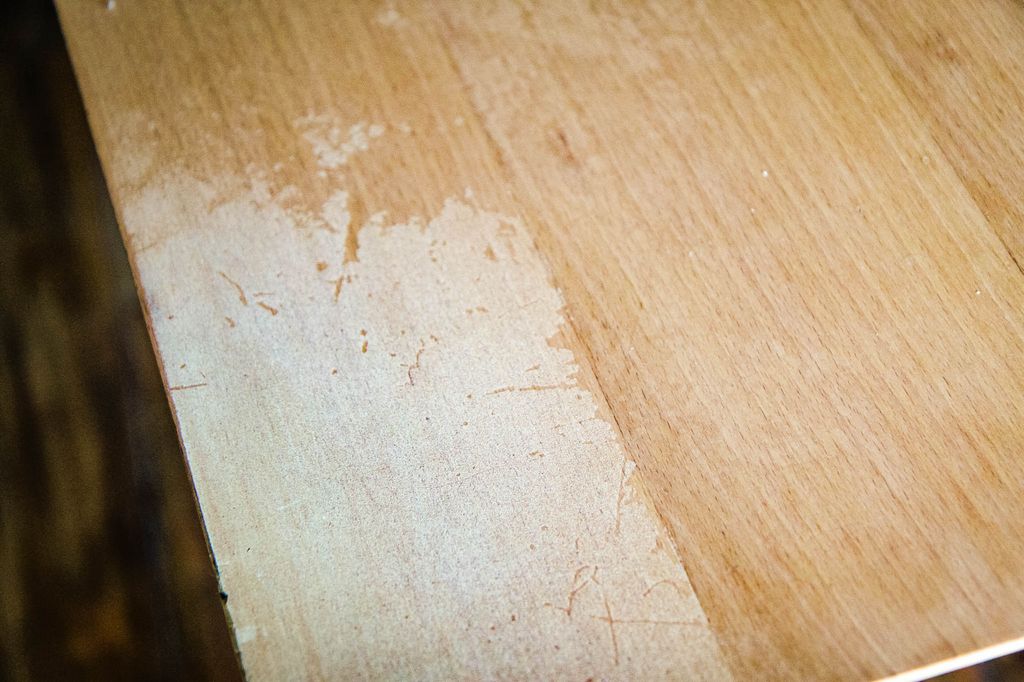
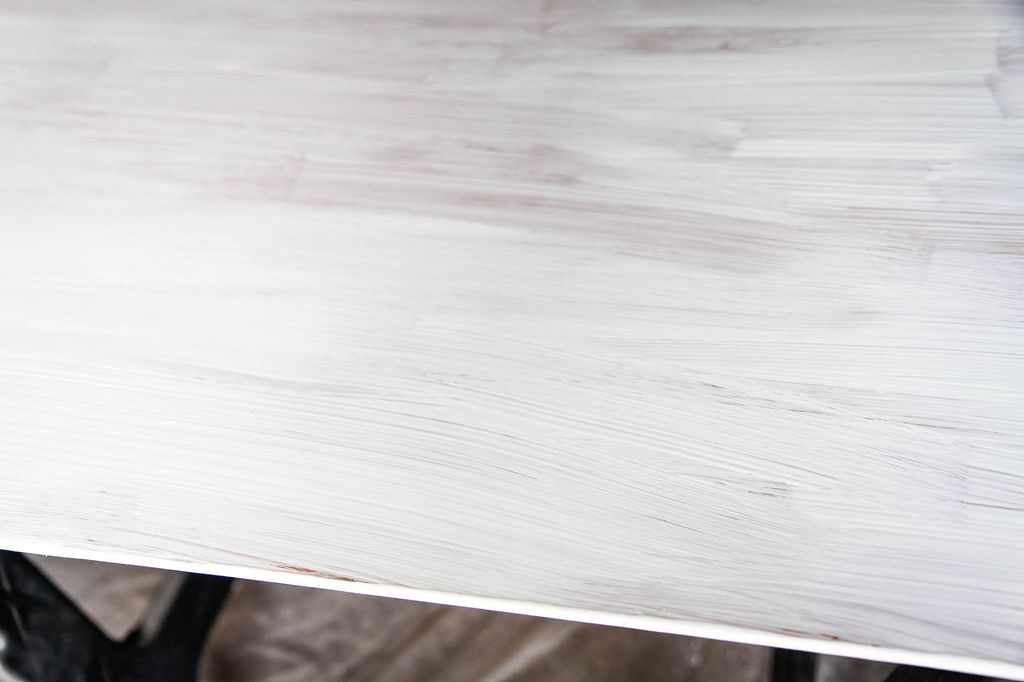
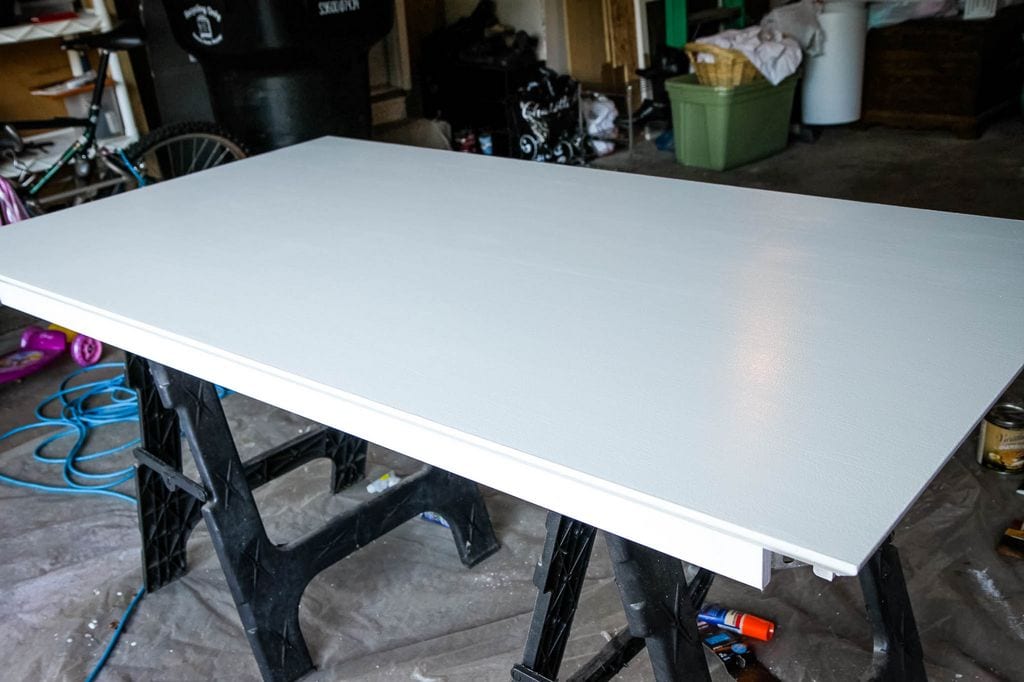
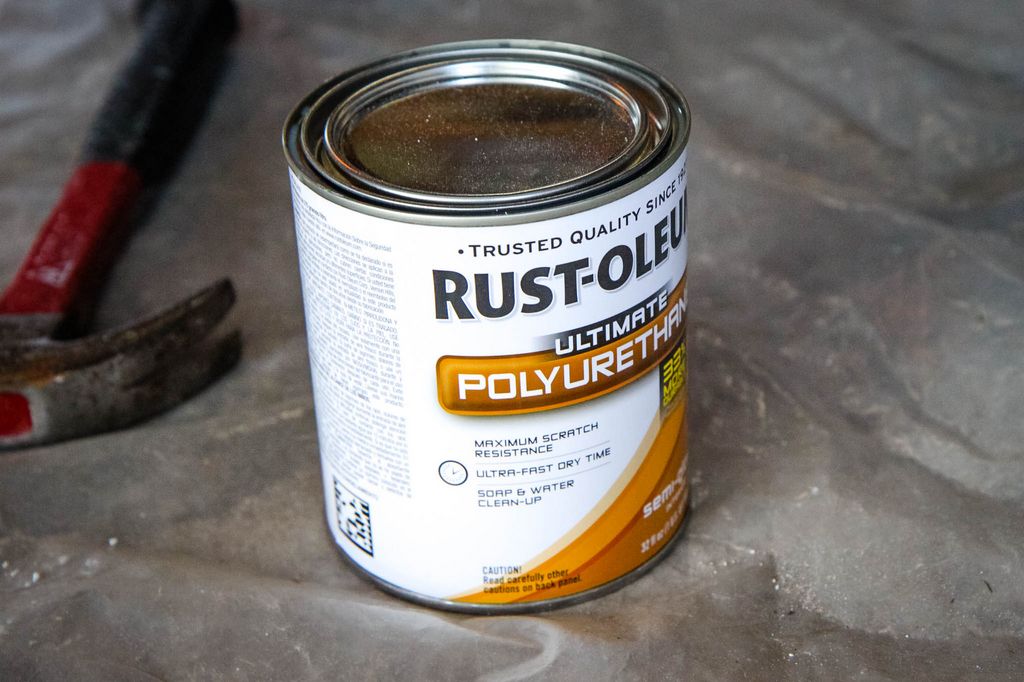
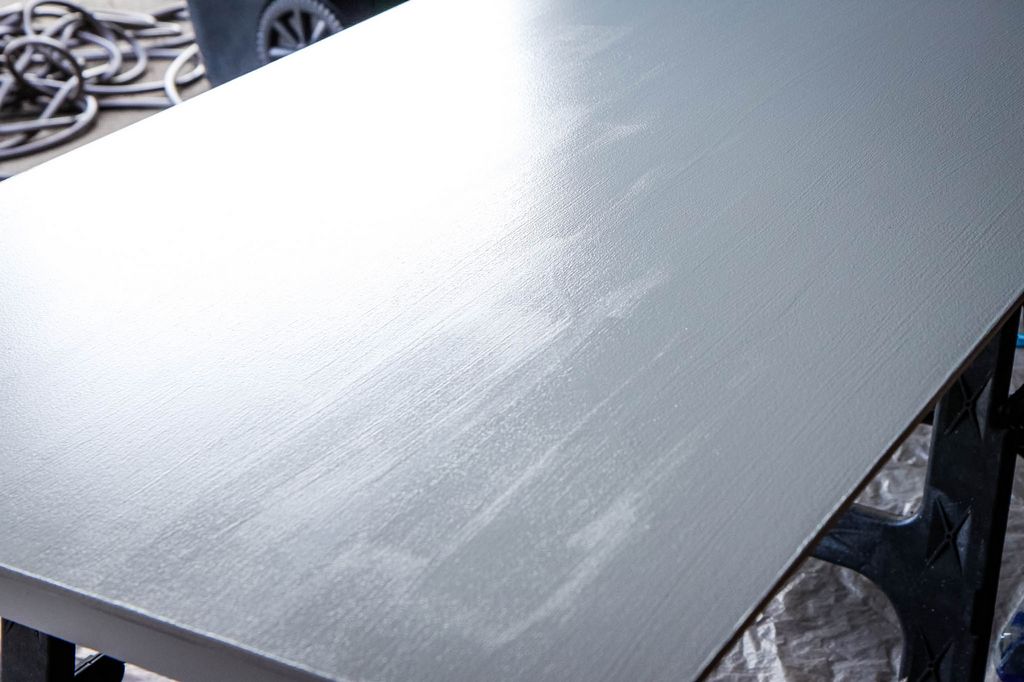
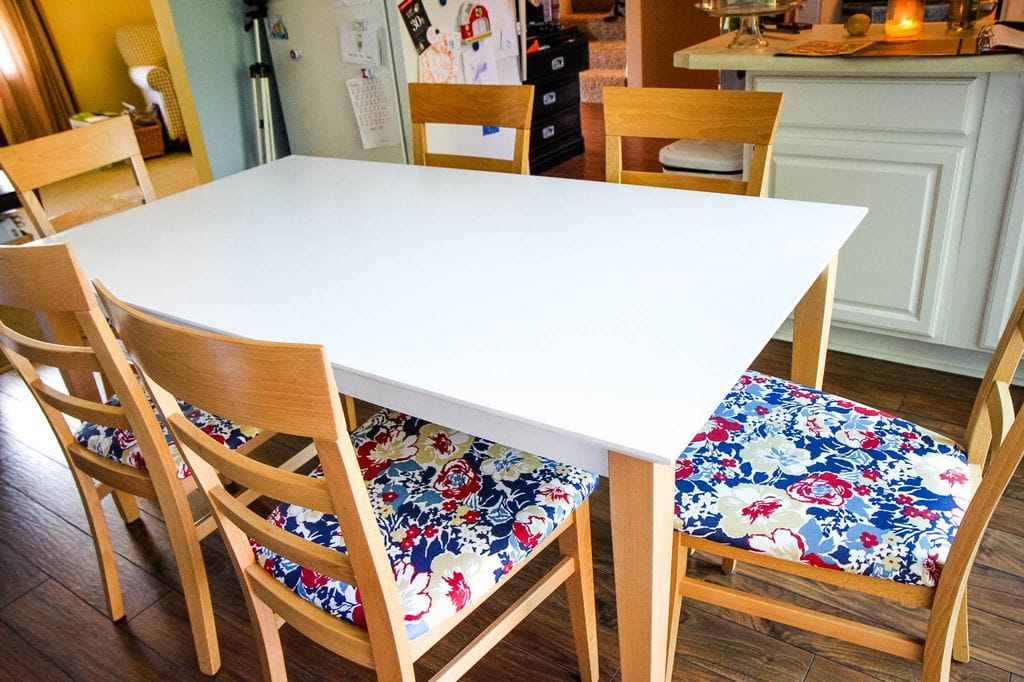
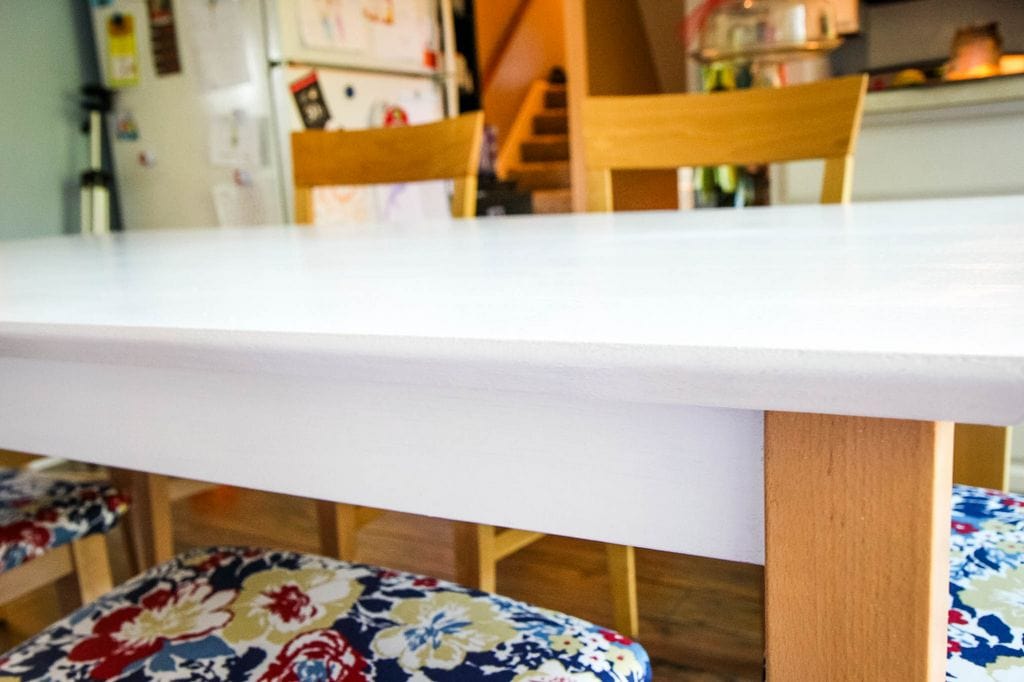
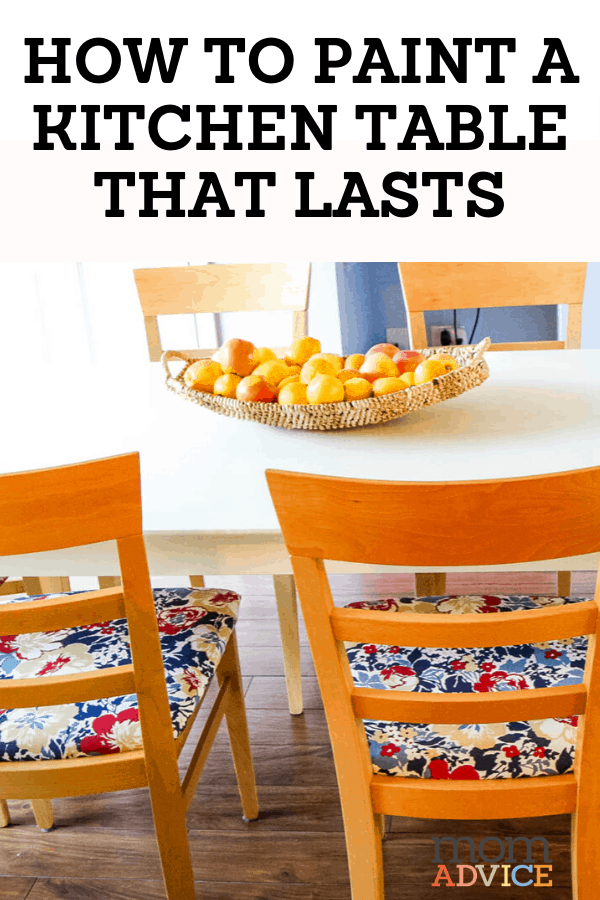
 Here is what my tabletop looked like after the first coat. You can see that there is definitely still some unevenness to it, but we are off to a good start. Allow this to dry for 2 1/2 hours before applying the next coat.


