
When my book proposal went out in the literary world, I decided to throw myself wholeheartedly into two bedrooms that were both in need of a serious overhaul, to prevent me from thinking about the big decisions being made. All of that nervous energy turned into fuel into creating my daughter and son’s room into what I had envisioned their new big kid spaces to be.
Over the next few weeks, I wanted to showcase some of the crafts that I created and how I decorated their bedrooms on a budget. The first tutorial I wanted to share was for this easy monogrammed coffee filter wreath for my daughter’s wall. I am not the first to create a coffee filter wreath and I know I won’t be the last. I read a billion tutorials for making these and then decided to do it my own way with a few tips from each tutorial. When you create yours, I am sure you will do the same on your wreath to create a masterpiece for your home.
These are a beautiful accent to decorate any room in your house. These would also make fantastic holiday gifts for your friends, mothers, daughters, grandmothers, or teachers and cost about $8-10 in supplies.
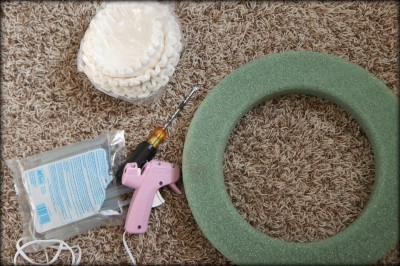 Let’s get started. You need a wreath or wreath form of your your choice (I found this flat Styrofoam wreath at Hobby Lobby), a package of 200 coffee filters, hot glue gun, glue sticks (you will need about six for this project), a screwdriver, a lightweight monogram letter of your choice, and a can of spray paint of your choice.

Fold your coffee filter in half as shown here.
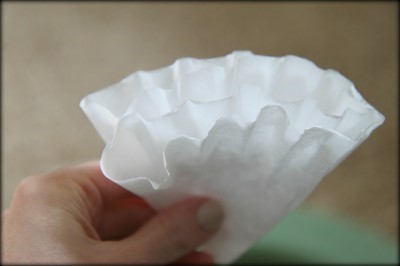
Fold your coffee filter in half again as shown here.

On the tip of this you will apply your hot glue and then fold the tip a bit to apply it to the wreath. Secure the glued end to the wreath, flattening it a bit and adjusting as needed.

The top of your filters will look like this. That screwdriver can go into the center to help push the filter into the wreath and save your hands from getting burned. You can risk it and just burn those hands up, but I found the tip of the screwdriver really works to help prevent burns as you add those filters in. I wish I could take pictures of myself doing this as I am doing it, but, unfortunately, I only have two hands and no one to work the camera for me.
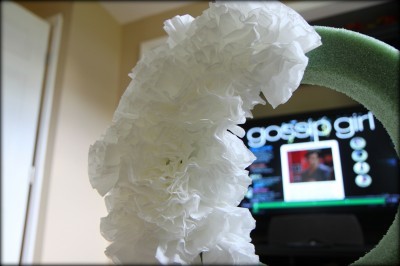 Start filling the wreath in with the filters all over. Anywhere that you see that wreath form sticking out should be covered with your filters. You can bend and twist them into the spots, securing these with hot glue. Catch up on all of your favorite shows since you need to do this approximately 150 times.
Please don’t judge me on my favorite show. A girl needs an escape when doing her billions of loads of laundry and other mundane tasks around the house. It makes me feel hip and chic, unlike the 33 year-old woman sitting on her carpet making a coffee filter wreath.
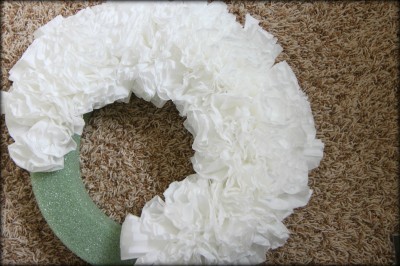
Keep on going around and around and around. Don’t worry if it isn’t even, just do the best you can. You can trim it all up in the end and no one will ever know.
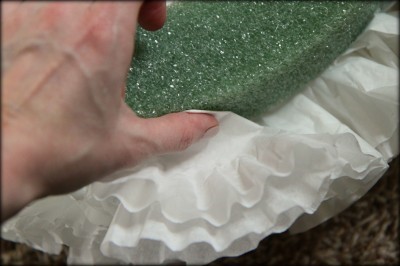
Once it is all filled in on top, we need to cover the sides of the wreath so we don’t see any of the wreath form peeking out. Fold the coffee filters as I showed you above and this time we will lay them flat against the side to cover the wreath.
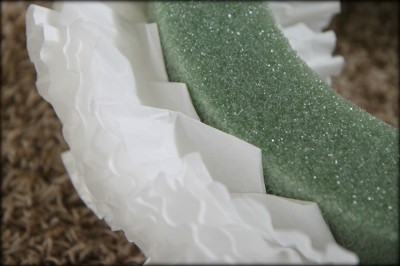
Just keep overlapping this final layer to cover up the wreath form as I have pictured here. This wreath will be very full and the little spots that aren’t covered won’t be seen, so don’t worry!
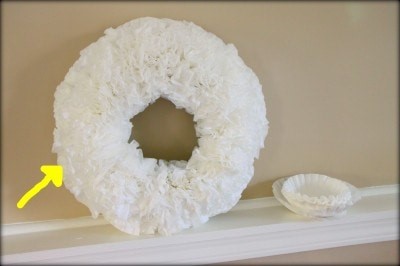
Once you flip it over, you will see that the back layer is a tad longer than the other layers. Trim those up with a pair of sharp scissors and cut them down so they fit in with the other layers on your wreath.
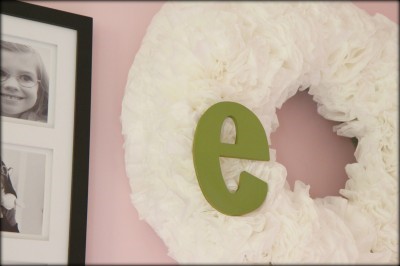
Once the wreath is all trimmed up, you can mount a monogrammed letter of your choice. I spray painted mine green to match my daughter’s room. I found this little letter at Michael’s back by the wooden craft supplies. This letter was just, $1.99. The key to this is to find one that is lightweight so it stays on easily. Hot glue the back of the letter and secure it in place on your wreath. You can then hang your wreath with ribbon or just hang it on a nail, as I did here, to keep things sweet and simple.
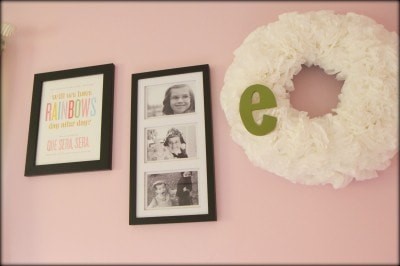
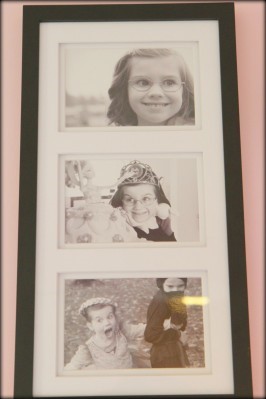
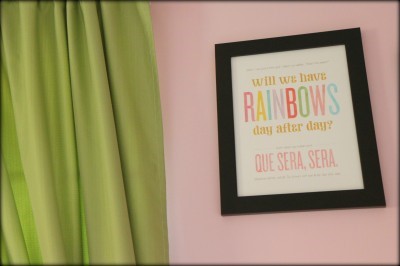
This wall in her room is making me very, very happy right now. It is the first thing I see when I walk up the steps and was so inexpensive to do. I framed three of my favorite pictures of her, all printed in black-and-white.
The, “Will We have Rainbows Day After Day?,” printable was found for free printing on Making It Lovely. I found a frame for this at Michael’s for half off and printed it on my printer at home. It is so sweet and fits perfectly with her personality and color scheme.
I could not be happier with how this wreath turned out and definitely recommend making one or two for yourself or someone you love.
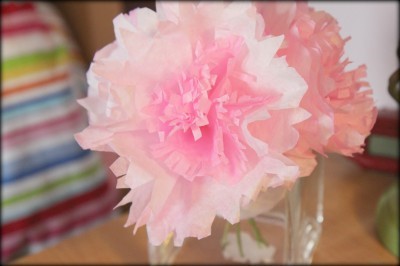
Don’t toss the rest of your coffee filters out after making this wreath. Next week I will show you how I made this bouquet of coffee filter flowers to adorn a nightstand. No one will believe these are made from this household item and it can be a fun craft to decorate any table in your home.
What craft projects have you been working on? Feel free to share any links to what you are working on! Access all of our craft fun on MomAdvice by visiting our Craft Section. Happy crafting, friends!
Pin It