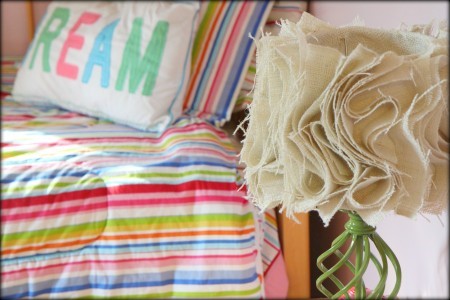
We have come to the final project in my daughter’s big girl room makeover. I am so proud of all of the little detai this room. Many of the items in my daughter’s room had great bones, but seemed a little young for her. The lamp in her room looked like it belonged in a nursery so I was excited to update this for her. Instead of getting rid of a perfectly good lamp though, I wanted to figure out a way that I could do a stylish budget-friendly update to it. I happened upon this Ruffled Burlap Lamp tutorial on mama says sew and knew that this would be the perfect way to update her lamp and add a little big girl style to her nightstand.
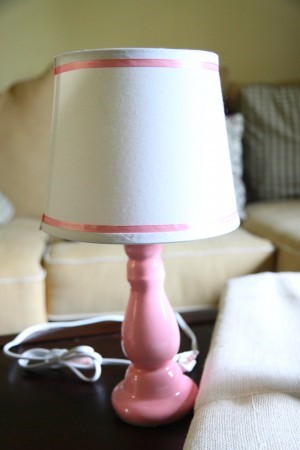
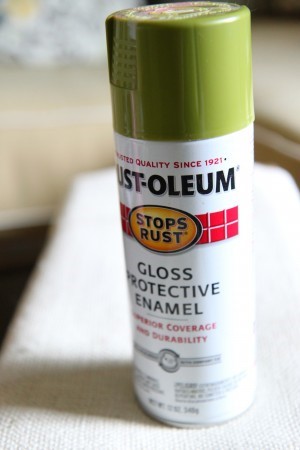
As you can tell from the picture above, I was planning to just spray paint the original base and save myself a few dollars. Unfortunately, it rained that night and I had a spray paint fail with the paint never hardening and creating a big giant mess. I ended up buying a new lamp base for $12 at Walmart and then spray painted that to match her room. It goes to show that I can screw up even some of the simplest craft projects around here.
I bought one can of spray paint and two yards of burlap which worked out to be eight dollars in supplies (if you don’t count my big spray paint screw-up).
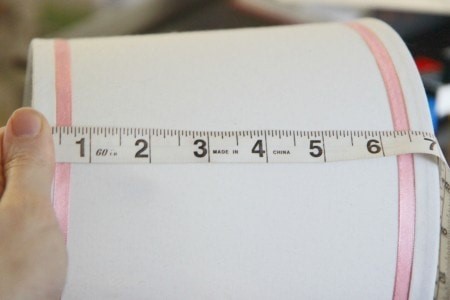
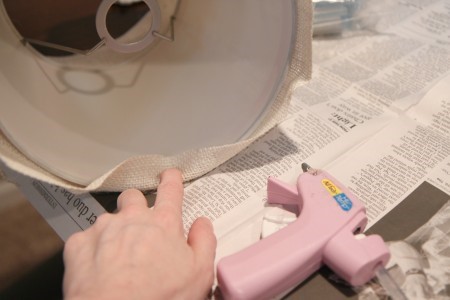
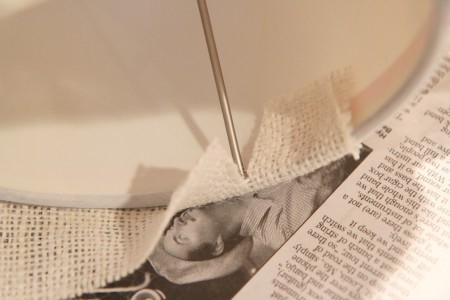
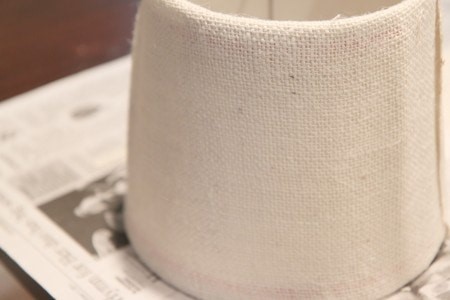
You will first want to cover the entire base of your lamp with a layer of burlap. Any of the metal around my lamp shade base, I just snipped a tiny slit to work the burlap around it. I used my hot glue to cover around it and secured the glue along the edge of the interior of the base.
If you have never worked with burlap before, this material is a MESS to work with. I had burlap pieces and strings everywhere. You definitely want to cut this on newspaper that you can toss out when you are done.
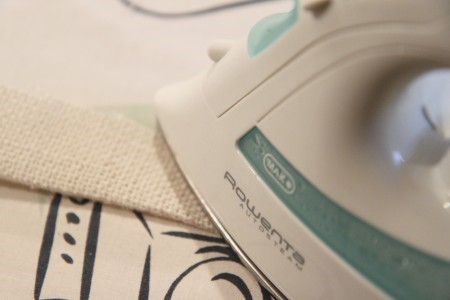
I got out this clothes-presser-thingie (can’t remember what this contraption is called) and pressed strips of burlap that were 1 1/2 times the length of my shade. These were 2″ strips that were then folded in half.
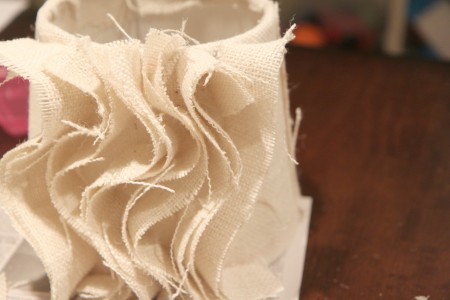
Just attach the pieces in a roughly manner all around the lamp. I went around it once and then filled in any empty spots with a ruffle in the middle where any holes were.
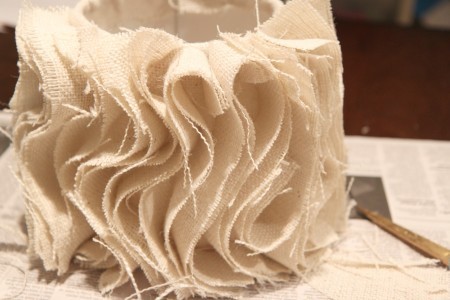
Keep going around and around until the shade is full. It is so pretty and I absolutely love how this turned out. I want to make one for our bedroom now since it is such a fun way to dress up a lamp.

This is definitely one of my favorite projects in my daughter’s big girl room and I would highly recommend making a lamp for a room in your house too. Thanks to mama says sew for the inspiration. Please visit her blog for the full details on measurements and a tutorial on how to make a ruffled lamp for a corner in your room.
What craft projects have you been working on? Feel free to share any links to what you are working on! Access all of our craft fun on MomAdvice by visiting our Craft Section. Happy crafting, friends!