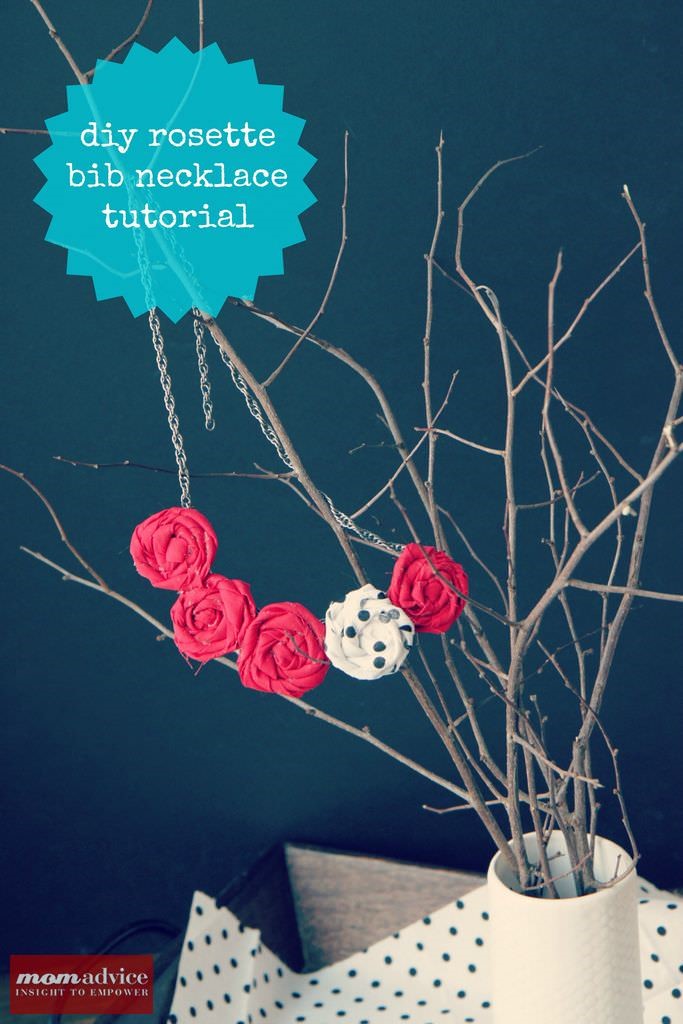
 Valentine’s Day is just around the corner and today I wanted to show you how to dress up a plain t-shirt with a DIY Rosette Bib Necklace. This tutorial for a DIY Rosette Bib Necklace will help you make a pretty piece of inexpensive jewelry that you can wear year after year to spice up an item you already have in your wardrobe for Valentine’s Day.
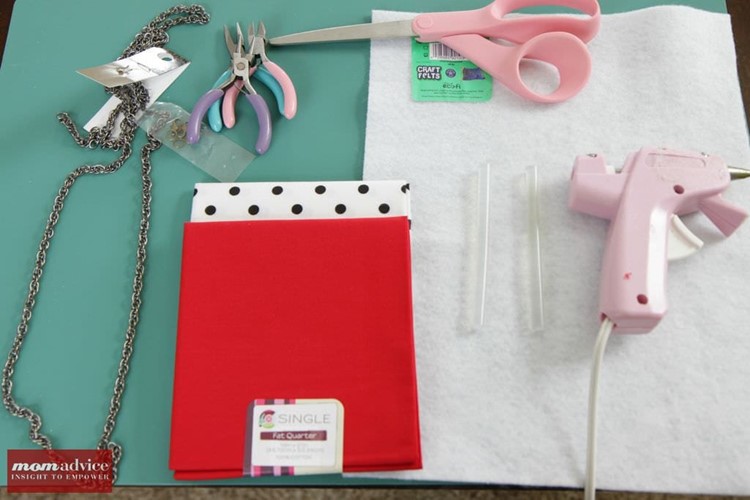 Supplies Needed
A simple chain or bead necklace (in the jewelry supplies)
Jewelry cutting tools (if needed to trim the sizing of your chain)
Fabric (you can use scrap fabric or buy inexpensive fabric quarters)
Felt
Hot Glue Gun & Glue Sticks
Scissors
Blow Dryer
Tweezers
Editor’s Note:I found my supplies at Walmart because I was already at that store shopping and they cost approximately $5 (if you don’t count buying jewelry cutting/shaping tools, hot glue gun, or scissors which I already owned).
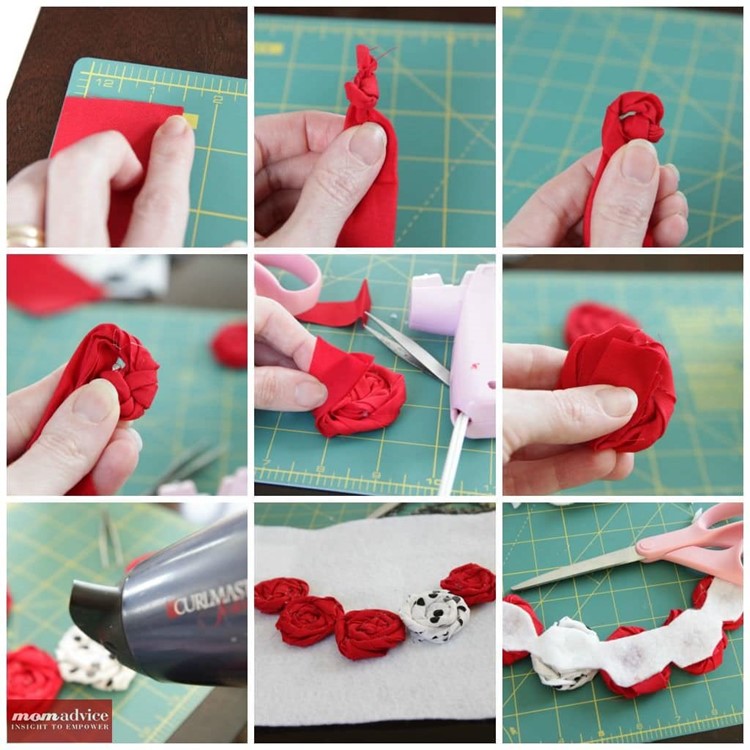
 1. Begin by measuring and cutting 5 strips of fabric into 1 1/2″ strips. The length can be determined by you. I used the length of the fabric quarters that I bought for this size rosette, but you can adjust to the sizing of your choice. I chose two different fabric prints for mine, but you can certainly do all the same color, if you prefer!
2. Add a knot to the end of your fabric to begin the start of your rolled rosette.
3. Begin twisting your fabric, adding small dabs of hot glue to hold the twisted rosette in place. Keep twisting and dabbing with glue until you get almost to the end of your fabric or until you reach your desired sizing.
4. With the end flap of your fabric, add a dot of hot glue to the back of your rosette, and then fold it behind to secure it in place.
5. If you have any gobs of hot glue (which is very easy to see with plain fabrics), use your blow dryer on a low setting to get rid of any hot glue strings or to slowly melt the glue a bit to pull it off with tweezers.
6. Glue your rosettes, in the center, onto your piece of felt in a necklace arrangement. Make sure you leave the edges of the felt loose to tuck your chain behind it.
7. Use your scissors to trim the felt around the flower. Secure the flowers with a little more hot glue between them to help hold them together into one piece.
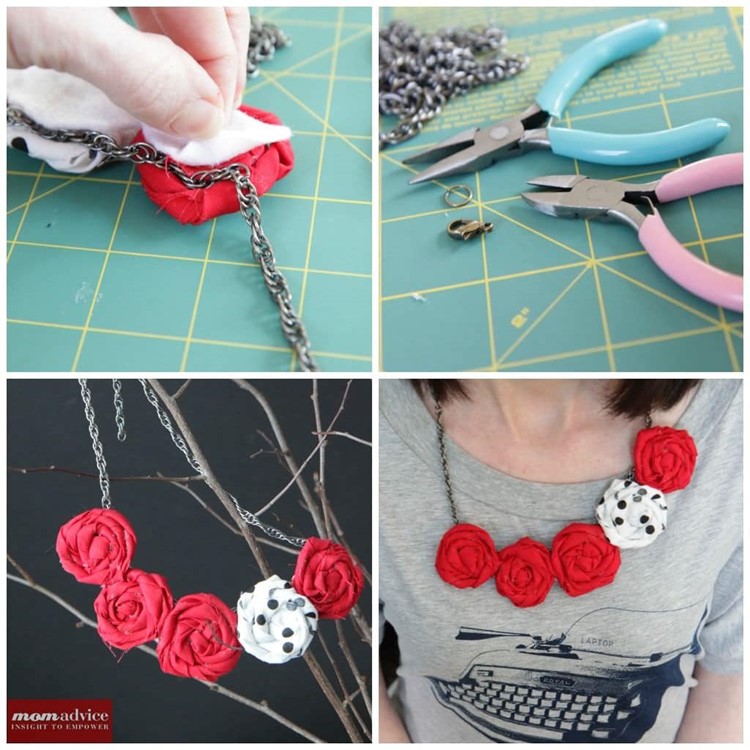
8. Secure your chain with hot glue between the layer of the rosette and the felt.
9. Trim your chain to the desired length and add the ends to your chain, if needed.
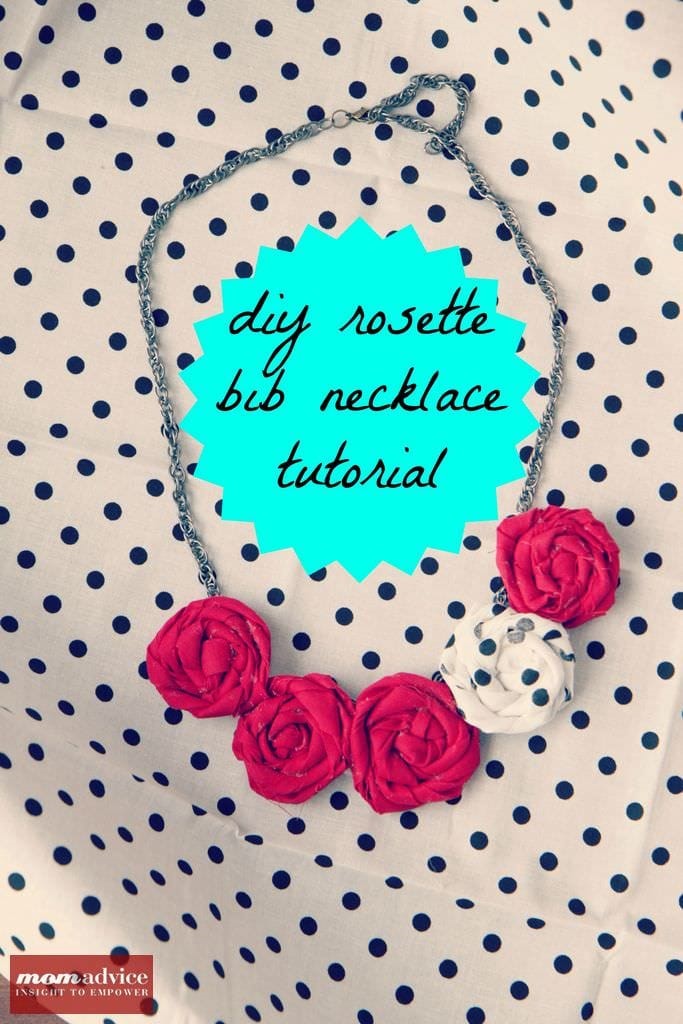
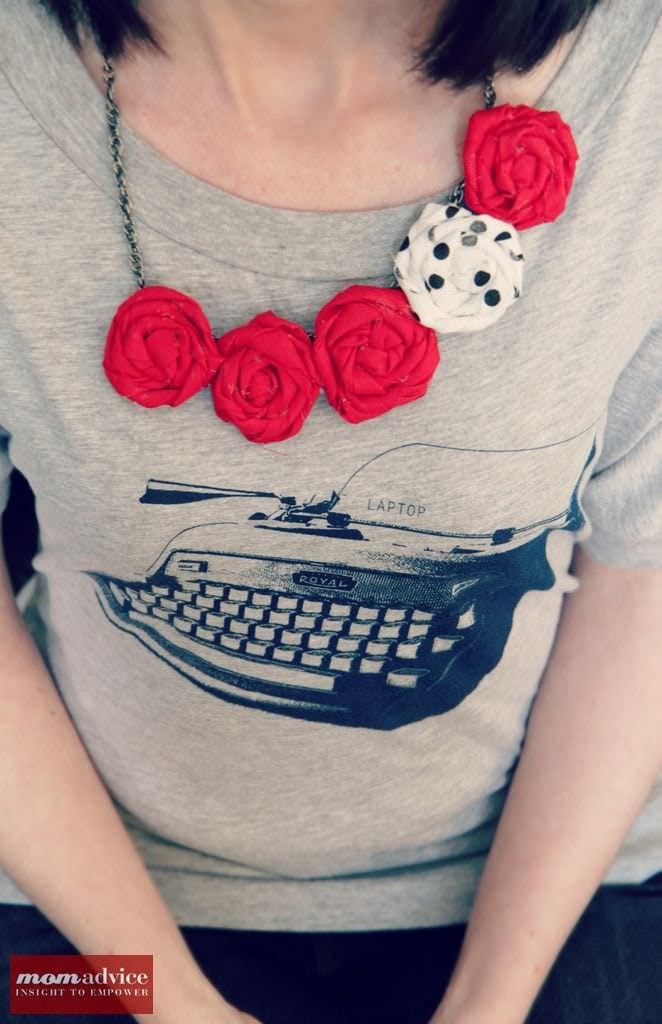 You can begin wearing your beautiful handmade necklace immediately! I wore mine for our annual Valentine’s Day Bunco night with a black top and red patent leather belt! It’s such a fun way to spice up items you already have in your wardrobe and could be made in a variety of colors, depending on your holiday occasion!
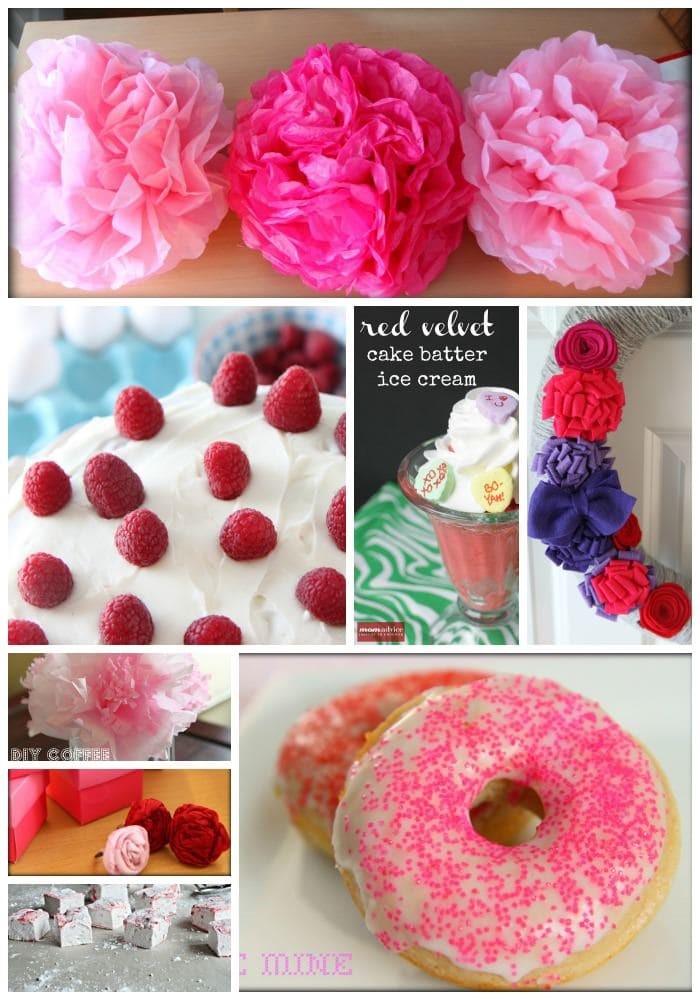
I do love Valentine’s Day around here and here are a few other fun Valentine’s Day projects you can spy on MomAdvice! Tomorrow I will be sharing an elegant Valentine’s dinner you can share on a budget!
DIY Tissue Paper Pom Poms
Red Velvet Cake With Cream Cheese Frosting
Red Velvet Cake Batter Ice Cream
Valentine’s Day Yarn Wreath
DIY Coffee Filter Flowers
Rolled Rosette Rings (to match your necklace)
Peppermint Marshmallows (cut them in hearts!)
Be Mine Fluffy Cake Doughnuts
Today I also happen to be helping host the 2nd Annual Valentine Week Party! Last year’s week long event ended in a great party with 275 Valentine’s Day projects added!
This is really HUGE my friends! You can add your Valentine’s projects on any of the blogs and be seen on ALL 9 of them! That’s over 100,000 readers that will see your projects!

Meet your hostesses…
Now, it’s your turn to showcase your Valentine’s Day Ideas to the Party, simply click on the little blue button where it says “add your link” and your posts will show up on ALL NINE BLOGS! How cool is that? I can’t wait to see what projects you have been working on for Valentine’s Day!!
Pin It