Archive for the ‘Make Ahead Meals’ Category

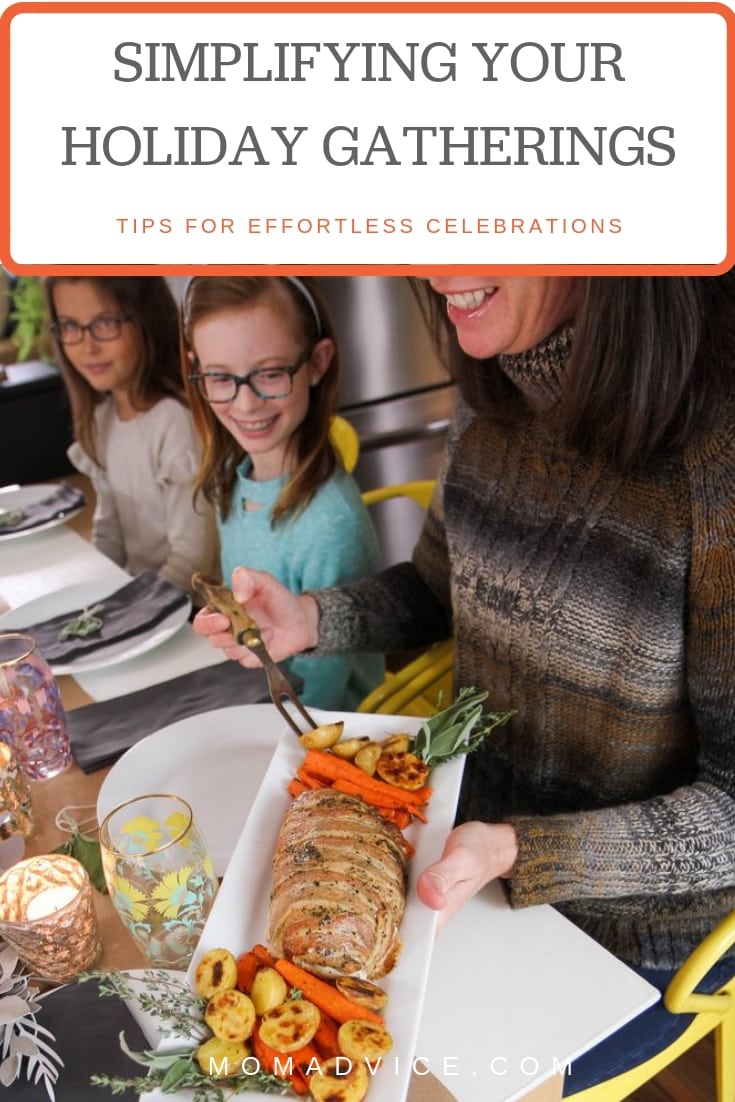
Simplifying Your Holiday Gatherings

Thursday, November 1st, 2018

You will love these strategies for hosting memorable gatherings without the stress.

I’ve got everything from cooking shortcuts to decorations that transition through the seasons to your perfect playlist! 

This post is sponsored by Honeysuckle White. All thoughts and opinions are my own! 

Now that Halloween is behind us, it is time to start thinking about all of those upcoming holiday gatherings. Hostess duties can often feel stressful and overwhelming, don’t they? That is why I’m excited to be partnering today with Honeysuckle White to share some fresh ideas for hosting your next gathering without the stress.

I learned that if I wanted to connect with my friends and family that I often had to be the one to step up to bat and offer to host. I have discovered, over the years, that so many people feel intimidated by hosting and are often self-conscious of things like undone house projects, their limited cooking abilities, or not feeling like they have that perfectly sized space for the ideal gathering.

The thing is, our own intimidations rob us of precious moments with those we love and the people that REALLY and GENUINELY love us will always, always be thankful to you for creating space in your home and day for them.

That is, truly, why I am excited to share that Honeysuckle White recognizes how precious our time is and wanted to take out that intimidation factor by providing a brilliantly easy turkey product that will make gatherings so much easier on busy moms.

Even better?

You can order it right through Amazon.

And, ladies, I KNOW we all have Amazon ordering down pat! (*ahem*)
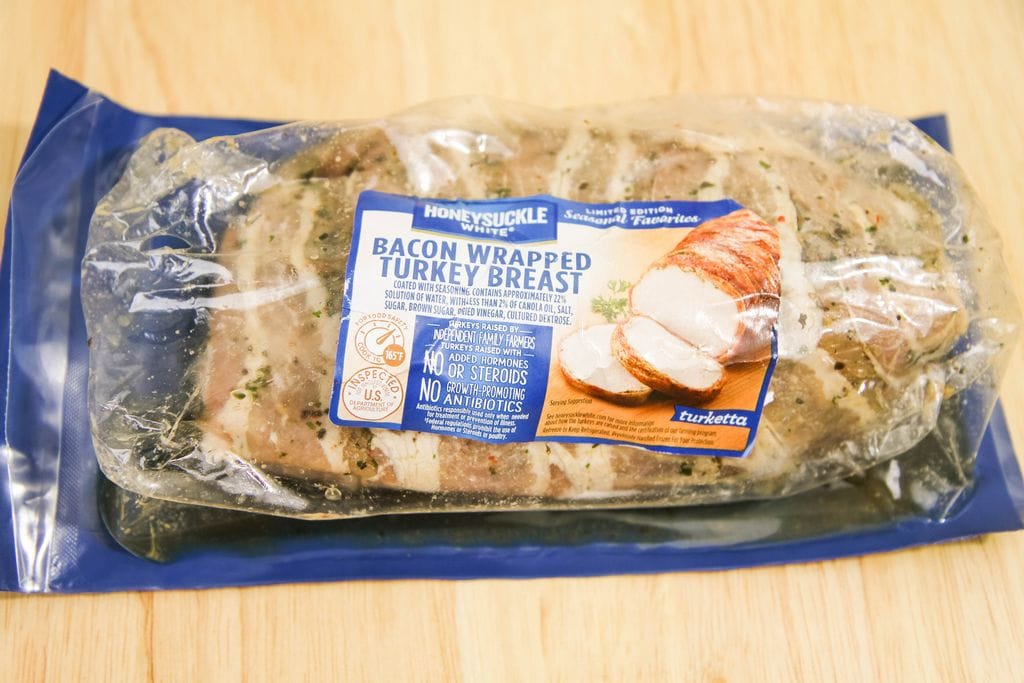
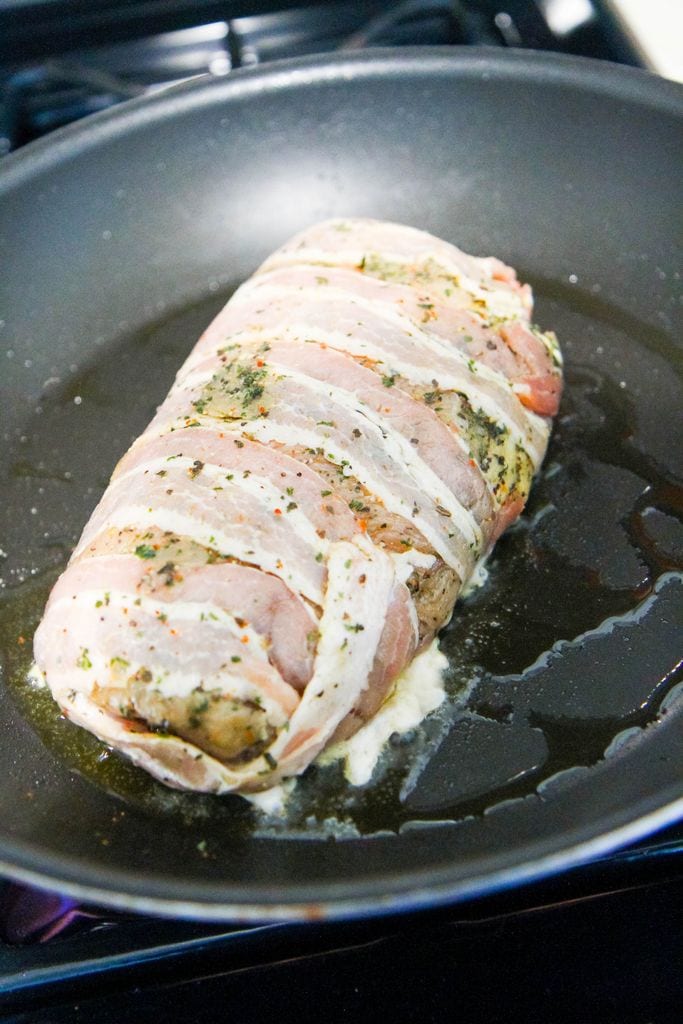
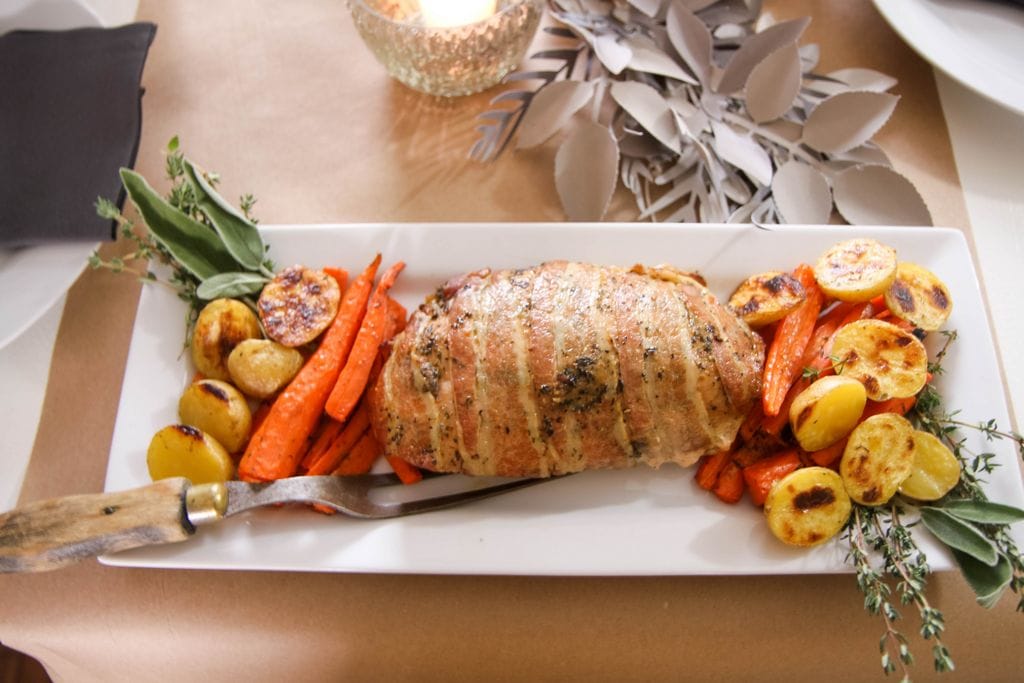
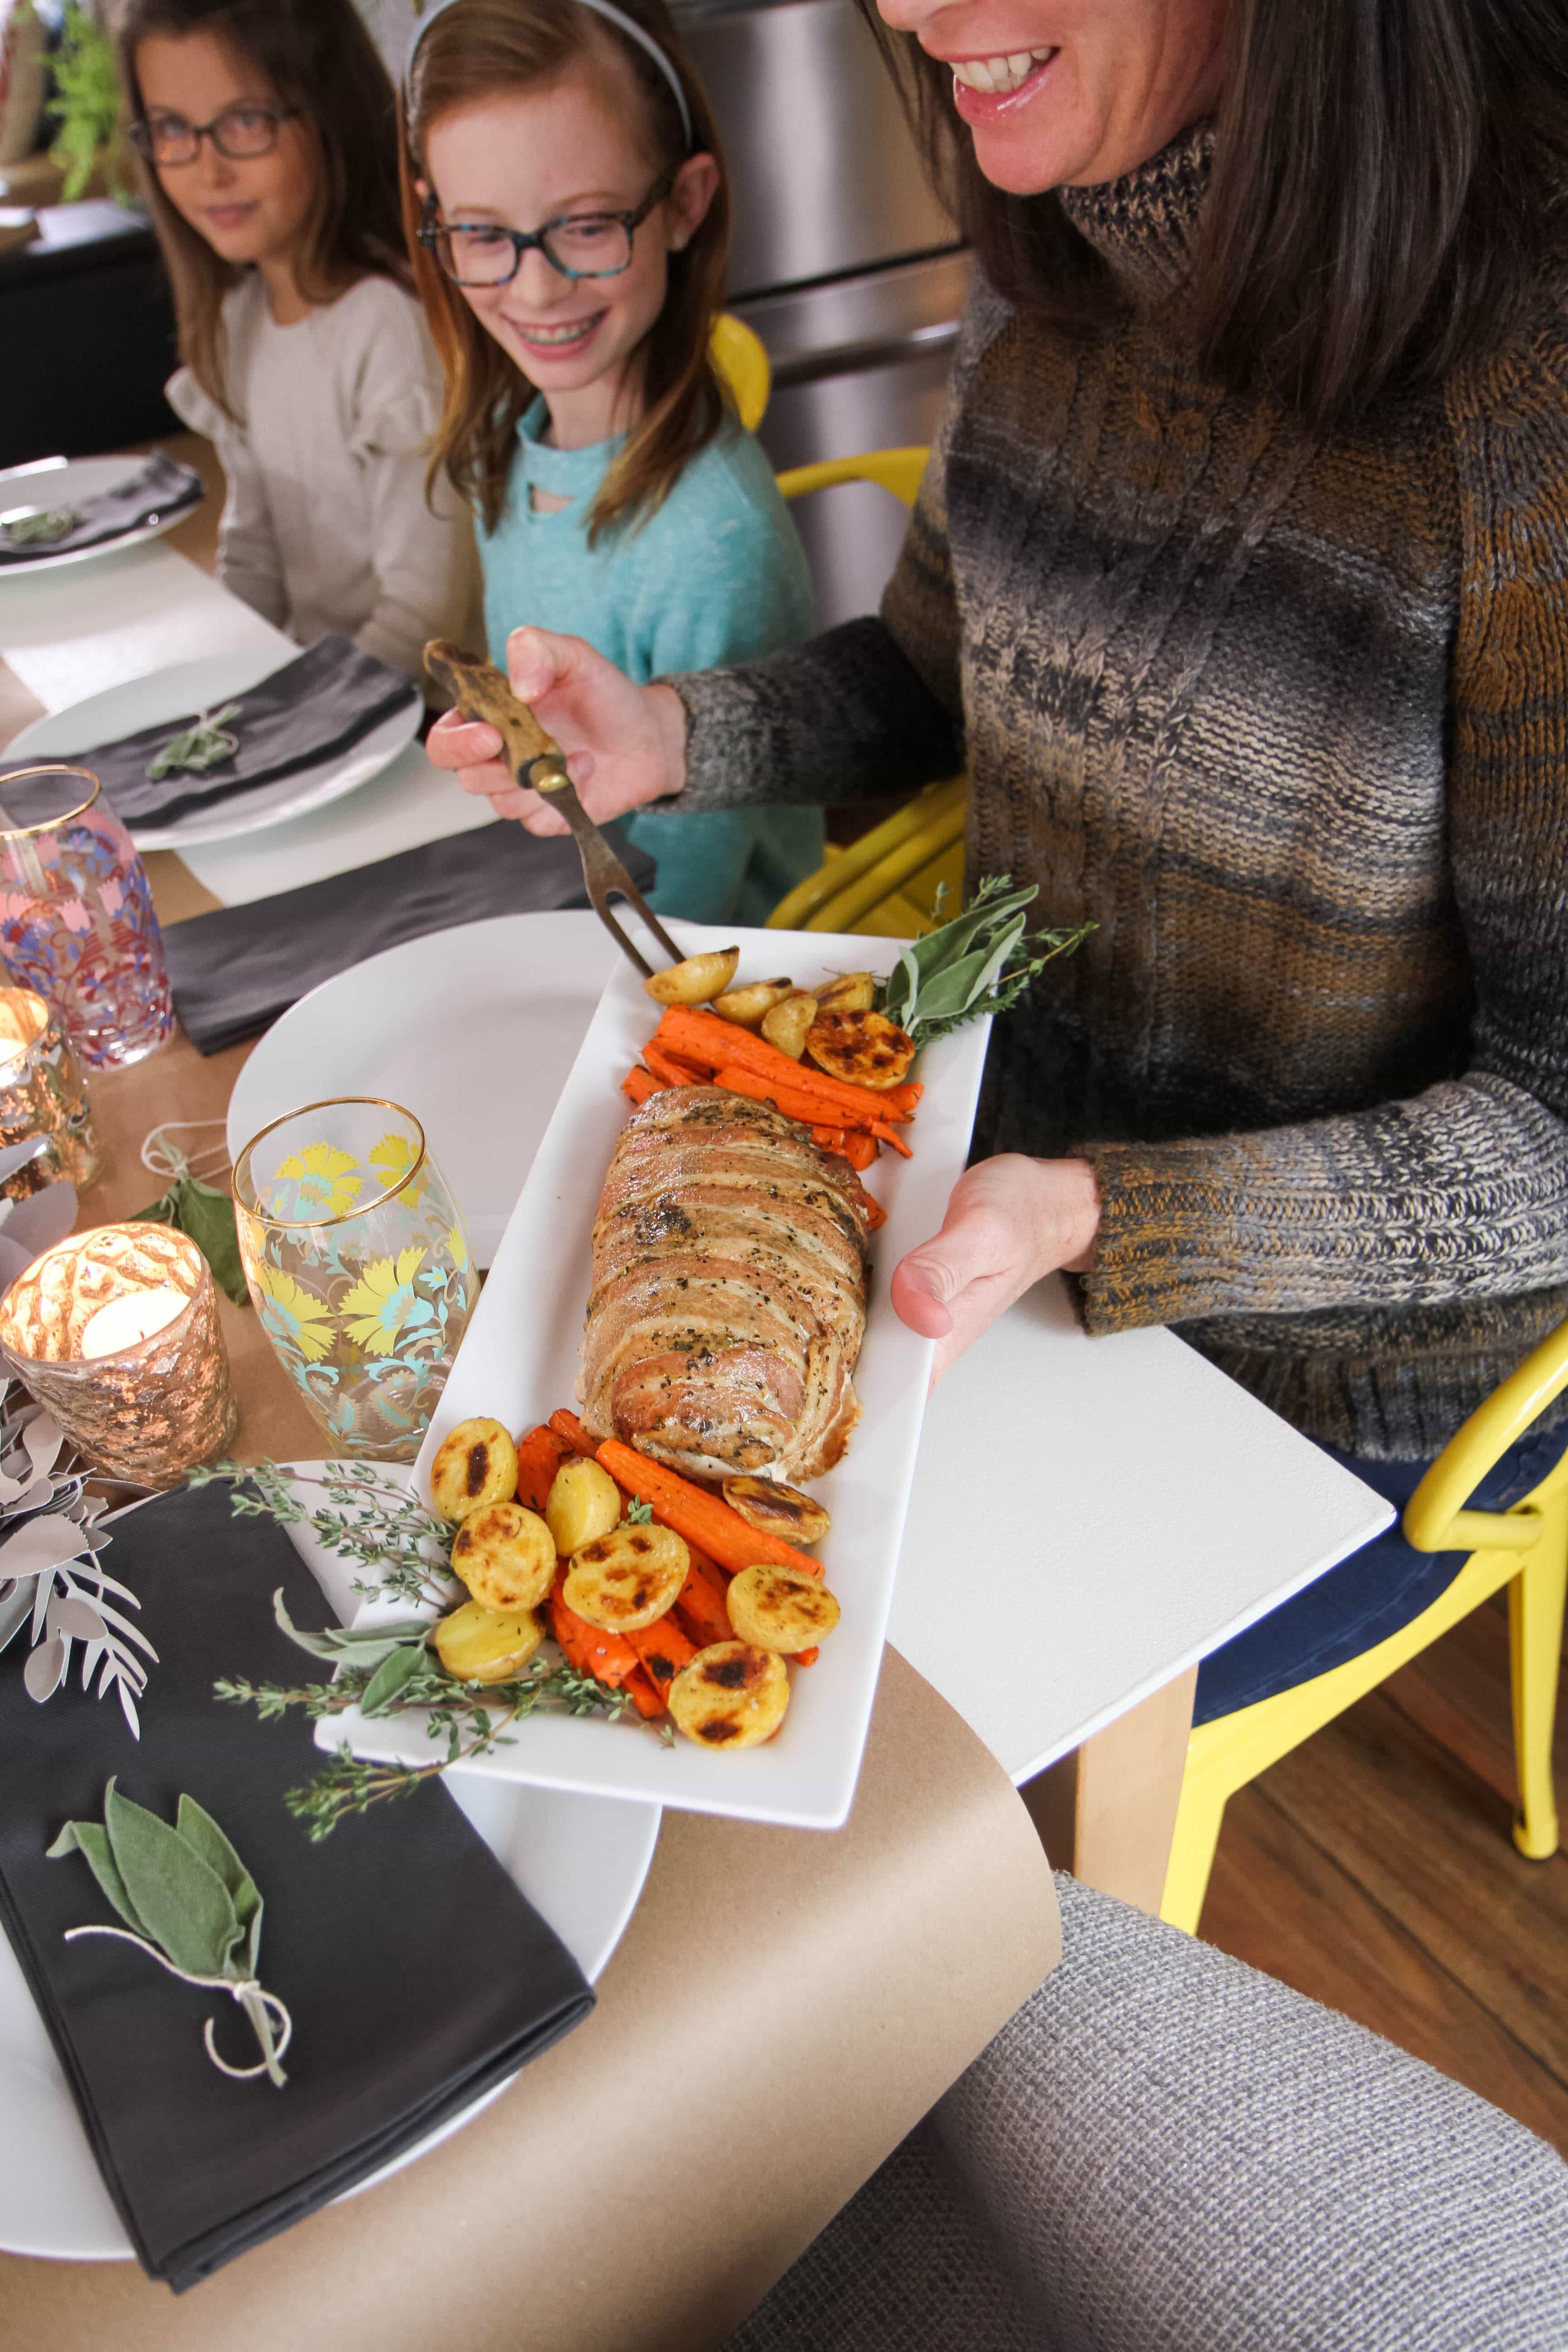
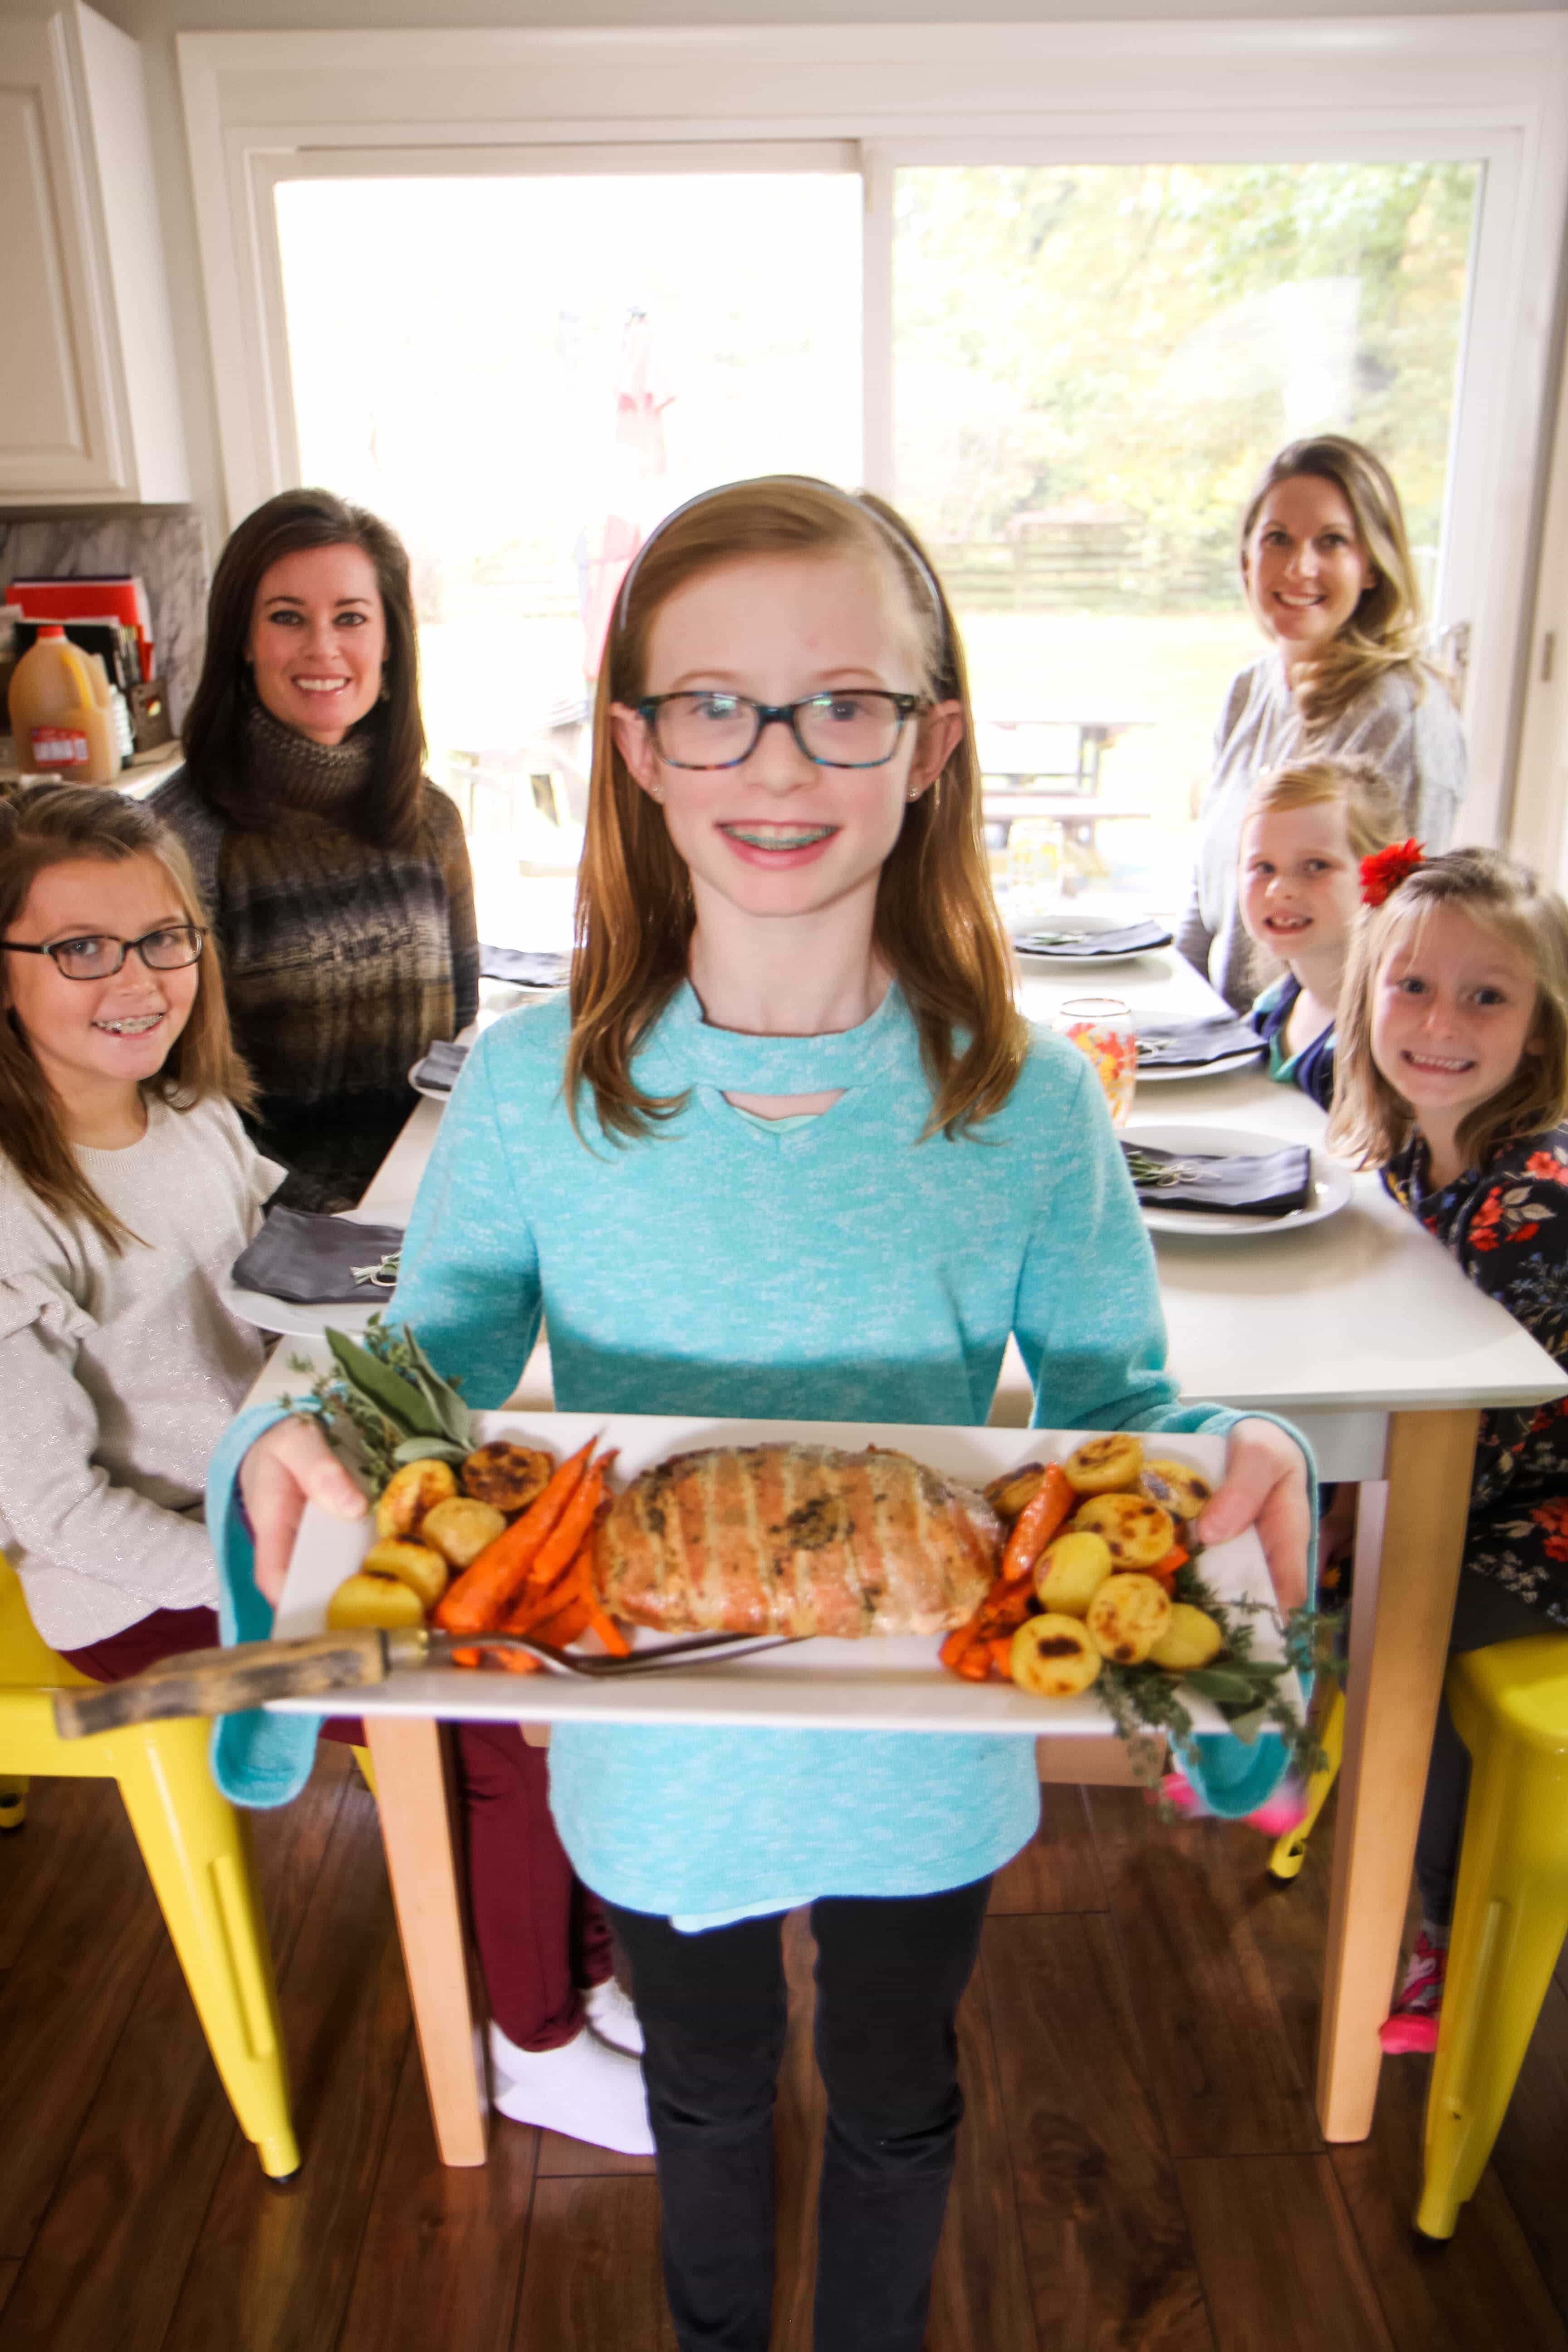
Say hello to the world’s easiest holiday dish, the NEWS Honeysuckle White Bacon Wrapped Turkey Breast “Turketta”, inspired by the flavor profile of porchetta!

I gave ordering one of these a spin and really was surprised how well-seasoned and easy this was to execute for my Friendsgiving gathering this week.

In your package (that arrives right on your doorstep!)  you will get one of these beautiful roasts that serve approximately 4-6 people.  The packages arrive frozen and you can thaw it for an ASAP gathering or you can tuck this in the freezer for a future meal.

The bird is perfectly seasoned, boneless (no carving- woot, woot!), and requires just a simple quick sear on the bottom and baking.

This isn’t the only option you can have delivered. They also are offering Hickory Smoked Turkey Breast, a Honeysuckle White Fresh Traceable Whole Bird Turkey, & the Honest Turkey Whole Turkey.

Even better, for a limited time offer, MomAdvice readers can get 15% off using my coupon code 15MOMADVICE.

I can really get behind this company and the work they do with farmers, especially after having the opportunity to tour one of the farms.

The company is committed to raising their turkeys without growth-promoting antibiotics and no added hormones or steroids.

They also are committed to supporting independent family farmers to provide family farm-raised turkeys.

I don’t know if you know this, but my great-grandpa was a farmer and that is why that commitment and their true love for these families really warms my heart.

Now that you have the turkey covered, here are a few other ideas for a simple gathering of great friends and great food!
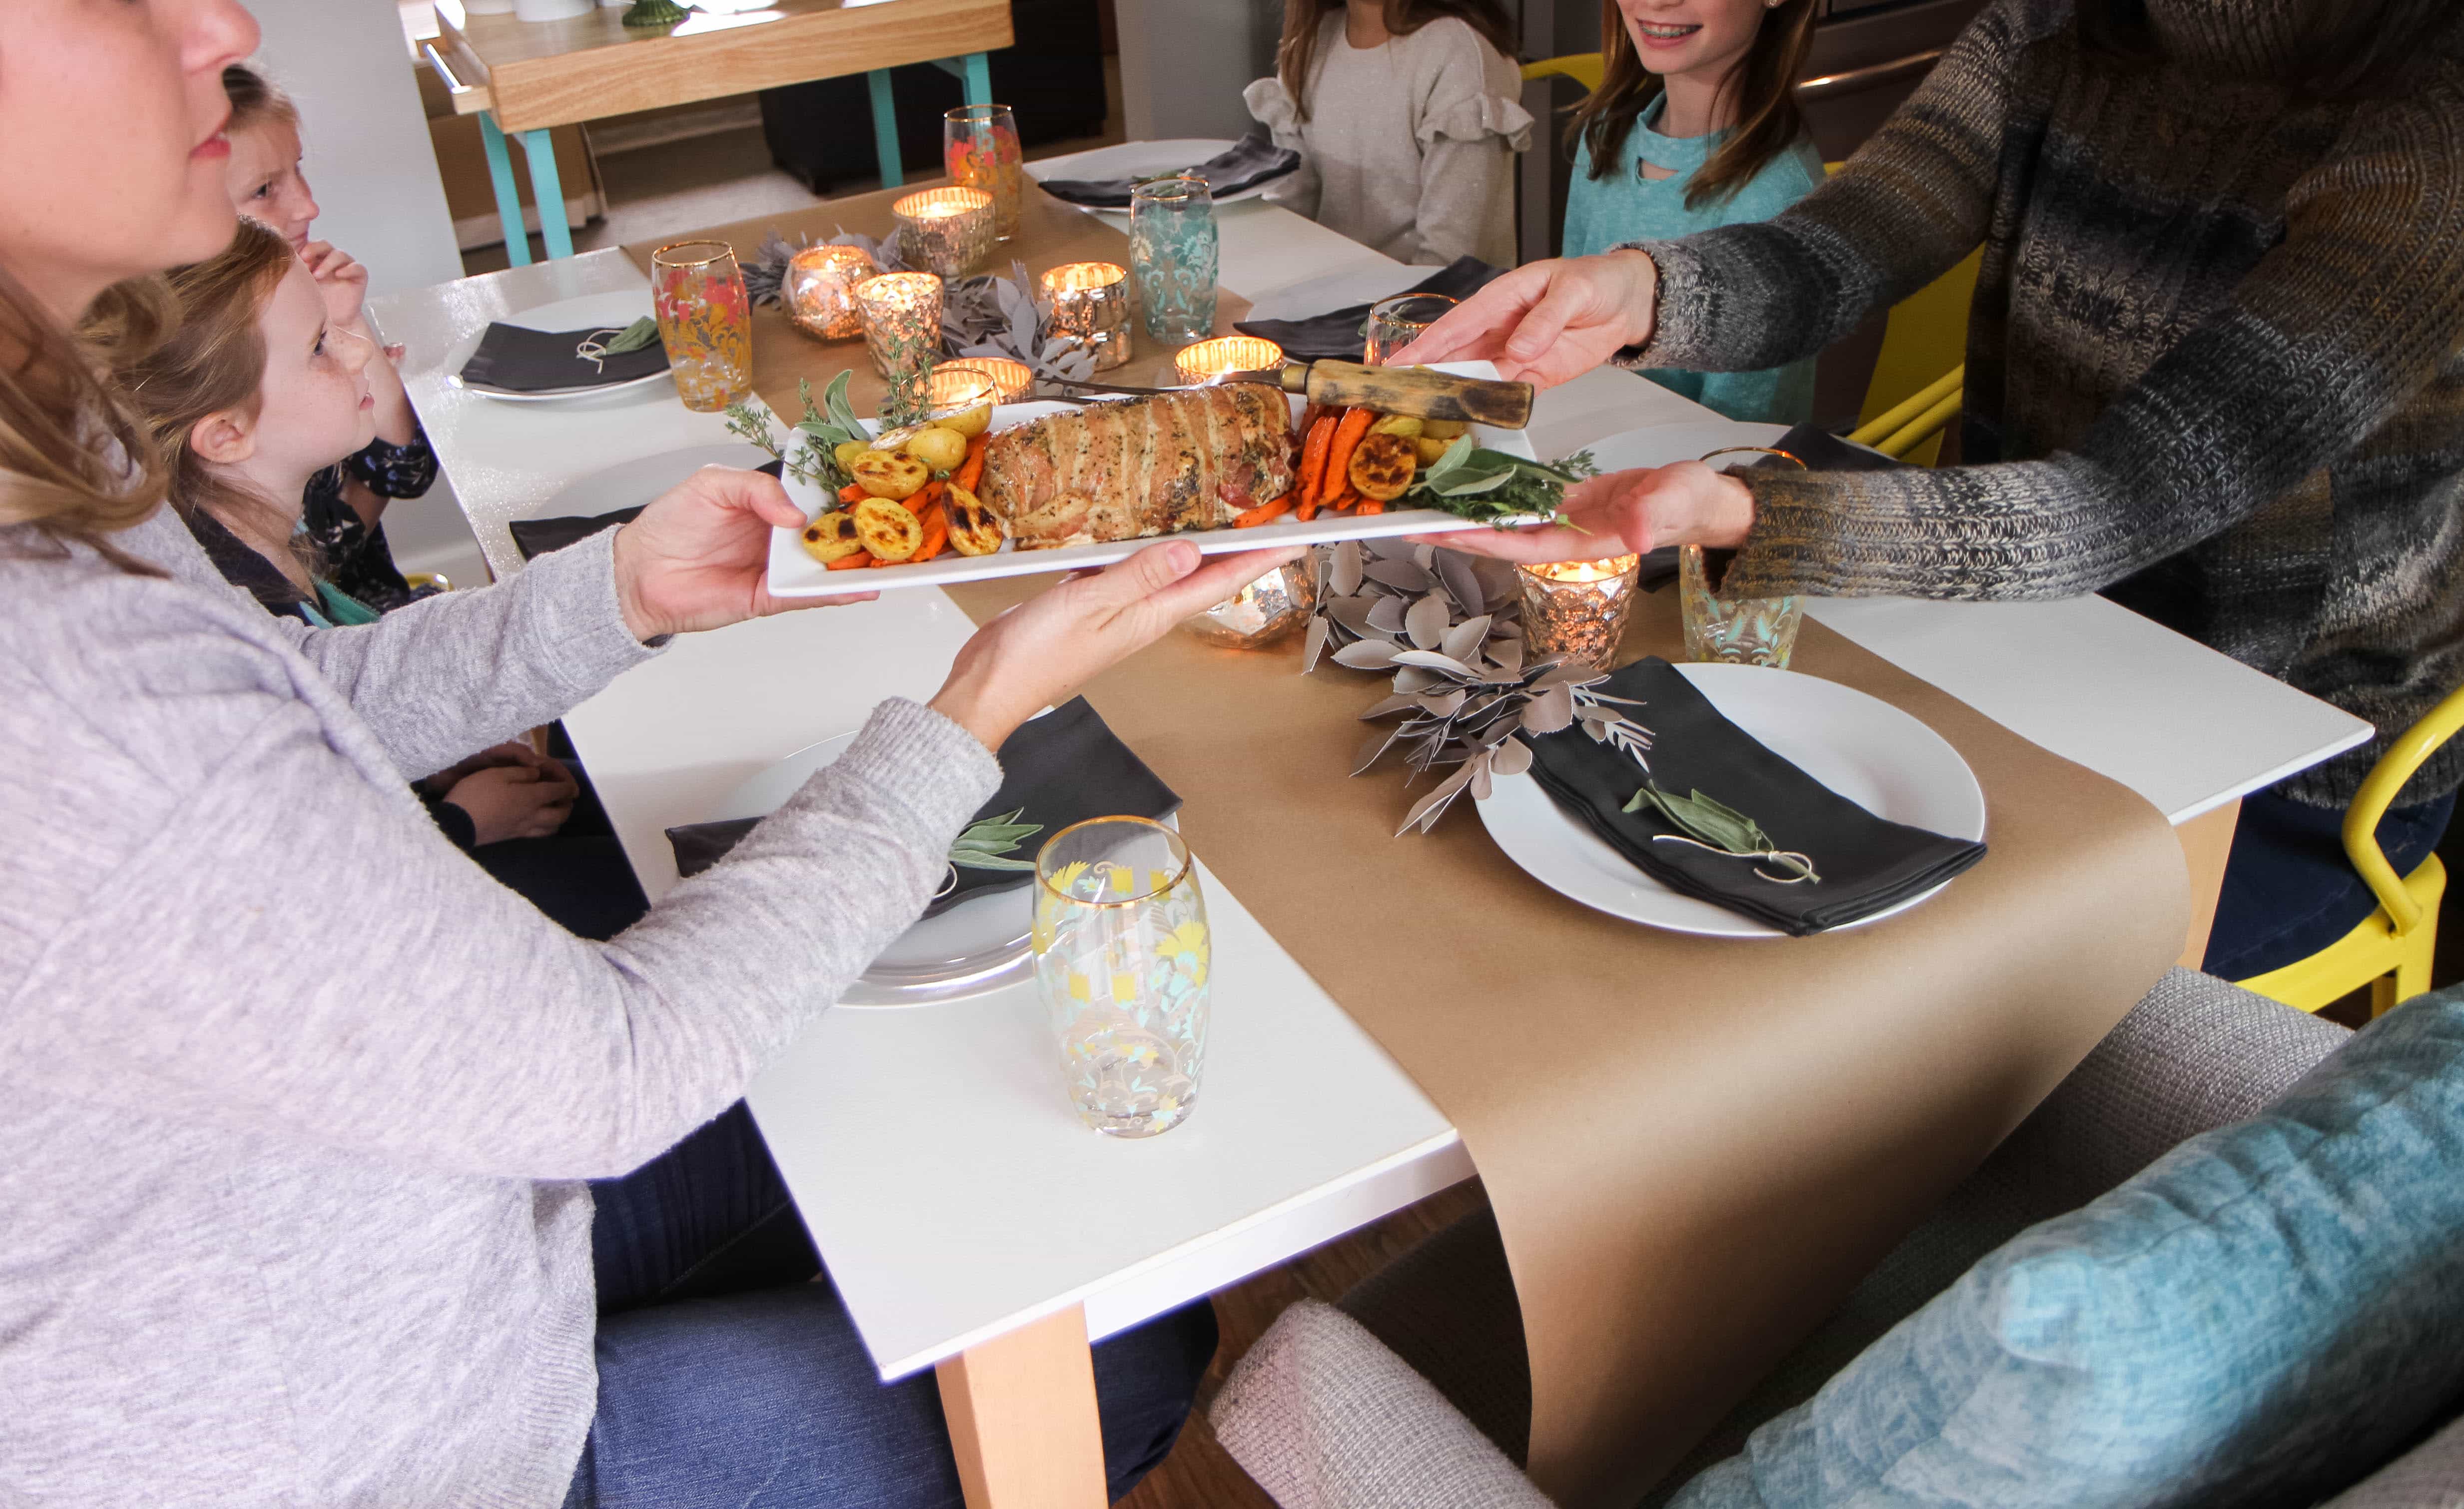
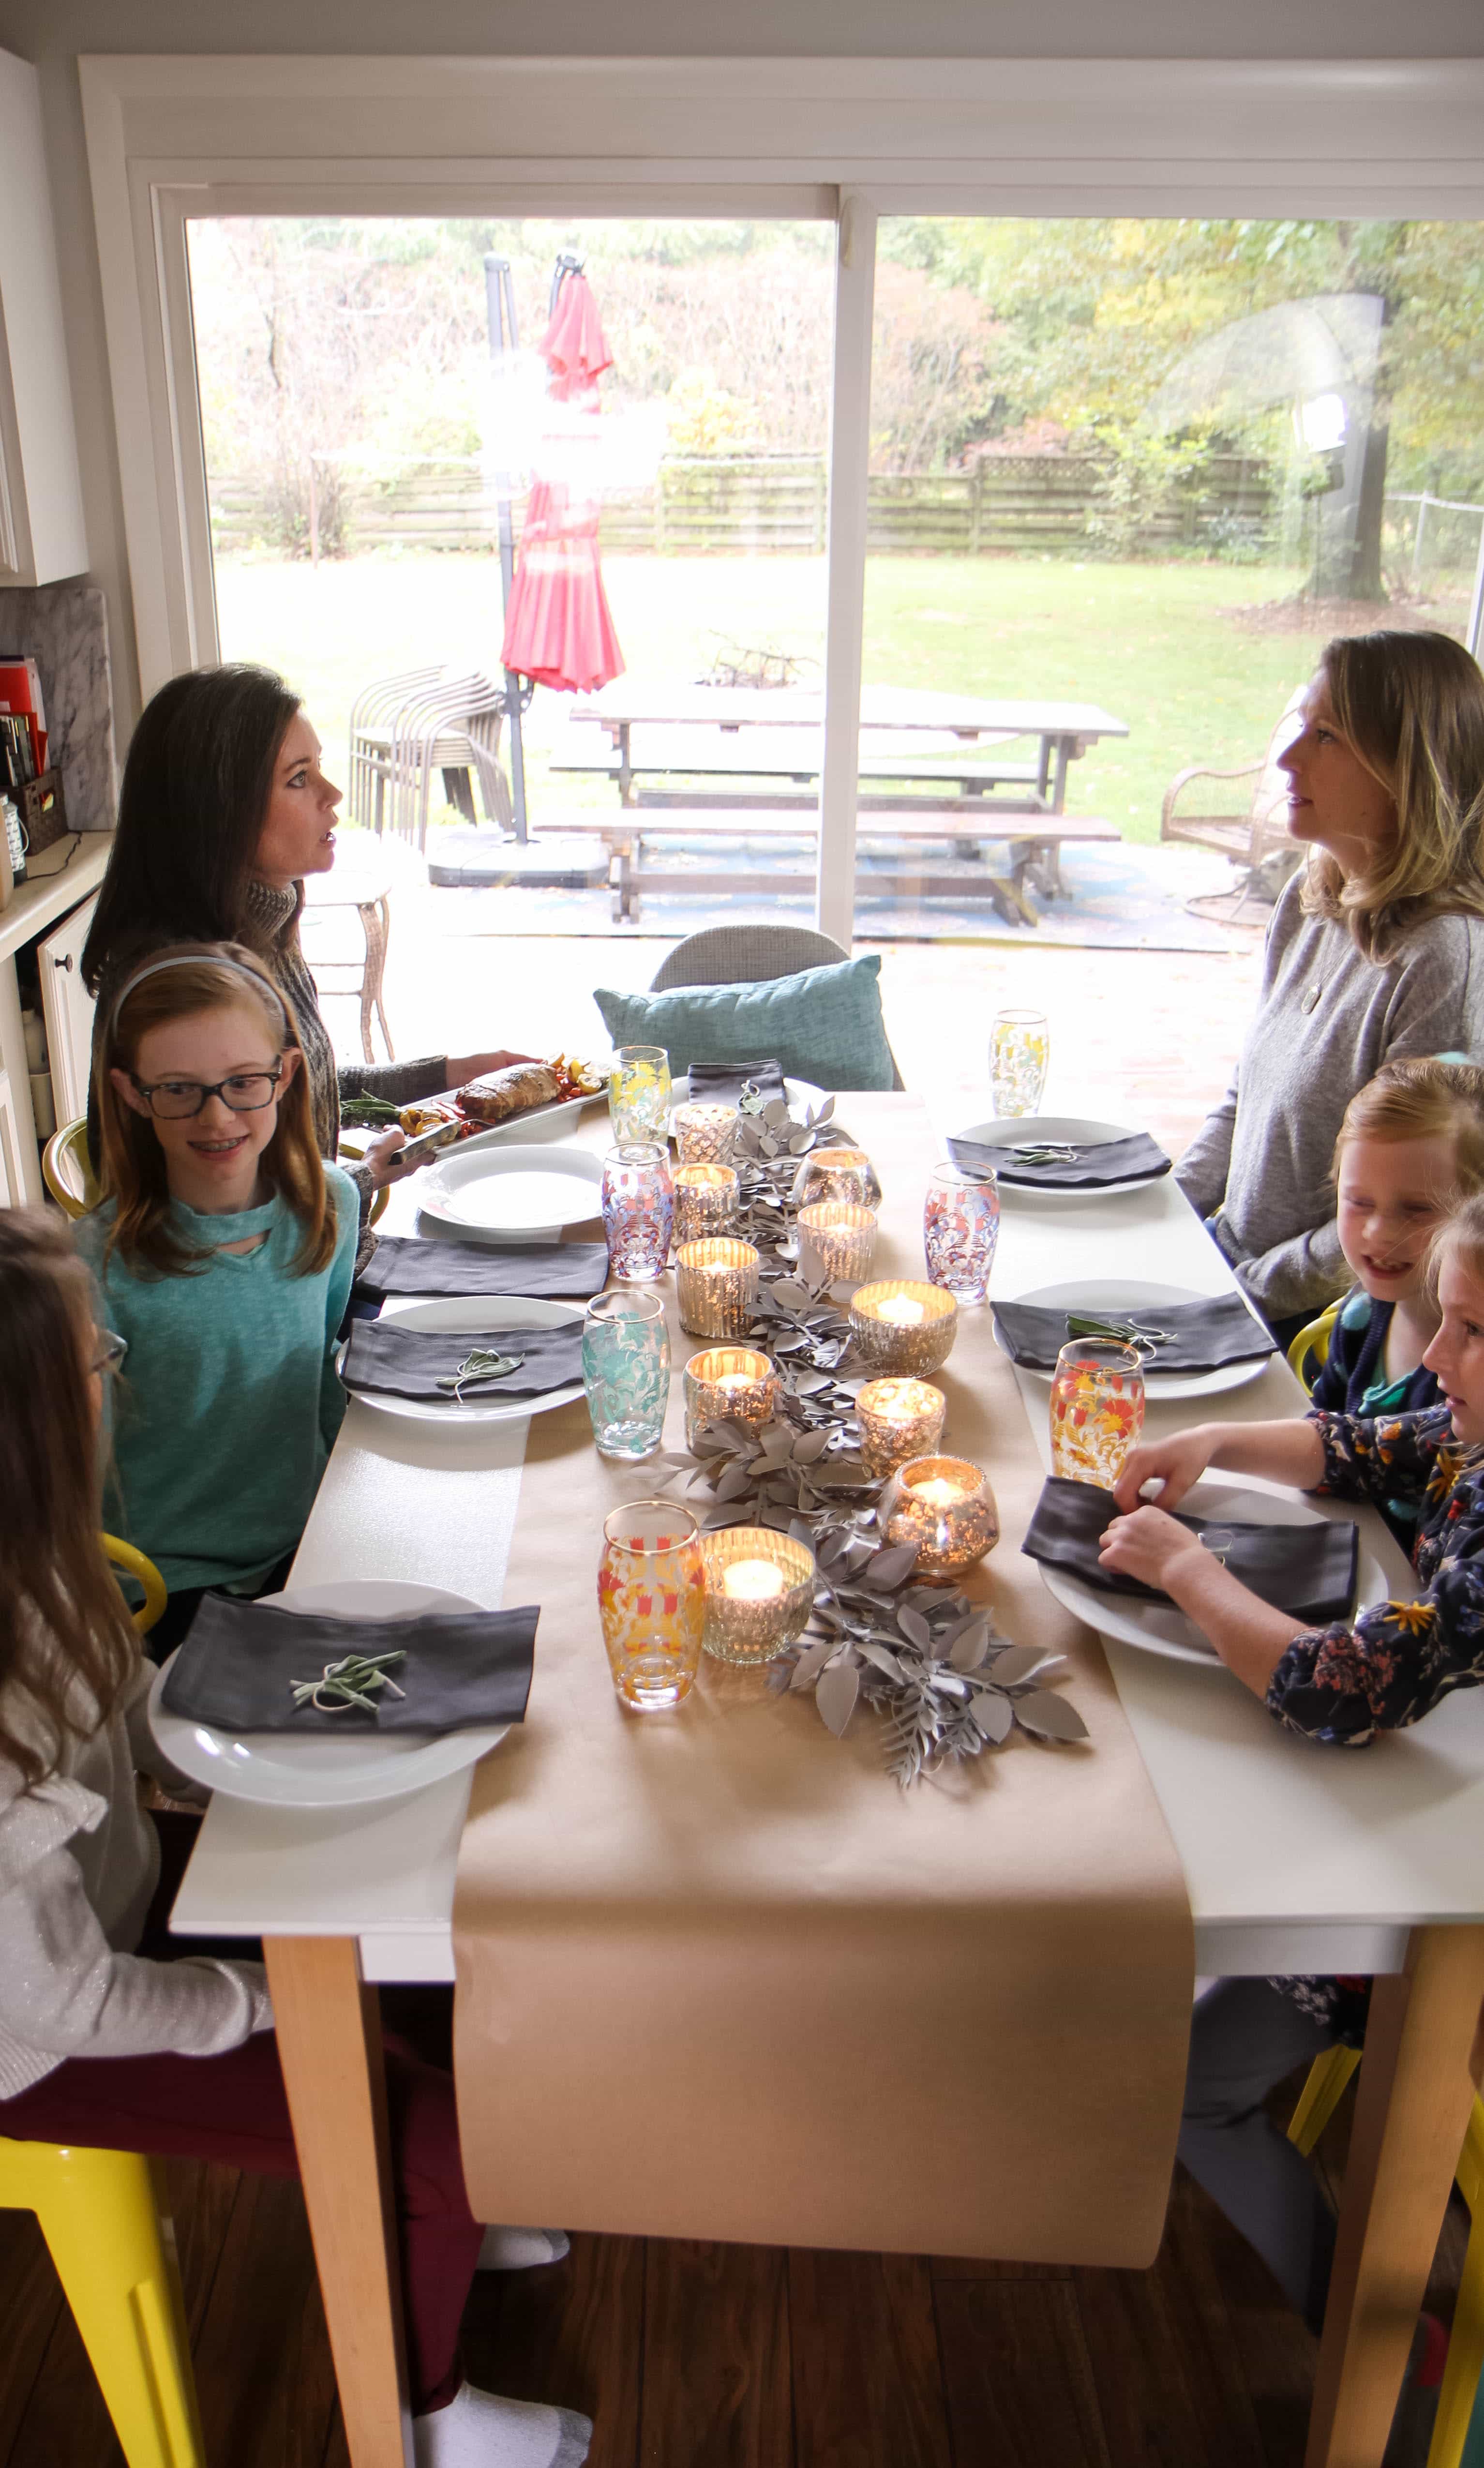
Send Out a Small Invite

I have done loads of large gatherings, but I find the best gatherings are often the intimate ones with just a couple of close friends so you can really catch up.

A friendsgiving need not be a large gathering and the invitation does not need to be a formal one.

Text invitations are perfectly acceptable, especially during such a busy season.

Also, allowing mamas to bring kids is a blessing to the mom (who won’t have to cook) and to you (to get to love on your friend’s beautiful kiddos especially since your kids are tweens/teens and you now have to FORCE YOUR LOVE on them).
 

Keep the Sides Simple

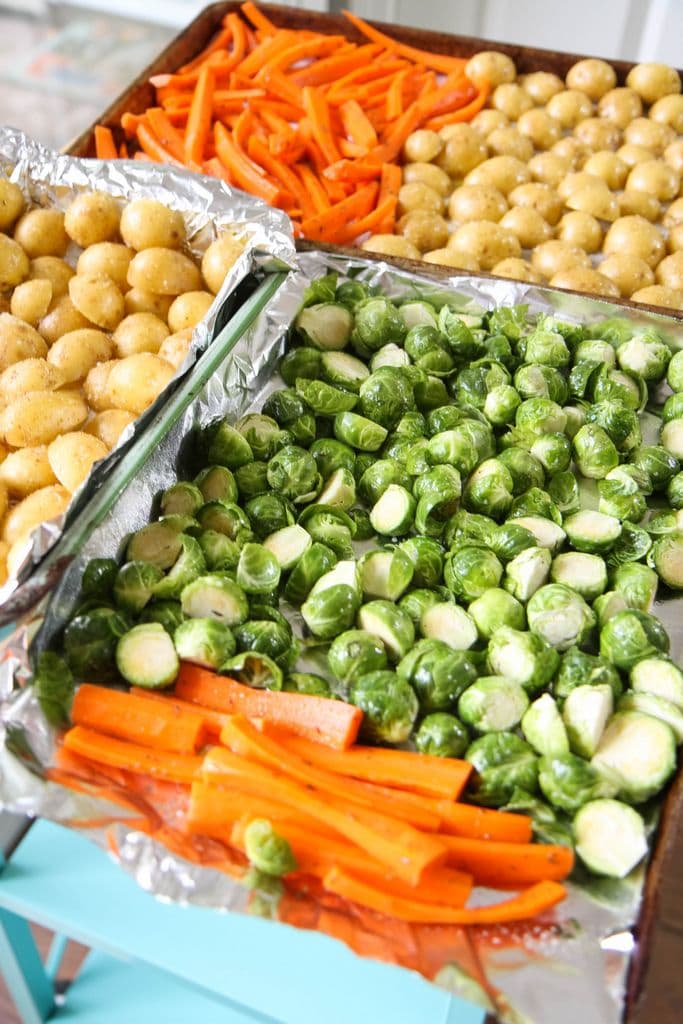
Roasted vegetables are an easy side that can be prepared a day in advance.

In fact, storing your carrots and potatoes in water overnight will yield a much crisper roast than if you cut them up immediately.

Toss your prepared vegetables in olive oil, kosher salt, and your favorite dried seasoning (I’m a thyme girl!) and roast them at 450 degrees for 25 minutes.

Love perfectly roasted potatoes?

Cut baby potatoes in half and put the cut side down on a cookie sheet that’s been lined with aluminum foil and is lightly greased. You will get a perfect roast every time AND they are so good that my kids call them mom’s french fries.

It goes without saying, but lining the cookie sheets with tin foil or parchment paper squares is also an excellent way to cut down on dishes!

Skip the Baking

Thankfully, there is no need to bake since we have so many delicious options for desserts that are already made and available for purchase at our local markets.

You can still make these purchased desserts feel really special though with quick homemade touches.

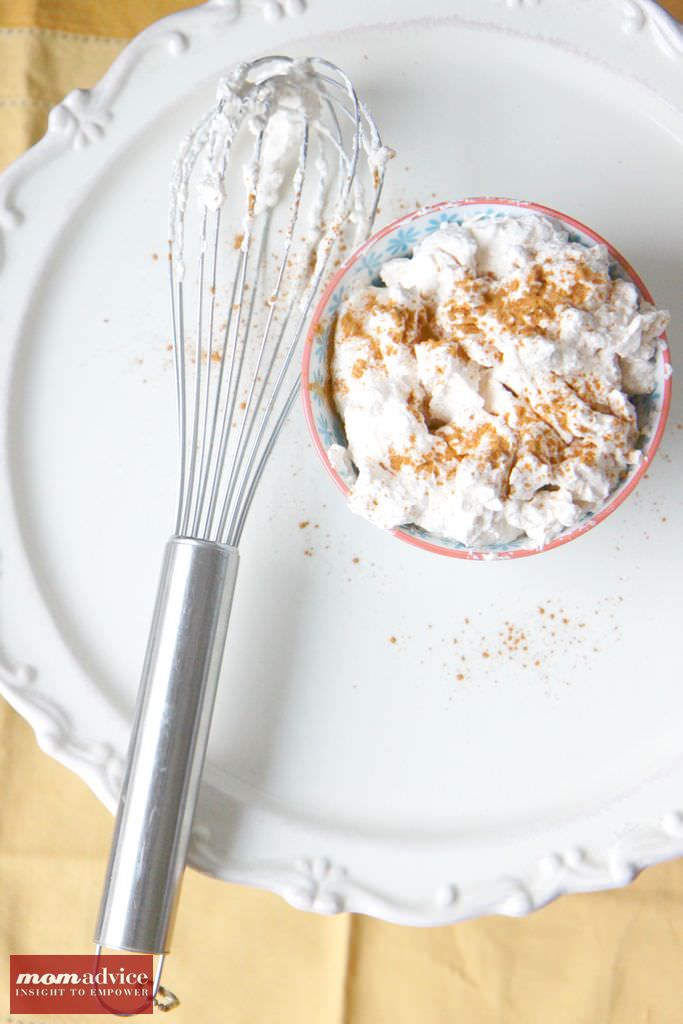
Spicing up your whipped cream, adding crunchy toppings, or adding details with pie cutters or an embossing rolling pin (made from refrigerated pie dough) are all fun ways to make pies feel special and more homemade.

This post offers 5 strategies for making store-bought pies feel special that I think you will find REALLY helpful for the holidays and even an idea for packaging up mini pies as a parting gift at the end of the night.
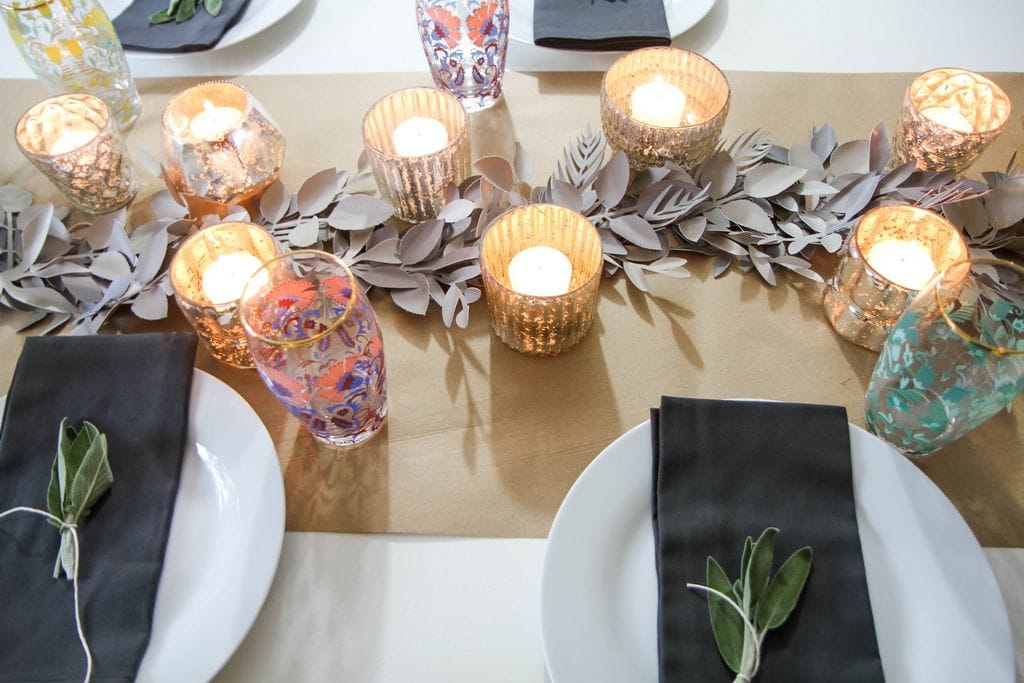
replicate my table with this easy tutorial

Think Evergreen When It Comes to Home Decorating

In the blog world, evergreen content is king. It means that we really focus on creating timeless pieces that can be shared over and over again and always feel relevant.

This is the SAME WAY we can approach our decorating. Purchase or DIY things that are neutral and can be used over and over again throughout the seasons. A bit of faux greenery, a roll of kraft paper (DO buy this– it’s such a affordable investment for decorating and gift wrapping), white plates, and loads of candles are perfect for ANY occasion.

Adding simple seasonal touches, like the small bundles of sage I gathered with cotton twine feel very Martha-y, but cost only a couple of bucks to pull off.

Stop pulling out and storing seasonal bins and buy a few items that you can use over and over and over again.

You can’t imagine the stress you will relieve yourself of!
Set the Mood

Before I go, I have one more fun fact for you…I used to be a glorified D.J. for my college’s radio station.

Music is essential to me like breathing and food.

Growing up, I played the violin, sang in the choir, did musical theater, and had parents who were crazy about music too.

I am also the one that hogs the microphone if you karaoke with me.

To me, a solid playlist for special occasions is oh-so-necessary.
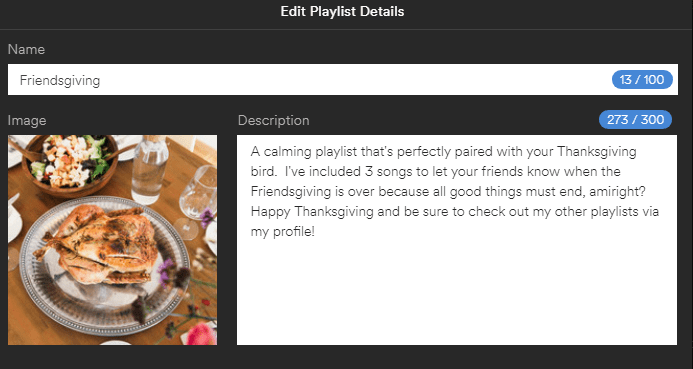
Don’t have time to make one?

How about if I shared mine with you!

Also, as a thoughtful introvert, I have included three goodbye songs at the end that you can feel free to boot those up after the meal when you just need to retreat to your Snuggie and Netflix.

Hopefully they catch on..I know, “CLOSING TIME,” is a very, very subtle exit song!

I have embedded it here for you so be sure to bookmark this awesome post and give me a follow for more fabulous dinner music.
Now hurry on over to order your turkey and don’t forget to use my coupon code 15MOMADVICE to snag your 15% off!

this post contains affiliate links

This post is sponsored by Honeysuckle White. All thoughts and opinions are my own!
28 Instant Pot Soup and Stew Recipes for the Soup Season

Monday, October 22nd, 2018

Is it getting cooler where you live? I have to admit, this week was a bit of a shocker to my system with the temperatures dropping so quickly in Indiana. I have been hibernating this week and implementing ALL the strategies already for the cooler months.

One of my strategies I haven’t mentioned though is a weekly pot of soup that can save me from cooking a couple of nights a week AND for keeping us warm in the evenings.

Now that soup season is in FULL SWING, I thought I would share a gathering of Instant Pot soups that are my radar for my menu plans.

If you haven’t put an Instant Pot on your list of kitchen must-haves, I bet you will after seeing how quickly and easily you can pull together a pot of soup to enjoy all week long.

Last week I shared a recipe with you, but I also shared two gadgets that I think every Instant Pot fan will love, especially for your soup seasons!

The first is this type of lid that will make it easier to serve and reheat your soups for family meals.

There is nothing more awkward than trying to open and shut the sealing lid, amiright?

The other thing I absolutely love is this gadget that allows you to store your soup right in the pot in your fridge without any messes or spills.

If you can’t wait to get your pot back for the next meal though, many people also purchase additional inserts so that they can store a soup for their week as well as continue keeping the Instant Pot dishes in their rotation.

You can bet that an additional insert is on MY Christmas list this year.

And while we are on the topic of gadgets, if you haven’t bought one of these yet, it is a workhorse in our kitchen.

I, honestly, can’t imagine making soups or sauces without it…not to mention all that frothing of milk for my lattes at home.

I promise, I only recommend what I really love and TRULY use in our kitchen.

Speaking of what I love…how about some new recipes for your menu plan?

Here are 28 Instant Pot Soup & Stew recipes that I can’t wait to make this Fall & Winter!

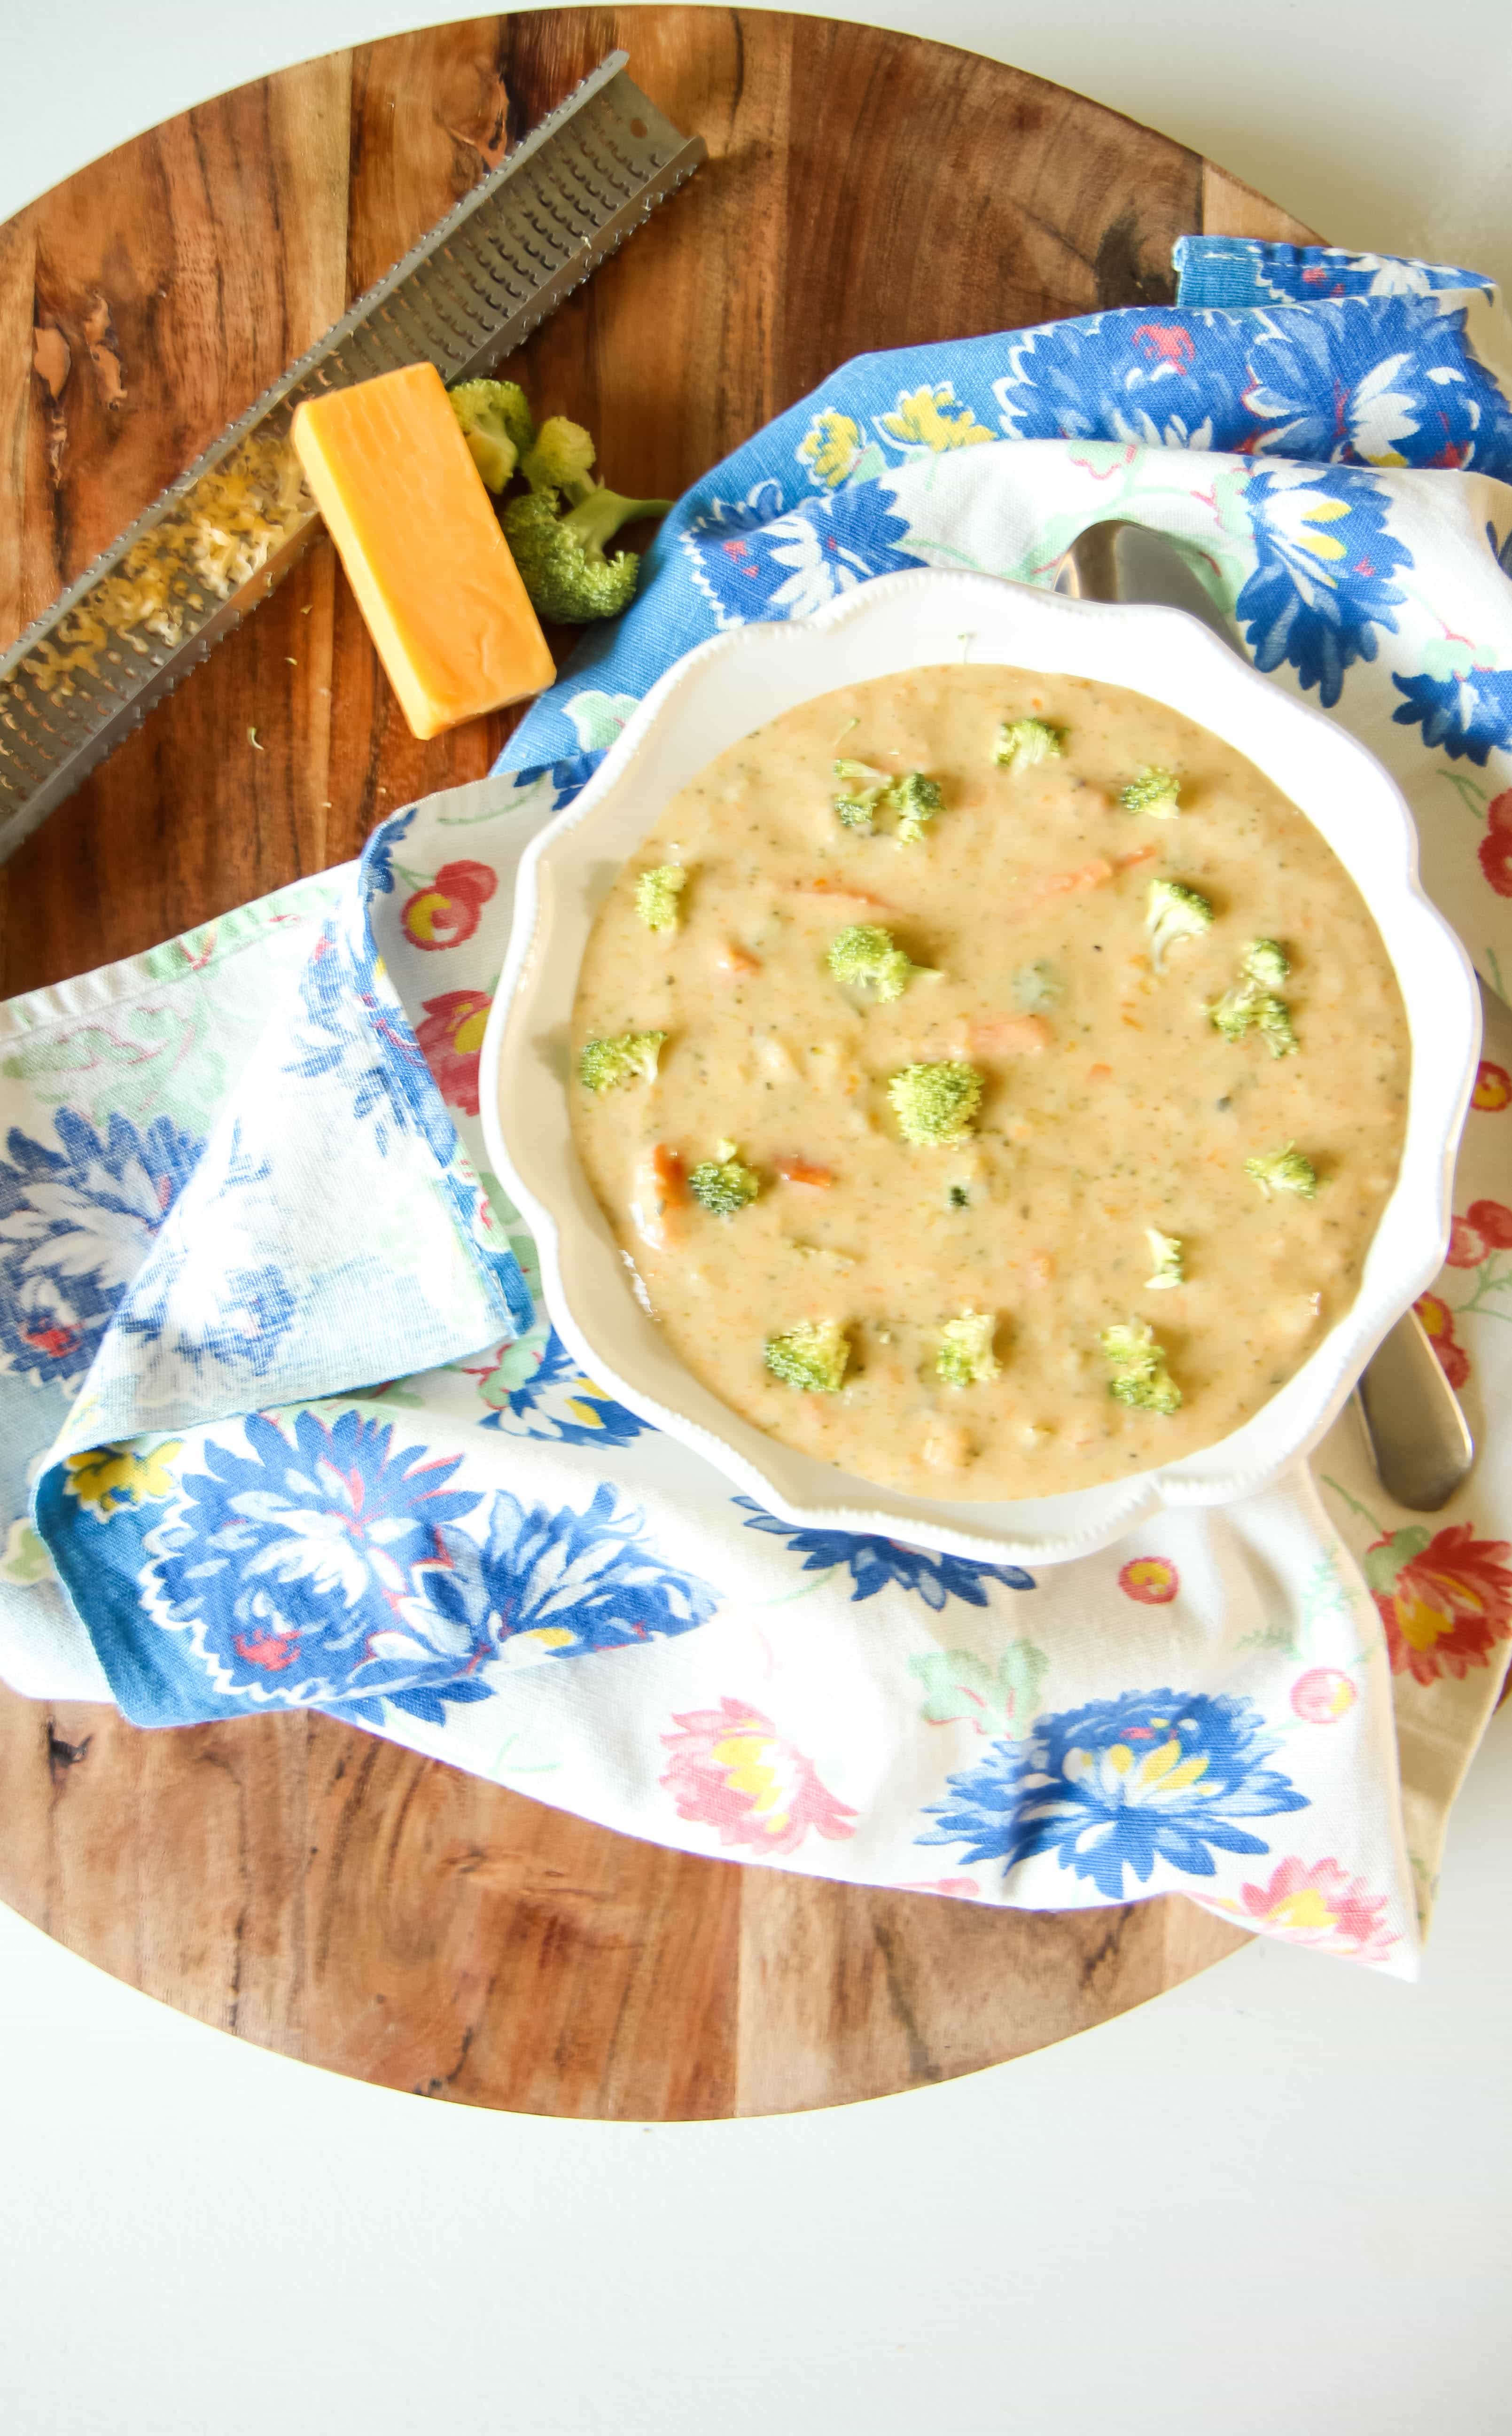
instant pot gluten-free broccoli & cheddar

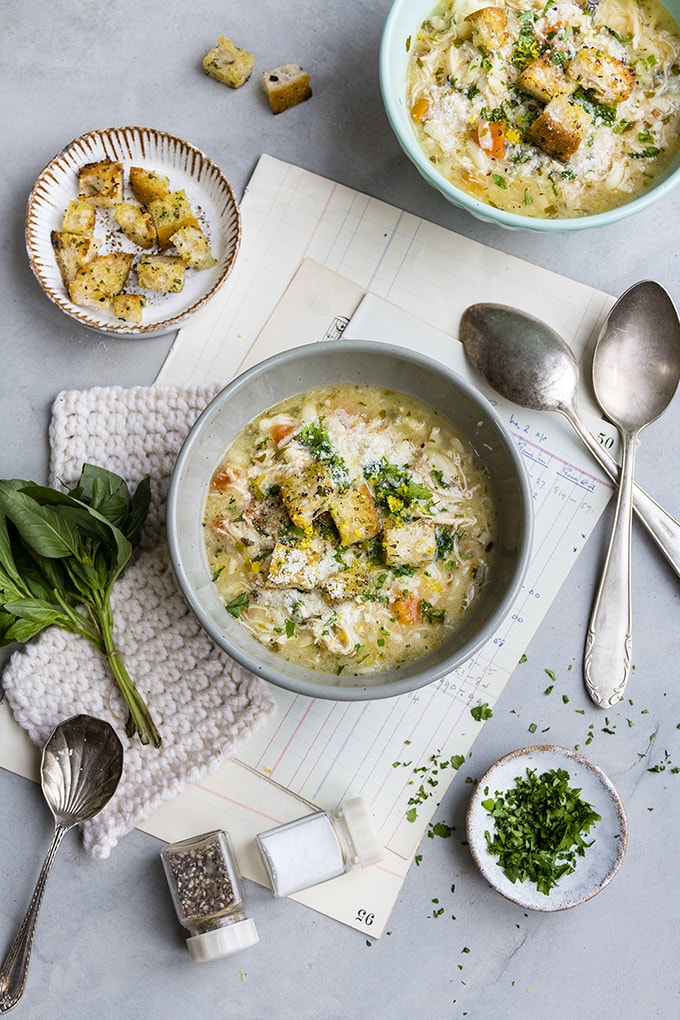
pressure cooker italian chicken soup

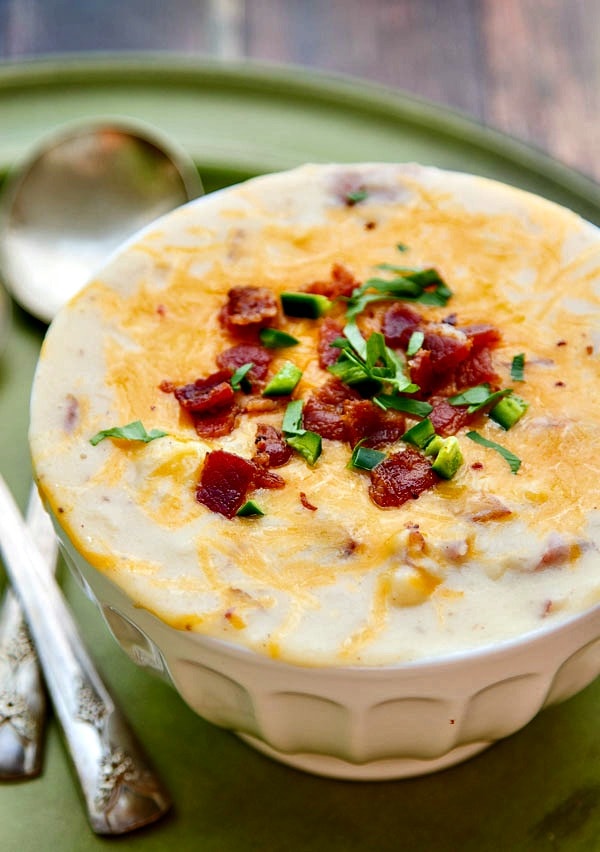
instant pot potato soup

instant pot pho ga (vietnamese chicken noodle soup)

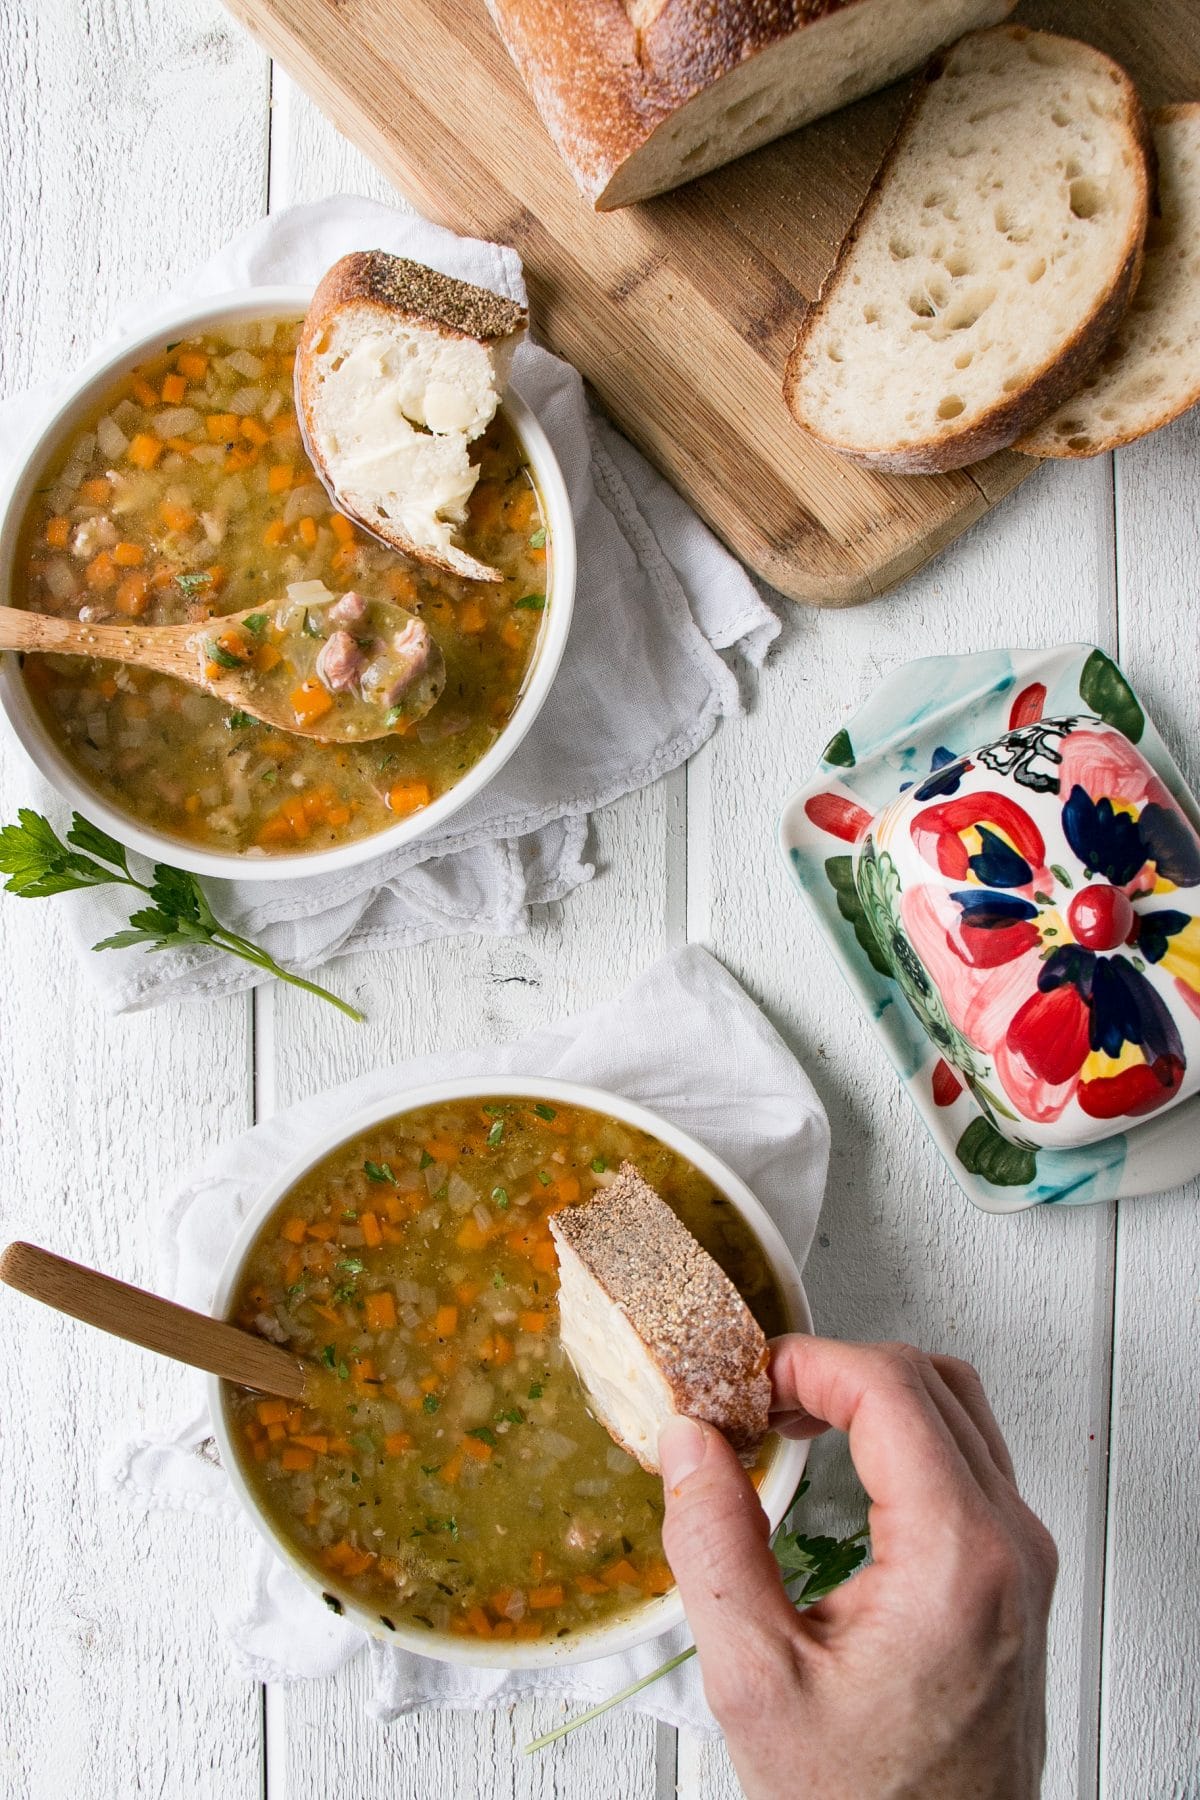
instant pot split pea soup

instant pot detox soup

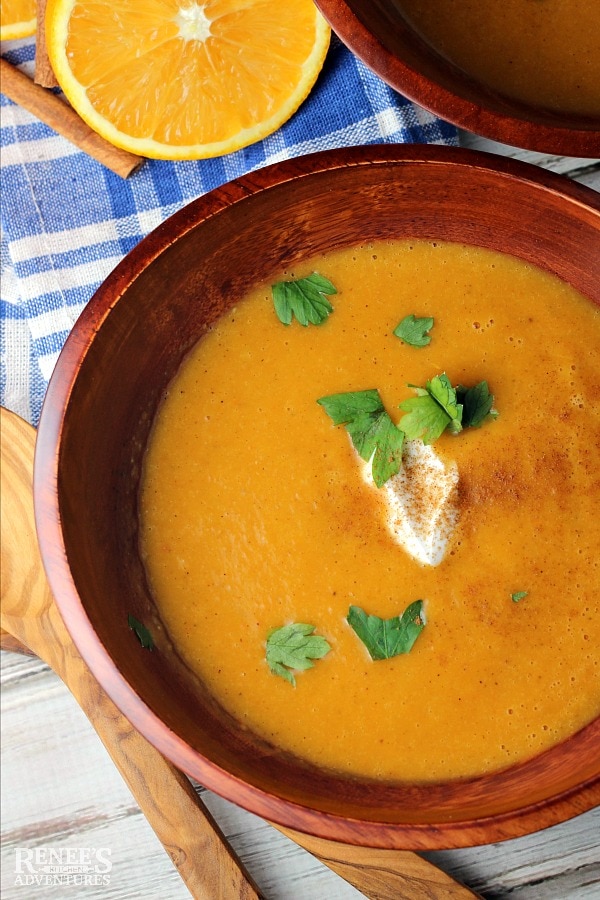
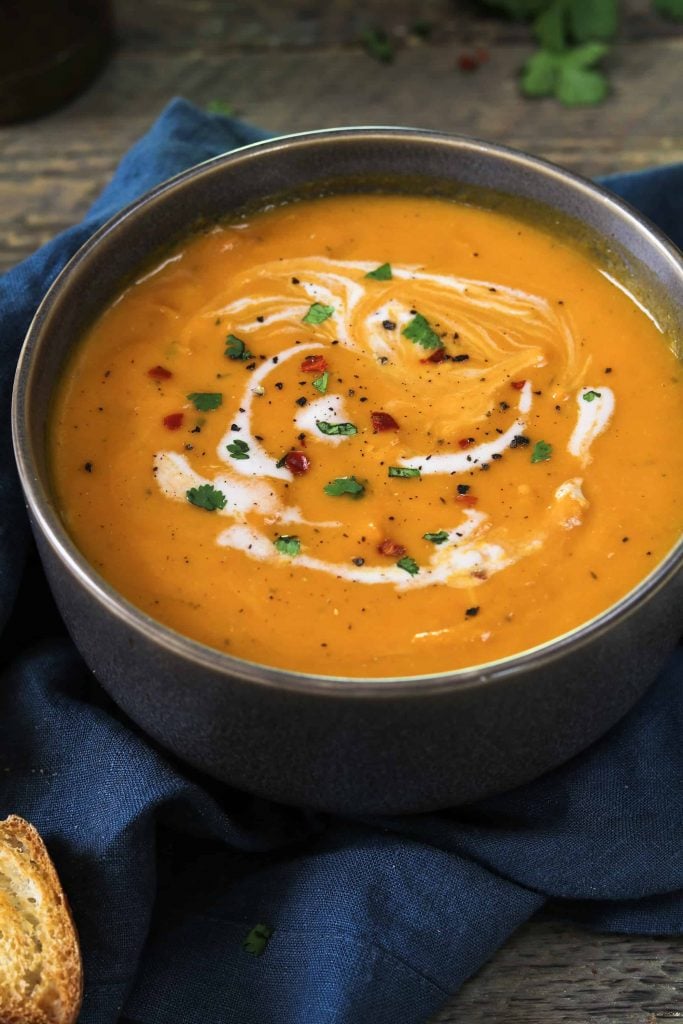
instant pot moroccan spiced butternut squash soup

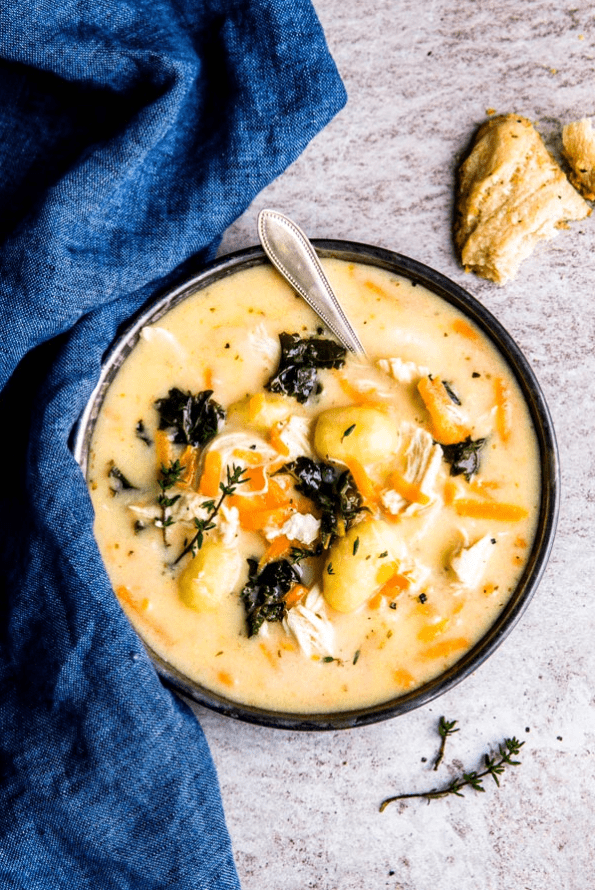
instant pot chicken gnocchi soup

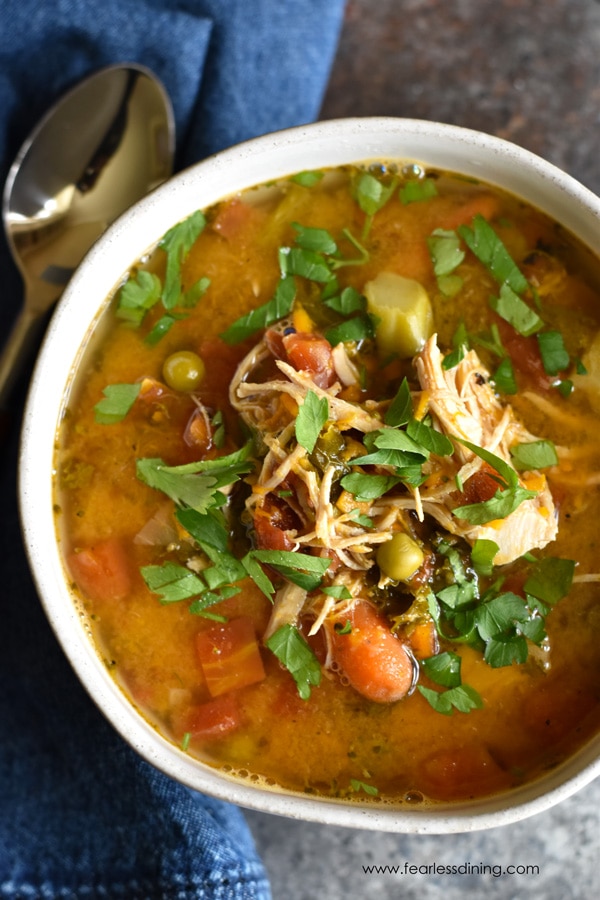
instant pot chicken vegetable soup

instant pot chicken enchilada soup

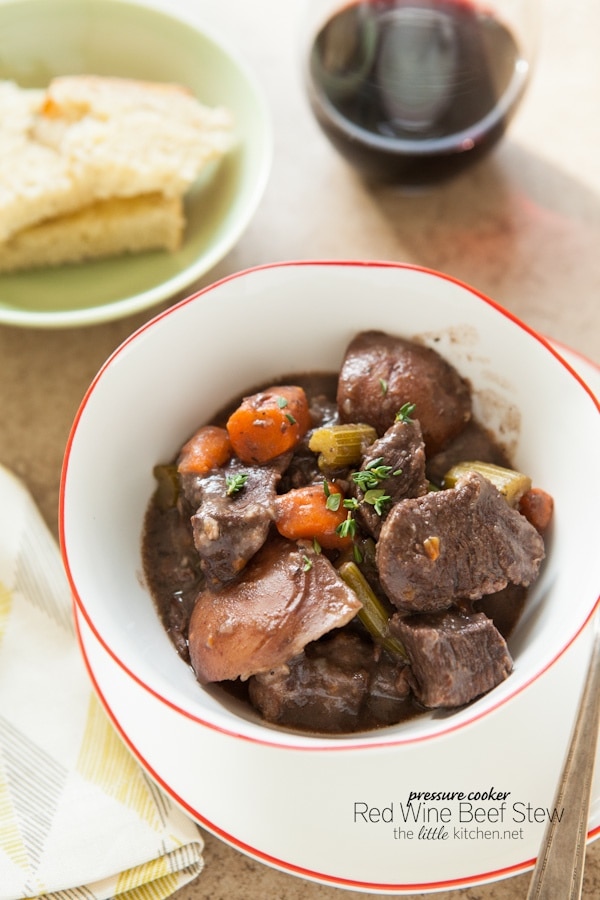
pressure cooker red wine beef stew

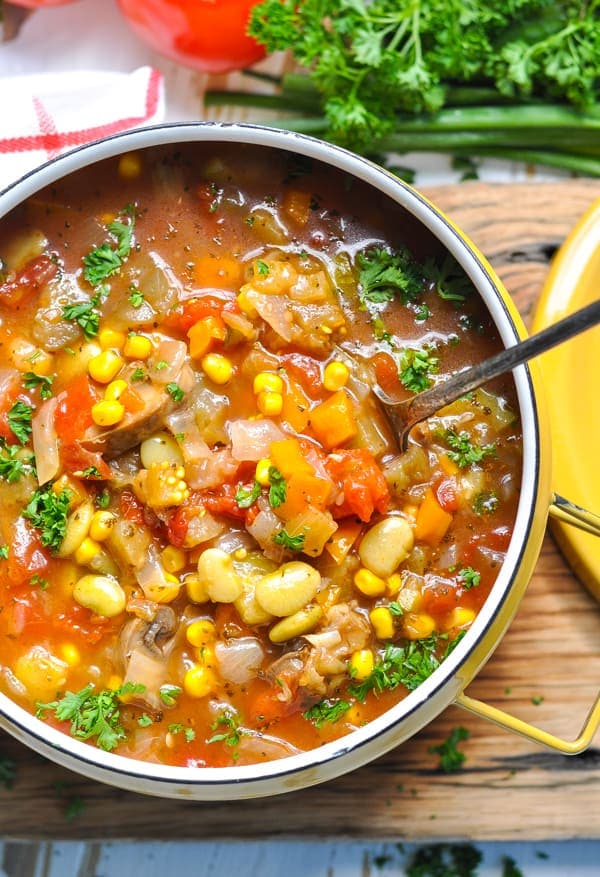
instant pot vegetable soup

instant pot vegan carrot ginger soup

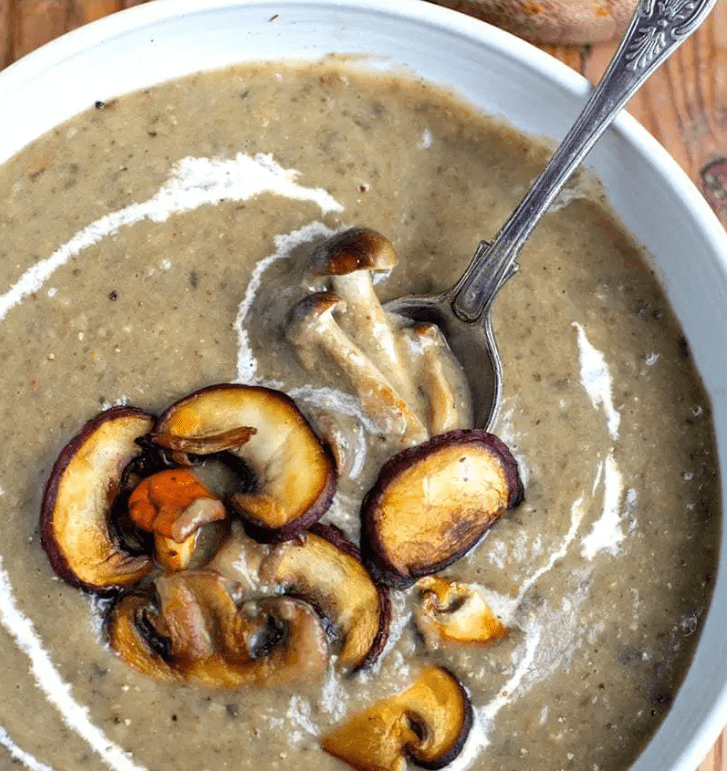
instant pot mushroom soup

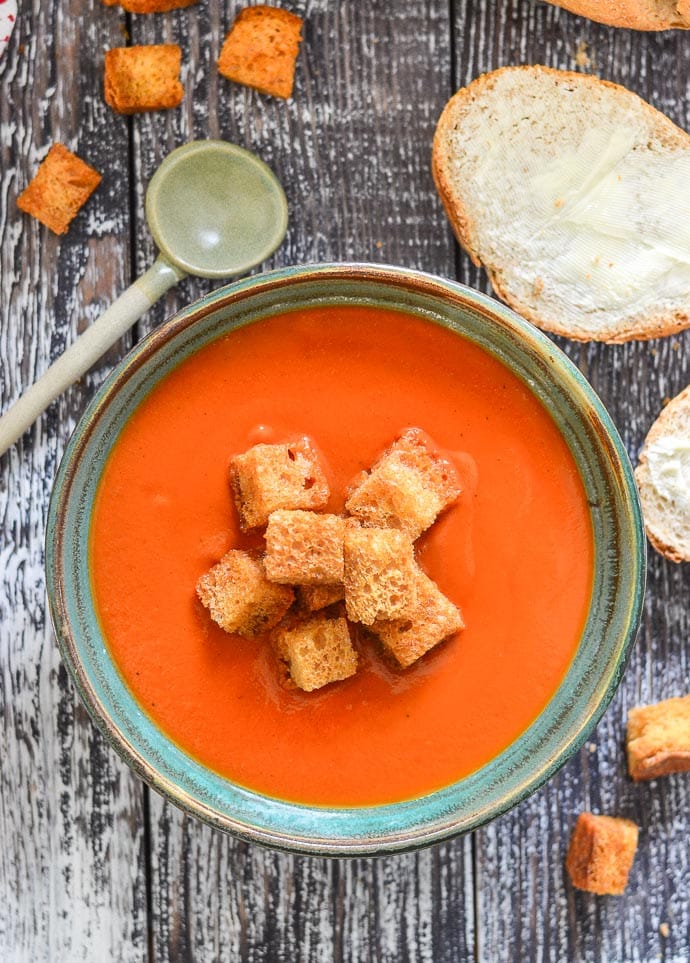
instant pot tomato soup

instant pot cauliflower soup

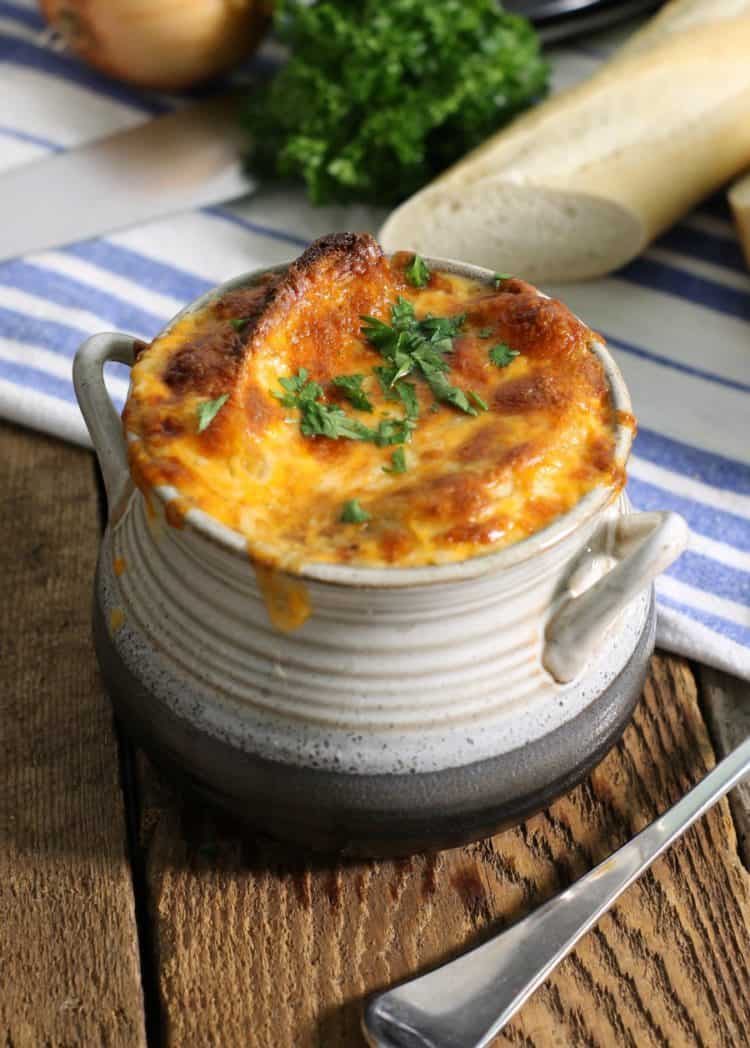
instant pot classic french onion soup

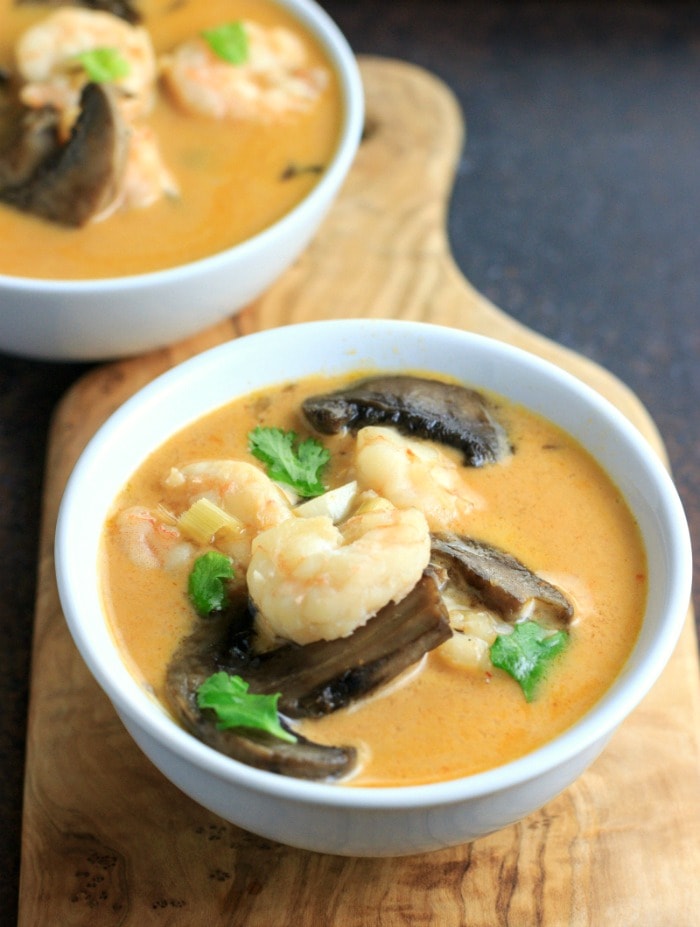
instant pot thai shrimp soup

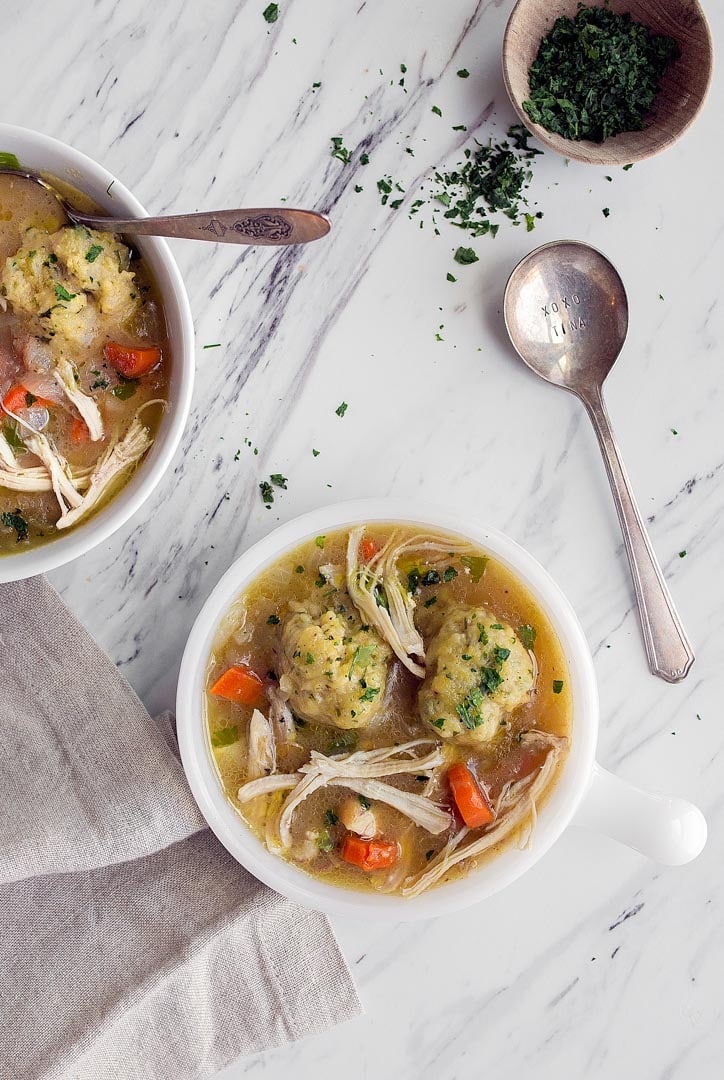
instant pot chicken & dumplings

instant pot white chicken chili

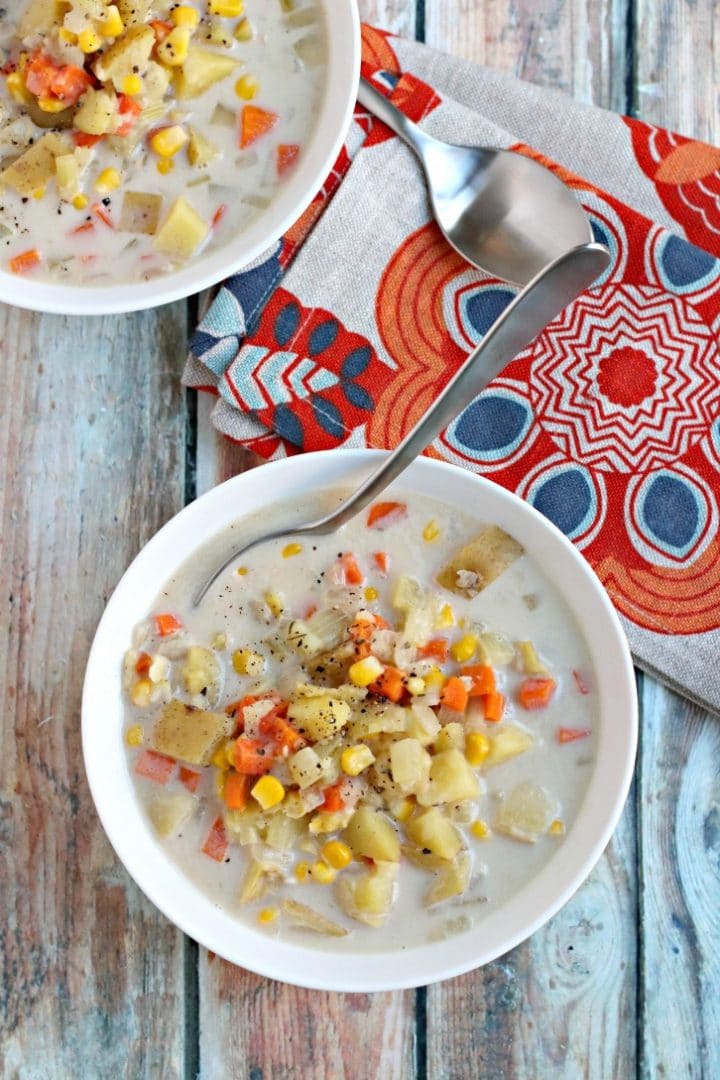
vegan potato corn chowder


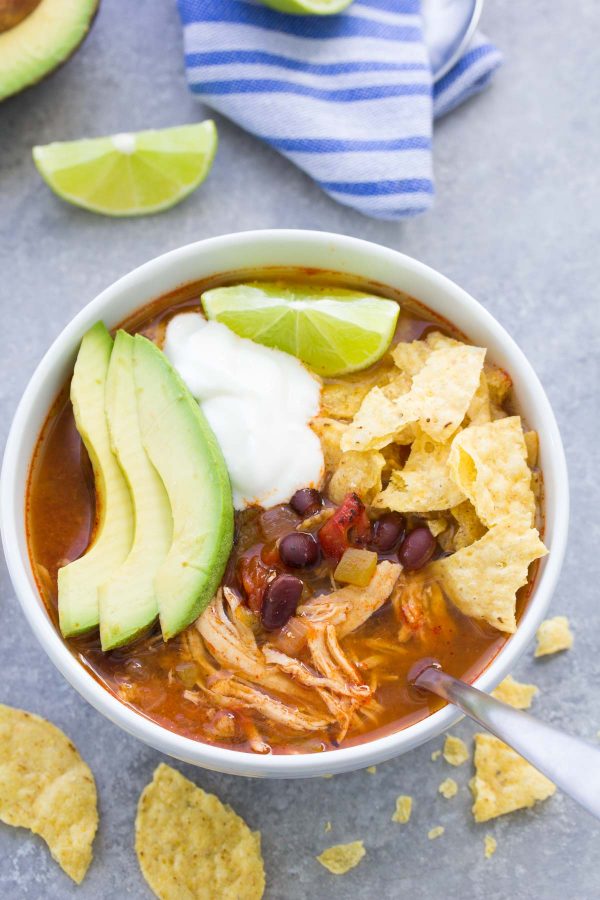
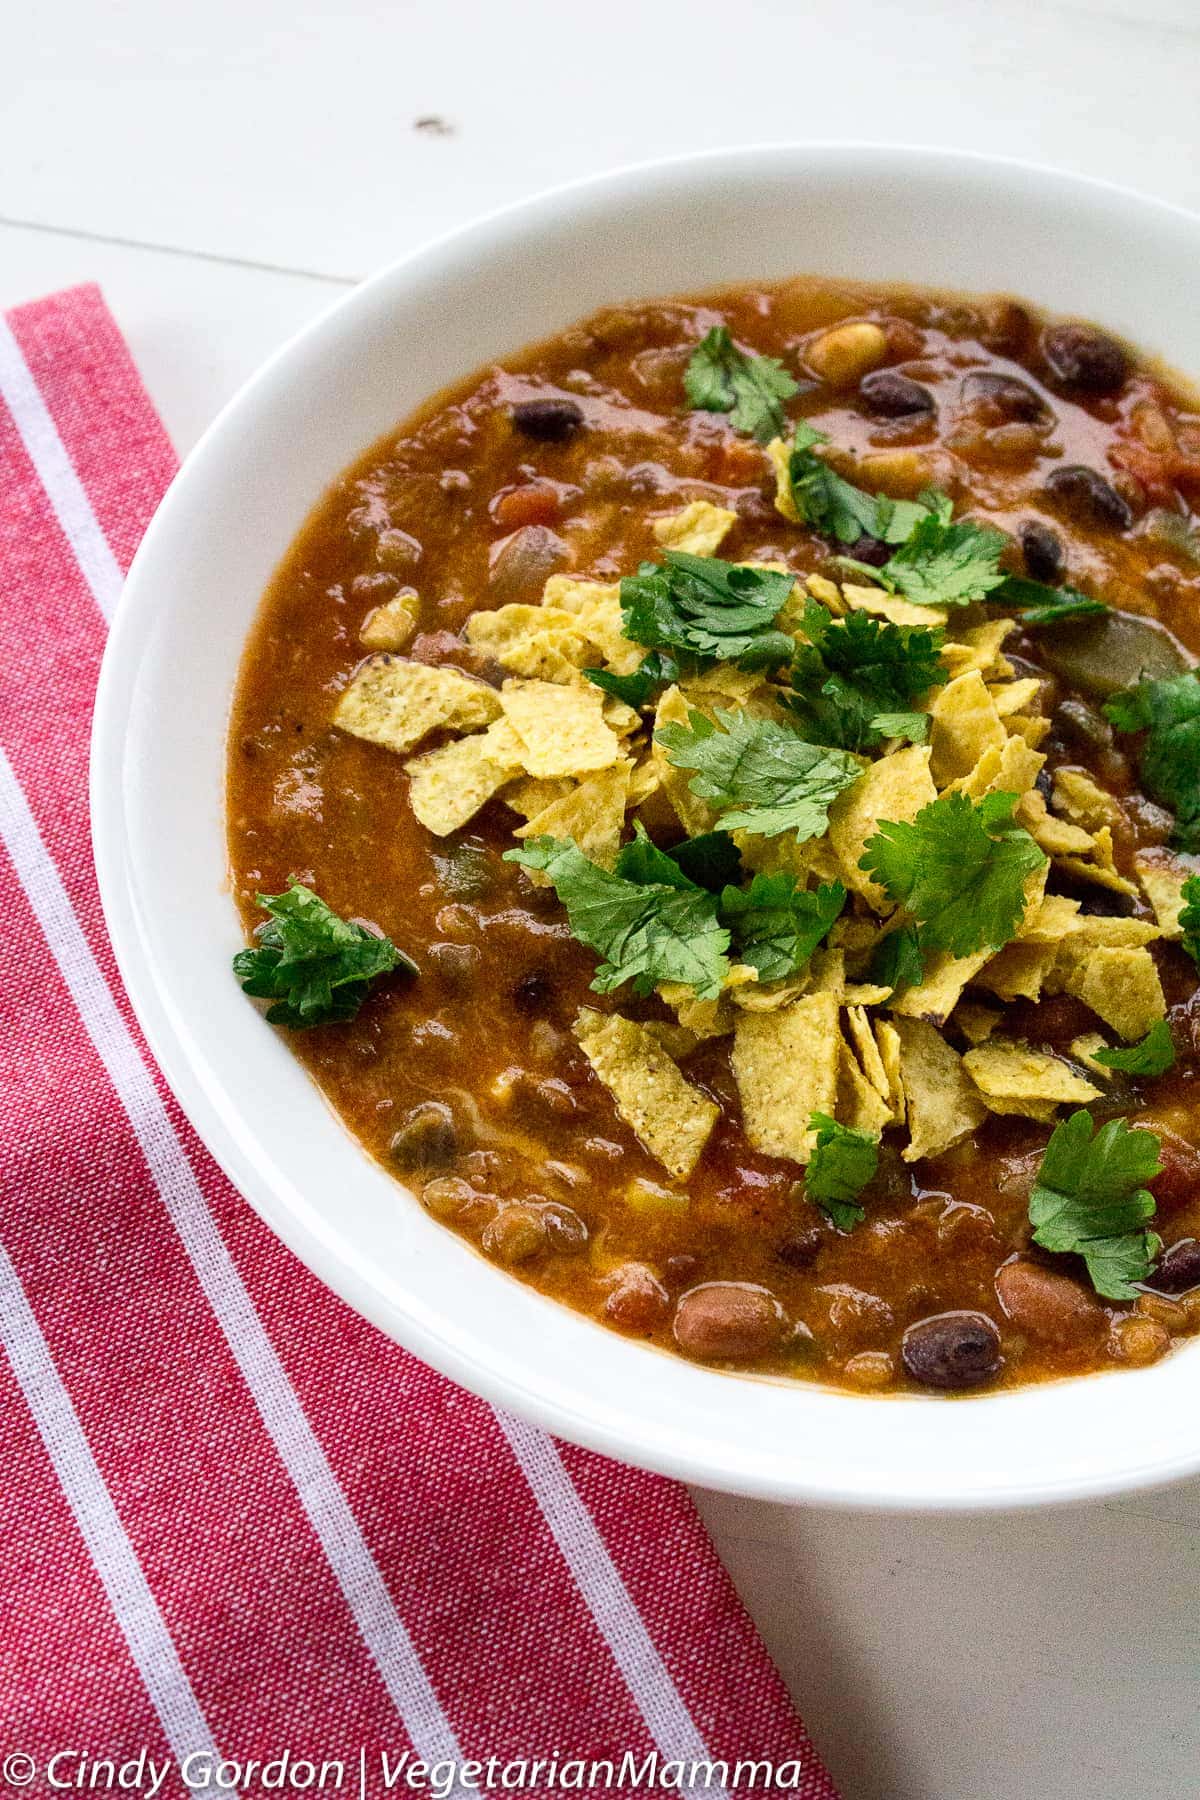
instant pot chicken tortilla soup

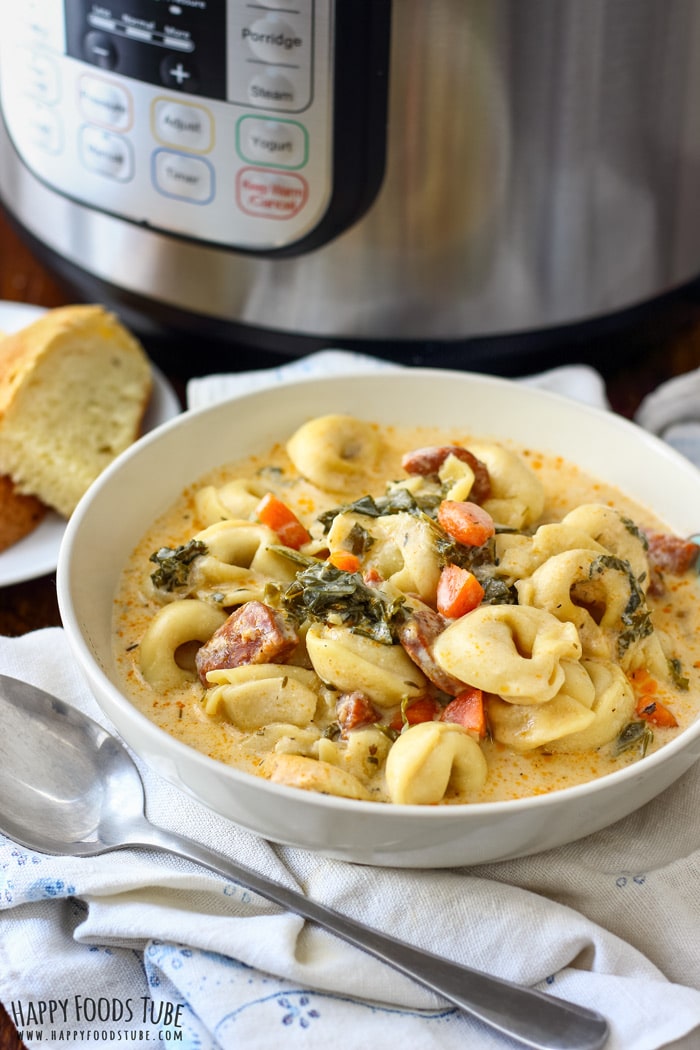
instant pot creamy tortellini soup

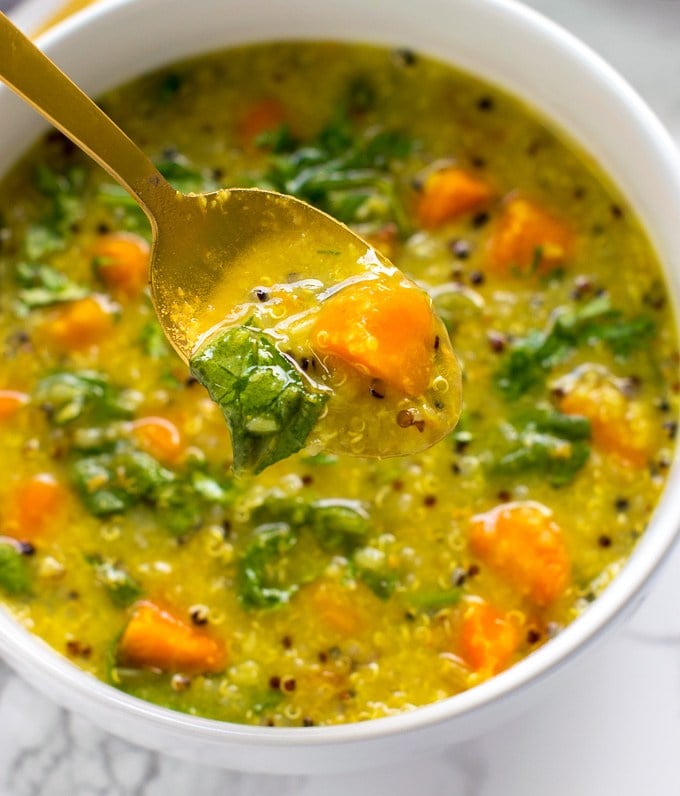
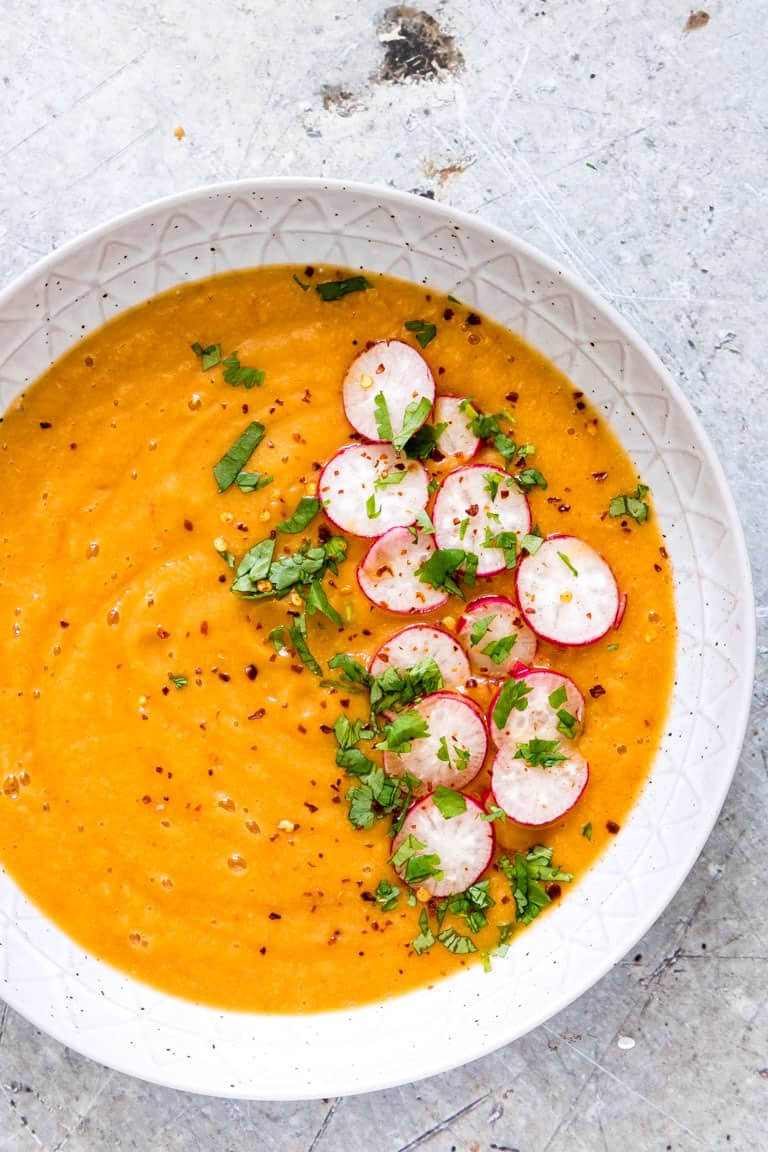
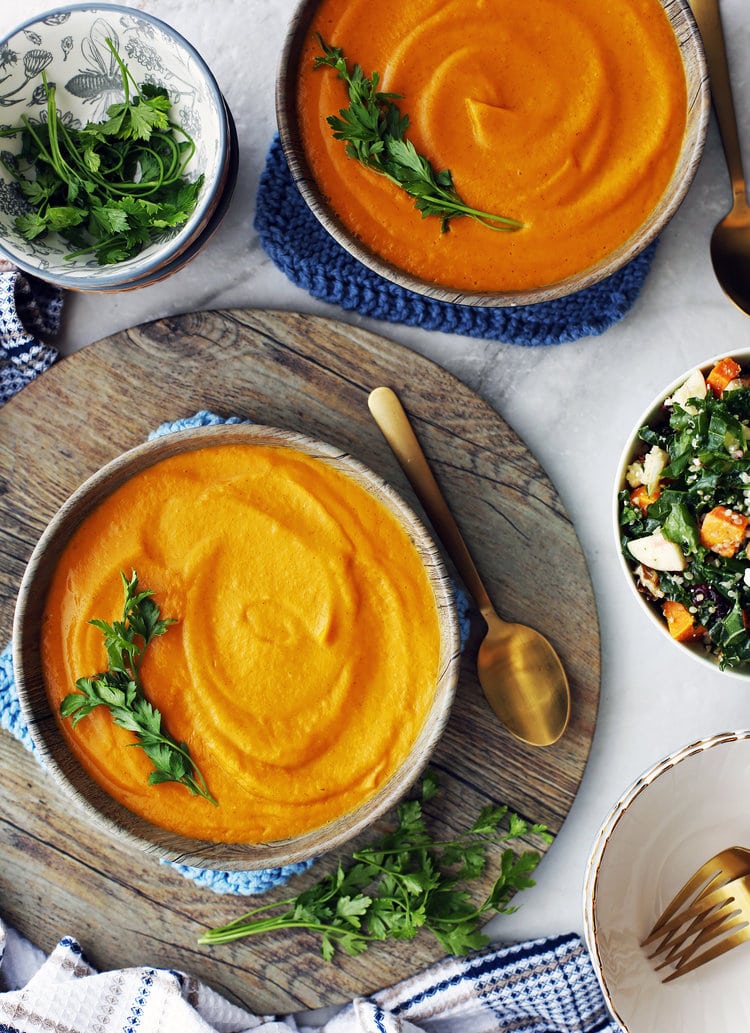
instant pot sweet potato carrot coconut soup

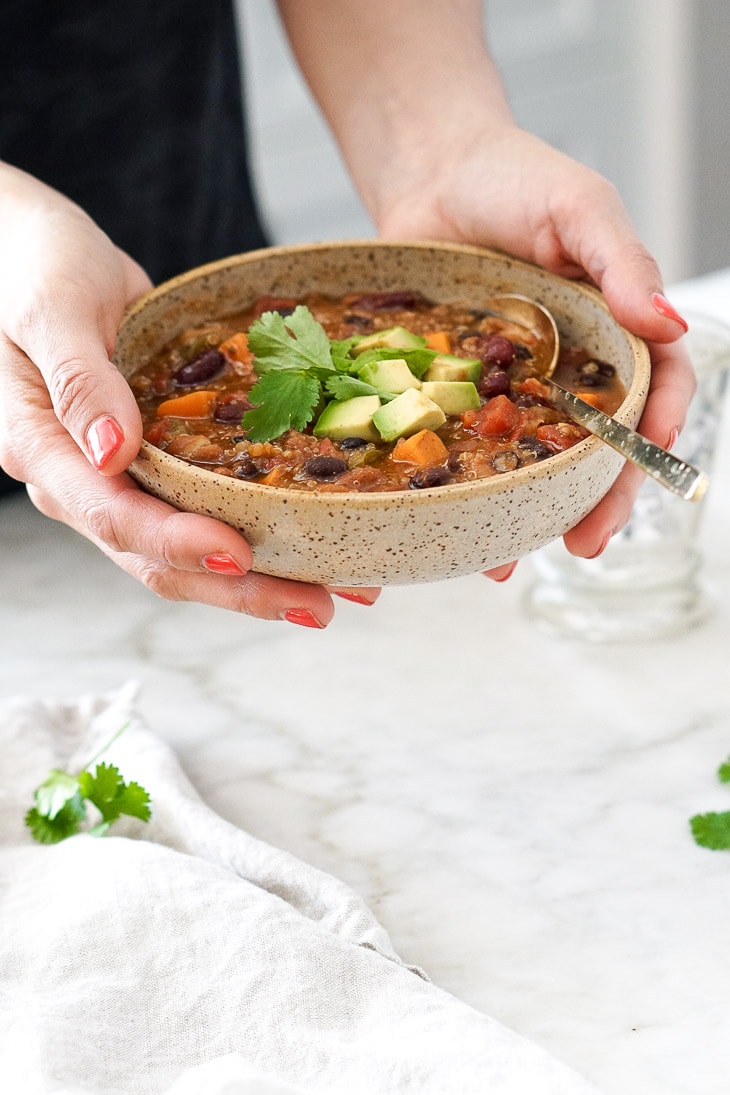
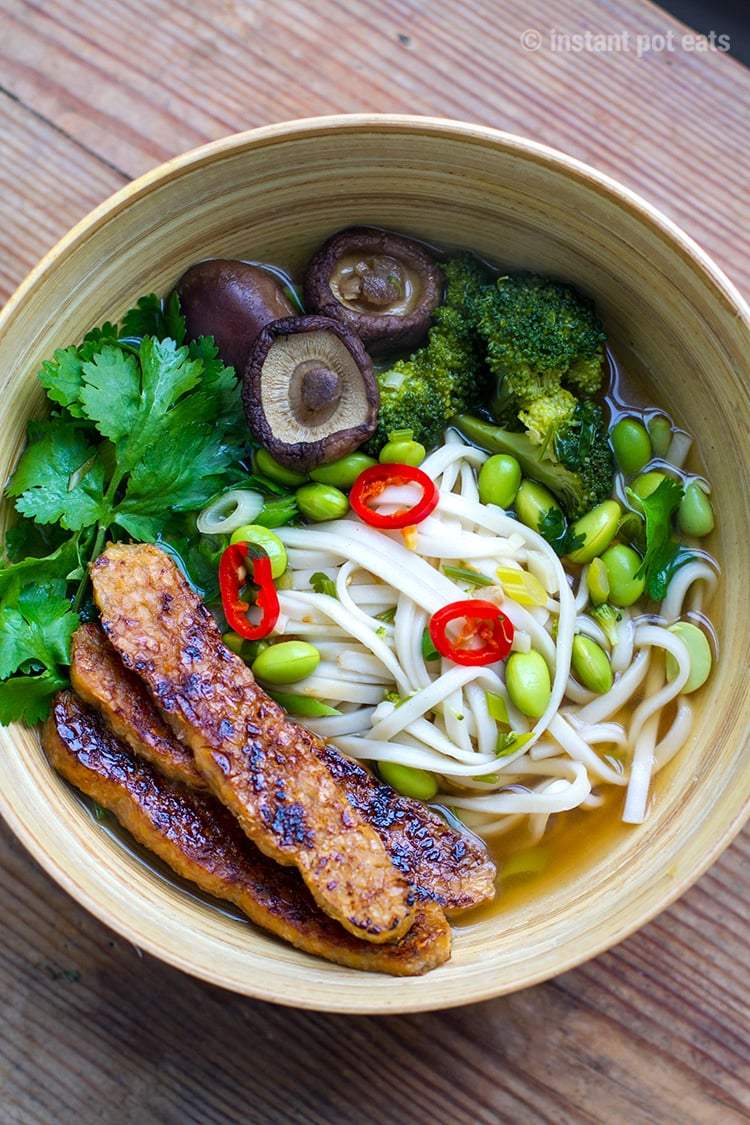
instant pot vegetarian chili instant pot vegan udon soup

instant pot taco soup

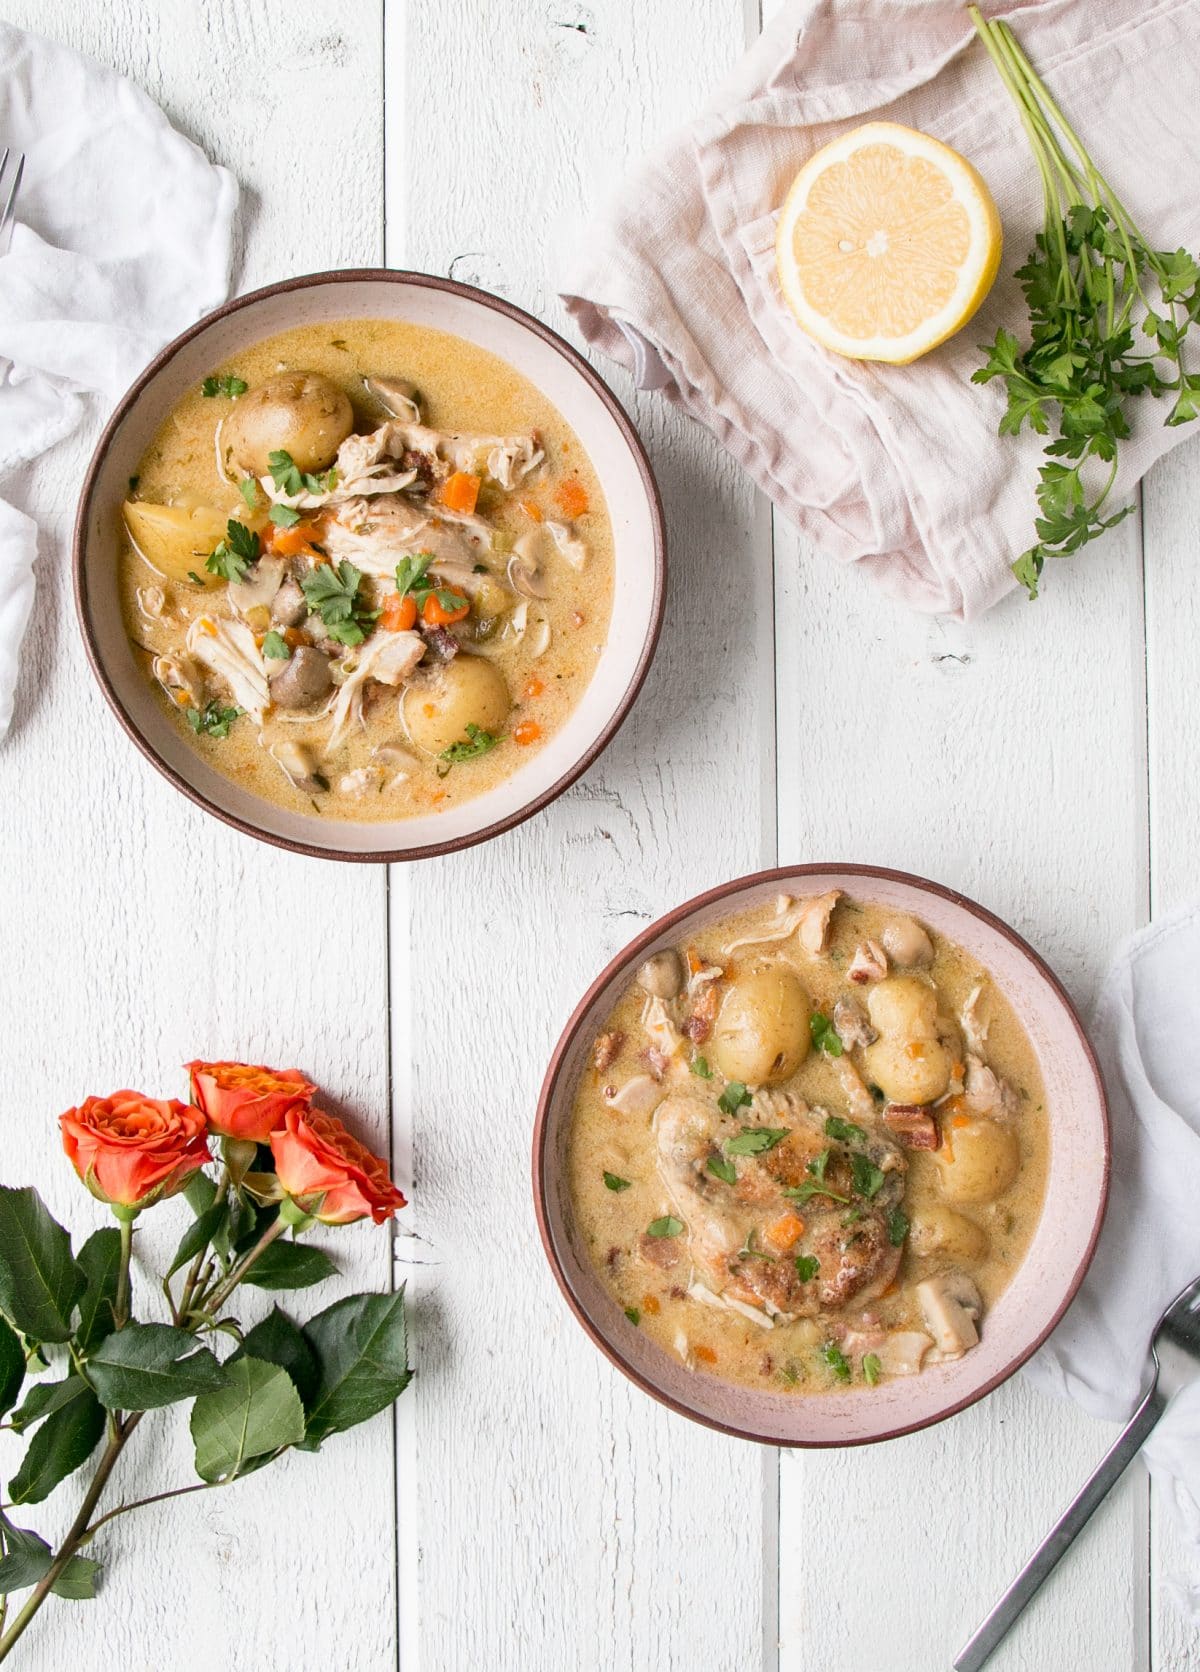
instant pot chicken fricassee

Not enough Instant Pot recipes for you? Here are 3 of our most popular Instant Pot Recipes on the site!

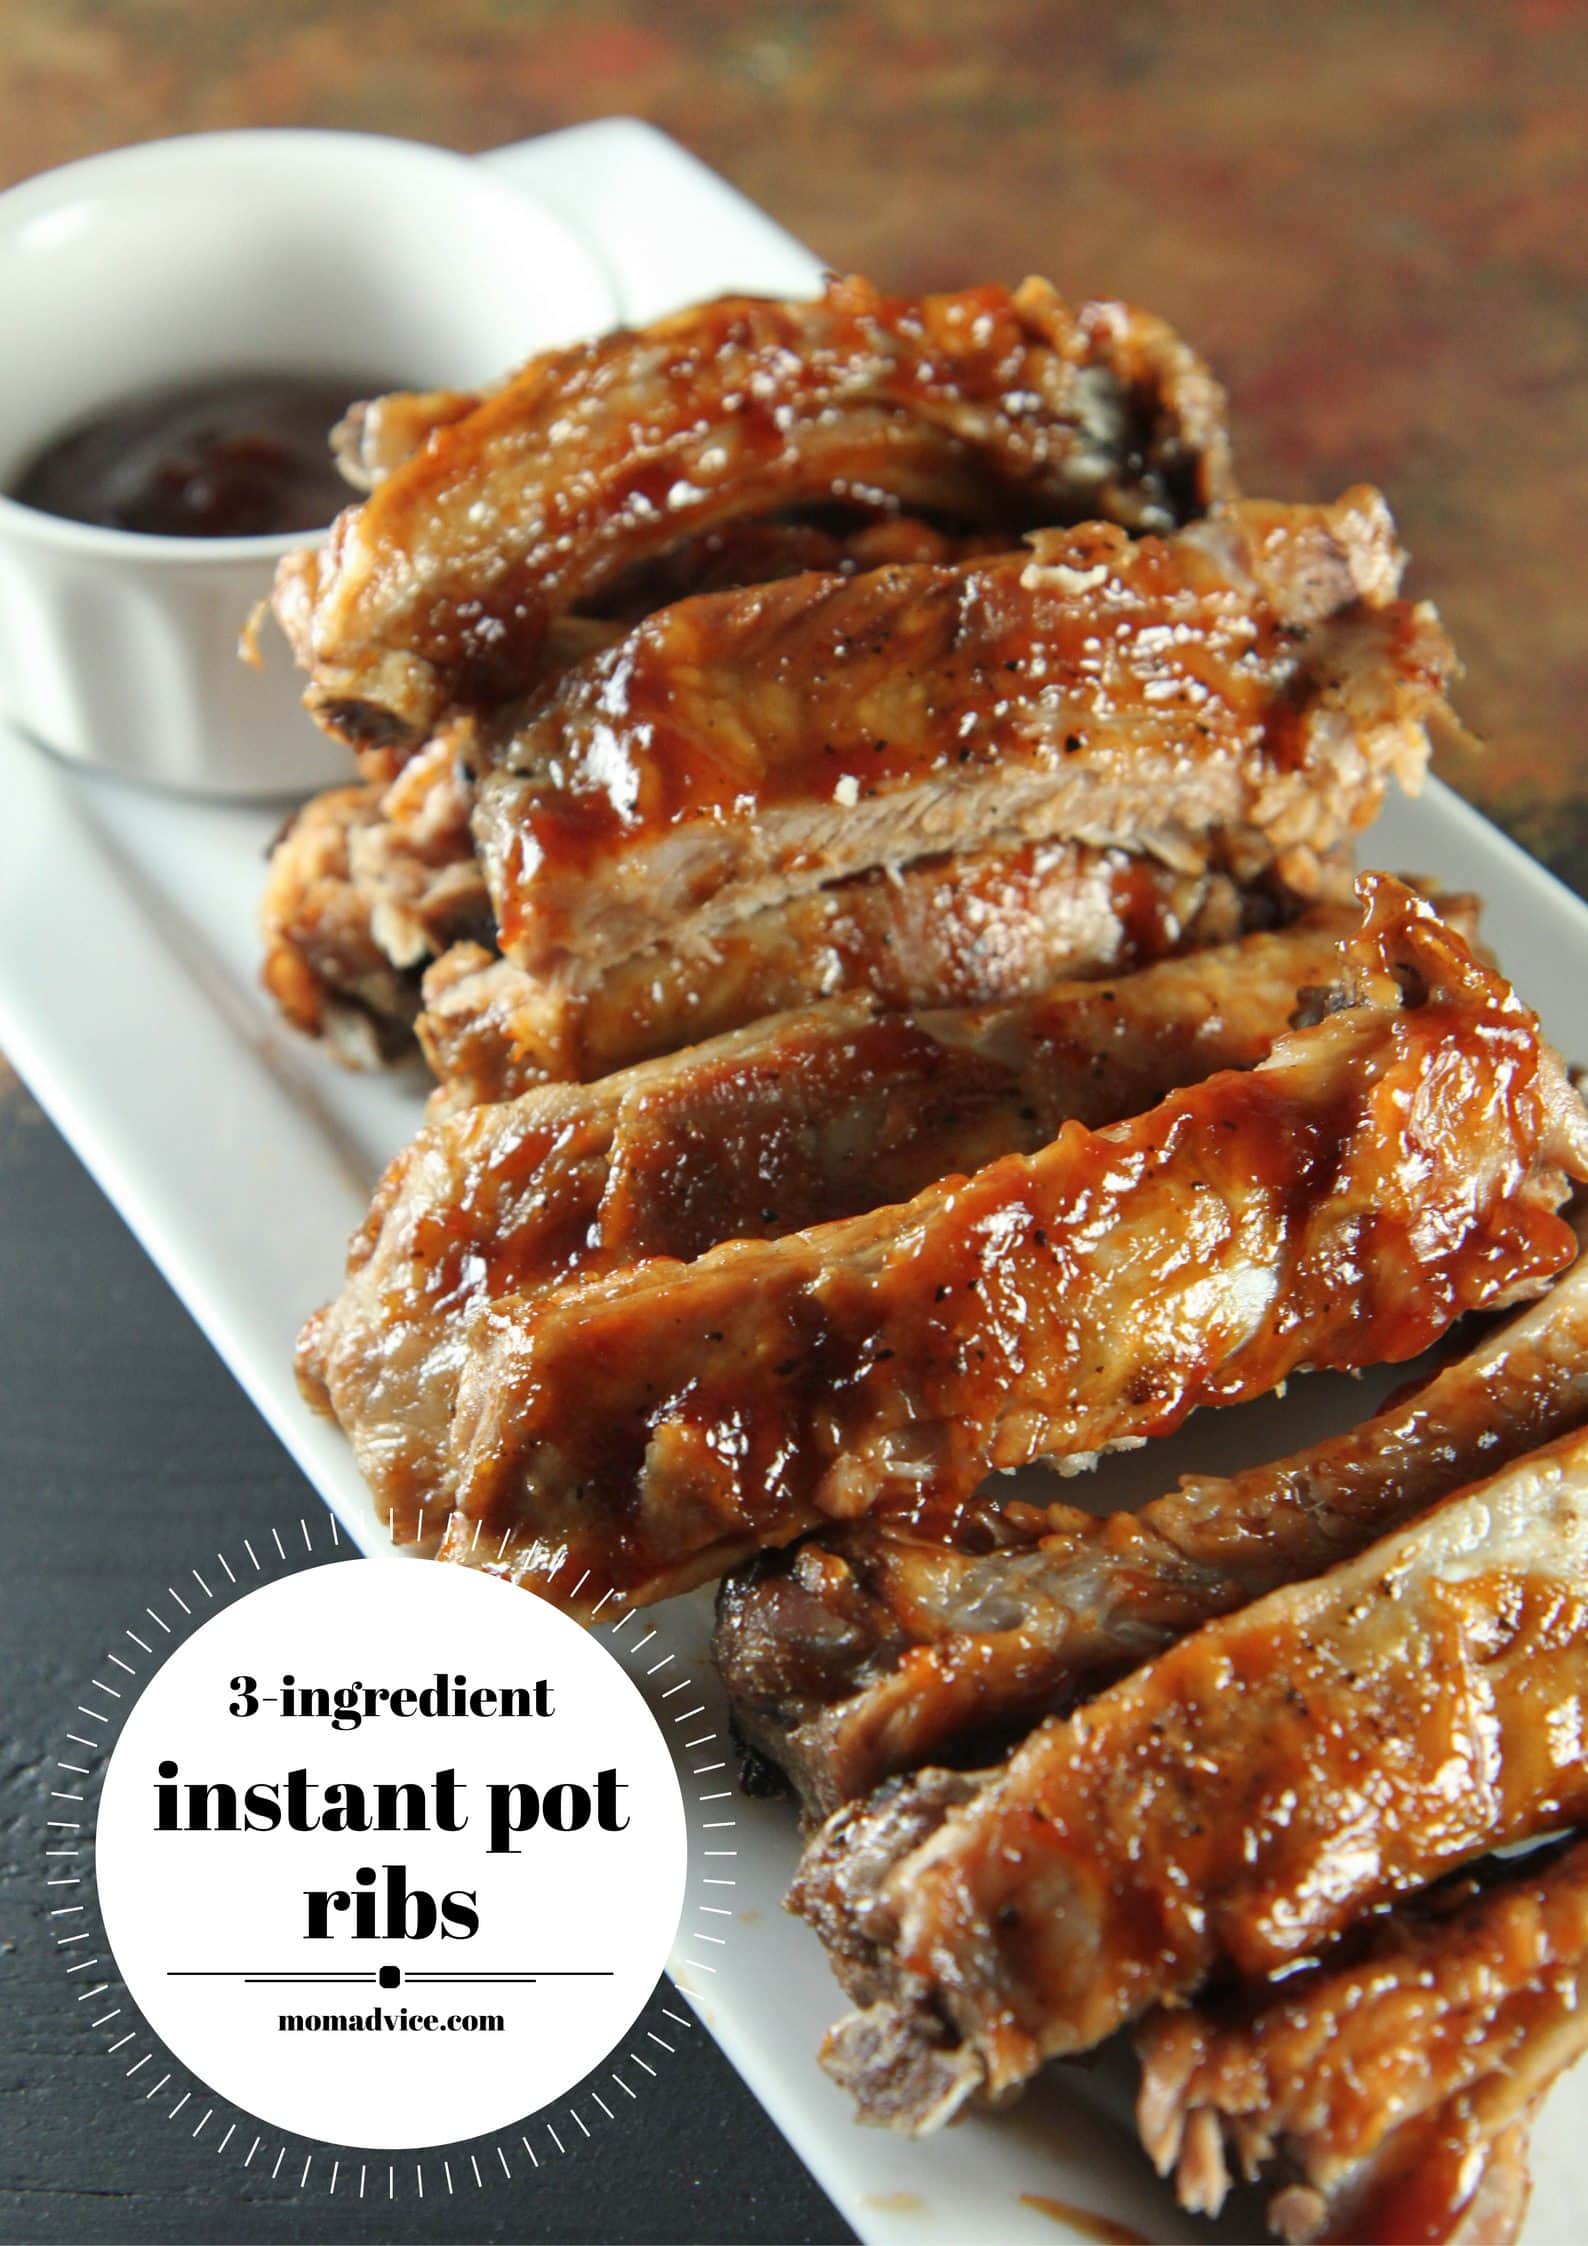
3-ingredient instant pot ribs

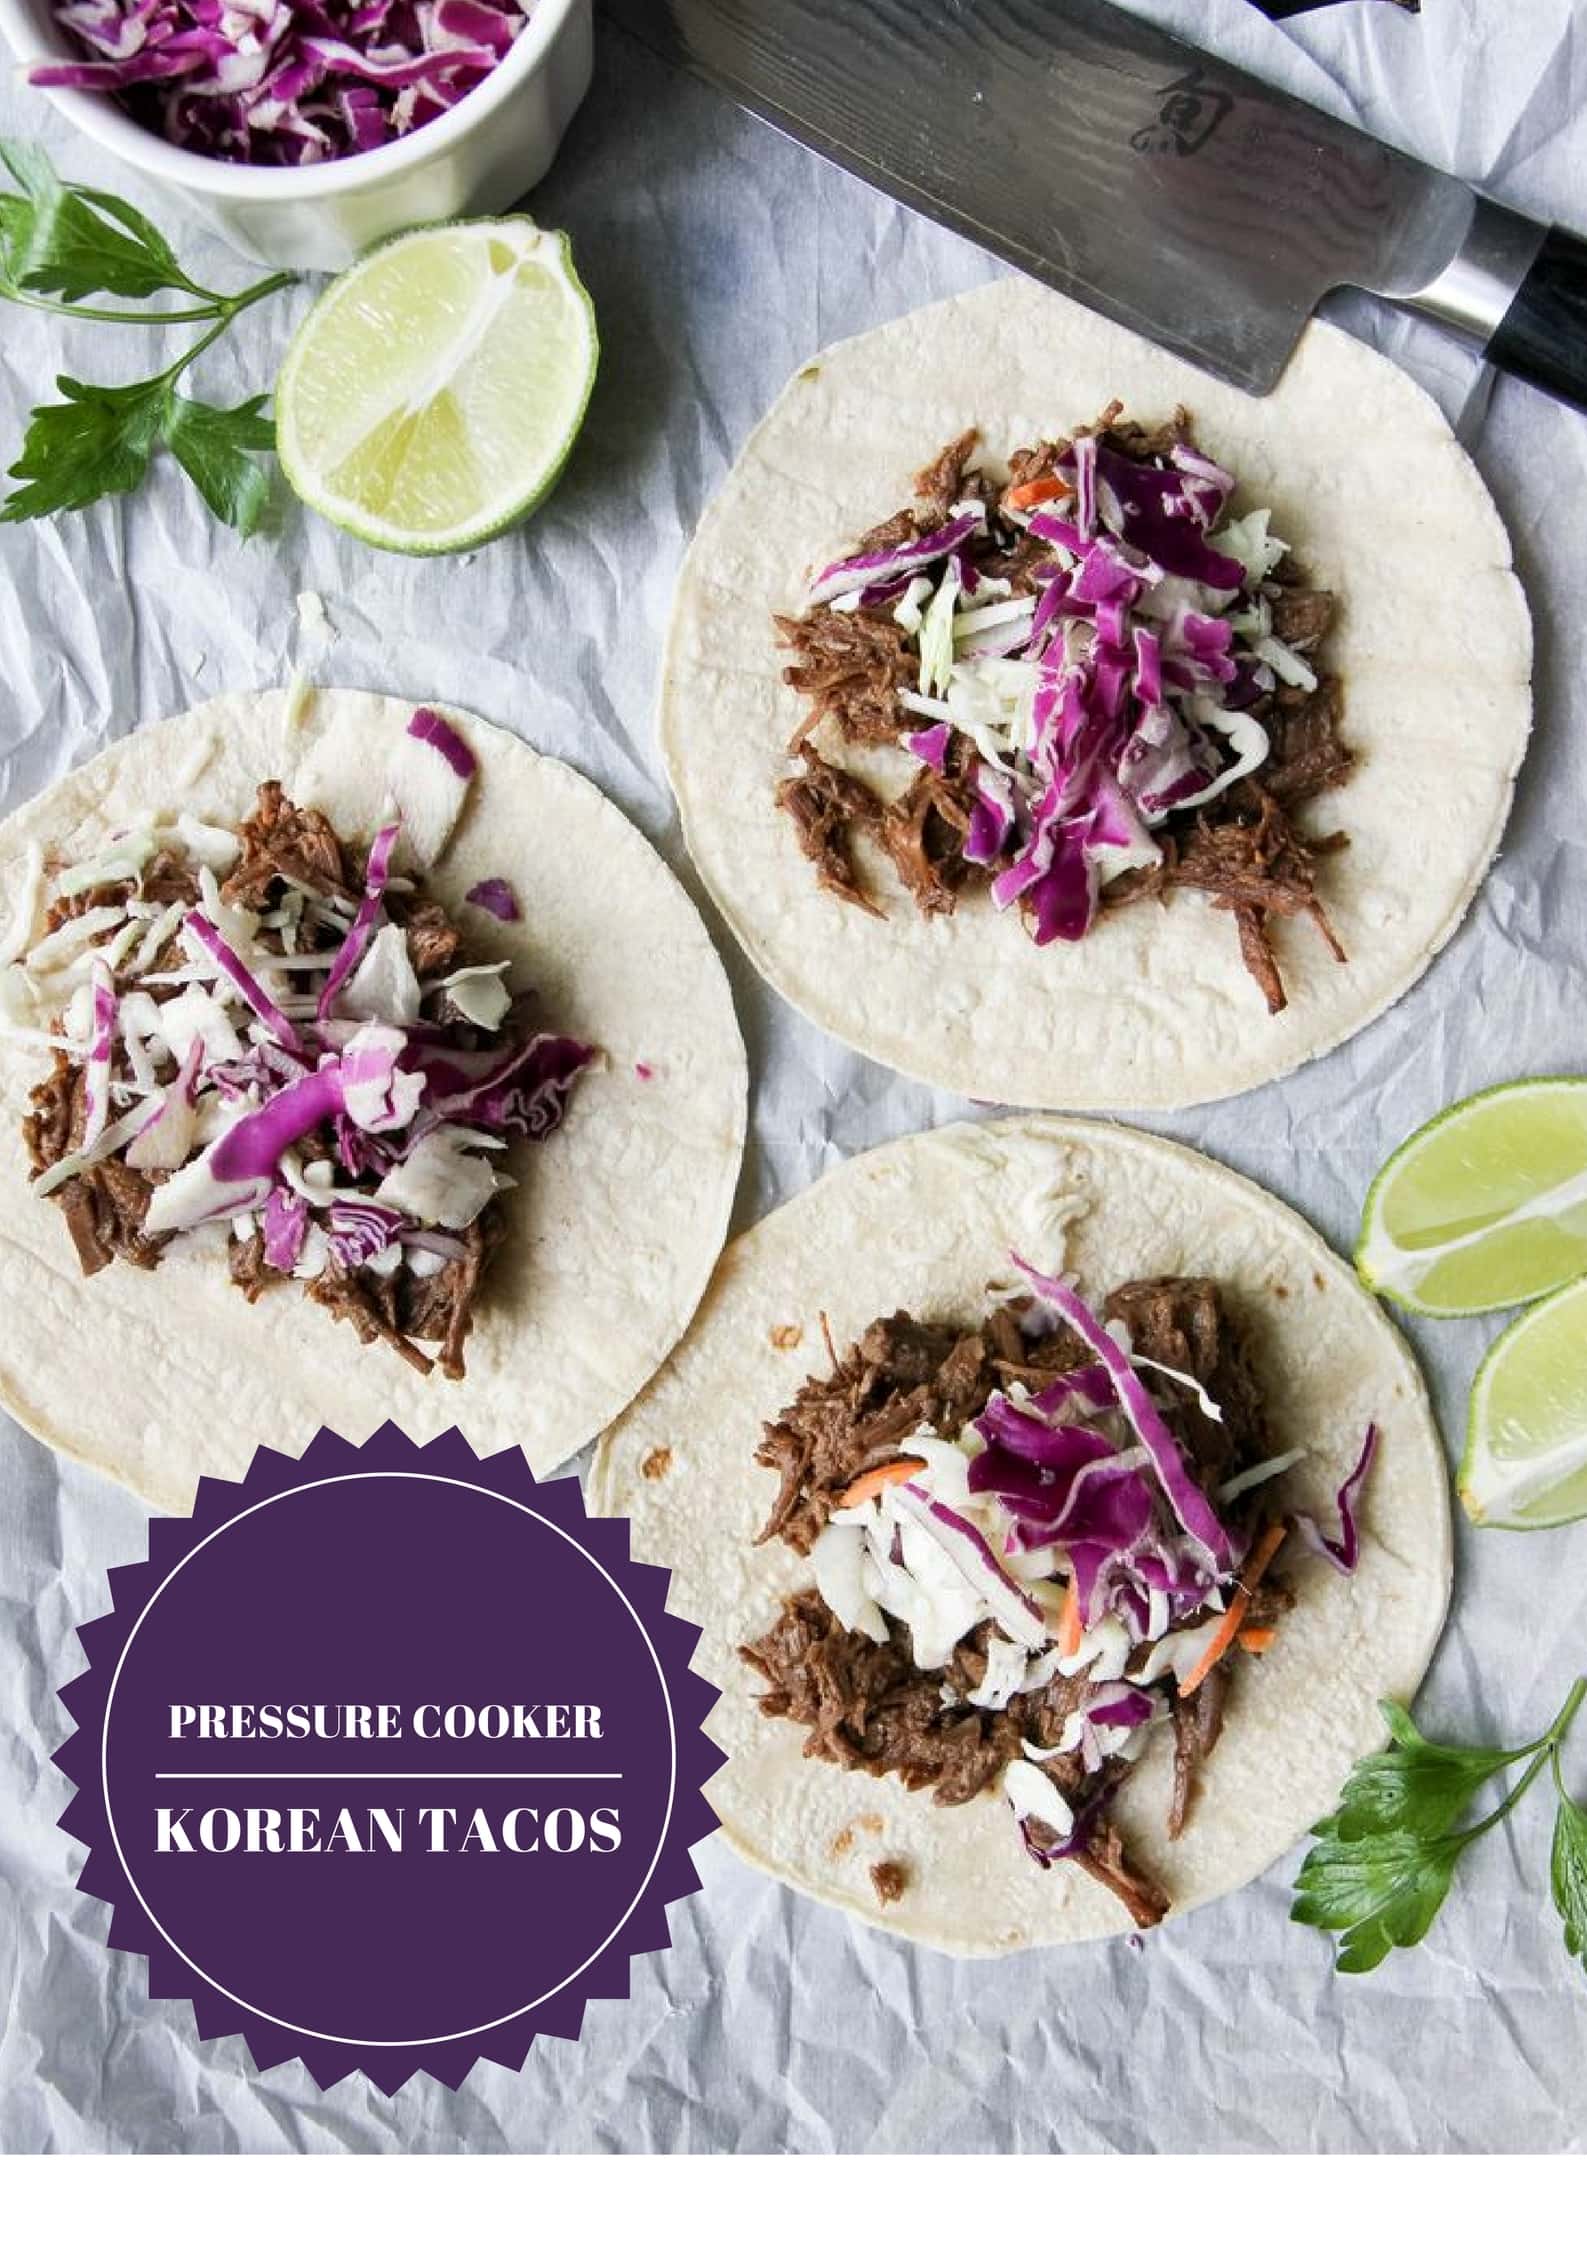
instant pot korean street tacos

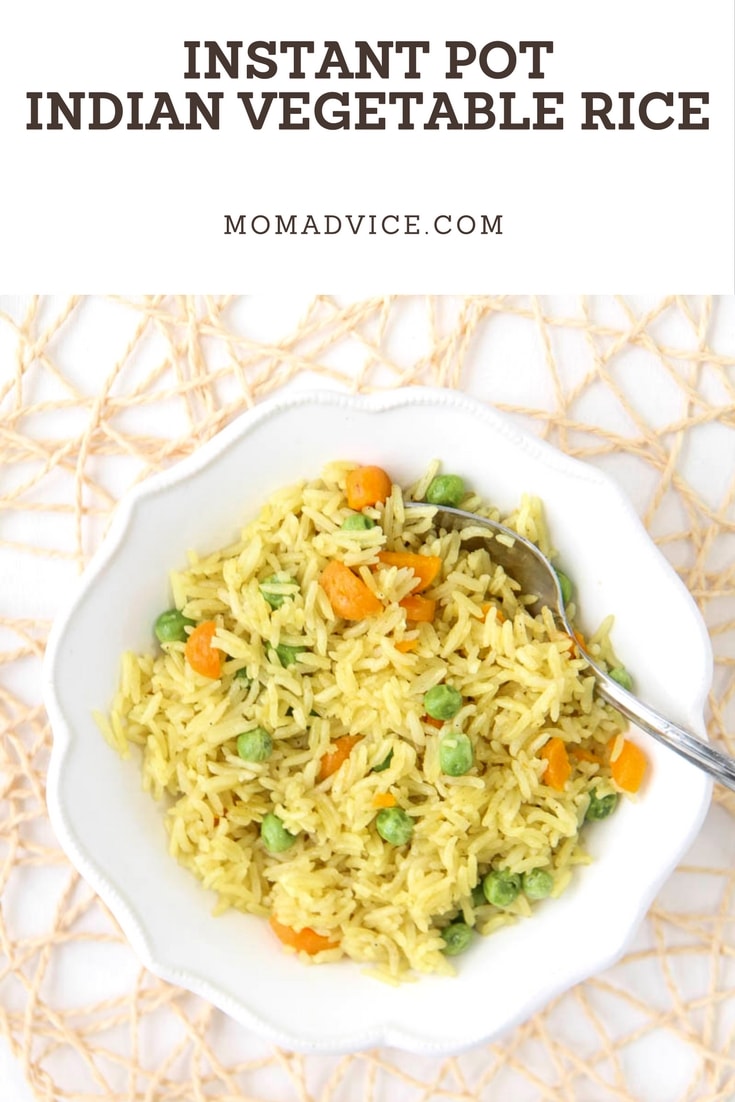
instant pot indian vegetable rice

What is your favorite soup to make in your pressure cooker?


this post contains affiliate links

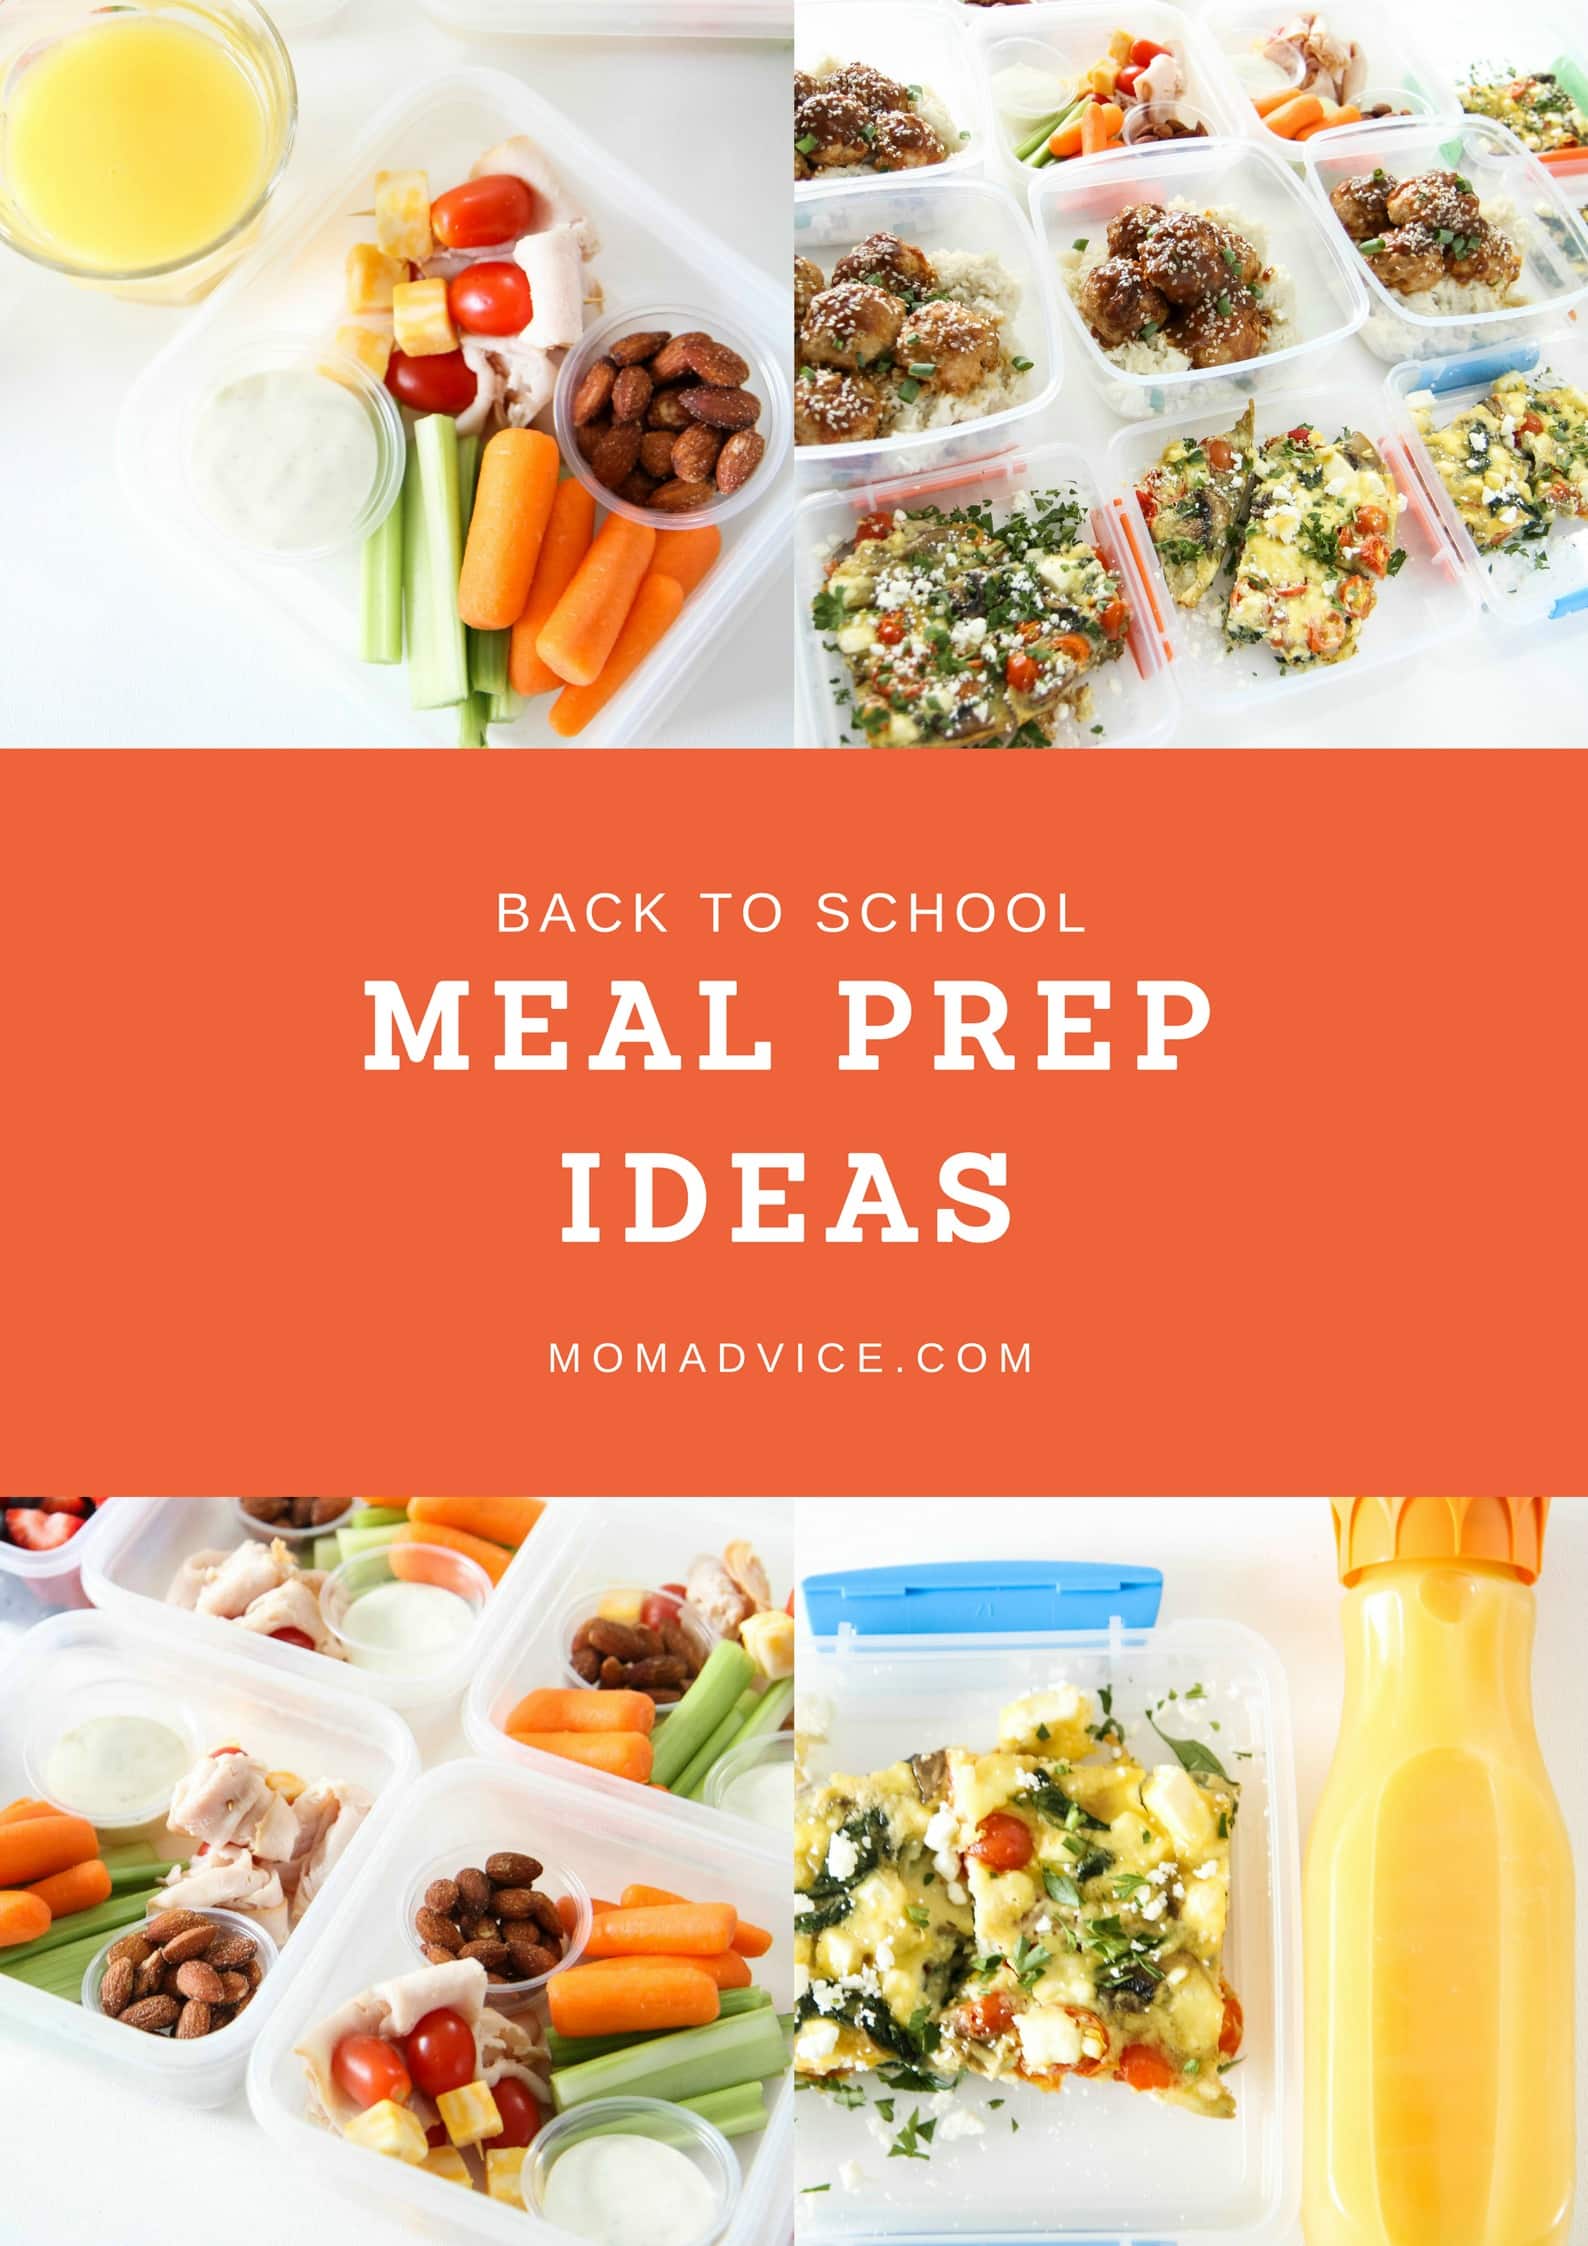
Back-to-School Meal Prep Ideas

Tuesday, August 14th, 2018

Back to School Meal Prep Ideas from MomAdvice.com

It’s time to bring on those meal prep ideas for packing lunches for back-to-school. I’m sharing 7 tips to nail your meal prep game for your kids and YOU. I’m excited to be partnering again with the Florida Department of Citrus for the back-to-school season and showing you some fun new strategies for lunch preparation.

It seems surreal to me that we are already talking about back-to-school, but we are just one week away from sending our kids off to school again. It is with this big occasion in mind that I look forward to getting back into our healthy eating routines and finding new ways to minimize stress during our busy weeks.

One of the ways I do that is through our meal prep routines.

back-to-school lunch meal prep ideas from momadvice.com

back-to-school lunch meal prep ideas from momadvice.com

Let’s talk about 5 really great strategies for meal prepping that can help you this year.

back-to-school lunch prep ideas from momadvice.com

back-to-school lunch prep ideas from momadvice.com


back-to-school lunch prep ideas from momadvice.com

Find New Ways to Use Up What’s Already in Your Fridge

Meal planning can save you tons of money at the grocery store, but I have the tendency to get excited about new meals without using up what we already have in our fridge.

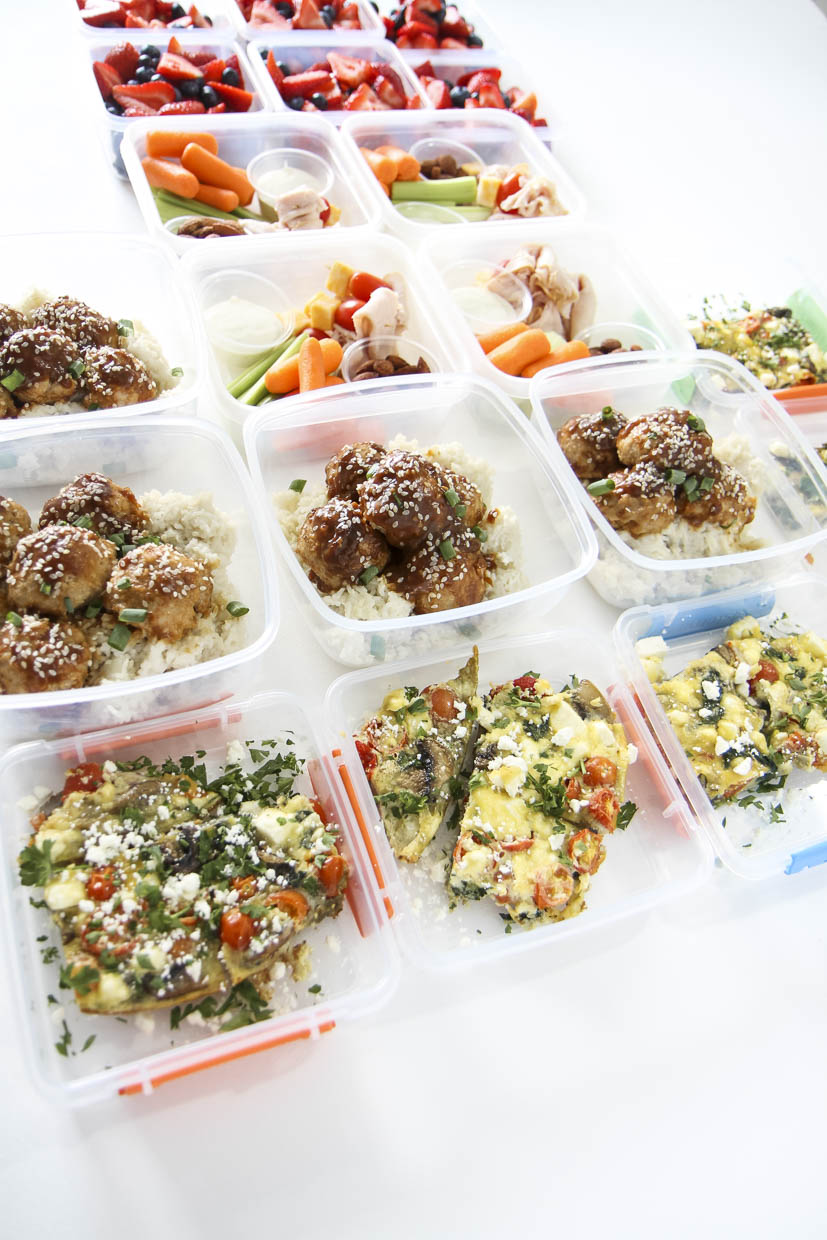
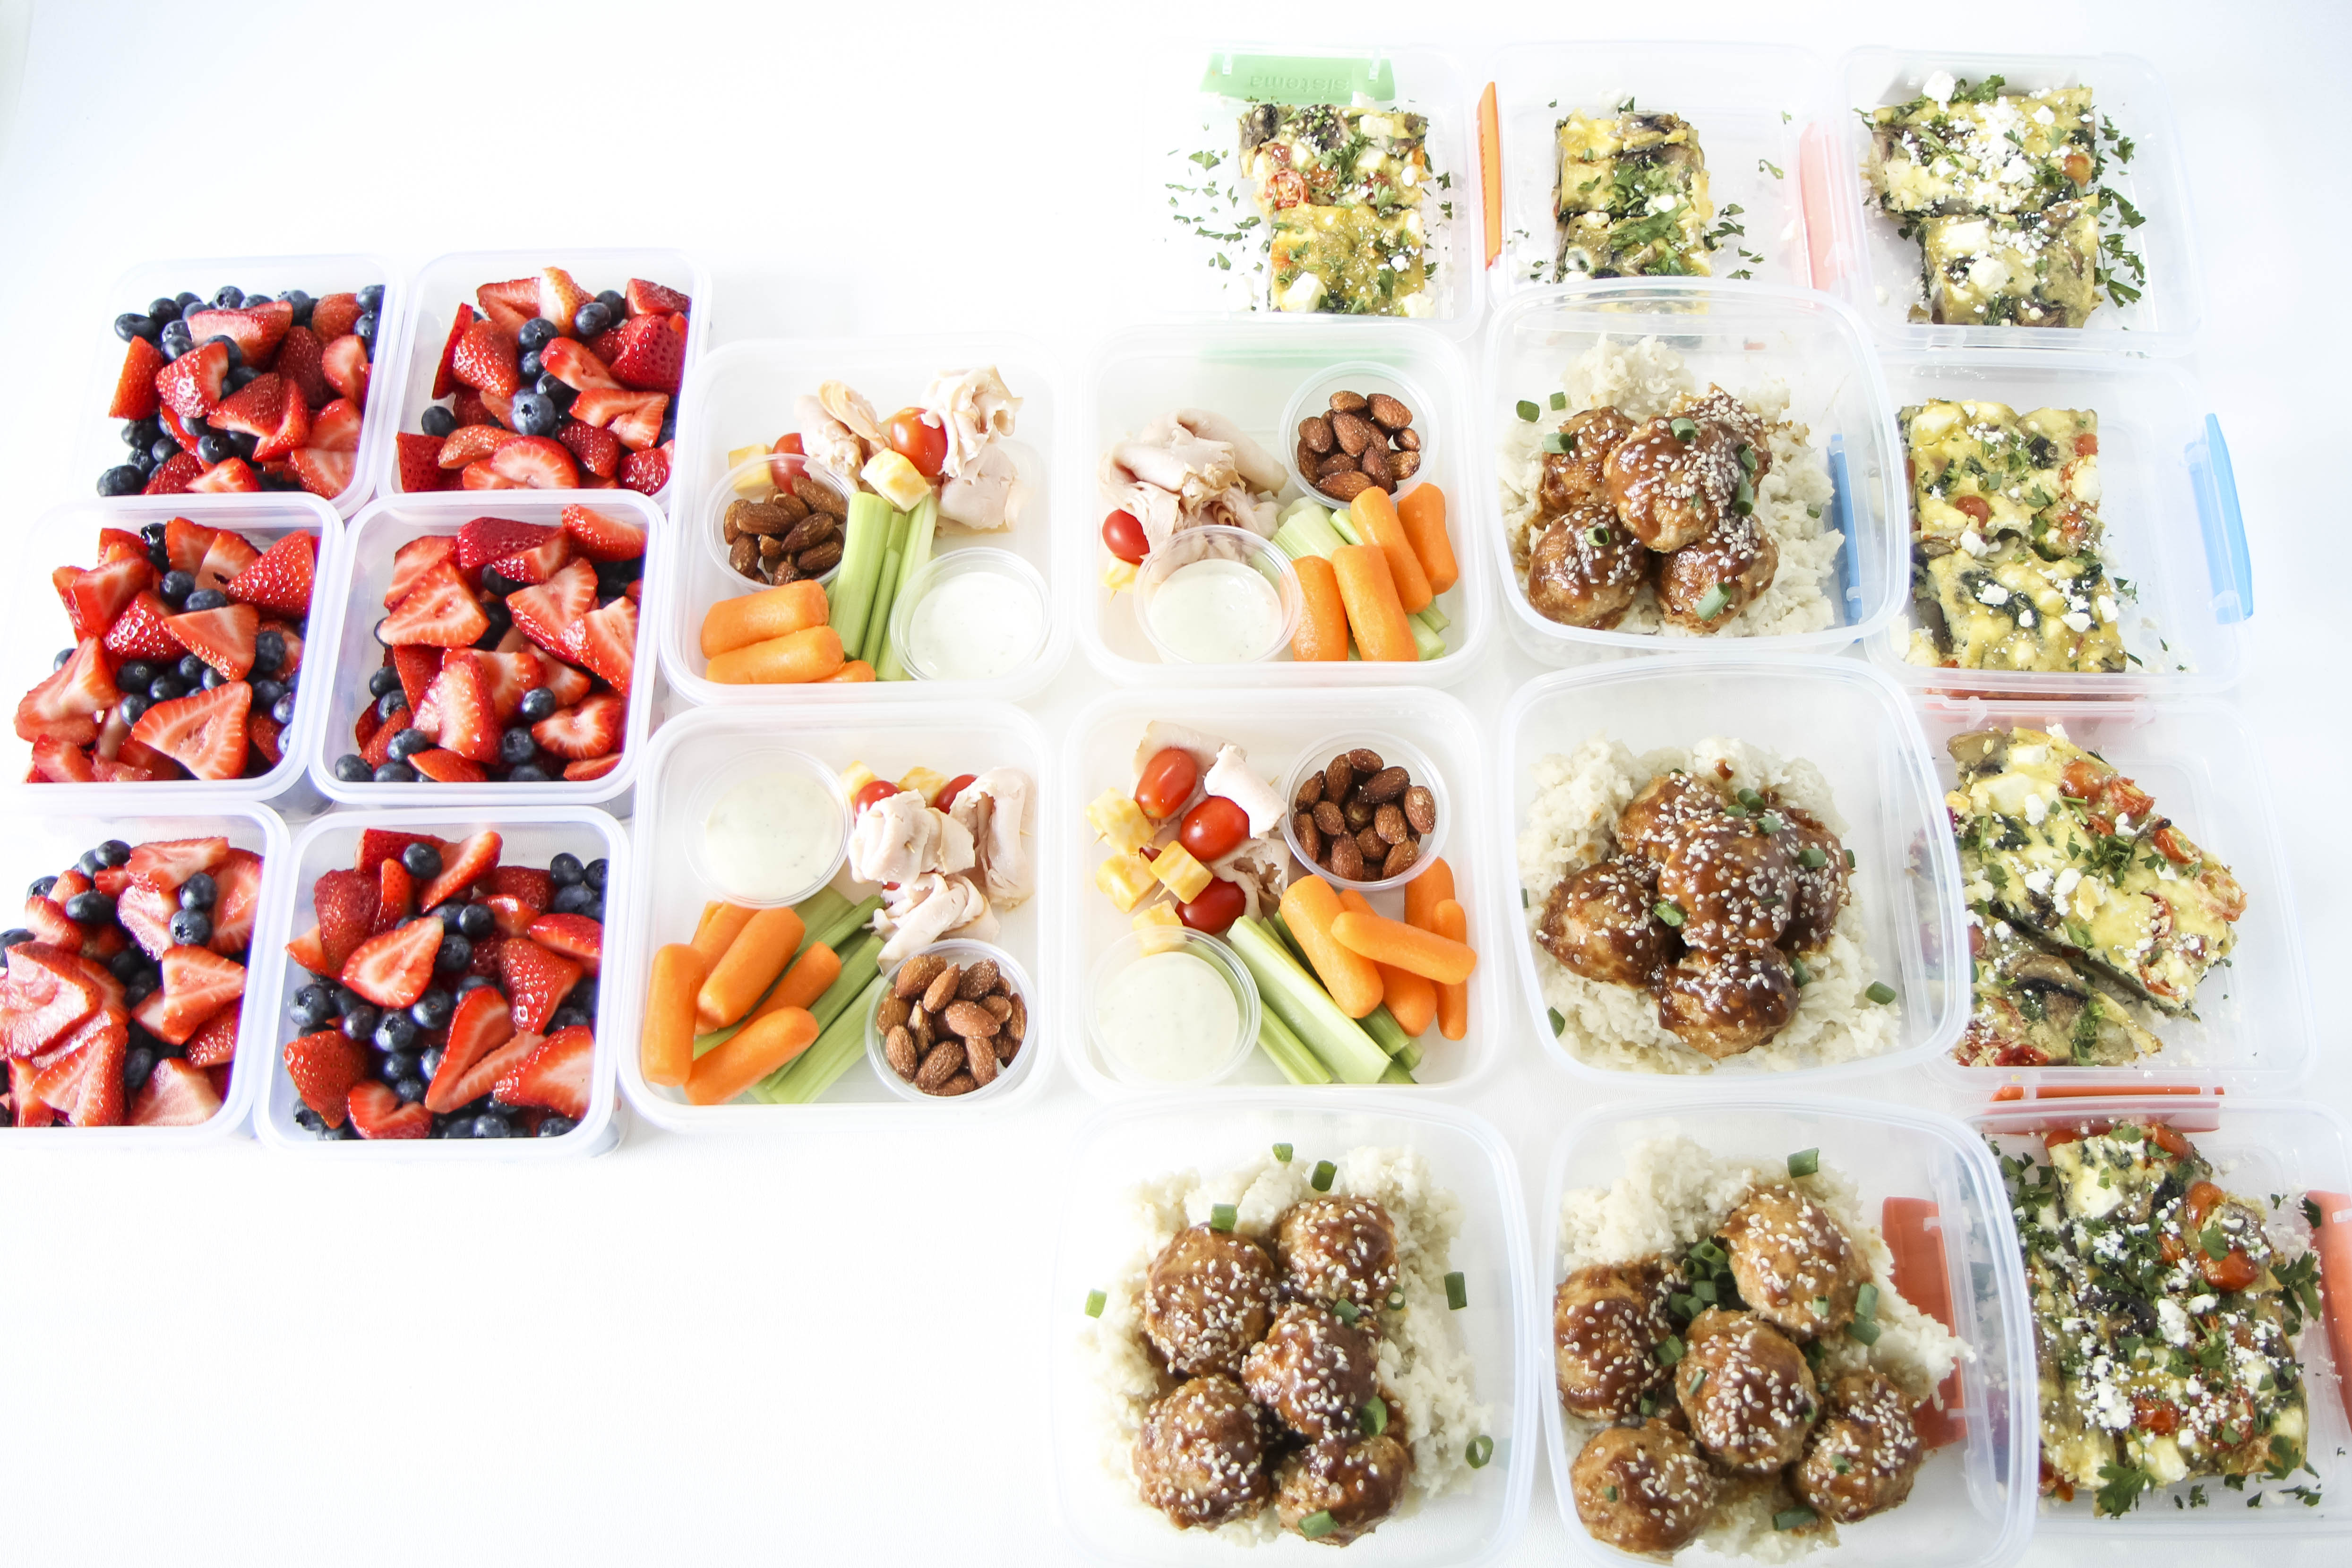
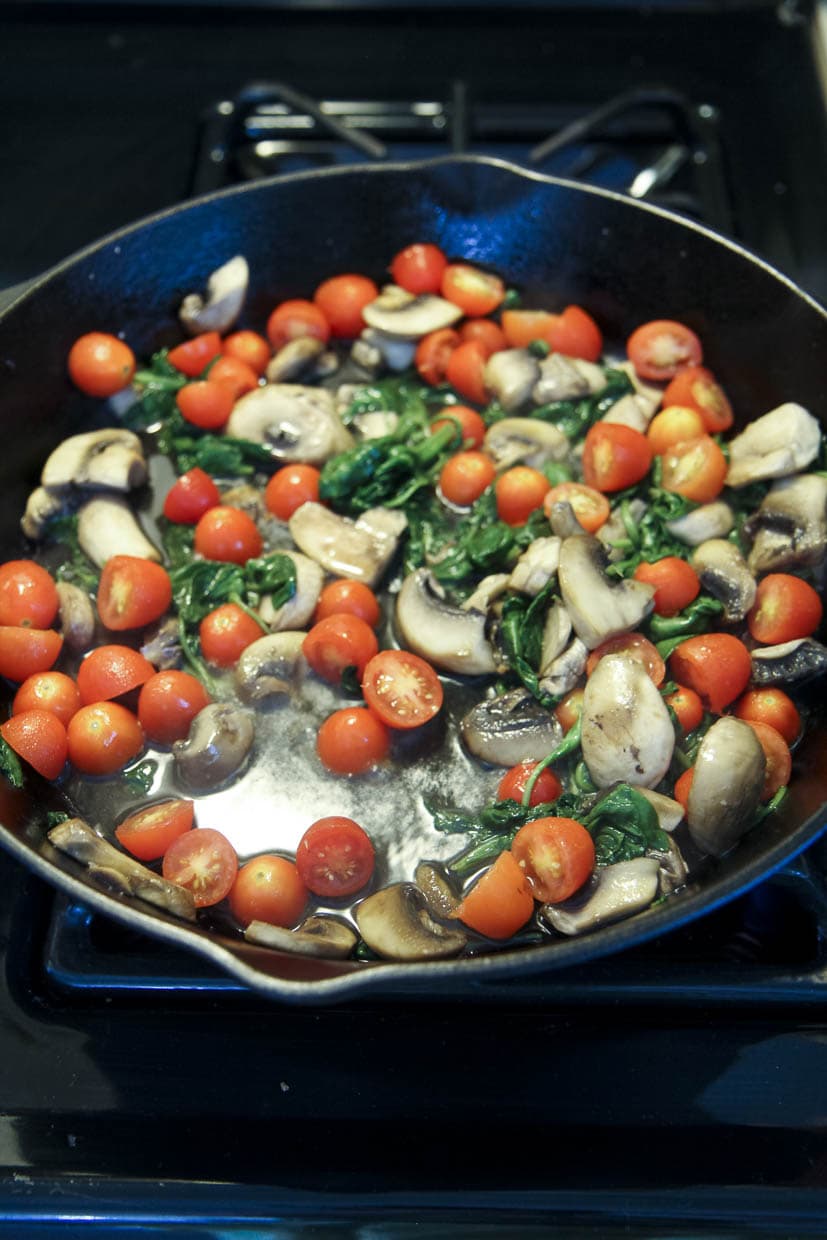
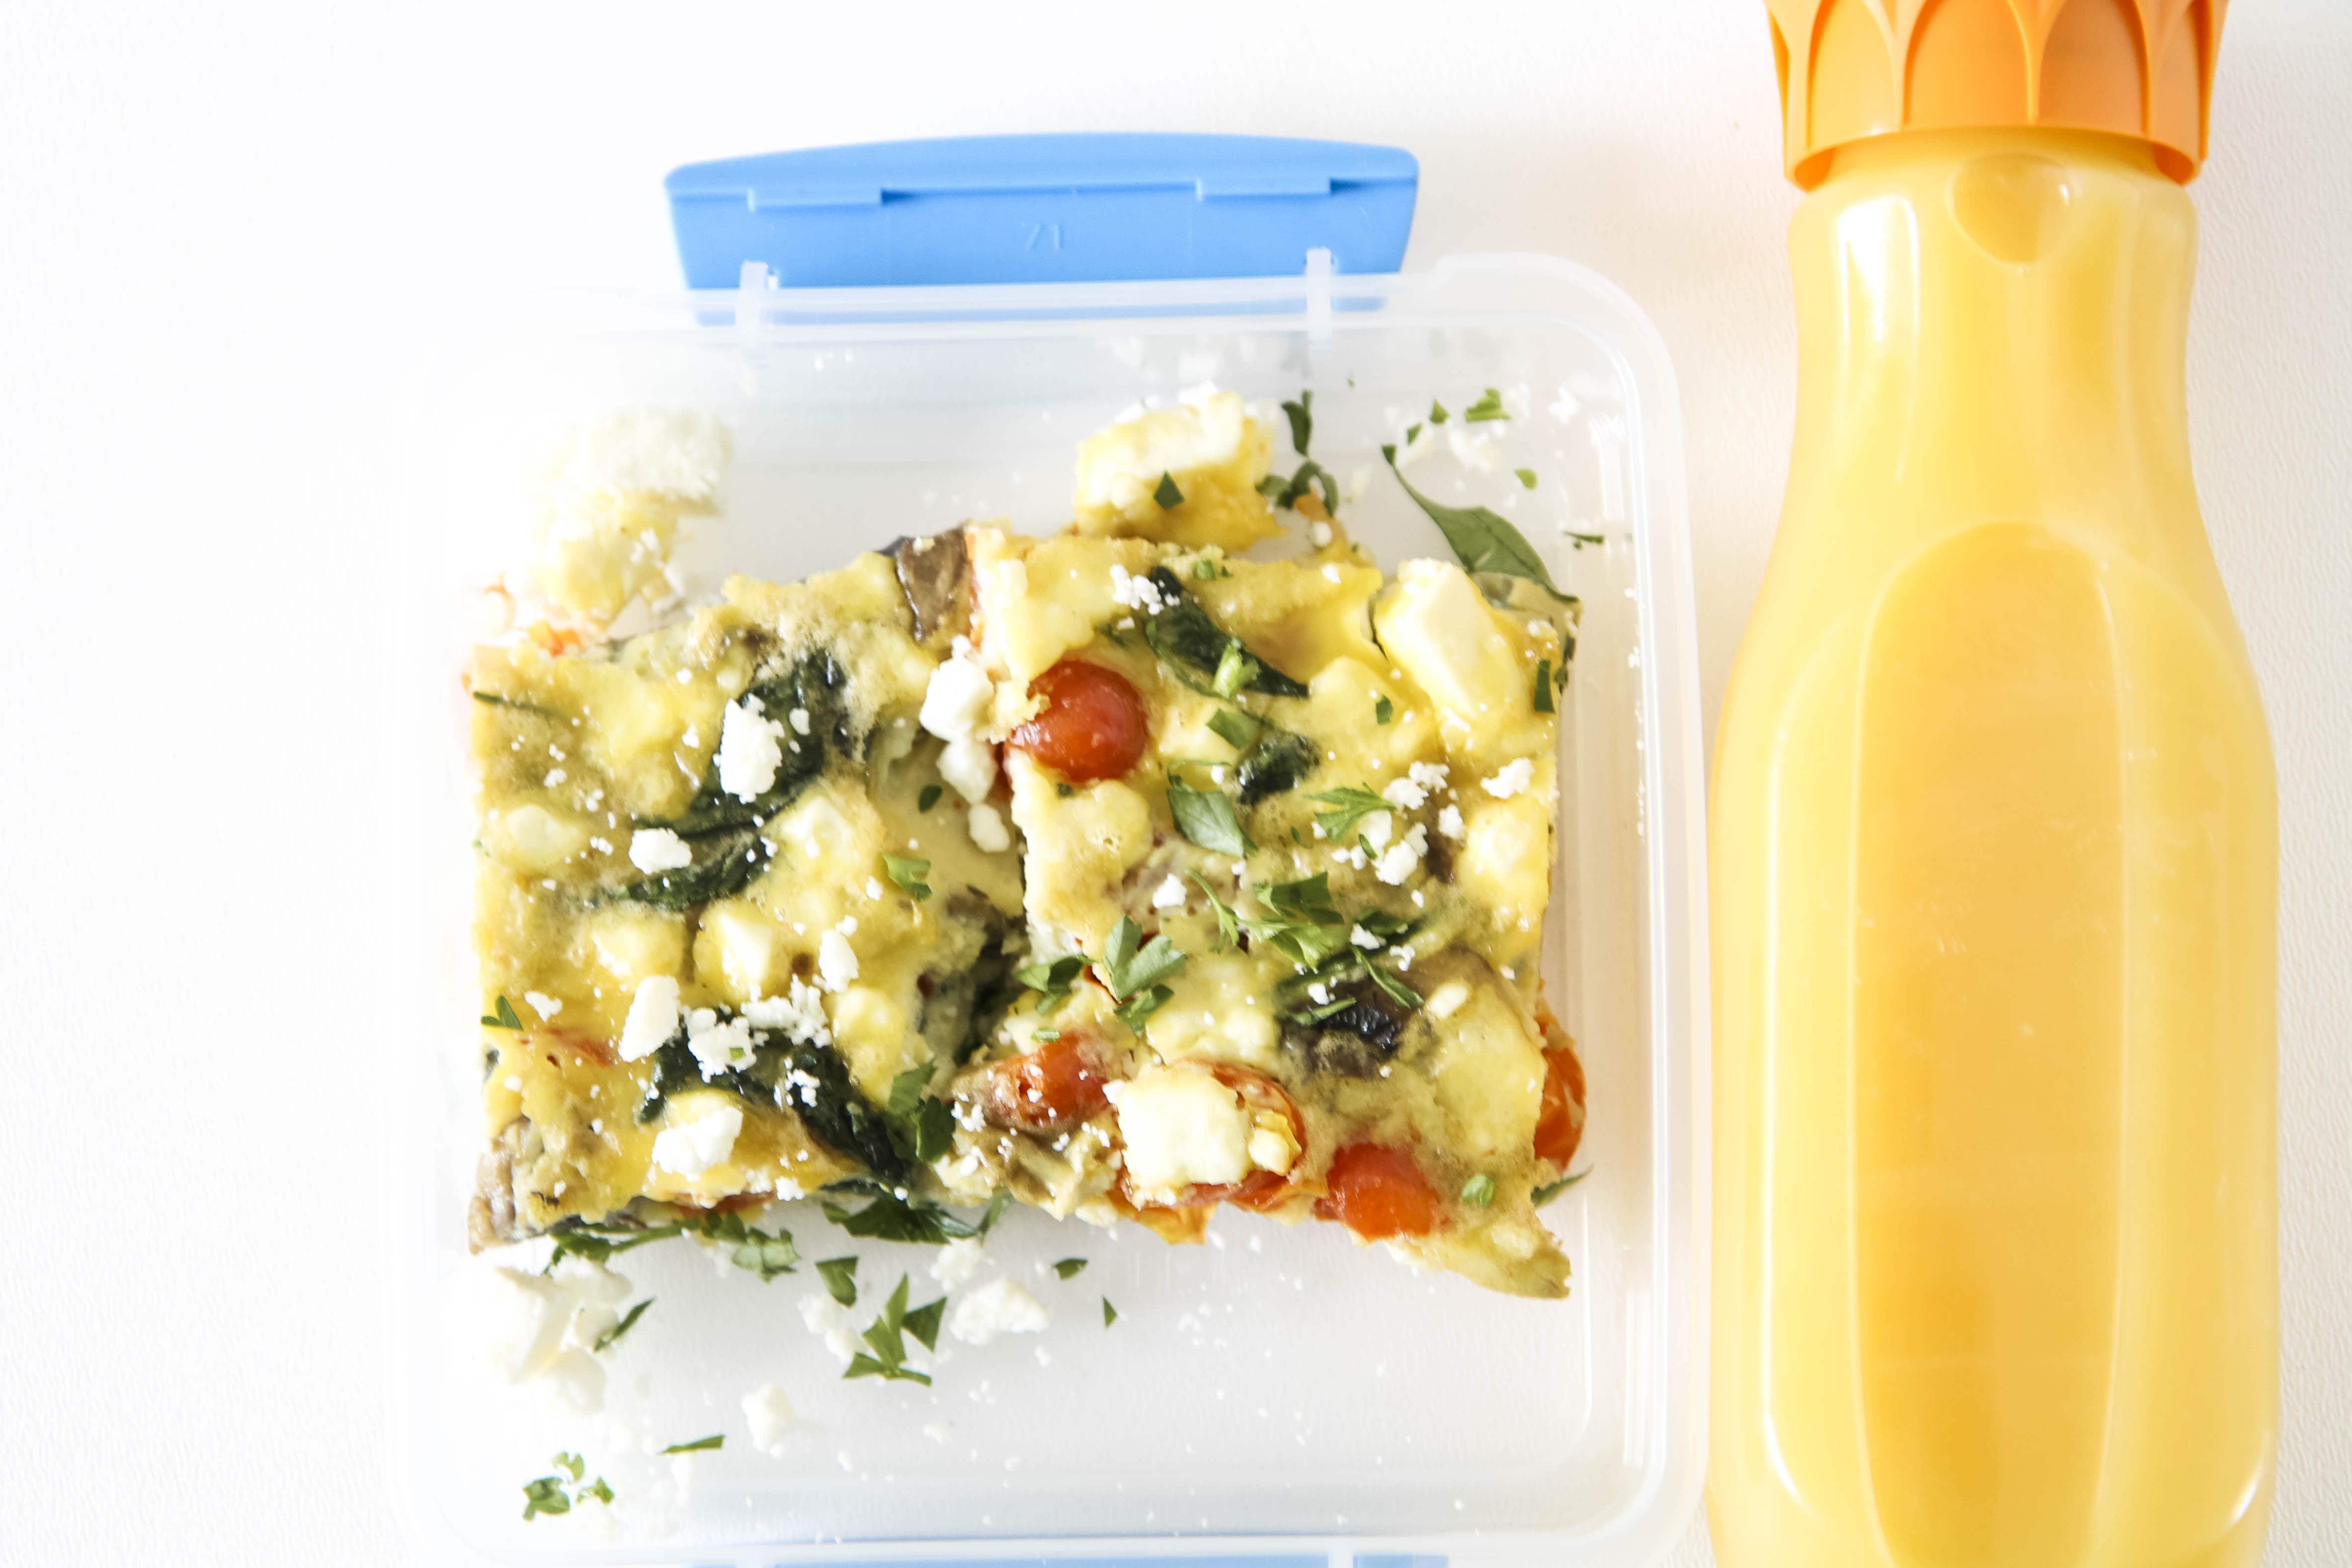
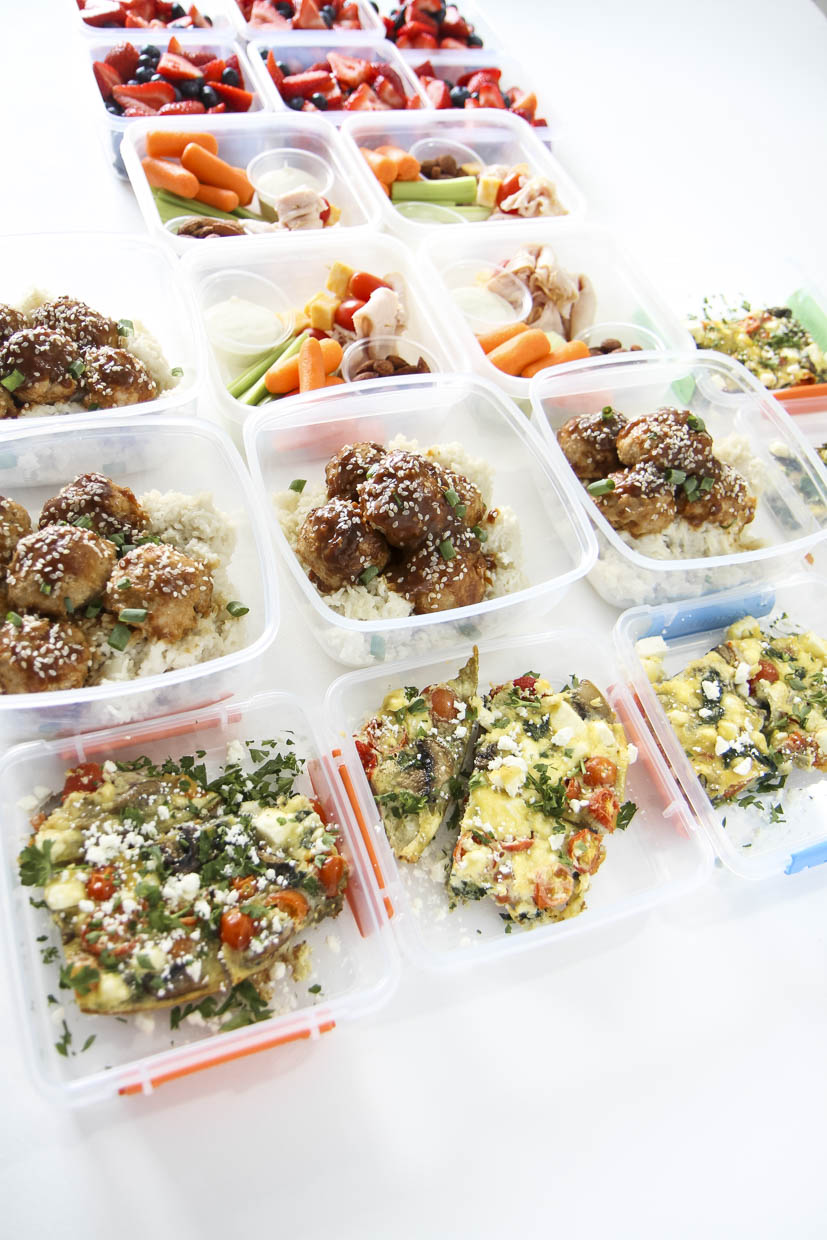
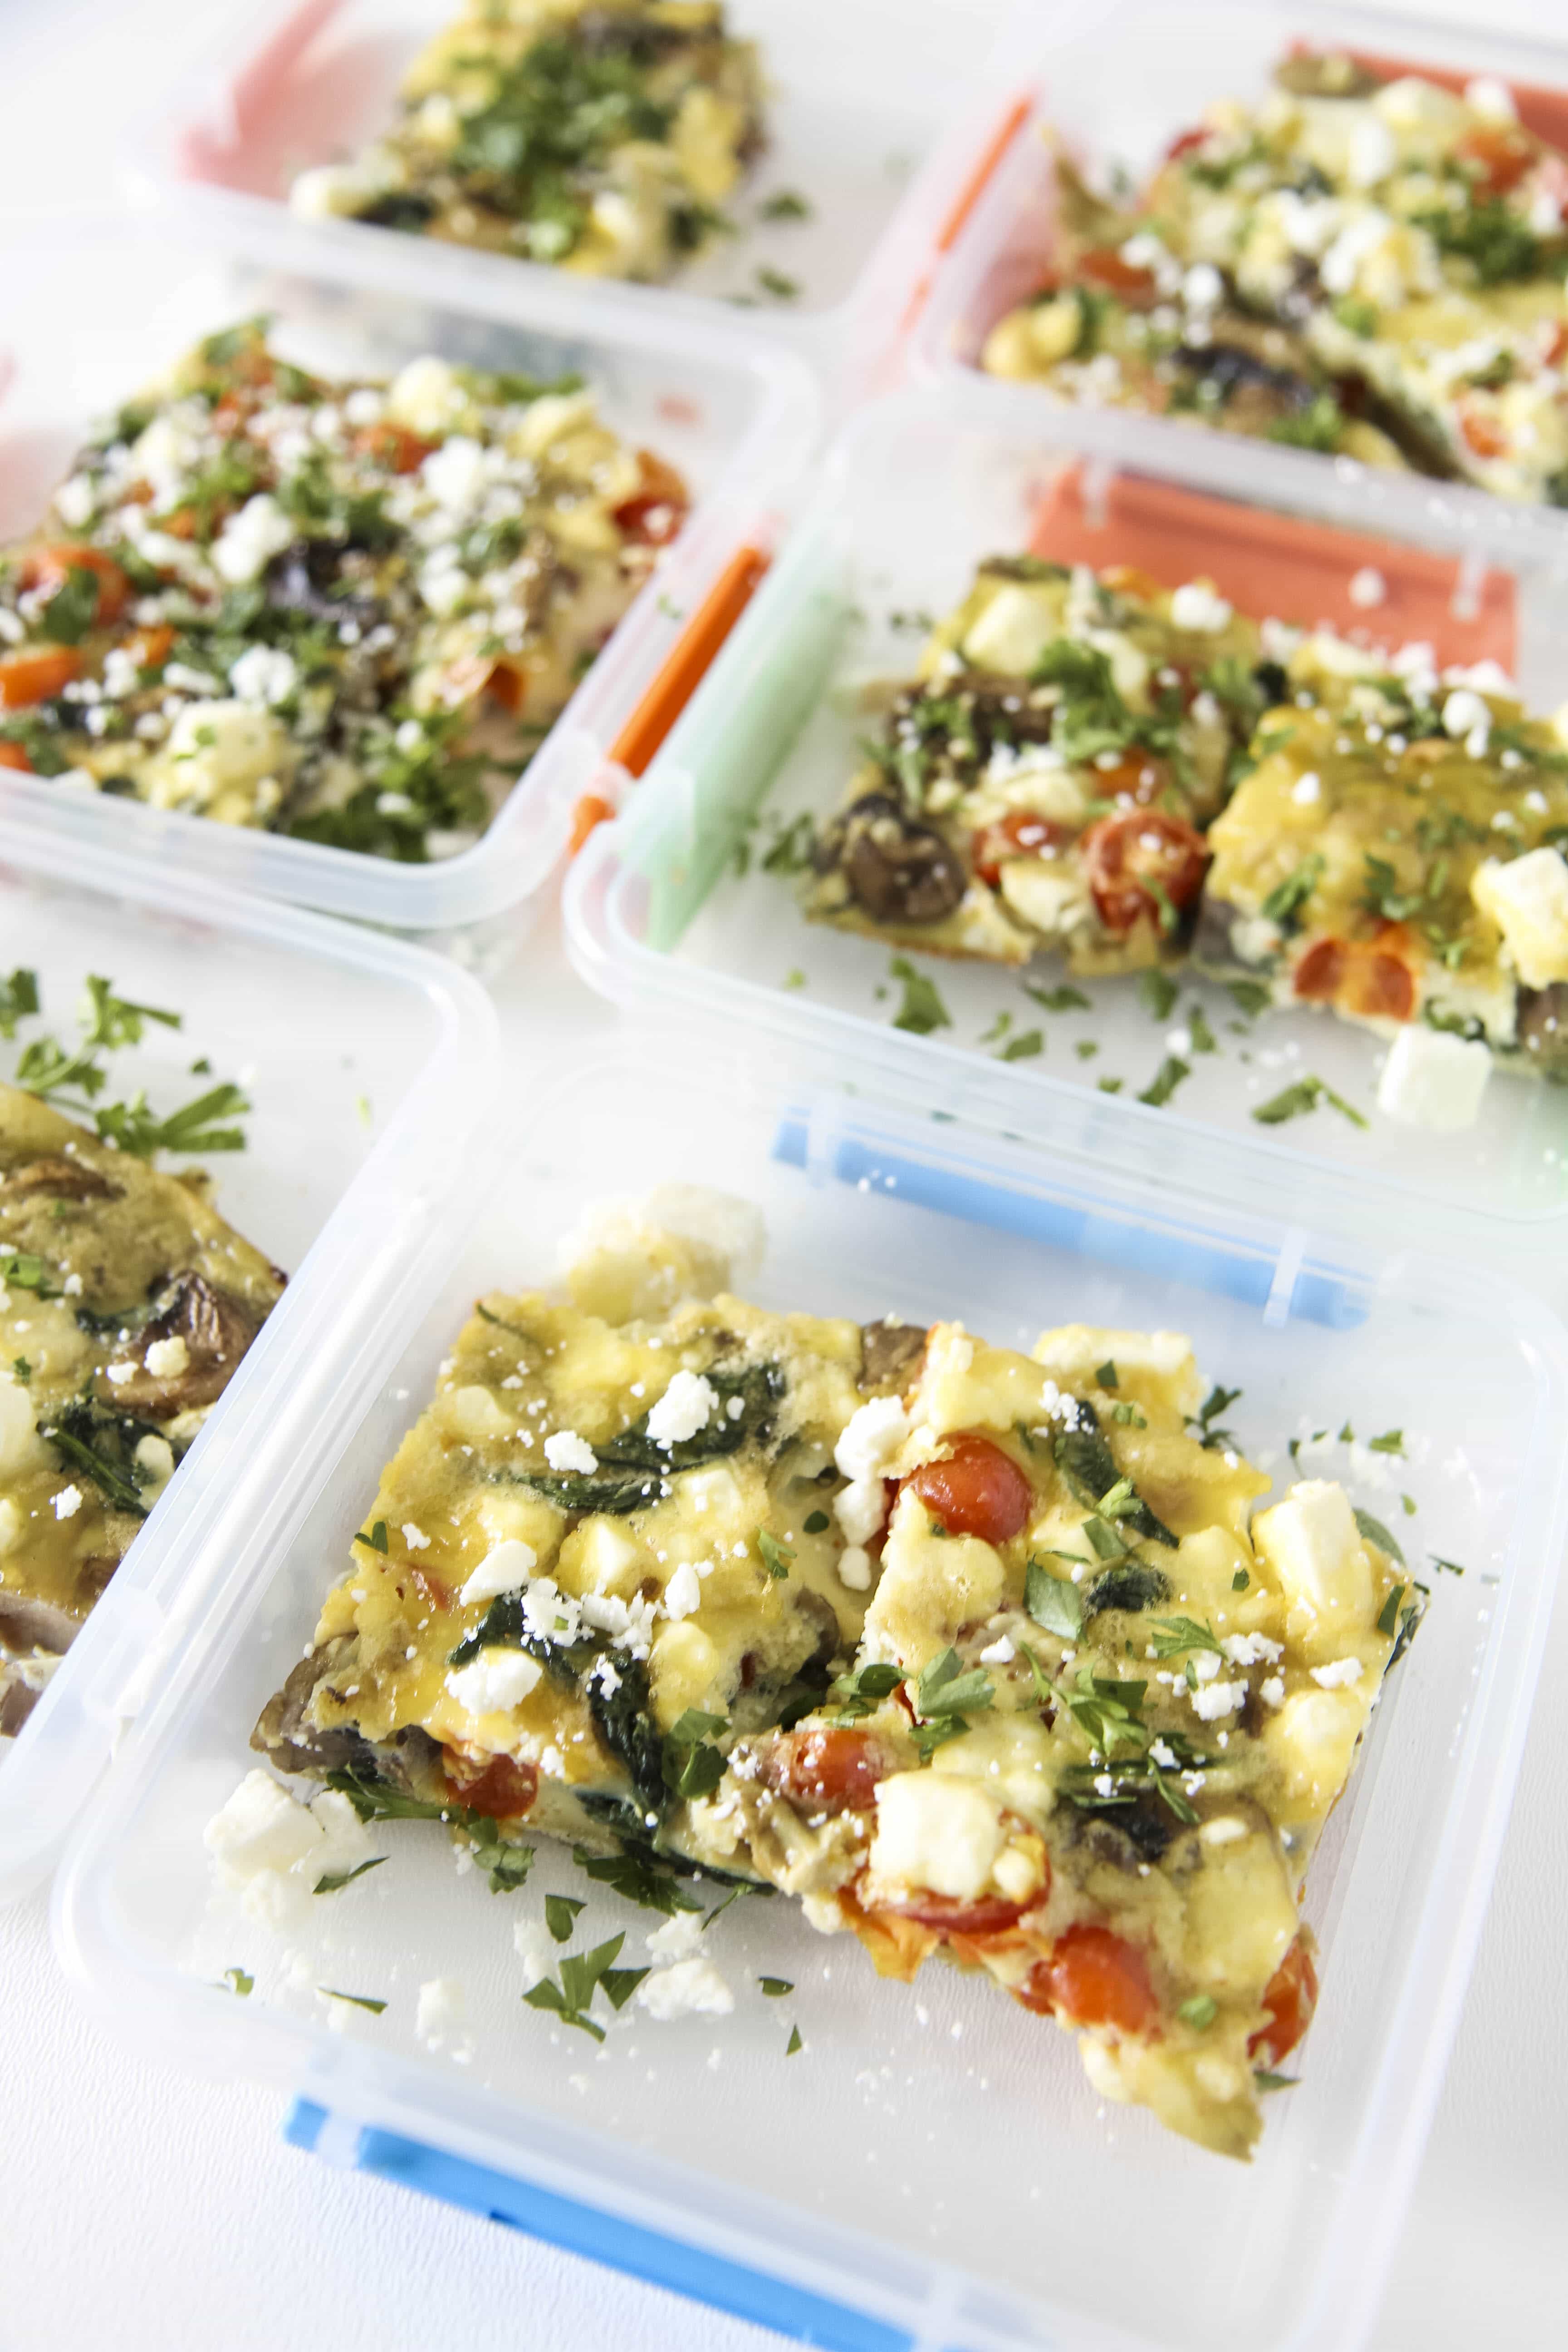
Make a plan, but acknowledge ways that you can use up items that may be nearing their expiration date. I love frittatas, for example, because they can be whipped up from whatever you have lurking in your crisper drawer and from your weeknight meal leftovers. Today’s frittata, for example, was made from cherry tomatoes, spinach, mushrooms, and feta…all items leftover our salad nights this week. Ask your kids to help you come up with combos and give them the opportunity to brunch it up at school.

If you are looking for a great recipe, check out my Chicken Pesto Frittata or my Dairy-Free Sausage & Vegetable Frittata for two great options. Either of these can omit the meat for a fun vegetarian option too.

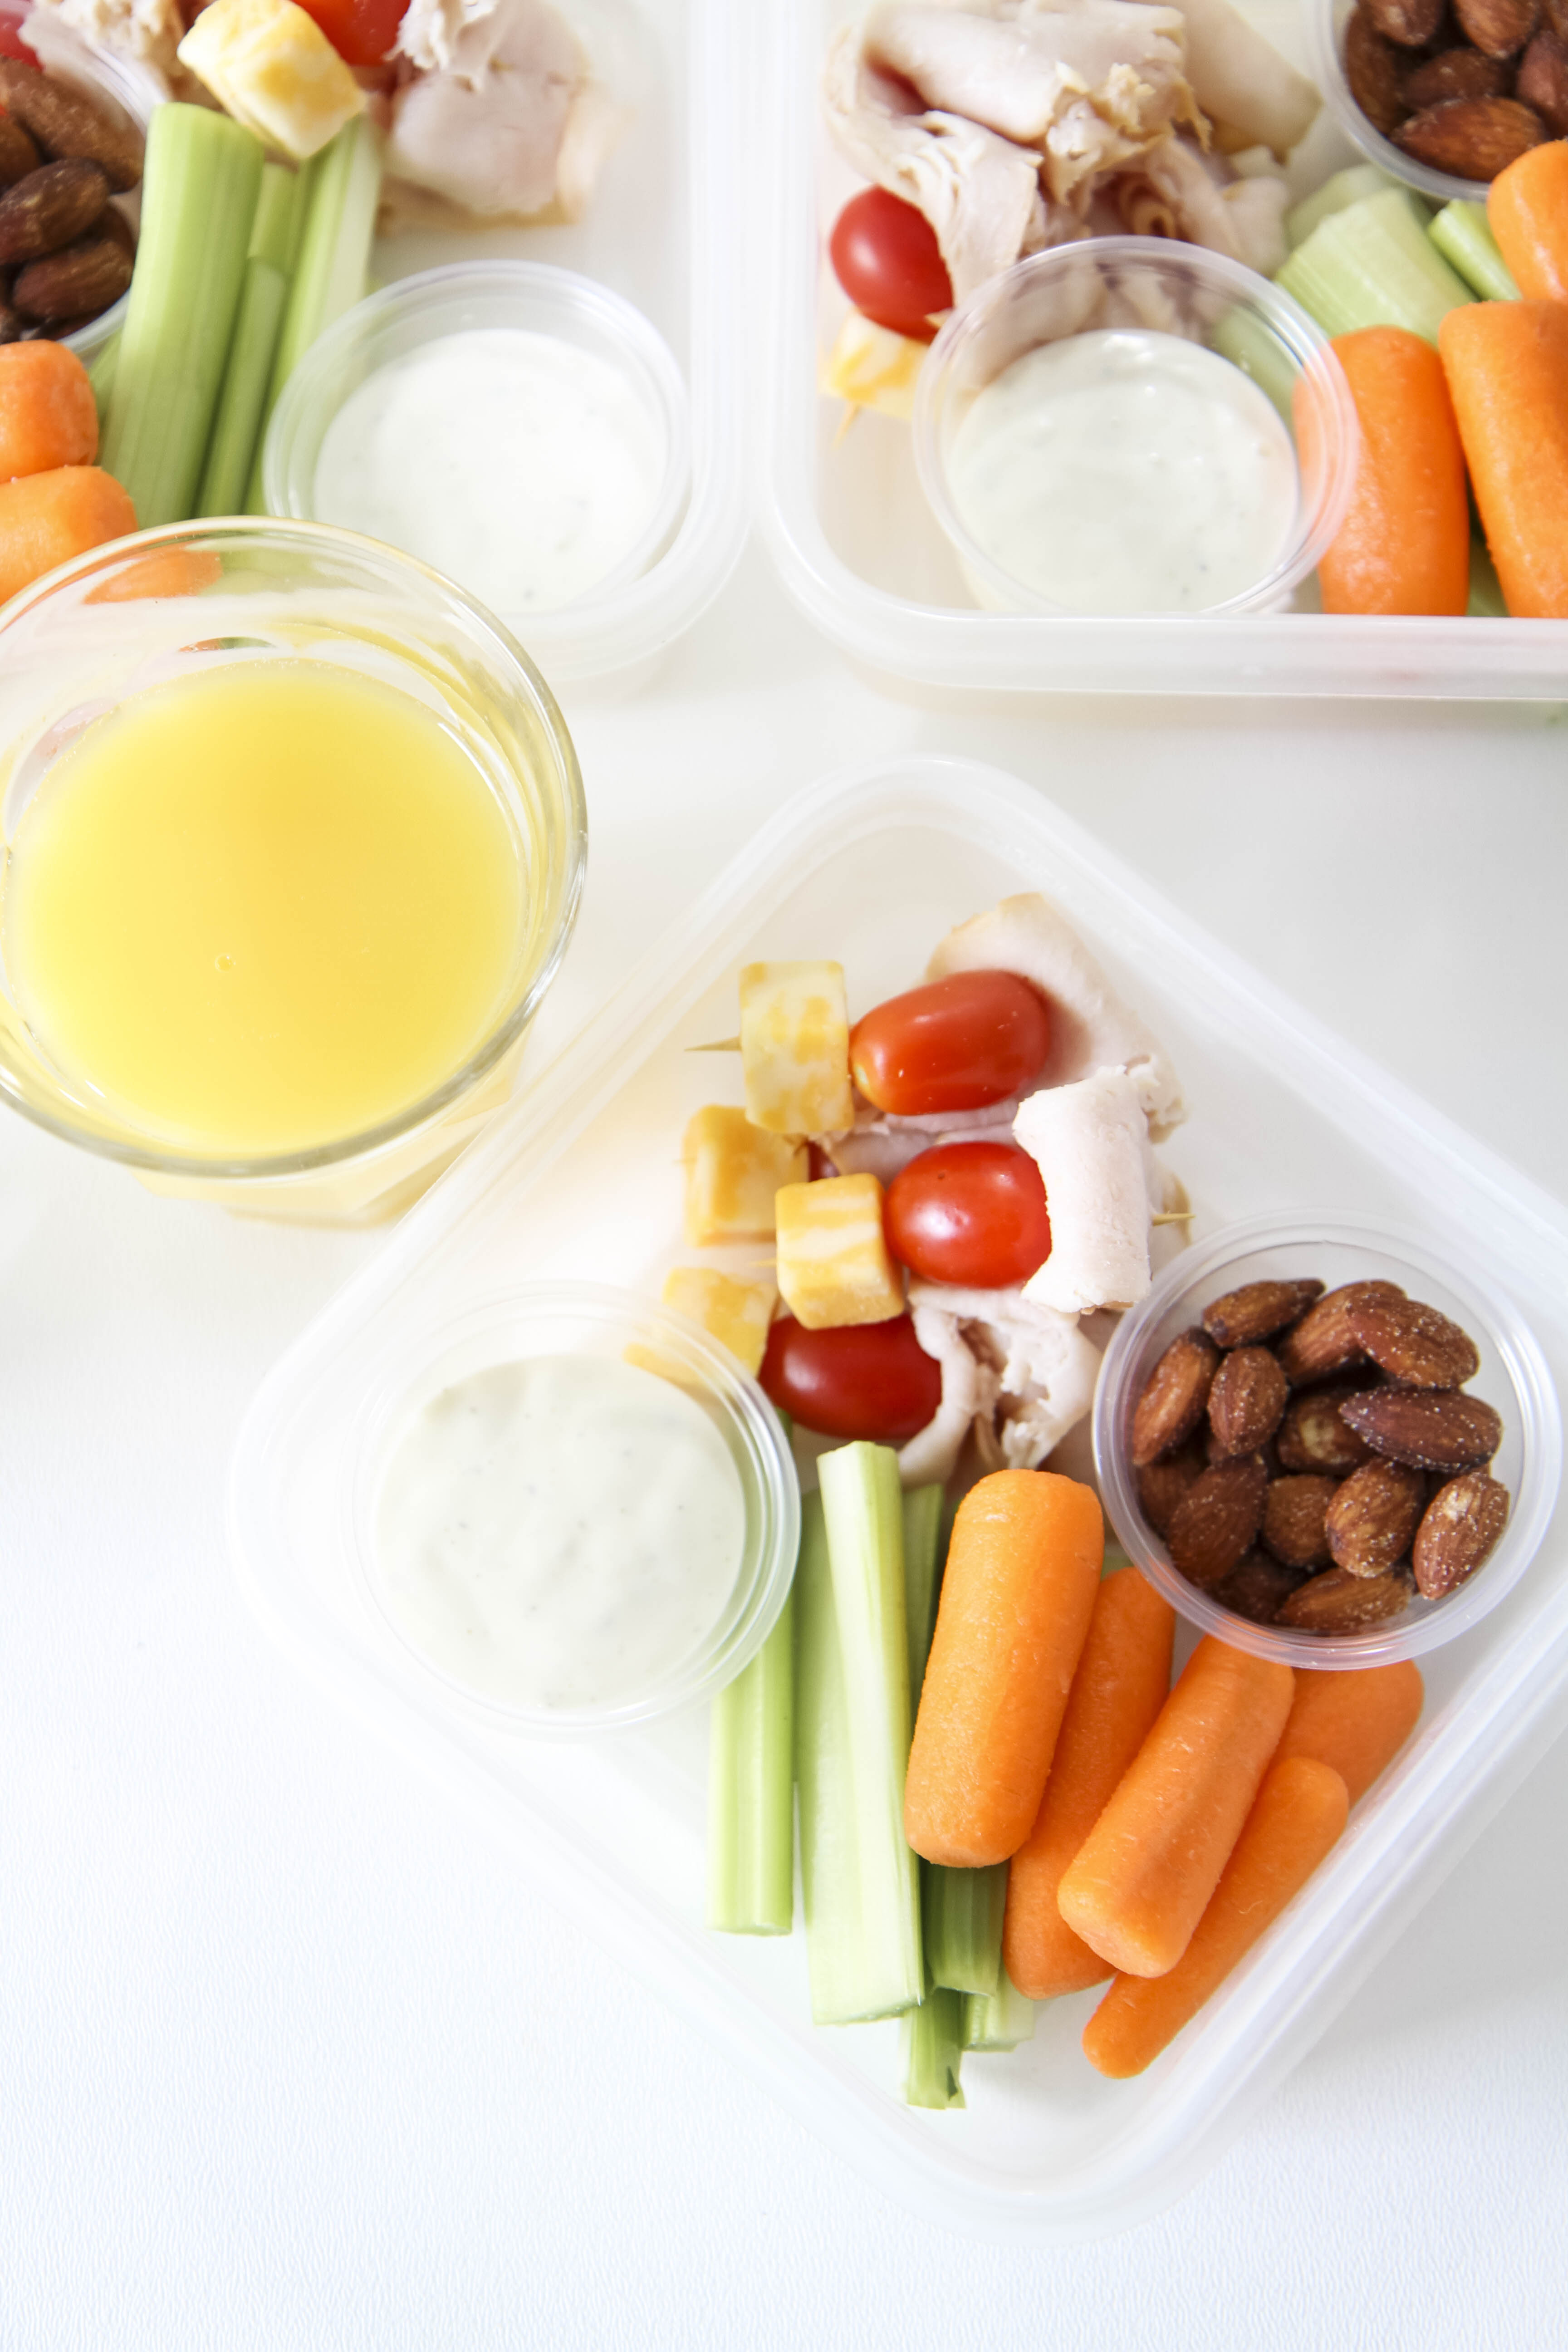
I paired this frittata with orange juice to round out the meal. Keep in mind that the recommended daily intake of Florida OJ is eight ounces for adults and four to six ounces for kids! The best part is that every glass of Florida Orange Juice provides the amazing 5. In fact, you have taste, vitamin C, folate, potassium and no added sugar in just one glass.

back-to-school meal prep ideas from momadvice.com

back-to-school lunch prep ideas from momadvice.com Consider the Snack Pack Trend

We caught a commercial for, “protein packs,” that you could purchase for your lunches that had meat, cheese, and nuts in them.  Even though my husband can’t cook, even he was laughing at how ridiculous it was that people couldn’t put these together themselves.

Snacks packs aren’t a new concept, but they ARE a perfect concept if you have a kid that is a snacker or if you happen to be a snacker yourself.

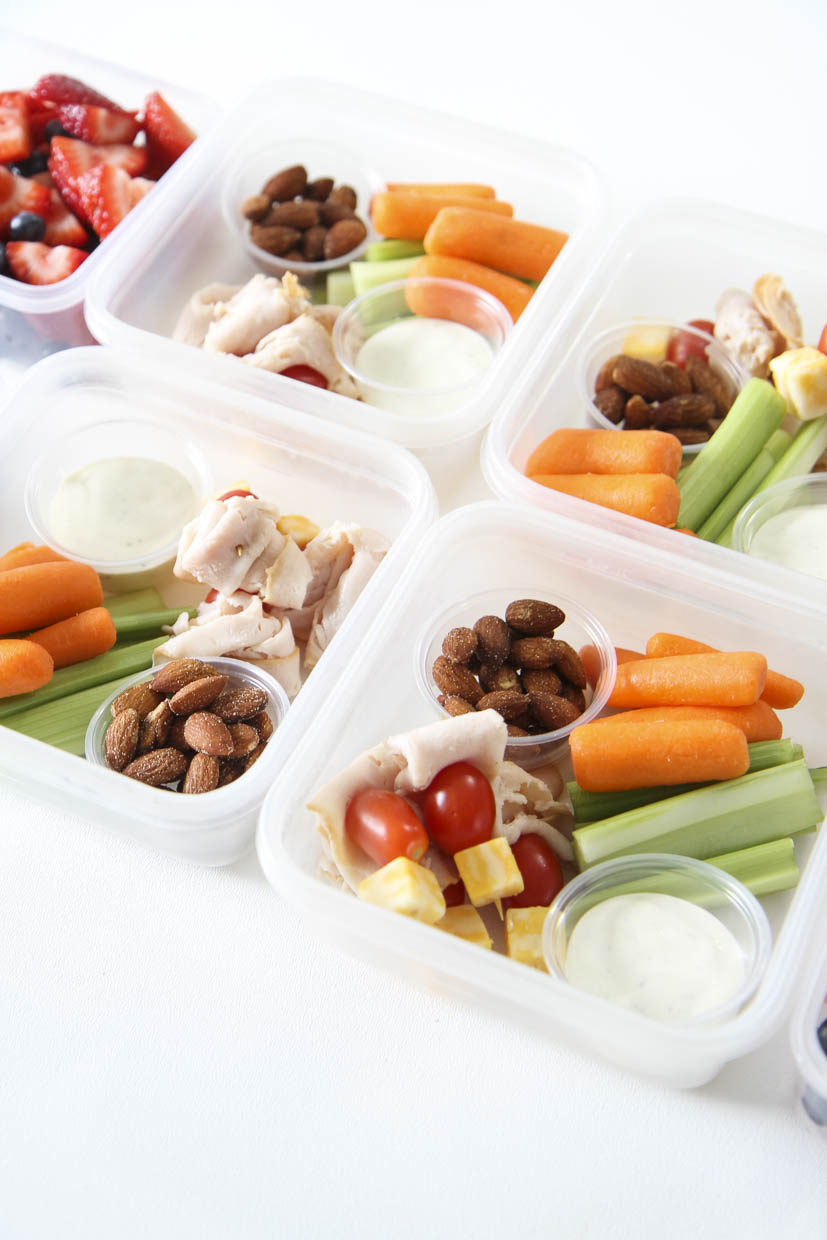
Utilizing toothpicks, stack a slice of lunch meat, a grape tomato, and a cube of cheese for a delicious bite that is easy enough that your kids can do it (and make their own dang lunch!)

I paired these with fresh veggies, a little ranch, and roasted salted almonds.

Want to add some fruit? Consider an apple! Using an apple slicer like this, slice the apples and then pull them back together in their original shape around the core with a rubber band.

Did you know that for additional insurance you can brush the apple with some orange juice to really help your apple retain its crisp appearance and cut down on browning? Now that’s a #lunchhack

prep peanut butter & jelly

Kids Keeping it Basic? Prep That Too!

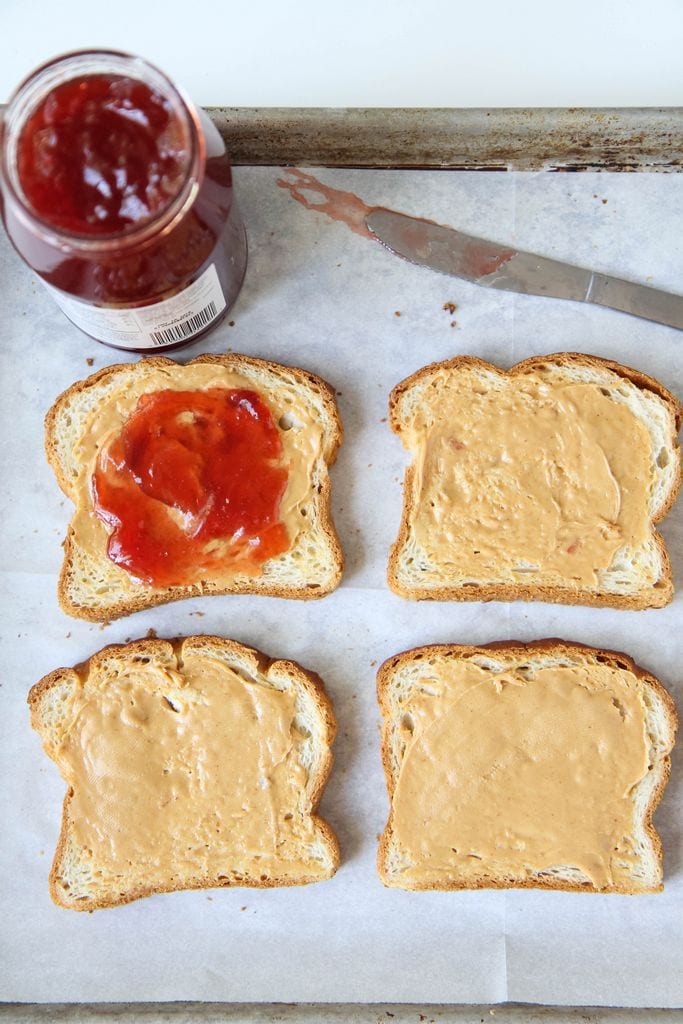
I had one child who refused to eat anything except a good old-fashioned PB&J. I admired that she knew what she liked and that she kept it simple for her mom. That said, even those simple tasks rob us of precious time to get ready in the morning so I started meal prepping even these simple sandwiches.

If your child’s favorite is this sandwich too, simply spread peanut butter on both slices of bread to create a wall to prevent the jelly from making your bread soggy. Smear your jelly on in the center of one slice of bread and then put the two slices together. By creating an assembly line of sandwiches for your week you only dirty up the kitchen once and get back a little more time to enjoy your morning cup of coffee.

back to school meal prep ideas from momadvice.com


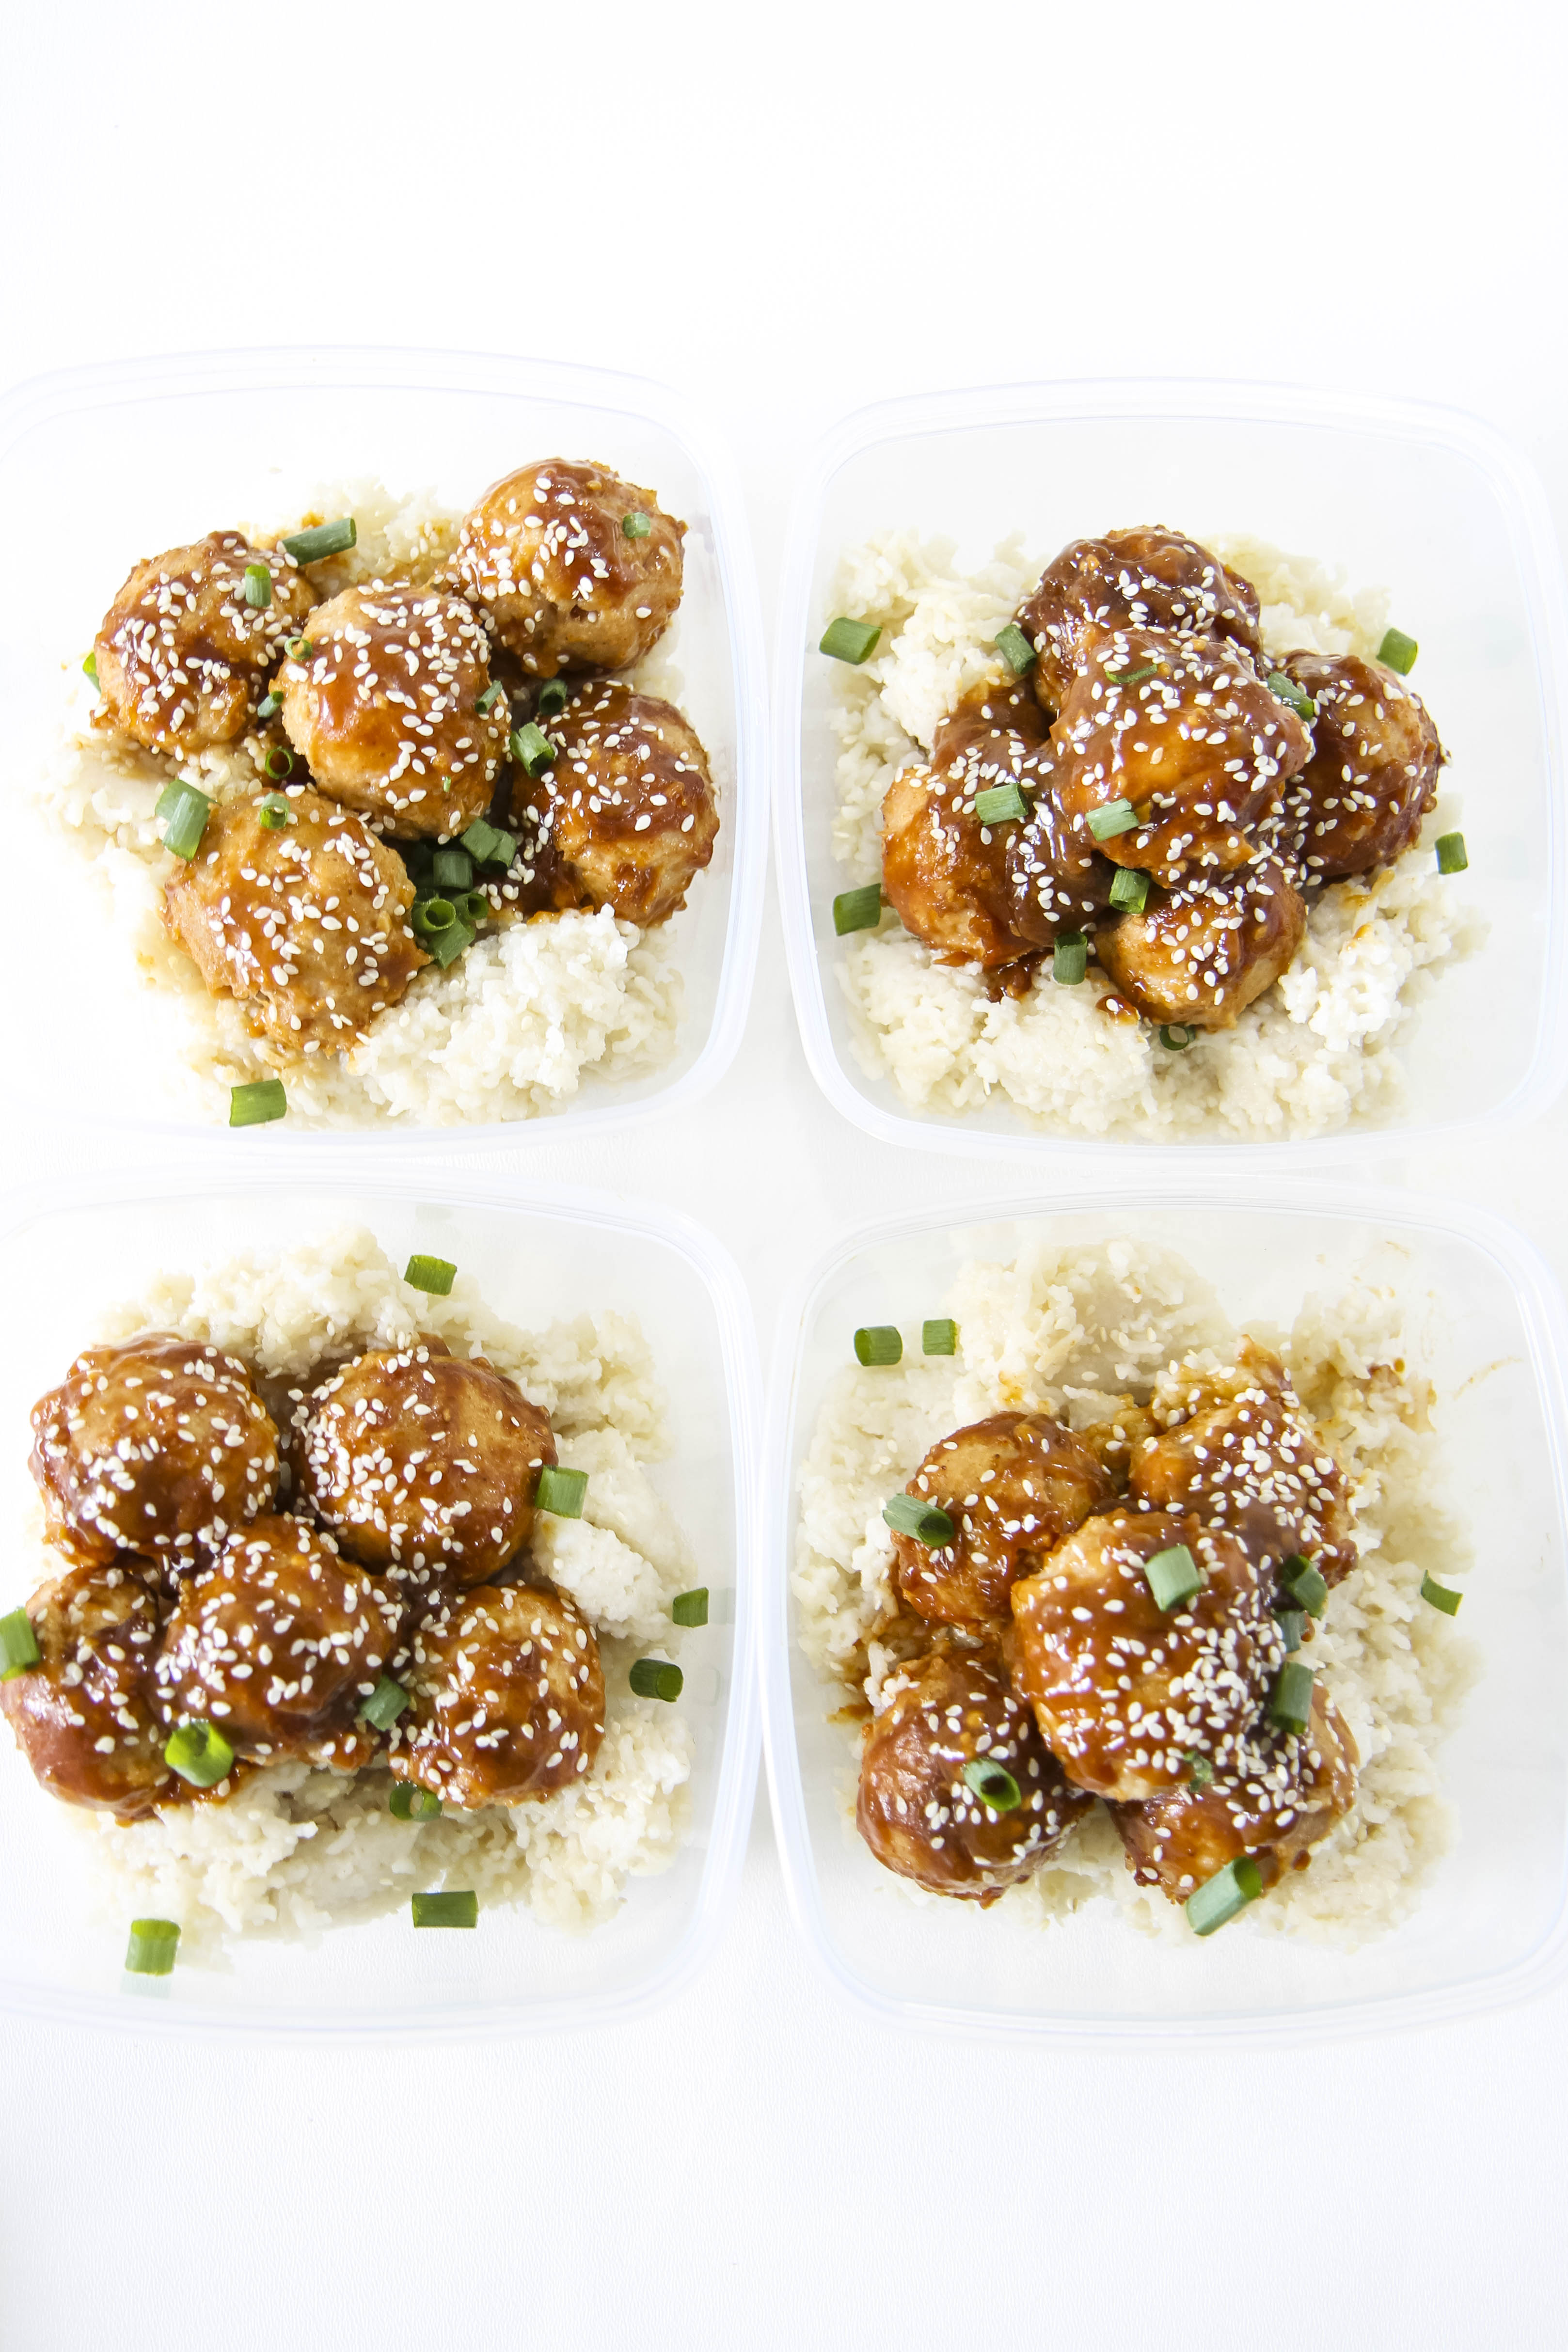
orange chicken meatballs recipe from momadvice.com

Plan Around Your Own Guilty Pleasures

Have you thought about packing yourself a lunch? I have the tendency to get out of the habit of caring for myself when the back-to-school rush happens and find myself grabbing takeout or “forgetting to eat,” when I don’t have something convenient to grab.

Jot down what your takeout weaknesses are and start searching Pinterest for some great alternatives for your meal prep day.

For me, Chinese is my weakness so these Make-Ahead Baked Orange Chicken Meatballs were just the ticket for my meal prep day. The sauce, of course, gets all of its orange goodness from a little Florida OJ!

Don’t Have Time To Make Separate Lunches? Double Up on Those Dinners!

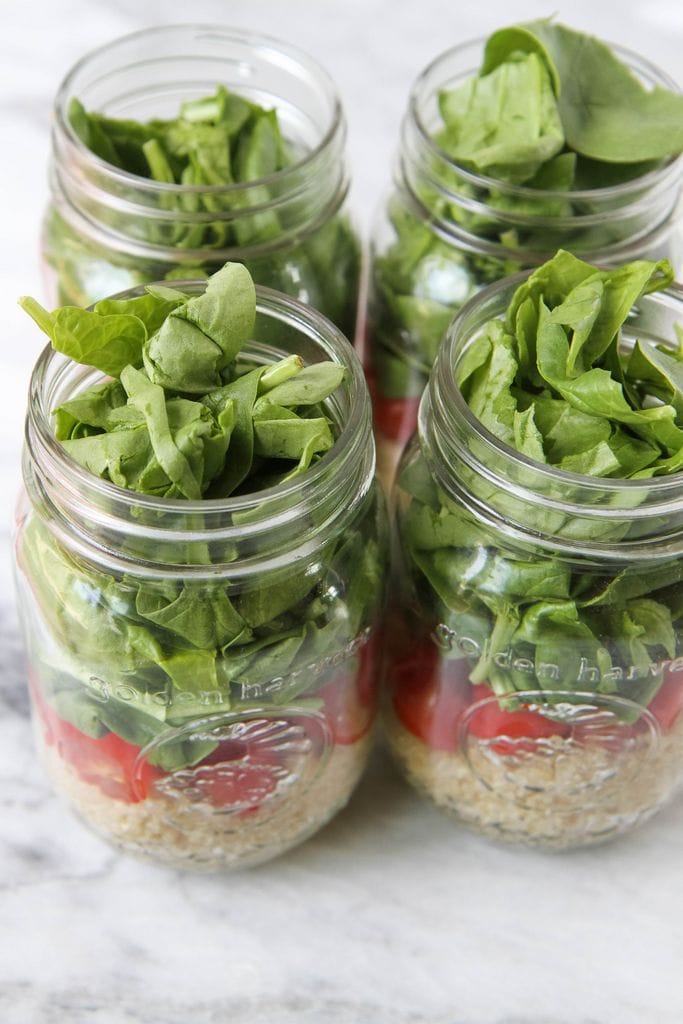
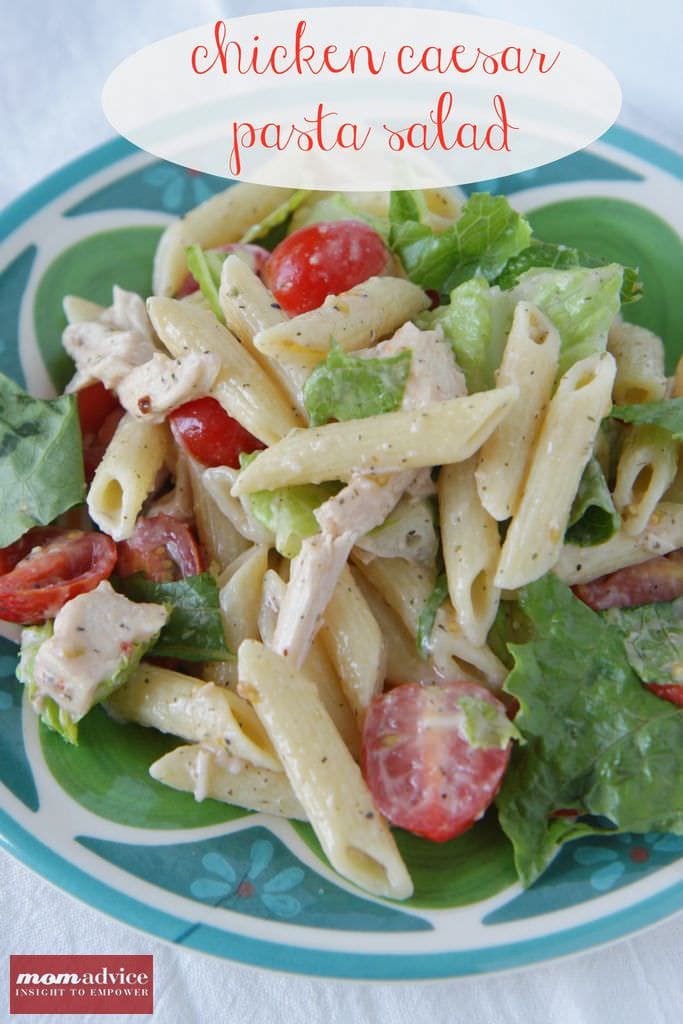
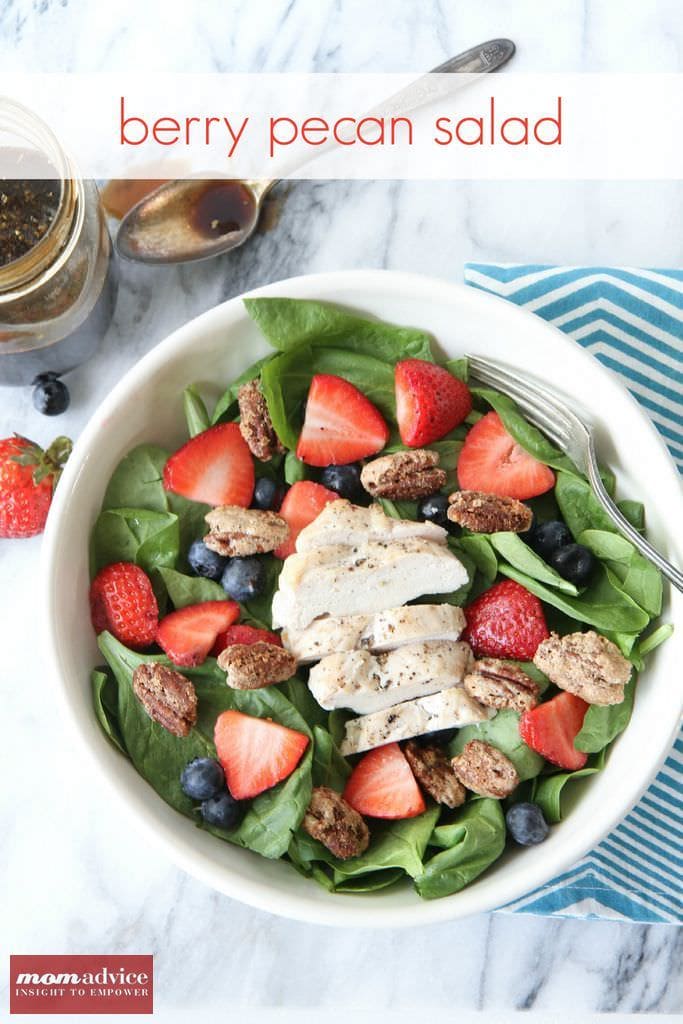
Life gets chaotic this time of year so if you can’t devote a day to making lunches, consider doubling up on dinner ideas instead. For some great cold options, here are a few of my own recommendations!

Quinoa-Salad-In-A-Jar-7 quinoa salad in a jar with spinach & tomatoes

chicken caesar pasta salad chicken caesar pasta salad

Berry Pecan Salad

berry & candied pecan salad with a homemade raspberry vinaigrette (make with or without chicken)

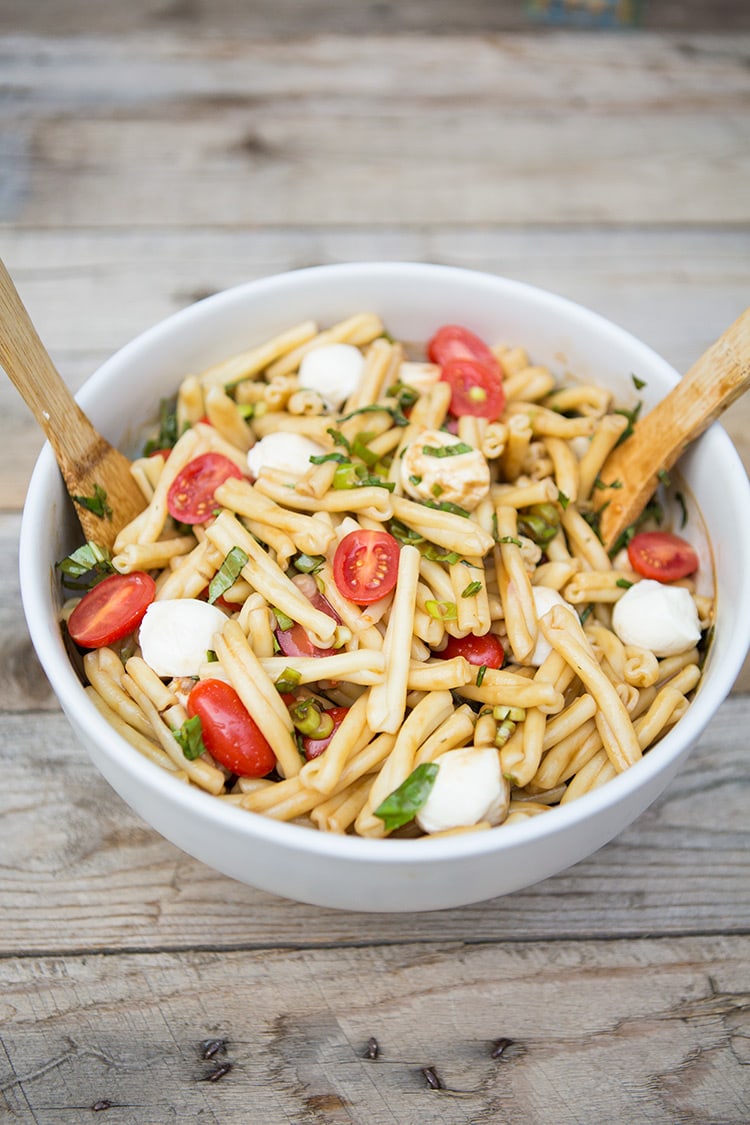
Caprese Pasta Salad #recipe via MomAdvice.com caprese pasta salad

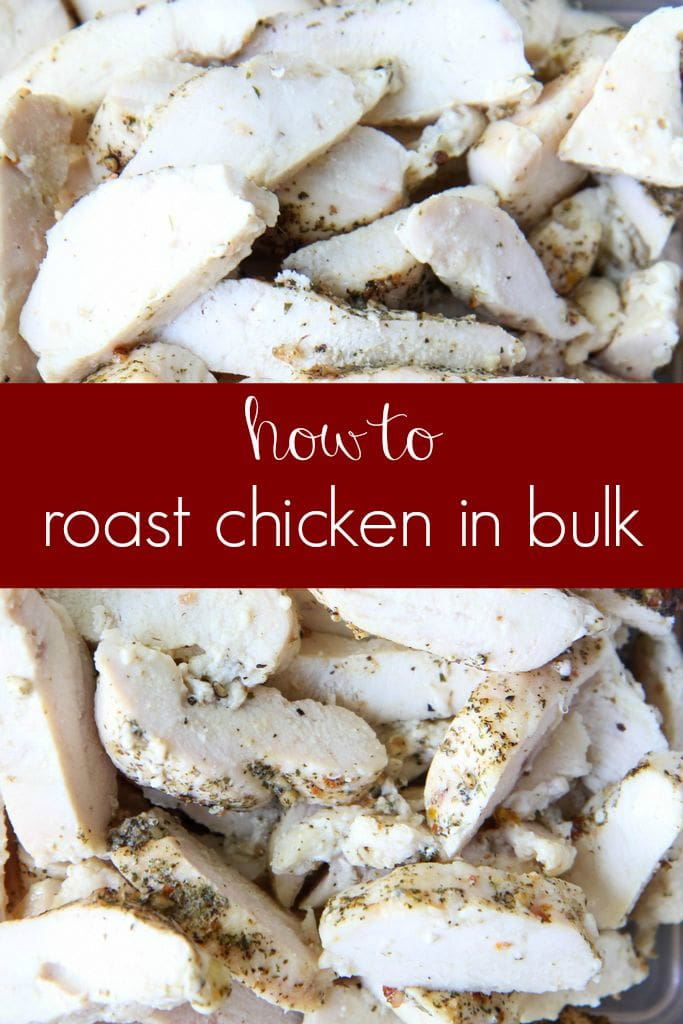
Roast Frozen Chicken in Bulk roasted chicken (perfect for salads & wraps)

Don’t forget those sides!

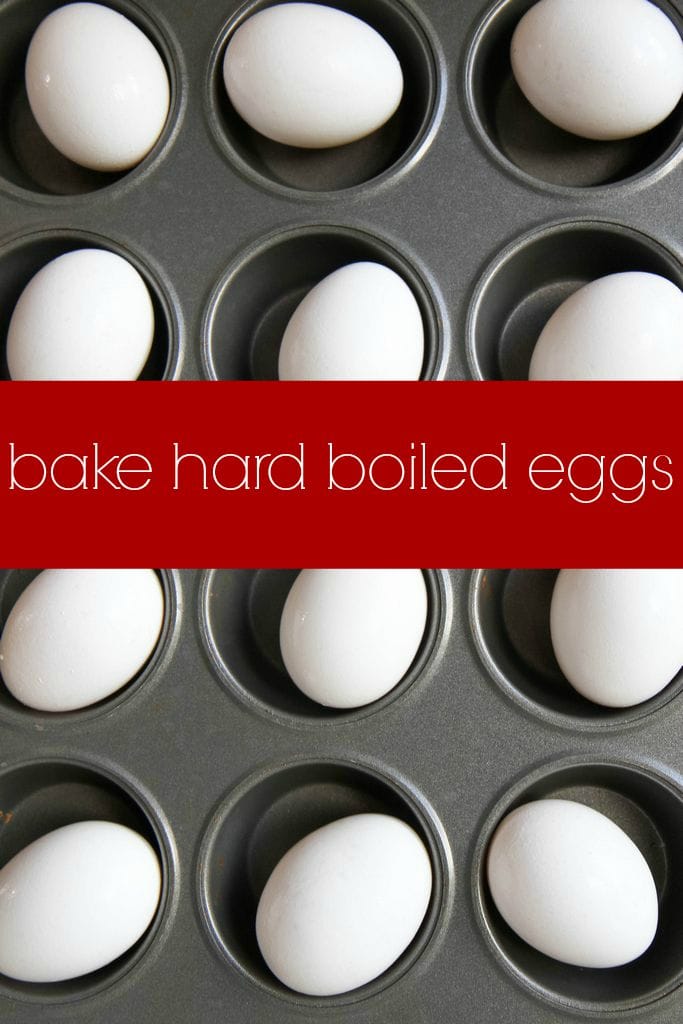
make-ahead hard boiled eggs make-ahead baked hard boiled eggs

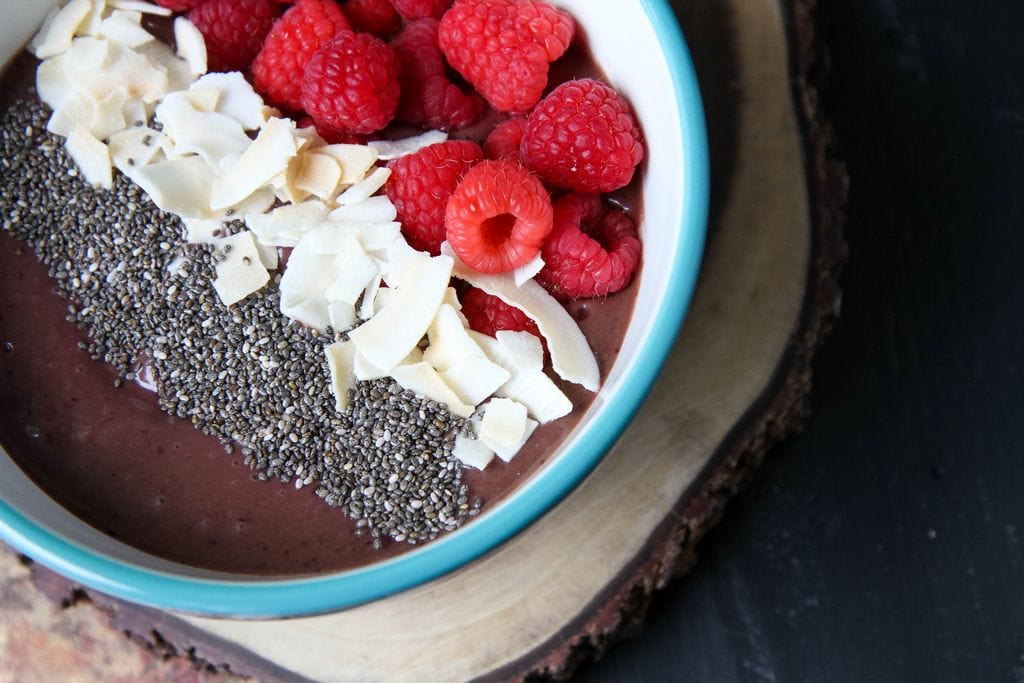
Smoothie Bowl Recipe smoothie bowl recipes

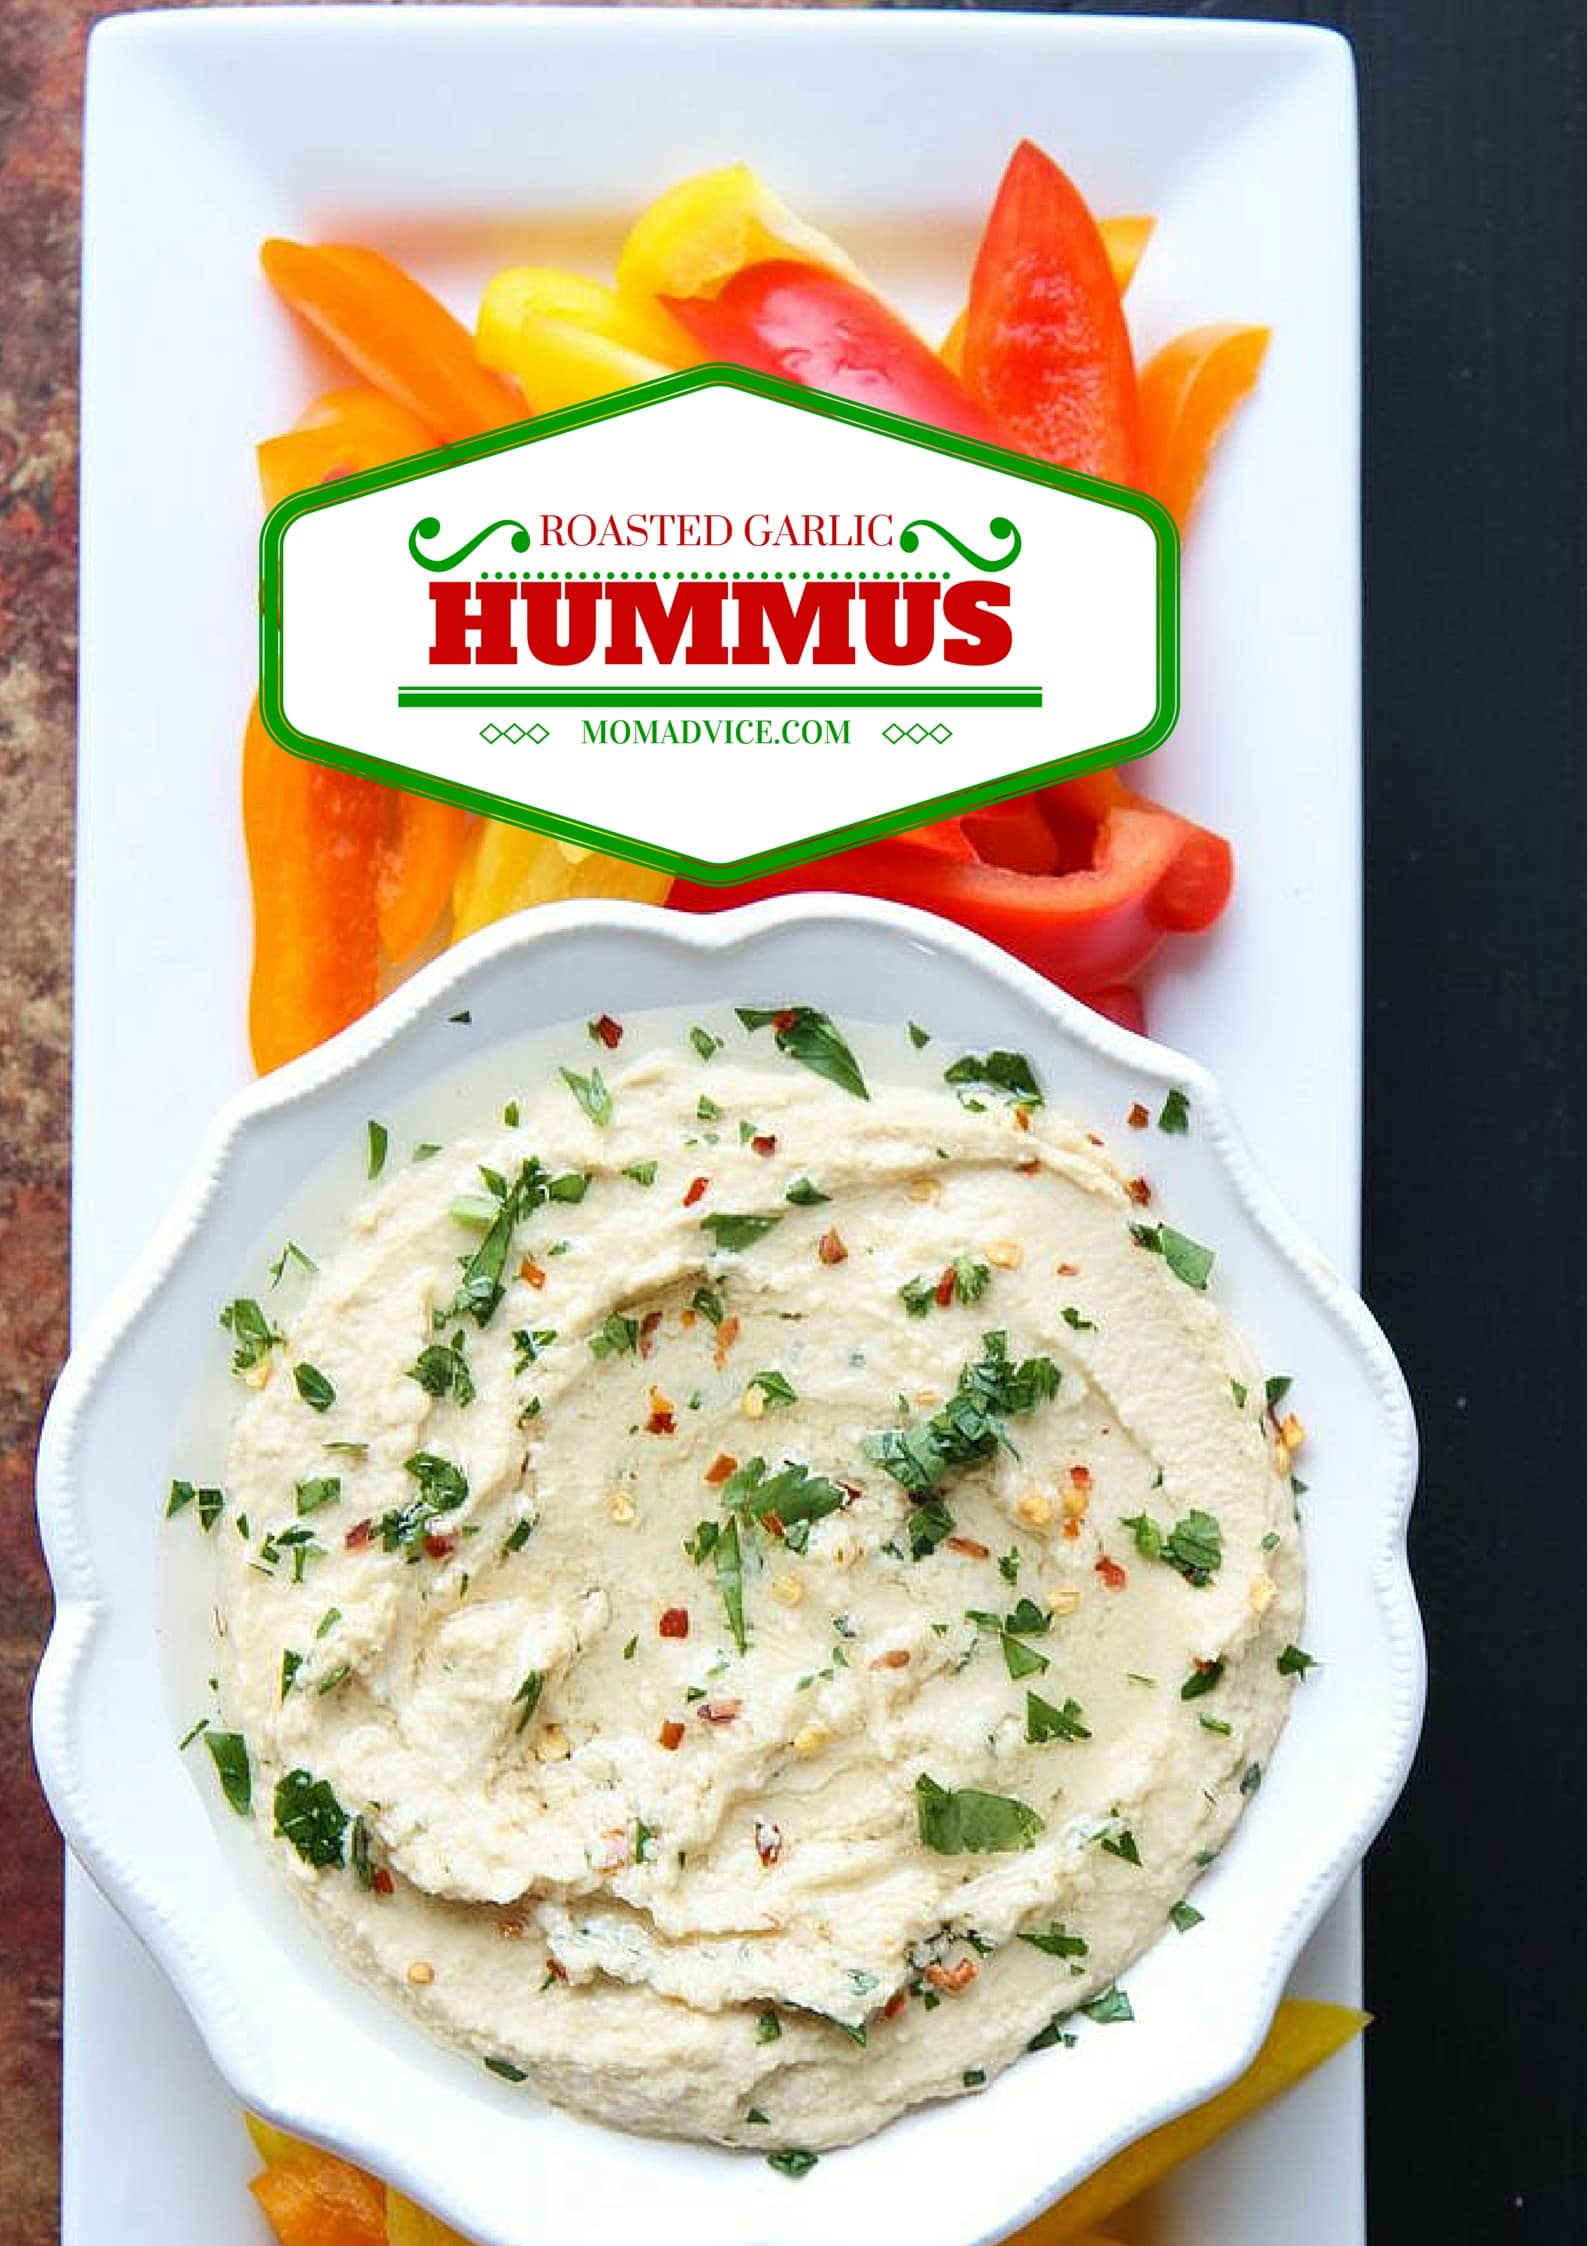
roasted garlic hummus roasted garlic hummus

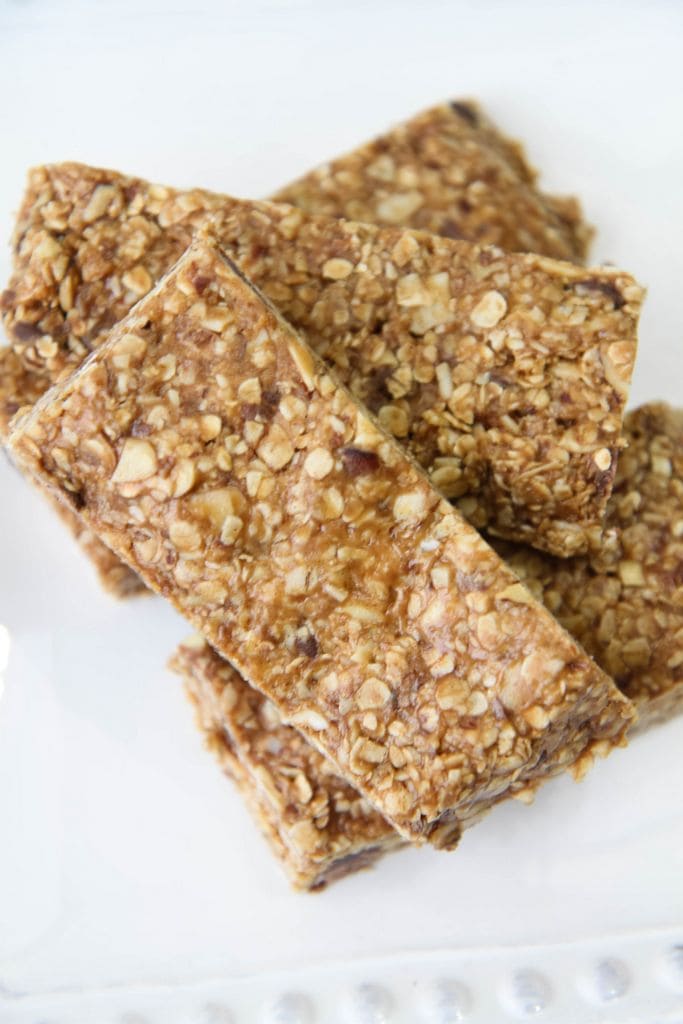
No-Bake Gluten-Free Granola Bars no-bake gluten-free granola bars

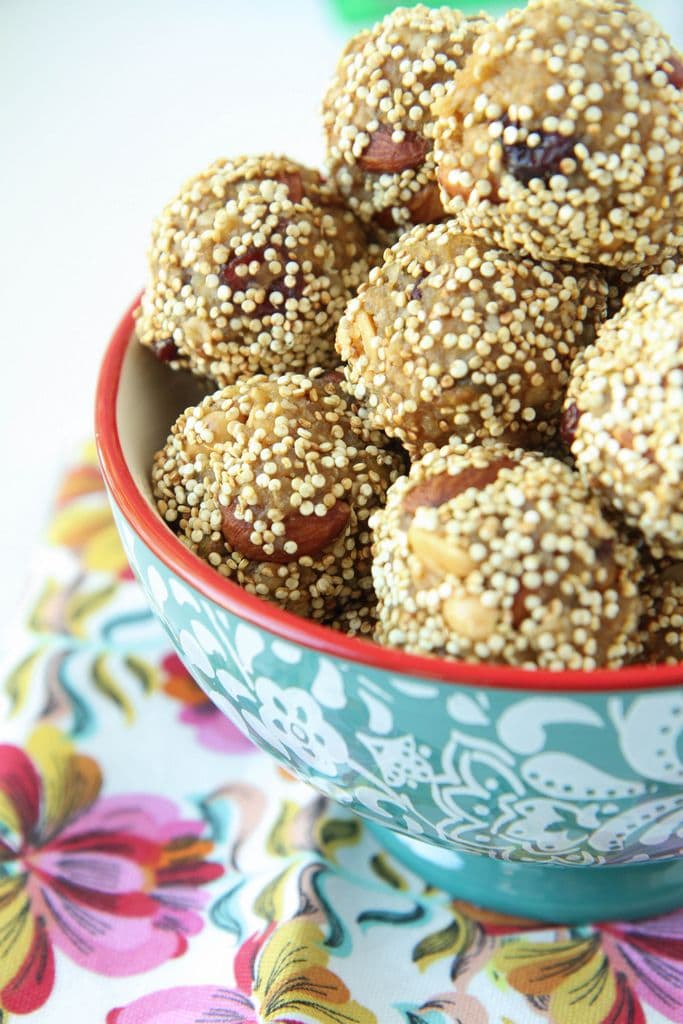
  trail mix energy bites trail mix energy bites

I hope that today’s ideas inspire you to try something new this year with your meal prep. Self-care is just as important so be sure to take some time out for YOU too with a few of my favorite self-care tips. Thank you to the Florida Department of Citrus for letting me share about these tips with you! Be sure to make Florida OJ a part of your daily routines to help boost your immune system during this challenging mom season.

This blog was sponsored by Florida Department of Citrus. Thank you for supporting the companies that support our site!


Pin It

Baked Sweet Potato Fries With Lemon Meringue Dipping Sauce

Tuesday, May 22nd, 2018

Sweet Potato Fries With Lemon Meringue Dipping Sauce from MomAdvice.com

This post is sponsored by Honeysuckle White. All thoughts and opinions are my own!

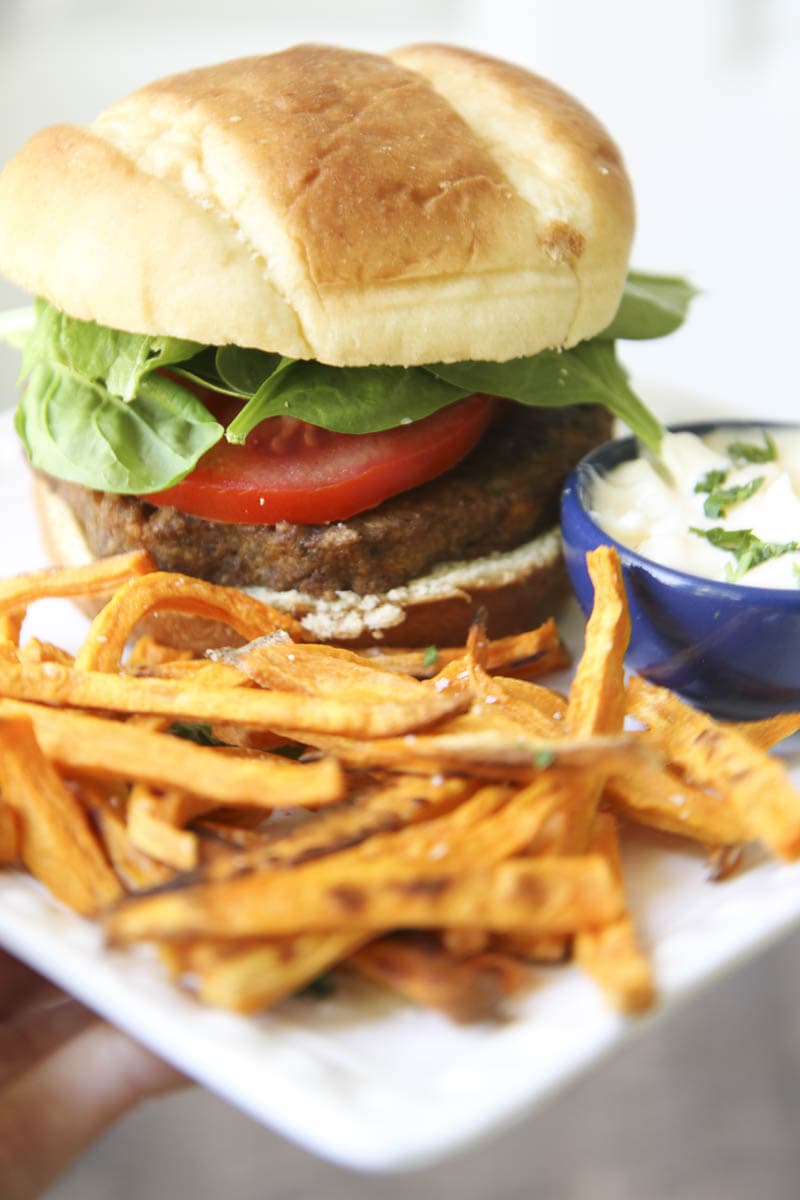
If you want to switch up your burger and fries game, today’s post is one you can’t miss, especially with a weekend of holiday grilling on the horizon.  Today I’m partnering with Honeysuckle White to share their fun new burger combos AND I have a fun baked sweet potato fries recipe with a lemon-filled dipping sauce that I know you will flip for.

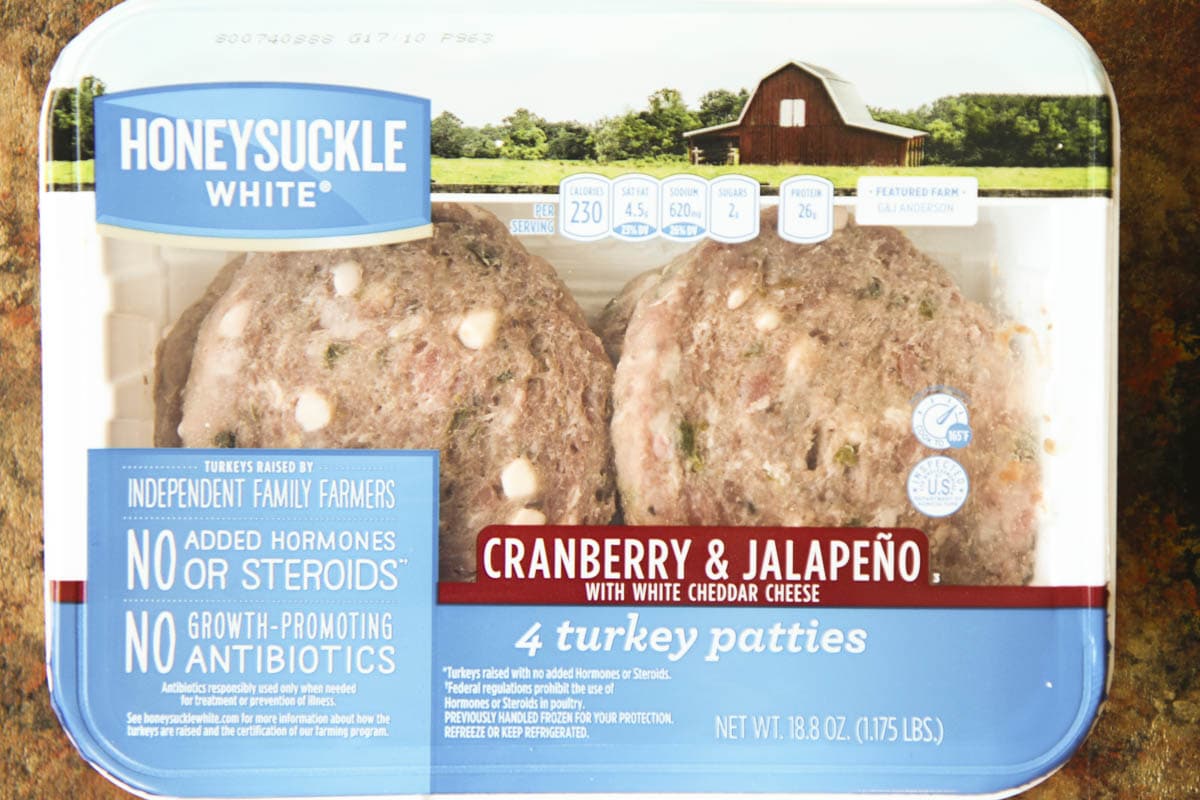
Honeysuckle White Turkey Burger Flavors

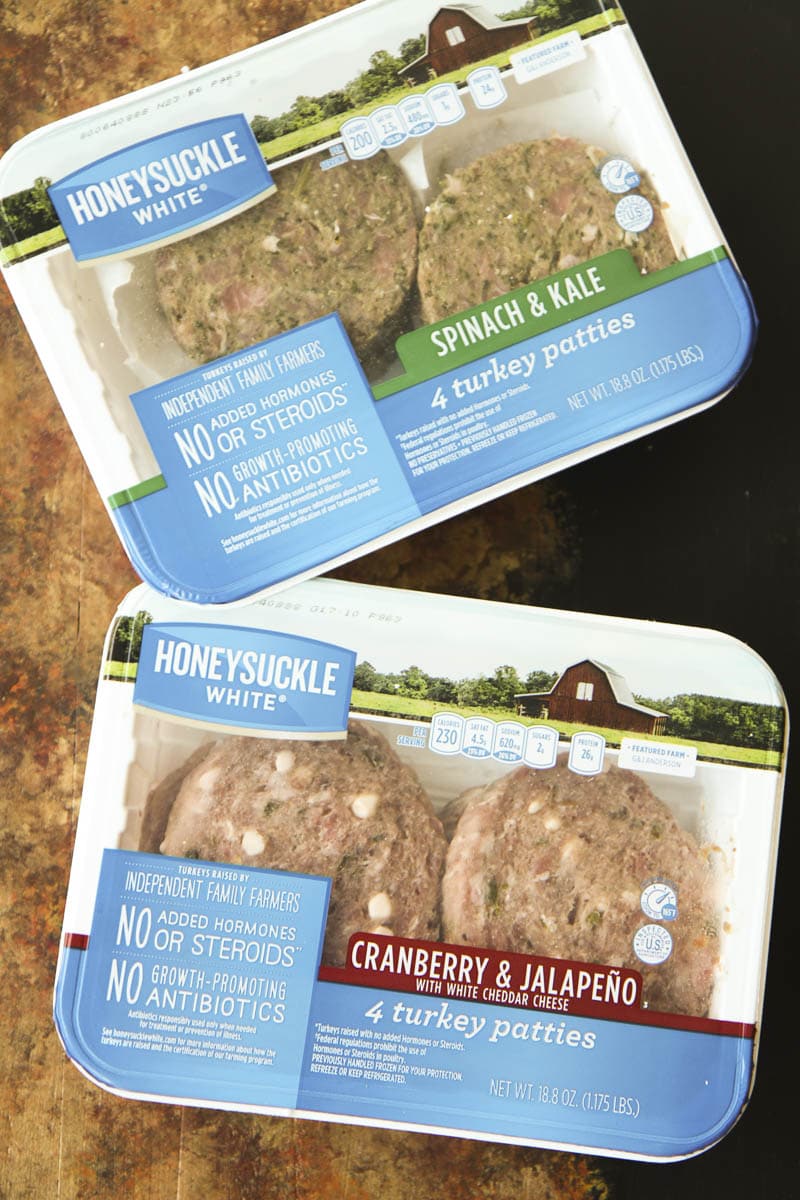
Honeysuckle White is now offering two fun and flavorful new turkey burger combos that are already prepared and ready to be thrown on your grill.  Our family sampled them both and absolutely fell in love with them.

The first one is a Cranberry & Jalapeño that offers a fun combo of sweet and spicy that seem to really balance each other. They have kick to them, but a kick that was mild enough to be called a favorite by my daughter.  The white cheddar cheese sprinkled throughout add a little bit of unexpected creaminess to the patty and helps cut down on the spicy factor.

Honeysuckle White Turkey Burgers

Here is a close-up shot of all that cheese for you- YUM!

The other combo they offer are their Spinach & Kale turkey patties and these also pack another fun flavorful punch, with the greens folded right into the patty. If you struggle to get your kids to eat their veggies, this is the perfect patty for them. Pairing it with today’s sweet potato fries recipe (see below), you are sure to get a couple of servings in your child without them even noticing just how healthy they are eating.

Definitely, swing by your store and pick some of these delicious patties up for your next grilling weekend! I think they would be a fun surprise for your guests and Honeysuckle White has done all the work for you in the preparation of these delicious ingredient combos.

Baked Sweet Potato Fries with Lemon Meringue Sauce from MomAdvice.com

baked-sweet-potato-fries-with-lemon-meringue-dipping-sauce (5 of 7)

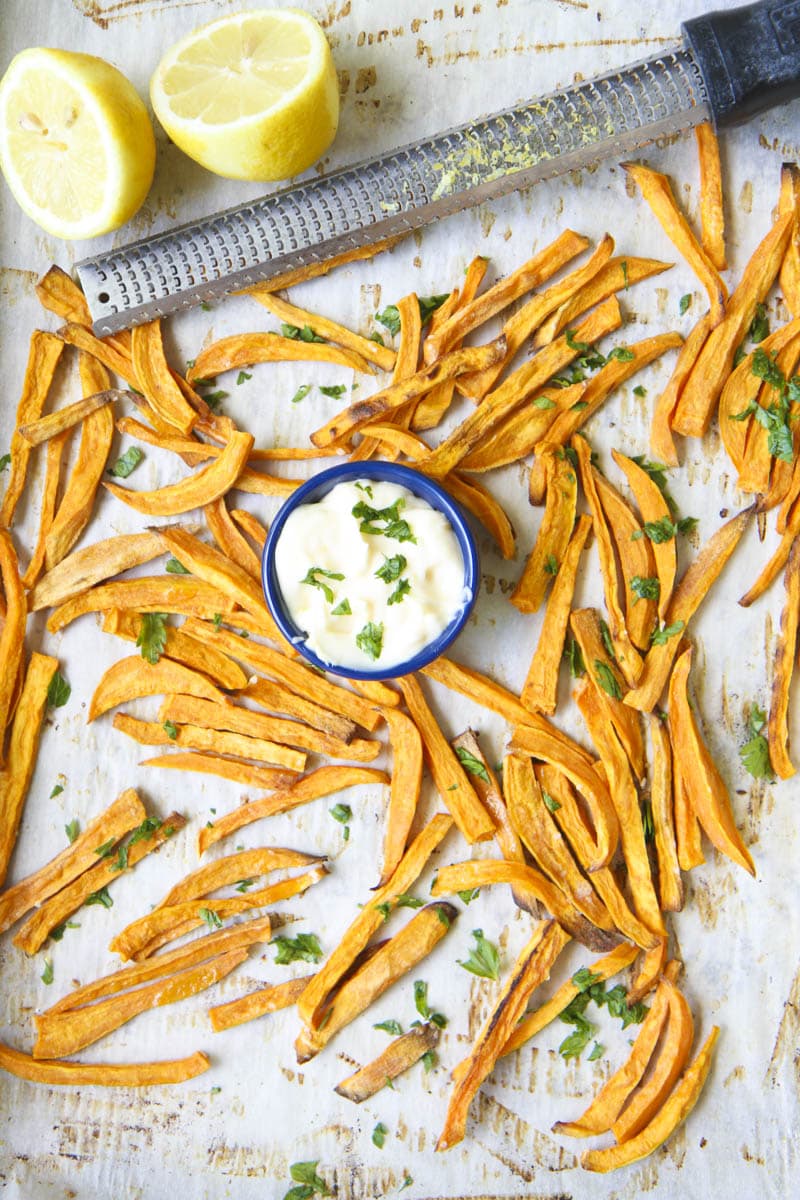
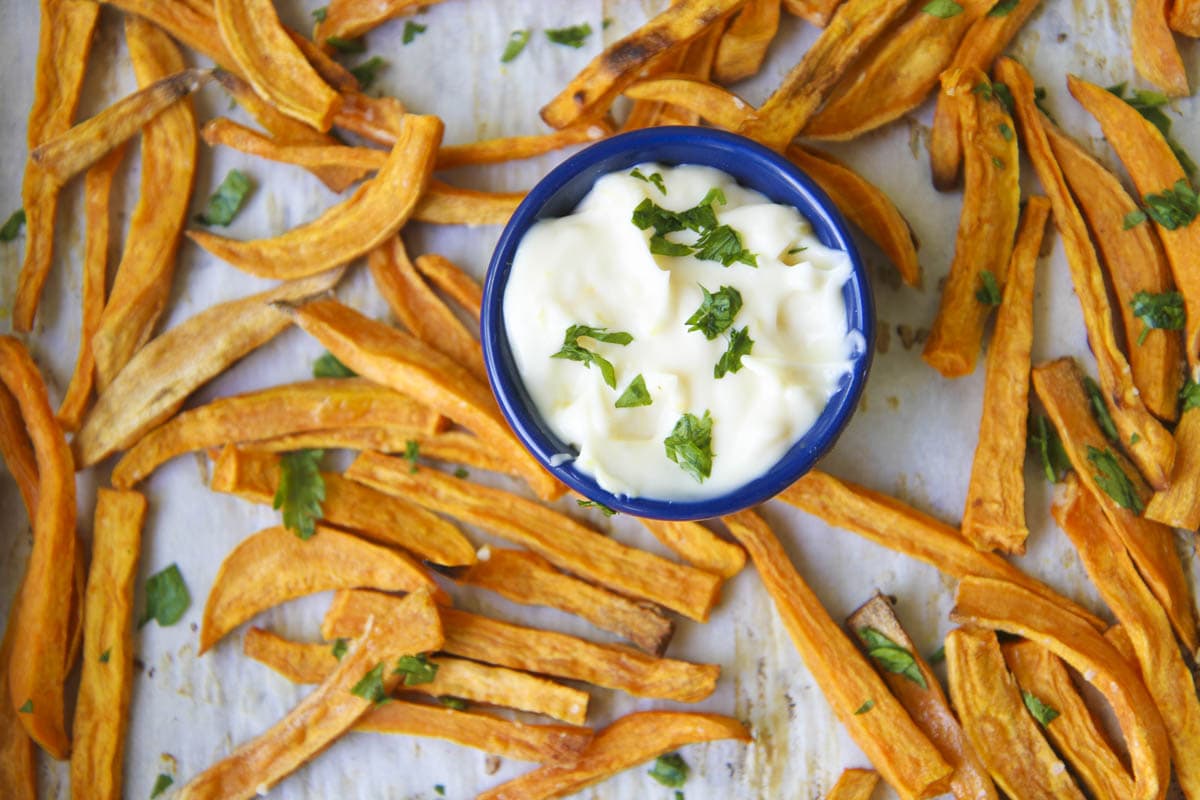
Sweet potato fries are my absolute favorite and one of our local burger joints inspired the dipping sauce to accompany them that I decided to recreate in my kitchen. This creamy lemon dipping sauce is tart and a fun match to the sweetness of the potatoes and is one of my favorite ways to indulge in a little fry dipping.

Not a big sweet potato fan?

I think this would be just as delicious with carrots as it is with the potatoes.

To make these fries ahead, before your guests arrive, peel and cut the potatoes into matchsticks and place in a bowl. Once you have cut all your potatoes, cover them with water and store in the fridge. Placed in a water bath, these cut potatoes can be stored up to twenty-four hours in the water. 

This simple dipping sauce is made out of several pantry staples- mayo, garlic, salt, and the juice and zest from a lemon. I guarantee that this unexpected sauce will be a huge hit at your barbecue just because it is such an unexpected flavor pairing.

Baked Sweet Potato Fries with Lemon Meringue Sauce from MomAdvice.com

I can’t wait until our next cookout so we can share these delicious Cranberry & Jalapeño Turkey Burgers and  Spinach & Kale Turkey Burgers with our guests. With all these new flavor combos, you are sure to wow your guests this year!  Best of all? Although the flavor profile is elevated, the price is quite affordable to have a high-end burger night right in your own backyard.

Baked Sweet Potato Fries With Lemon Meringue Dipping Sauce
Recipe Type: Side
Cuisine: American
Author: MomAdvice.com
Prep time:
Cook time:
Total time:
Serves: 6
These baked sweet potato fries are served with a lemon dip that brings together the sweetness of the potato with the tartness of the lemon.
Ingredients
  • 3 large sweet potatoes cut into matchsticks
  • 2 tablespoons olive oil
  • 1-2 teaspoons kosher salt
  • 3/4 cup mayonnaise
  • 1 clove garlic, finely minced
  • zest from one lemon
  • 1 tablespoon freshly squeezed lemon juice
  • 2 tablespoons flat leaf parsley
Instructions
  1. Preheat oven to 450 degrees and line baking sheet with parchment paper.
  2. Peel sweet potatoes and slice into matchsticks, roughly the same size. Place in a large bowl.
  3. If storing for the next day, fill the bowl with water, cover with plastic wrap, and refrigerate (up to 24-hours).
  4. If preparing immediately, toss with olive oil and salt.
  5. Bake in the oven for 20 minutes, on parchment paper lined cookie sheet, tossing once halfway through to crisp up both sides.
  6. While they are baking, mix together the mayo, garlic, lemon juice, lemon zest, and a pinch of salt.
  7. Once fries are done, garnish with parsley and serve with the lemon meringue dipping sauce.


Looking for more ways to enjoy turkey? Here are a few of my favorites!

Caprese Quinoa & Meatball Casserole

Asian Turkey & Green Bean Saute

Ground Turkey Gyro Burgers

Slow Cooker Thanksgiving Turkey

Instant Pot Indian Vegetable Rice (served with turkey meatloaf)

Spinach & Turkey Bacon Skillet Dish

This post is sponsored by Honeysuckle White. All thoughts and opinions are my own!

5-Ingredient Gluten-Free Pizza Crust Recipe

Tuesday, March 6th, 2018

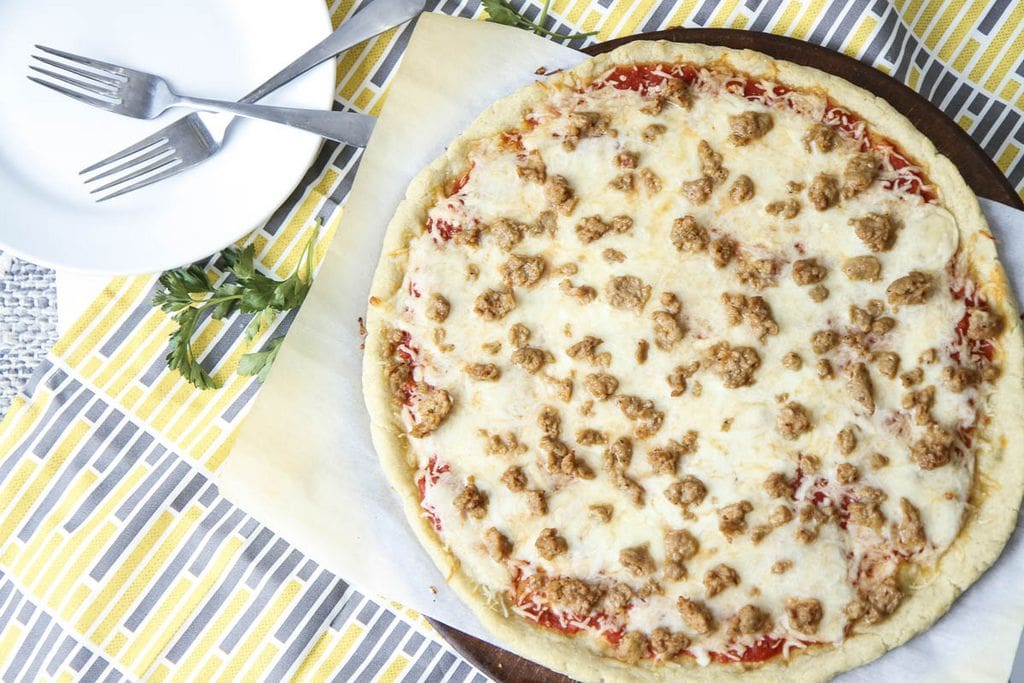
5-ingredient gluten-free pizza crust recipe from MomAdvice.com

I have been gluten-free for years, but I have only really jumped into gluten-free baking this year. The one recipe that I just couldn’t seem to master was a delicious gluten-free pizza crust. This week I decided to try to crack the code on a simple, one-bowl dough that could be made from a gluten-free mix and that had simple ingredients that I always keep in my pantry. Does this seem like too steep of a request to make from myself? You bet!

You could say this no-spend month has been quite motivating!

I am SO excited to share with you a foolproof gluten-free pizza crust recipe that is as easy to put together as your standard crust. The thing that I need to stress though is that you MUST, MUST, MUST follow my advice on which flour to purchase and the steps that I have outlined to create it. If you use another flour mix I can’t guarantee these results for the perfect airy crust that will rival any pizzeria you have been to.

It’s worth it to take the time to buy the right product, amiright?

Are you ready for this EASY recipe?

Let’s get baking!

5-ingredient Gluten-Free Pizza Crust from MomAdvice.com

A Few Quick Suggestions for the Perfect Gluten-Free Pizza Crust

The Best Flour Blend for This Recipe

To nail this perfect crust, you MUST use this gluten-free flour mix.

Period.

I’m linking to the best price on this that I’ve found (at least in our area). The cost (currently) is $3.97 and this will yield two large pizza crusts for your family.  It has to be the cup-for-cup so make sure that the label says that since other gluten-free blends exist. Although I am telling you it yields TWO crusts, this recipe below is for ONE crust. Double it if you are wanting to make two pizzas.

And you will want to make two pizzas. I just know it!

Anyone who eats gluten-free knows what a steal this on two large crusts. I can’t tell you how much money I have spent on tiny terrible pizzas that left me hungry.

A little over two bucks per large pizza crust is unreal awesome.

The Yeast Must Be Active

Do you know the best way to check if your yeast is active? Sprinkle your yeast and a pinch of sugar over the top, give it a stir, and let it stand for a few minutes. If the yeast is still active, it will dissolve completely into the water and the liquid will start bubbling. If your yeast isn’t active, it will yield a dense and heavy crust.

I buy a large jar of yeast because it is cheaper than buying the yeast packets. This is the jar that I purchase for our family.

You want to make sure you don’t grab the bread machine yeast, just the regular ol’ active yeast.

Parchment Paper Makes Everything Easier

This crust shouldn’t be too sticky (if it is, add a little additional flour until it comes together without the stickiness factor), but I prefer to press out my crust on a parchment paper lined pizza stone. I buy these squares (awesome stuff for easy clean-up on sheet pan meals) and place it on a diagonal across my stone.

Speaking of pizza stones, they are such a wonderful family investment. I bought mine about twelve years ago and it has paid for itself over and over and over again. This size stone is perfect for all your pizza needs.

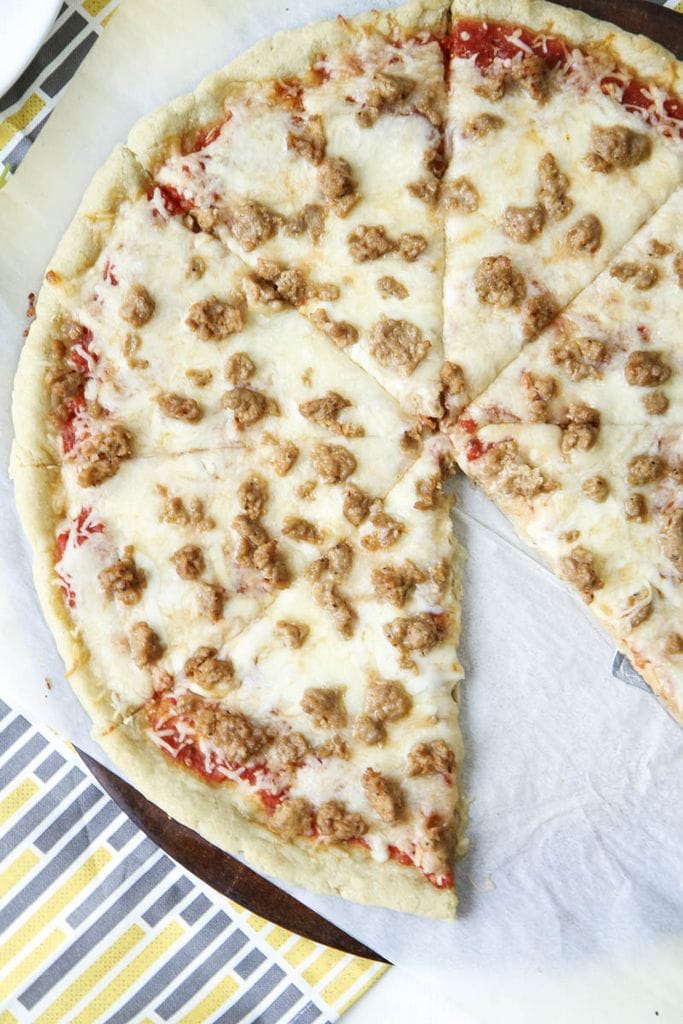
5-ingredient gluten-free pizza crust recipe from MomAdvice.com

5-ingredient gluten-free pizza crust recipe from MomAdvice.com

I have a feeling you are going to love this recipe because of its ease.  Mix it up, let it rise, and then pat it out on parchment paper.

Yup, that’s pretty much it.

I like to brush the crust edges with olive oil because it helps the edge to crisp up a bit more.

Once you press the crust out, bake it for a bit, add your toppings, and then finish your baking.

That’s it!

The best part is that you can make a few crusts at the same time and place them in the freezer for your future pizza nights. Simply allow the crust to rise and then place the dough ball in a freezer-safe plastic bag. Once you are ready to use it, let it thaw overnight in the fridge, and then prepare as usual. These crusts can be kept frozen for up to four weeks.

Another make-ahead option is to to mix all the dry ingredients and store them in a bag or jar to make preparation a little easier.

Or, heck, just wing it!

You got this!

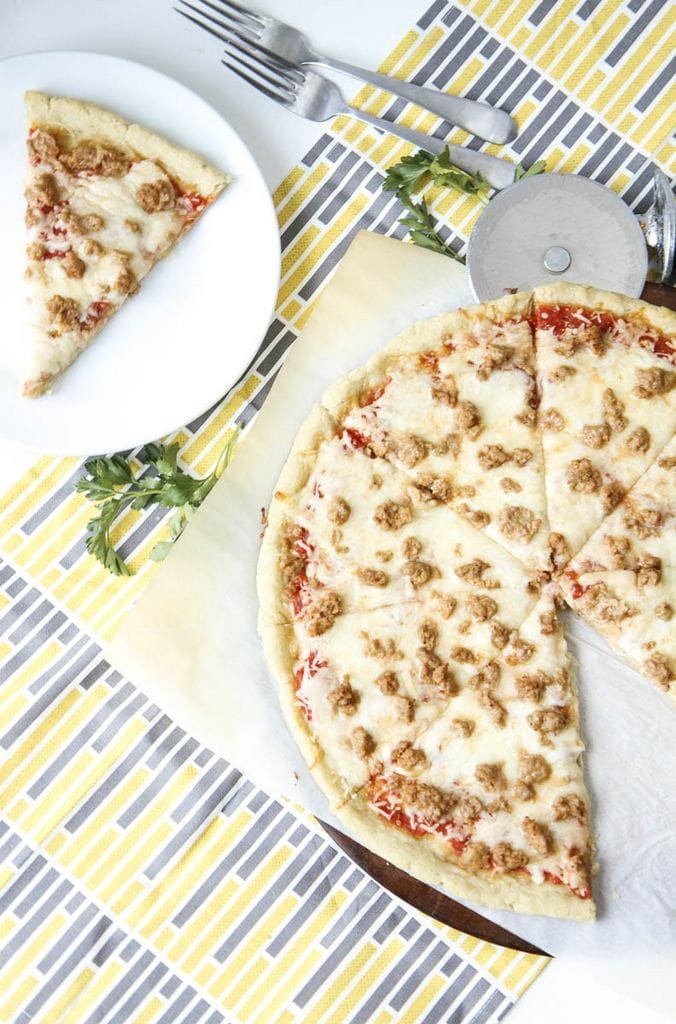
5-ingredient-gluten-free-pizza-crust-recipe (7 of 8)

5-Ingredient Gluten-Free Pizza Crust Recipe
Prep time:
Cook time:
Total time:
Serves: 1 large pizza
An easy 5-ingredient one-bowl gluten-free pizza crust recipe. I dare you to say that three times fast.
Ingredients
  • 2 1/4 cups [url href=”https://rstyle.me/n/cy78eqwky6″ target=”_blank”]Bobs Mill Cup-For-Cup Baking Flour[/url] [u]NO SUBSTITUTIONS[/u]
  • 2.25 teaspoons active yeast (if purchasing in packet form, it will be one packet)
  • 1 teaspoon salt
  • 1 tablespoon honey
  • 3 1/2 tablespoons olive oil
  • 1 cup warm water
Instructions
  1. Please Note- This yields enough for ONE crust for ONE large pizza.
  2. In a large mixing bowl mix together flour, yeast, and salt.
  3. Add honey, olive oil, and warm water (you want this warm, but not SO hot that it kills your yeast).
  4. Mix well until the dough pulls away from the bowl. If your dough feels too sticky, you can add a little additional flour to it until it pulls into a ball.
  5. Knead the ball of dough a few times and then cover with plastic wrap.
  6. Let rise for 30 minutes.
  7. Preheat your oven to 450 degrees.
  8. On a parchment paper lined pizza stone, turn out the dough and shape into a pizza.
  9. Once it is patted out, brush with olive oil on the edge of the crust.
  10. Bake for 12 minutes.
  11. Remove and add sauce and toppings. Place back into the oven and finish baking (approximately 7-9 minutes). If you like your cheese bubbly on top, you can finish the process by broiling for a couple of minutes. Be sure to keep your eye on it so your crust doesn’t burn.
  12. Slice and enjoy!


Not gluten-free? I’ve got you covered with this easy Bread Machine Pizza Dough! You can also use my pizza sauce recipe (all the way at the bottom of the post!) for both types of pizzas.

I can’t wait to hear what you think of this recipe and hope it is as big of a hit at your house as it has been at our home!

This post contains affiliate links.


Pin It

The MomAdvice Make-Ahead 01.30.17

Tuesday, January 30th, 2018

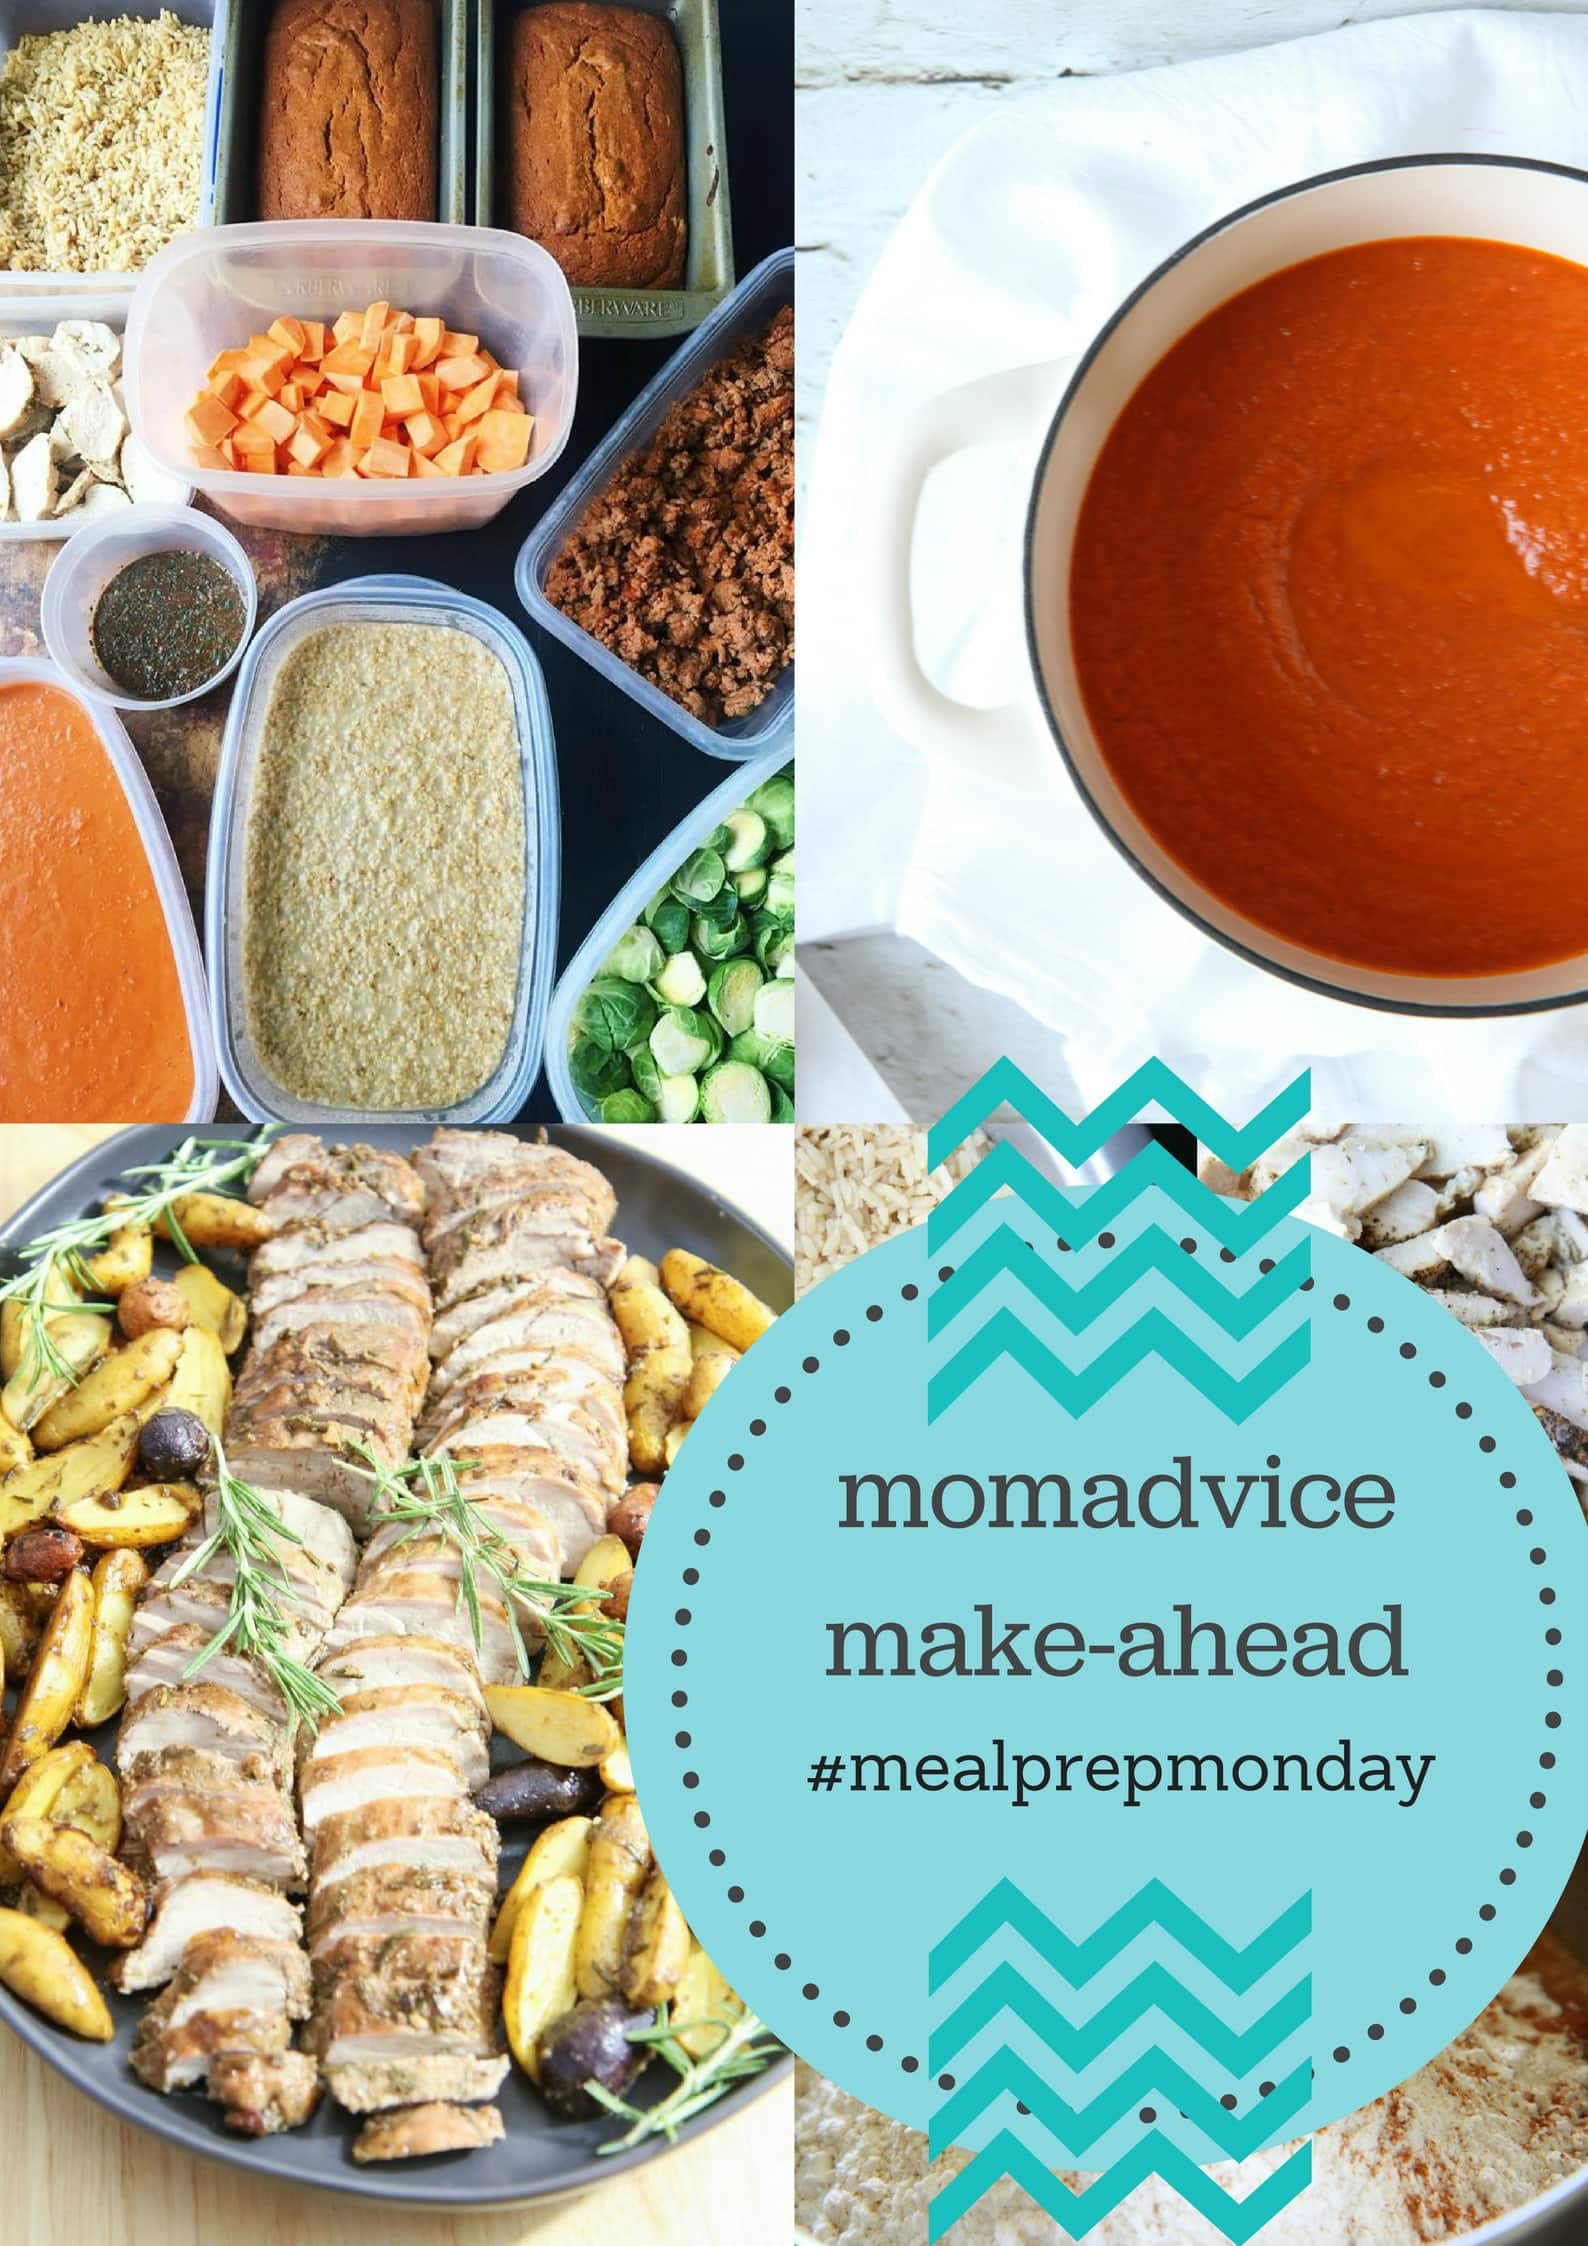
the momadvice make-ahead

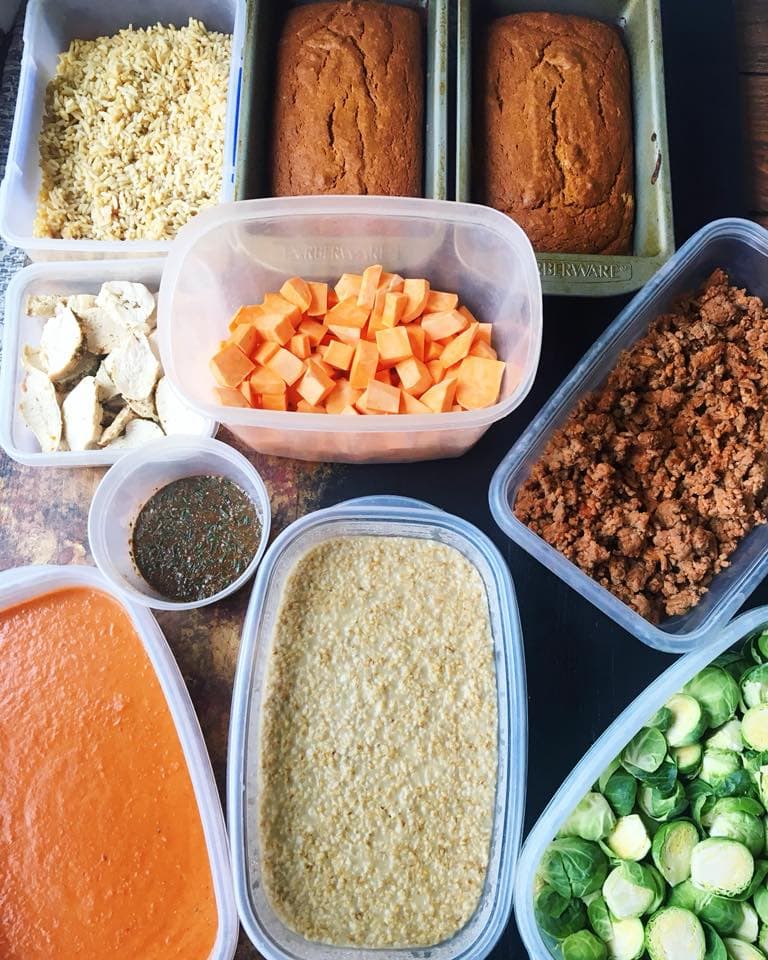
My resolution to eat more at home had me prepping some dishes ahead this week. I shared a picture on my IG feed and got a lot of questions about this week’s prep so I thought I’d move that convo over to the blog.

Here were my plans for eating and prepping this week!

Menu Plan

Roast Chicken in Bulk Roast Chicken Wraps (flour or gluten-free tortillas, roast chicken, shredded cheese, spinach, & a drizzle of ranch) with carrot sticks & tortilla chips

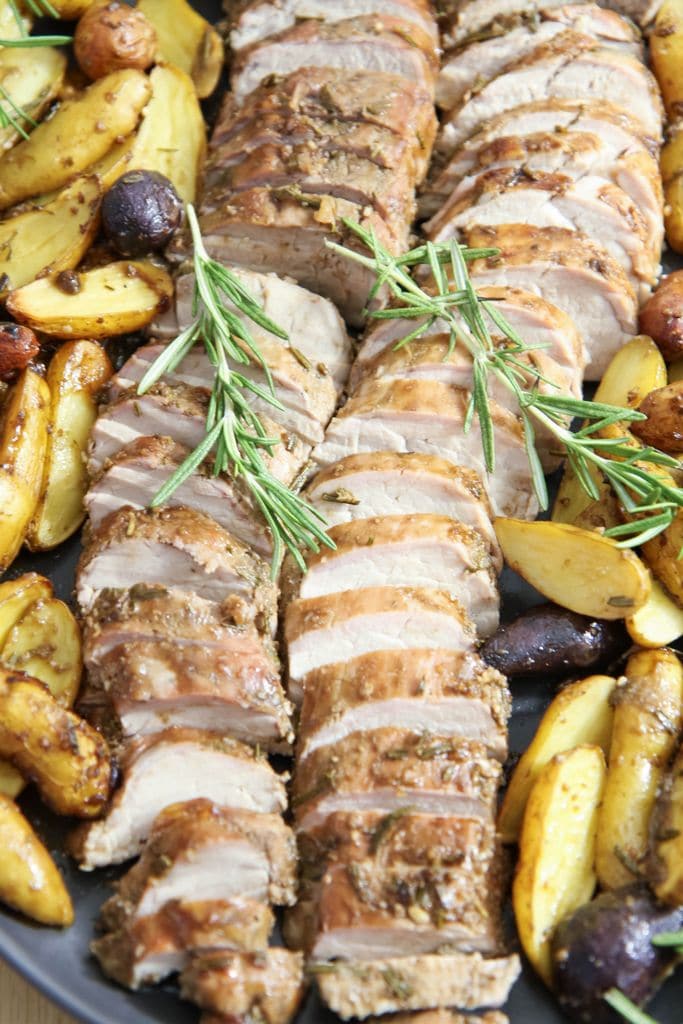
Balsamic Pork Loin Recipe from MomAdvice.com Balsamic Pork Loin Sheet Pan Meal

Make-Ahead Brown Rice Taco Bowls (Taco Meat Recipe & Make-Ahead Rice)

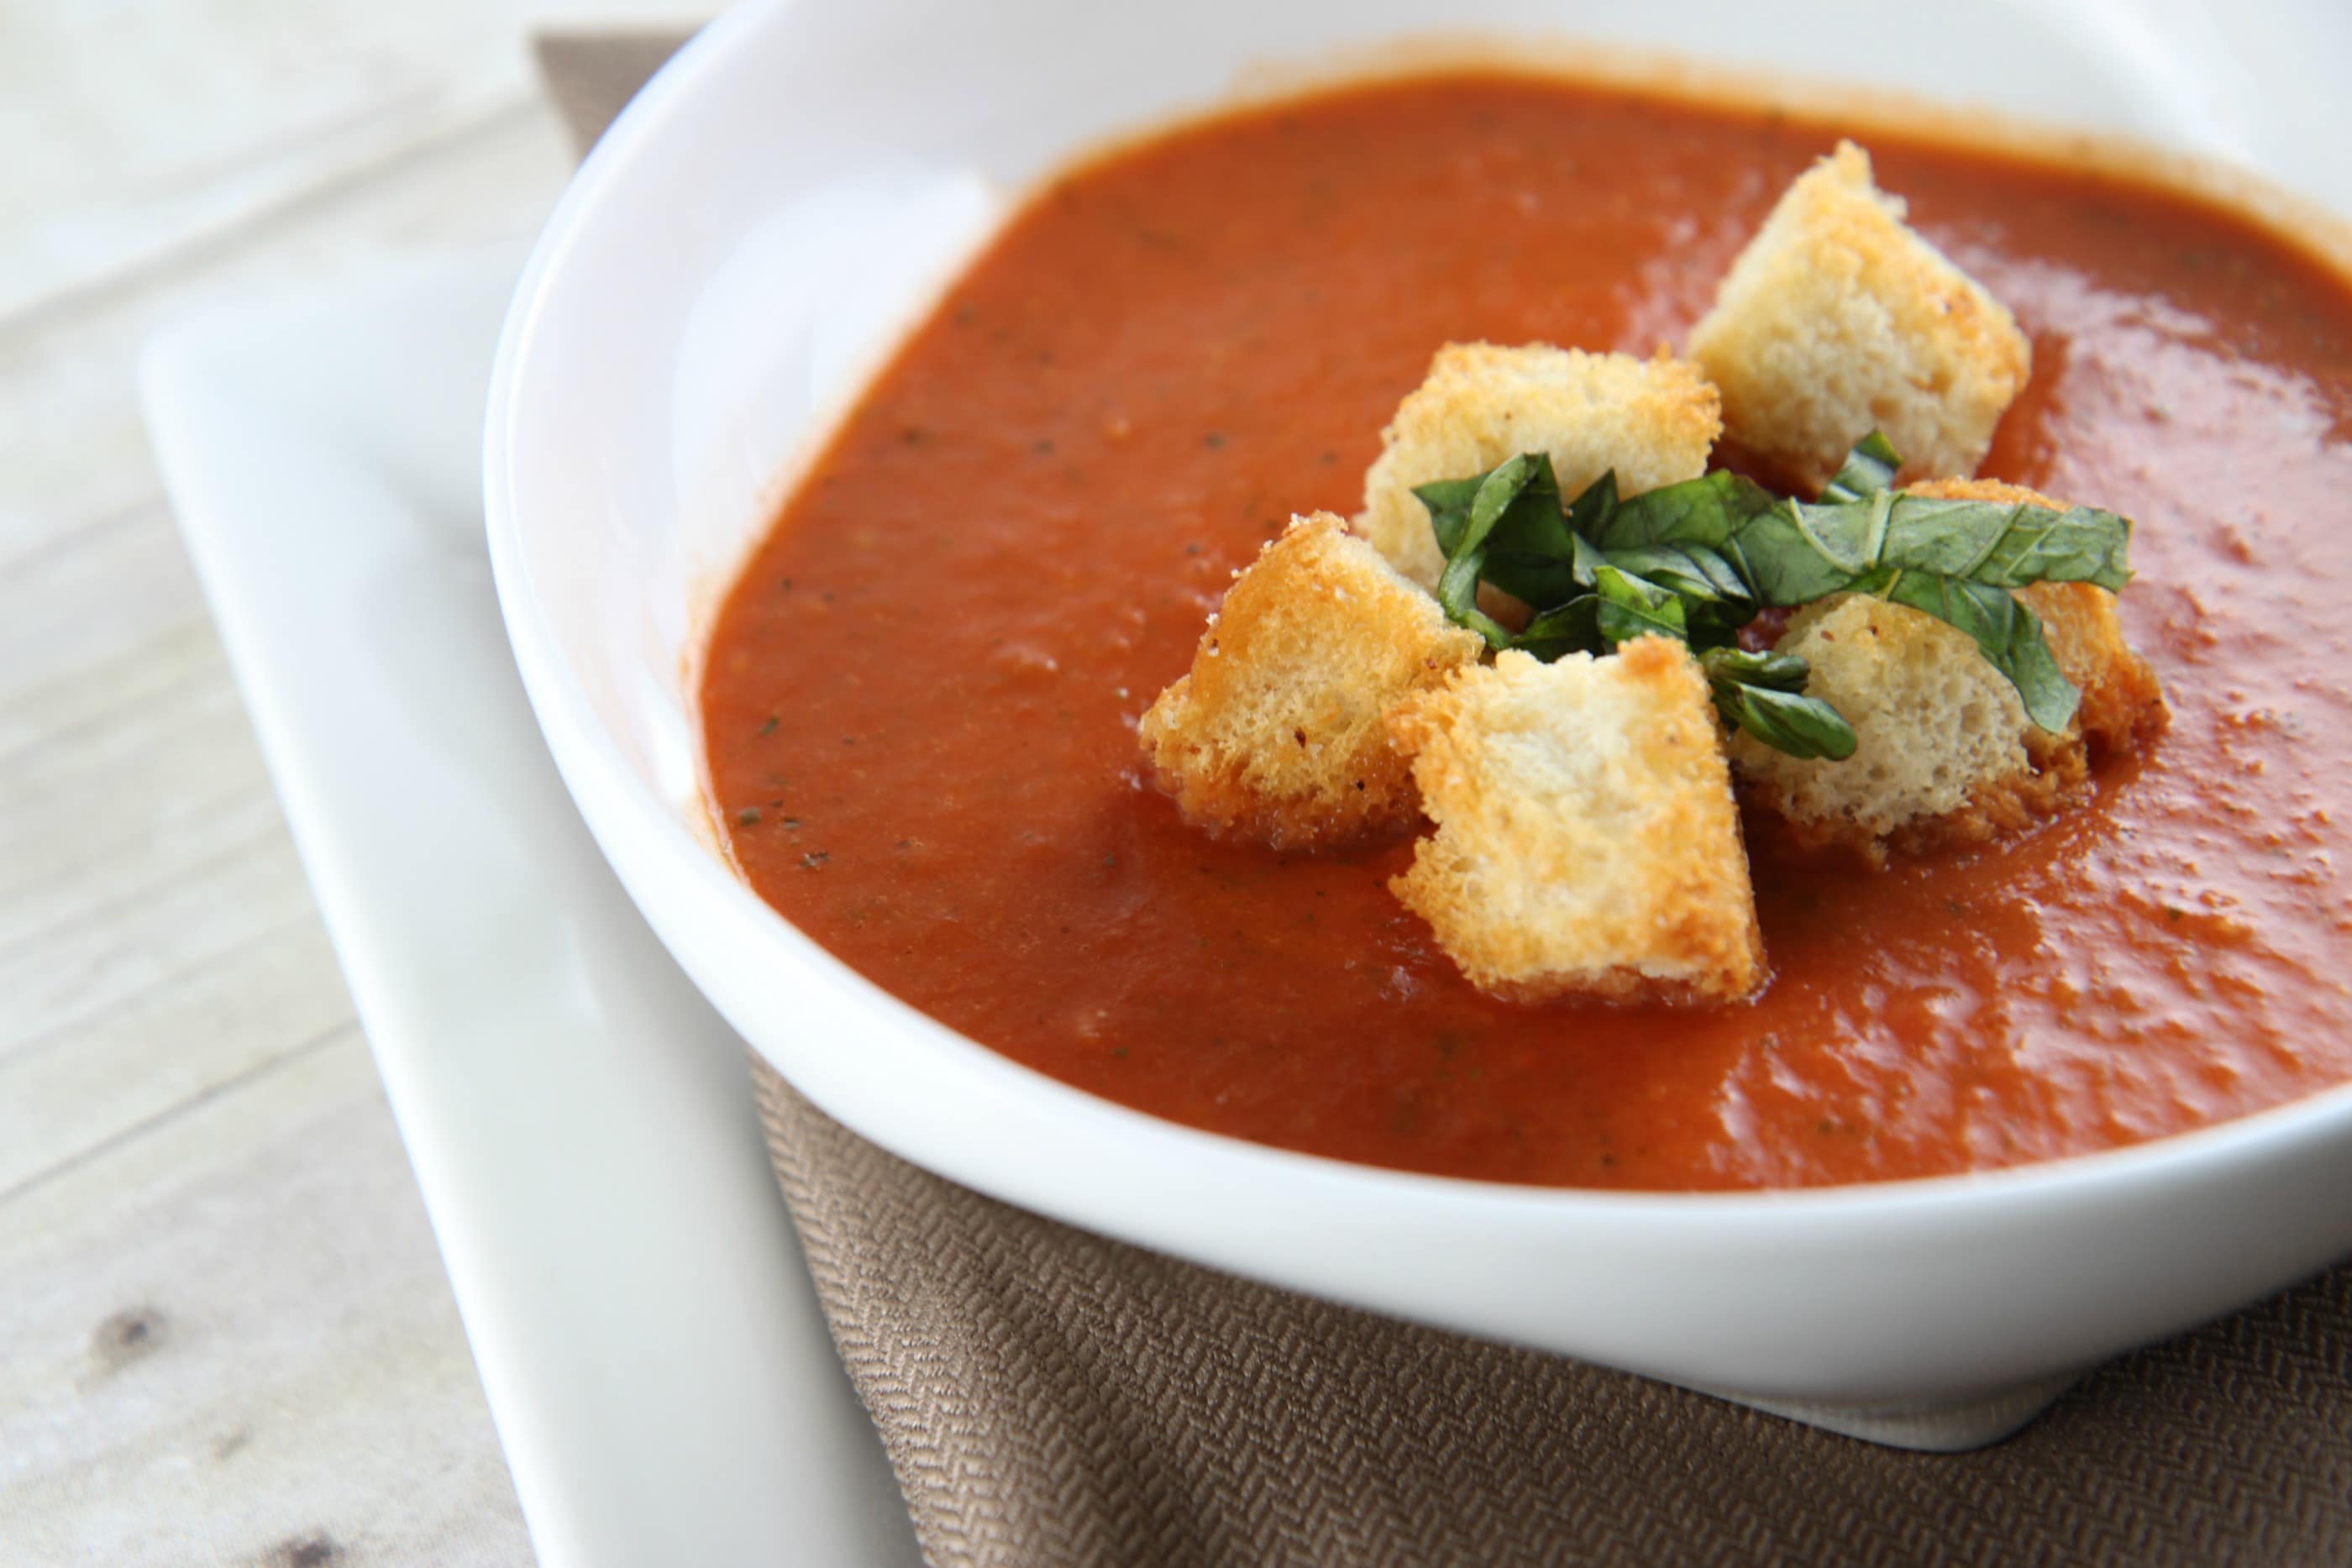
homemade tomato soup

toasted cheese sandwiches homemade tomato soup with grilled cheese sandwiches

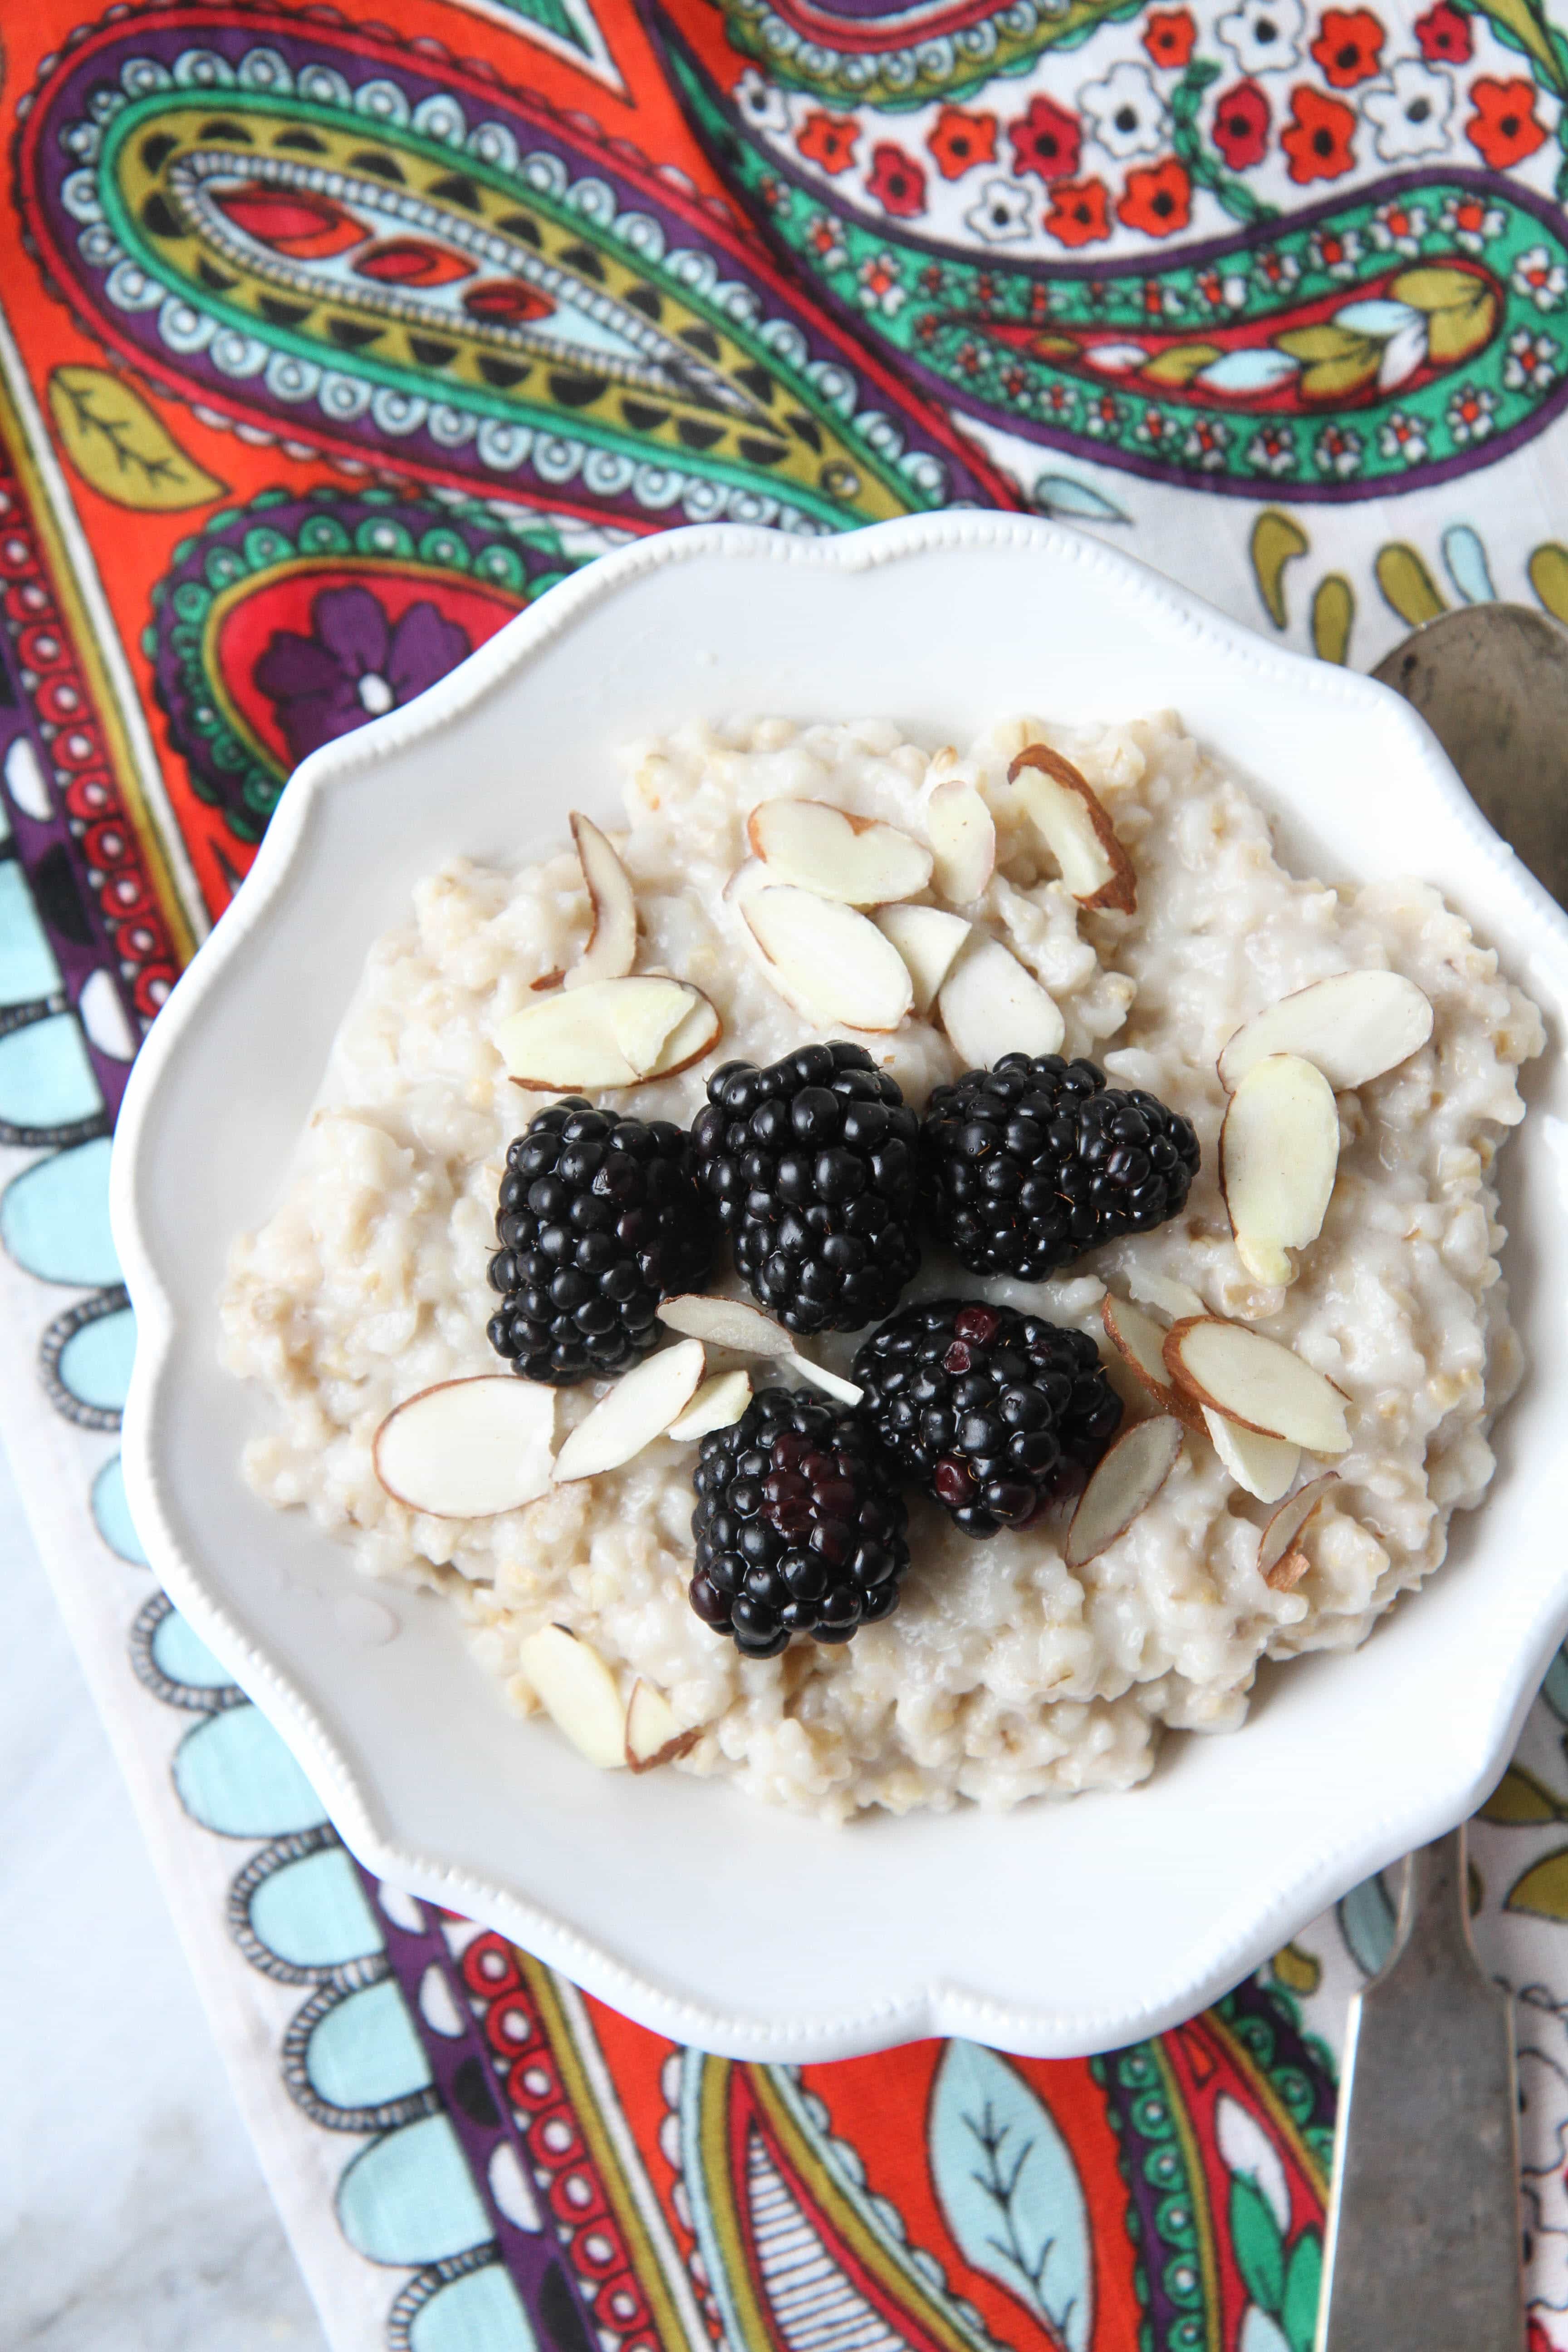
Creamy Coconut Oatmeal breakfast (or lunch!)- slow cooker creamy coconut steel cut oatmeal

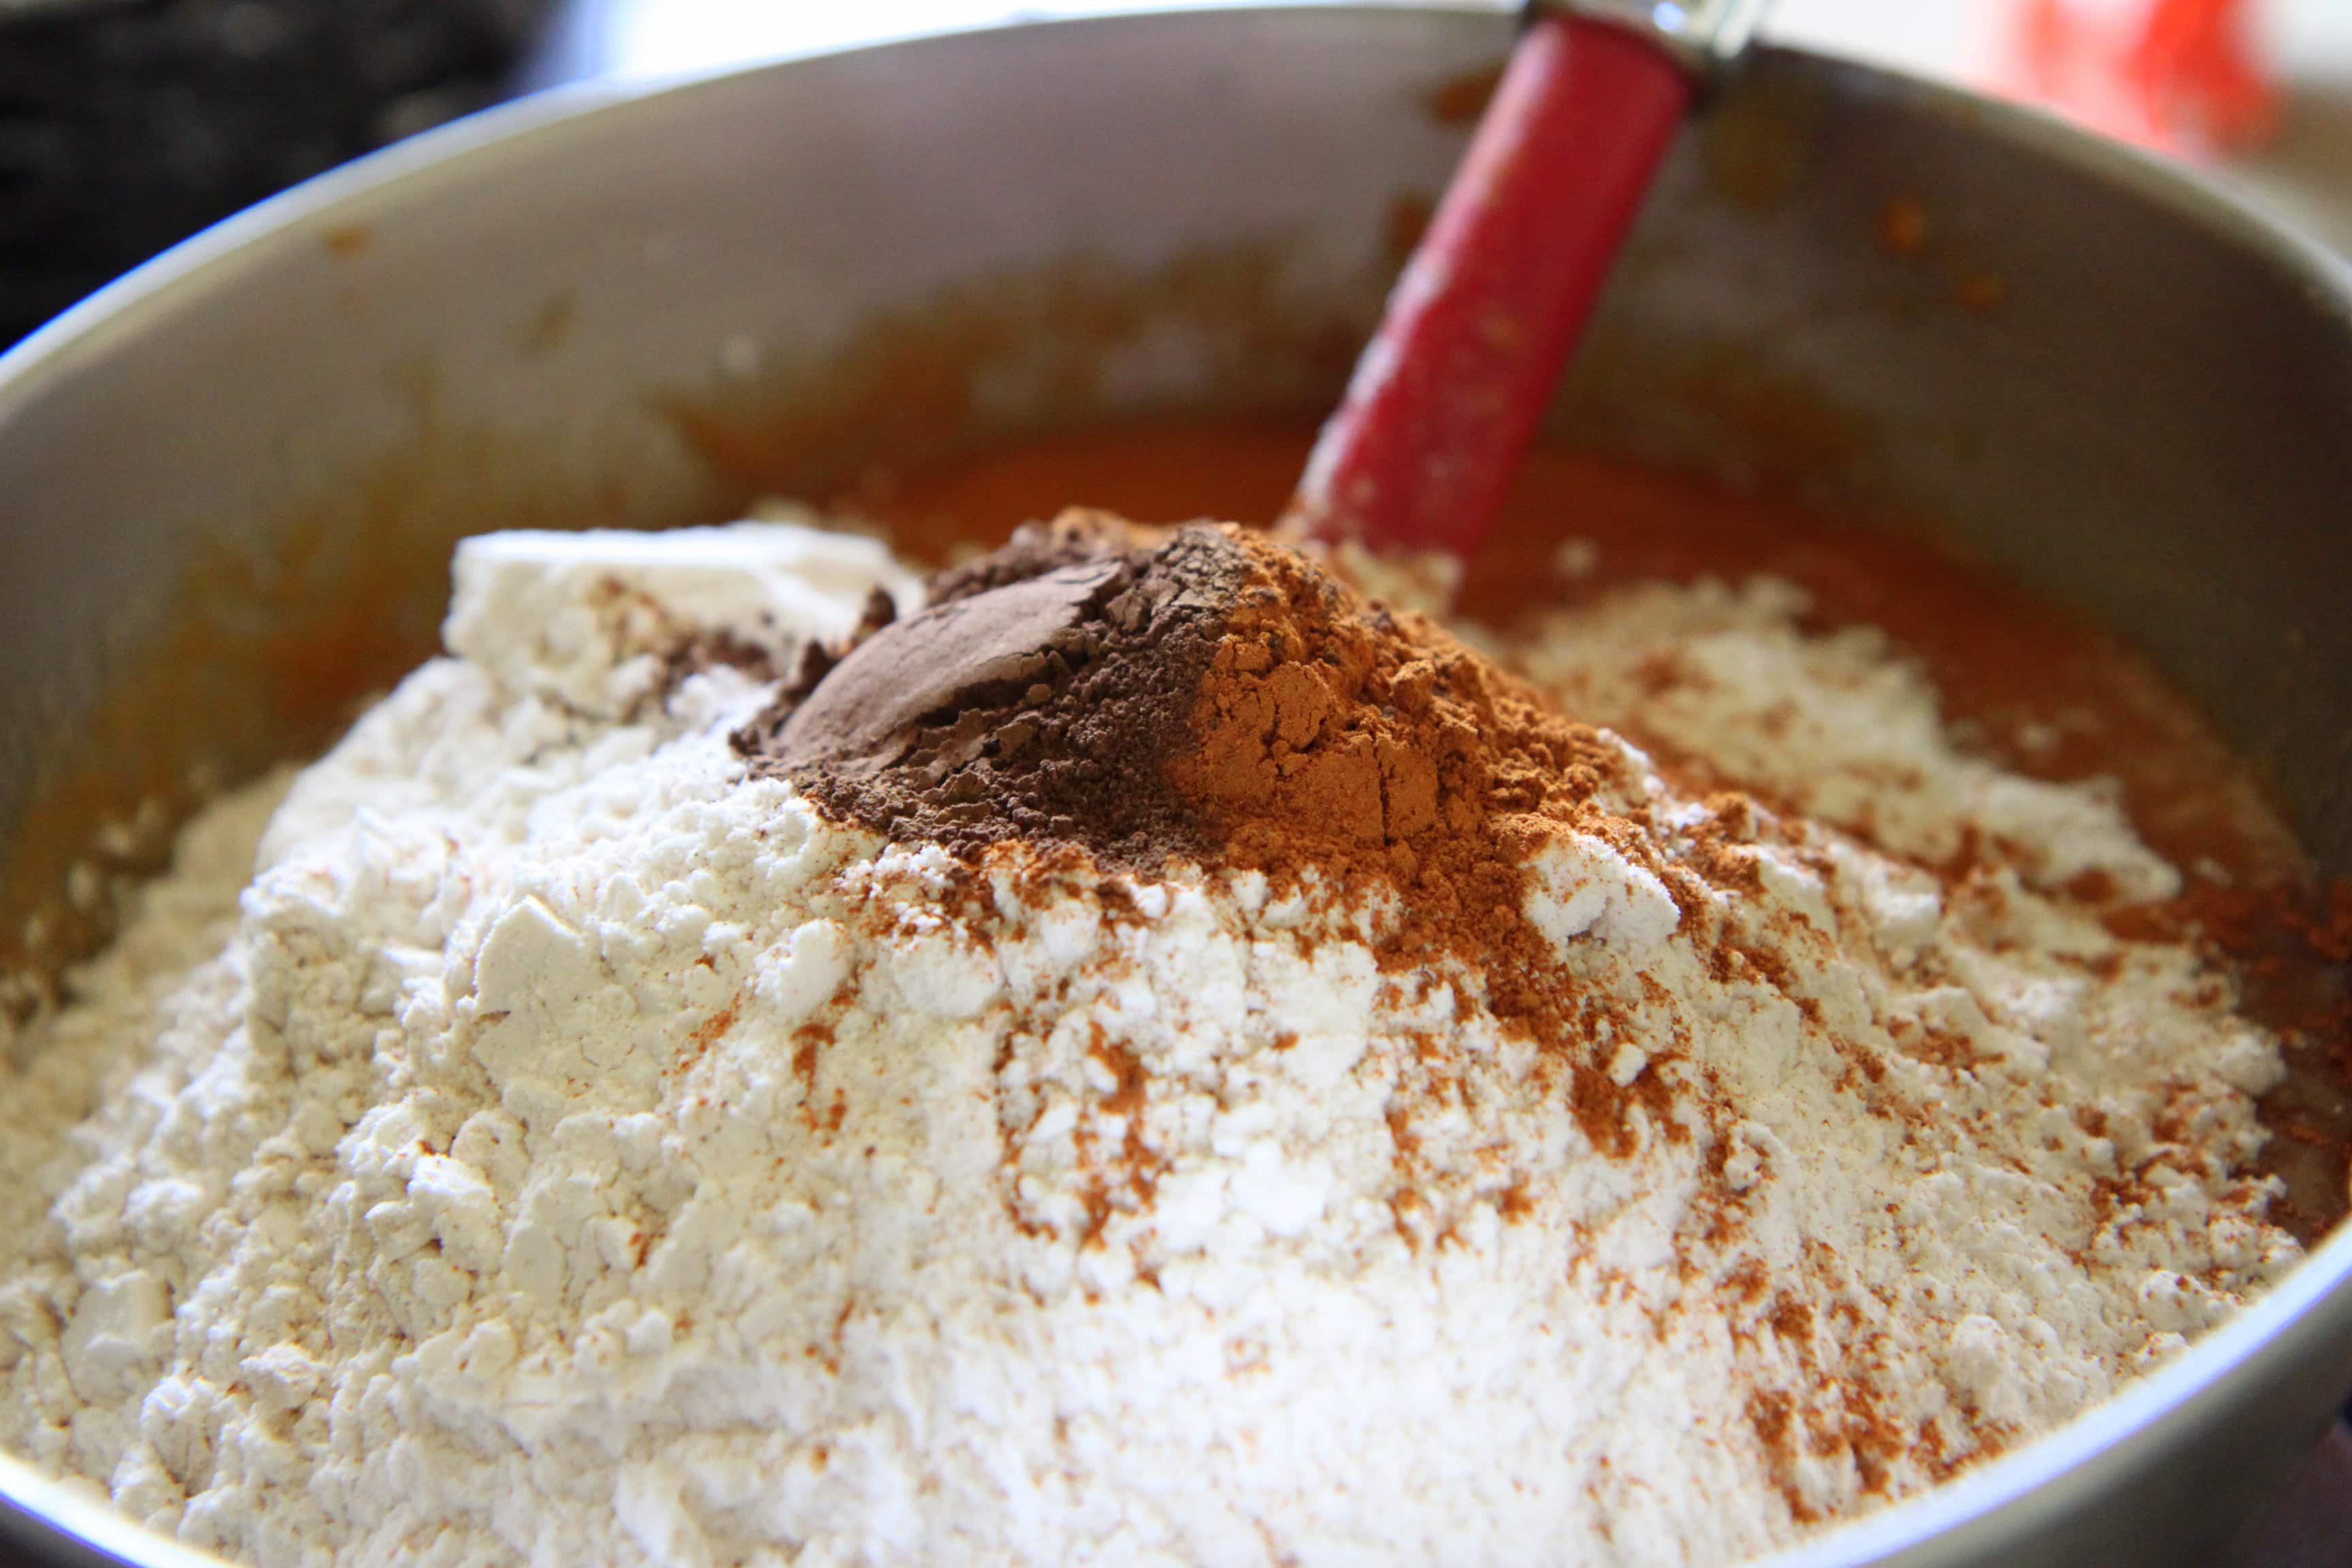
IMG_3357 snack- pumpkin bread (to make gluten-free, I sub with this cup-for-cup flour)

make-ahead january

What To Prep Ahead

1. Prepare oatmeal the night before prep day and turn on low heat as directed. Try this water bath technique for best results. Extra prep credit if you put together baggies of your favorite dried fruits and nuts for topping.

2. Prepare and bake pumpkin bread loaves as directed. Wrap and freeze one loaf (for later) and slice the other loaf and store in an airtight container for the week.

3. Prepare your brown rice in your rice cooker while the loaves are baking. Once it beeps, store cooked rice in an airtight container.

4. Chop veggies for pork loin sheet meal. I did a combo of Brussels Sprouts & Sweet Potatoes this time.  Store Brussels Sprouts separately in an airtight container. Store diced sweet potatoes covered in cold water for 24-48 hours.

5. Prepare the rosemary marinade and store in a separate container. I highly recommend this purchase for quick marinade preparation.

6. Prepare your tomato soup and store in an airtight container. I highly recommend one of these so you don’t have to dirty extra pots.

7. Prepare the taco meat as directed in the recipe. Store in an airtight container.

Once you are done, put those feet up for the rest of the dang week!


This post contains affiliate links! 


Corn on the Cob on the Grill

Tuesday, July 19th, 2011

Corn on the Cob on the Grill Header

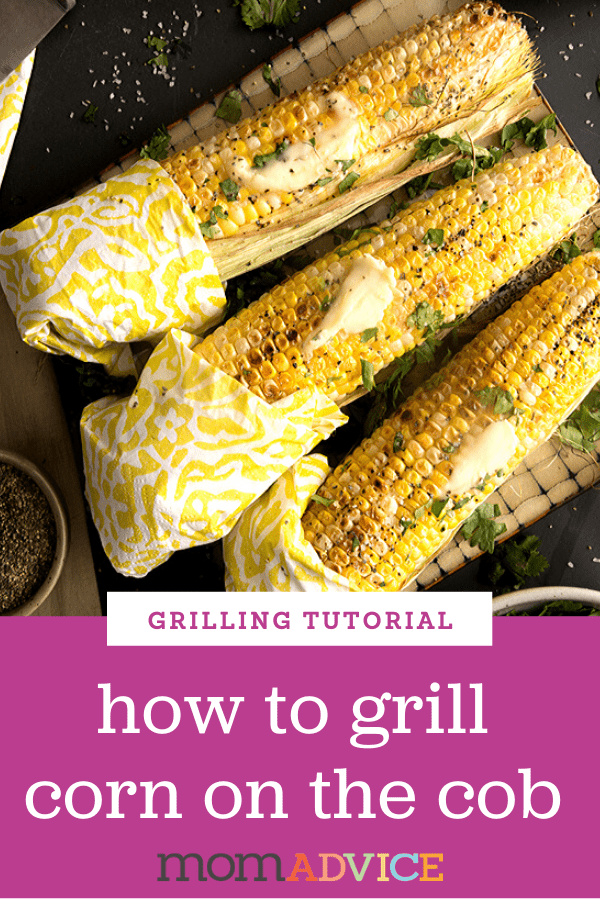
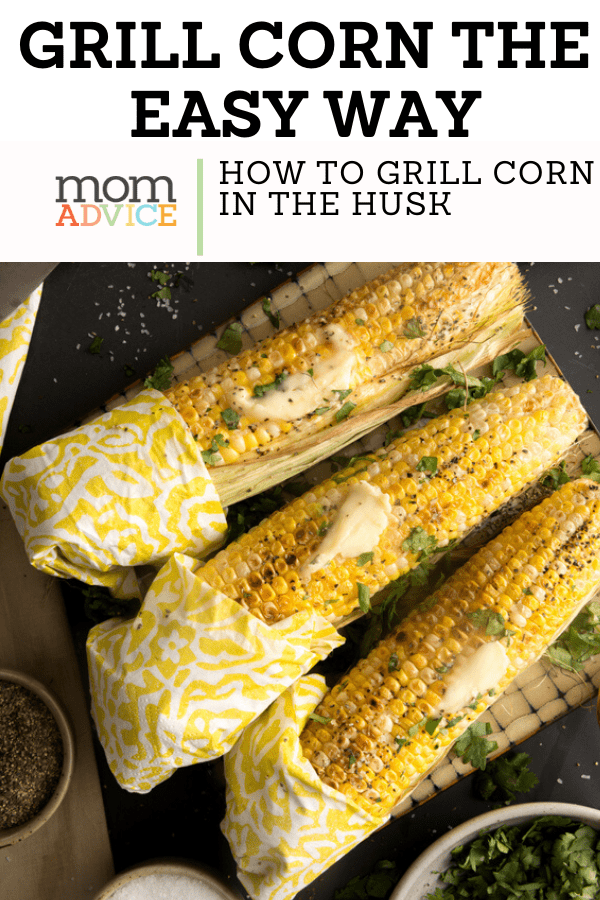
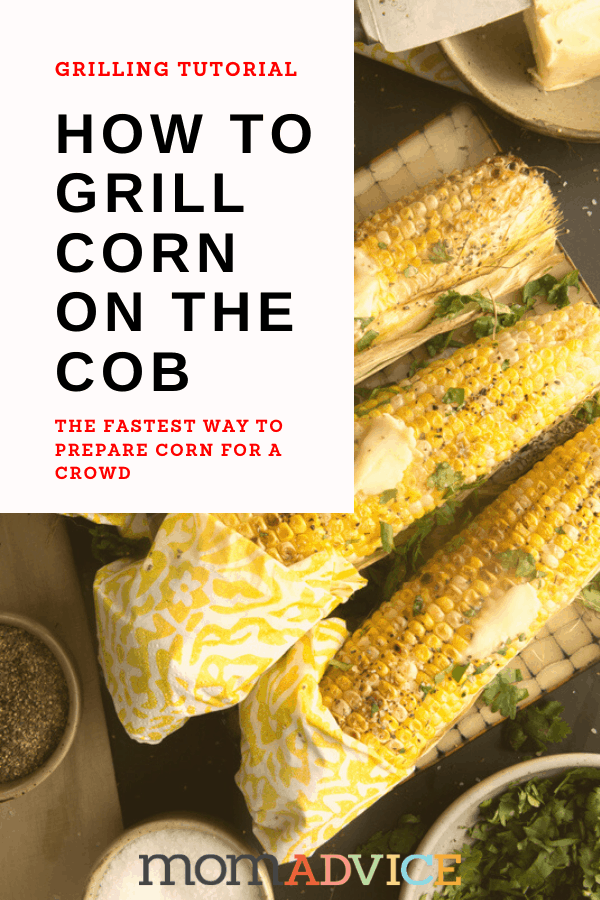
This corn recipe is the time-saving strategy you need for your next cookout. Learn how to grill corn on the cob without removing the husks. Serve this cookout side with toppings for guests to season the corn.

There are so many fun ways to prepare corn. I have been known to boil the corn, pop the corn in the cob (wrapped in aluminum foil) into my slow cooker, and have prepared tths summer side with fancy herb butters for our family cookouts.

To save on money, I have always purchased the corn in the husks.

Although I have been to many cookouts, I had no idea that you could grill your corn on the cob without any special foil preparations.

Since learning this amazing cookout shortcut, I have said goodbye to time lost, removing those silks and outer husks, and said hello to the world’s easiest method for roasted corn made on your grill.

No more cleaning up corn silk and husks?

HECK. YES.

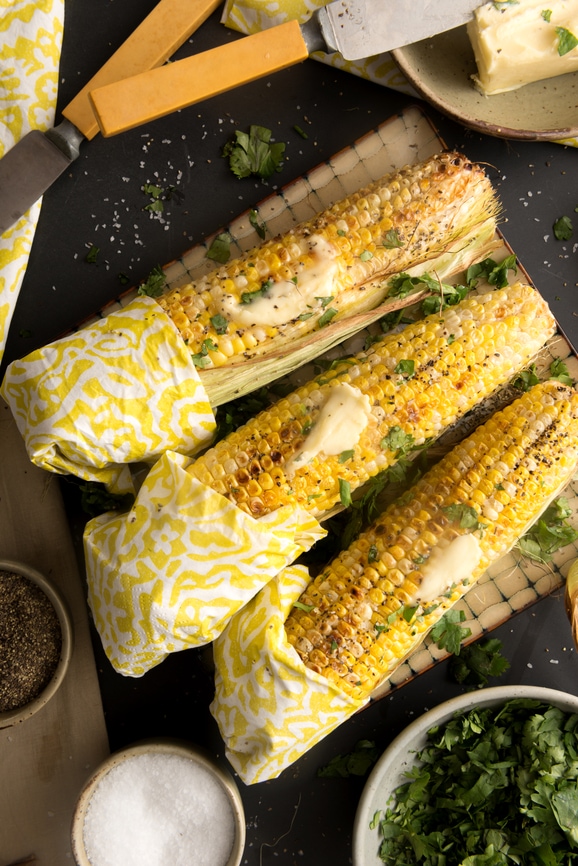
Now you can have your guests pull back their own husks and prepare their corn with their own favorite toppings.

The best part about keeping the corn in the husk?

It can stay warm for 30 minutes, making timing the rest of your dishes around it a cinch.


Corn on the Cob on the Grill

Corn on the Cob on the Grill

Here are a few questions that I get asked about preparing your corn for the grill! 

Soaking Corn in Water With Husk On

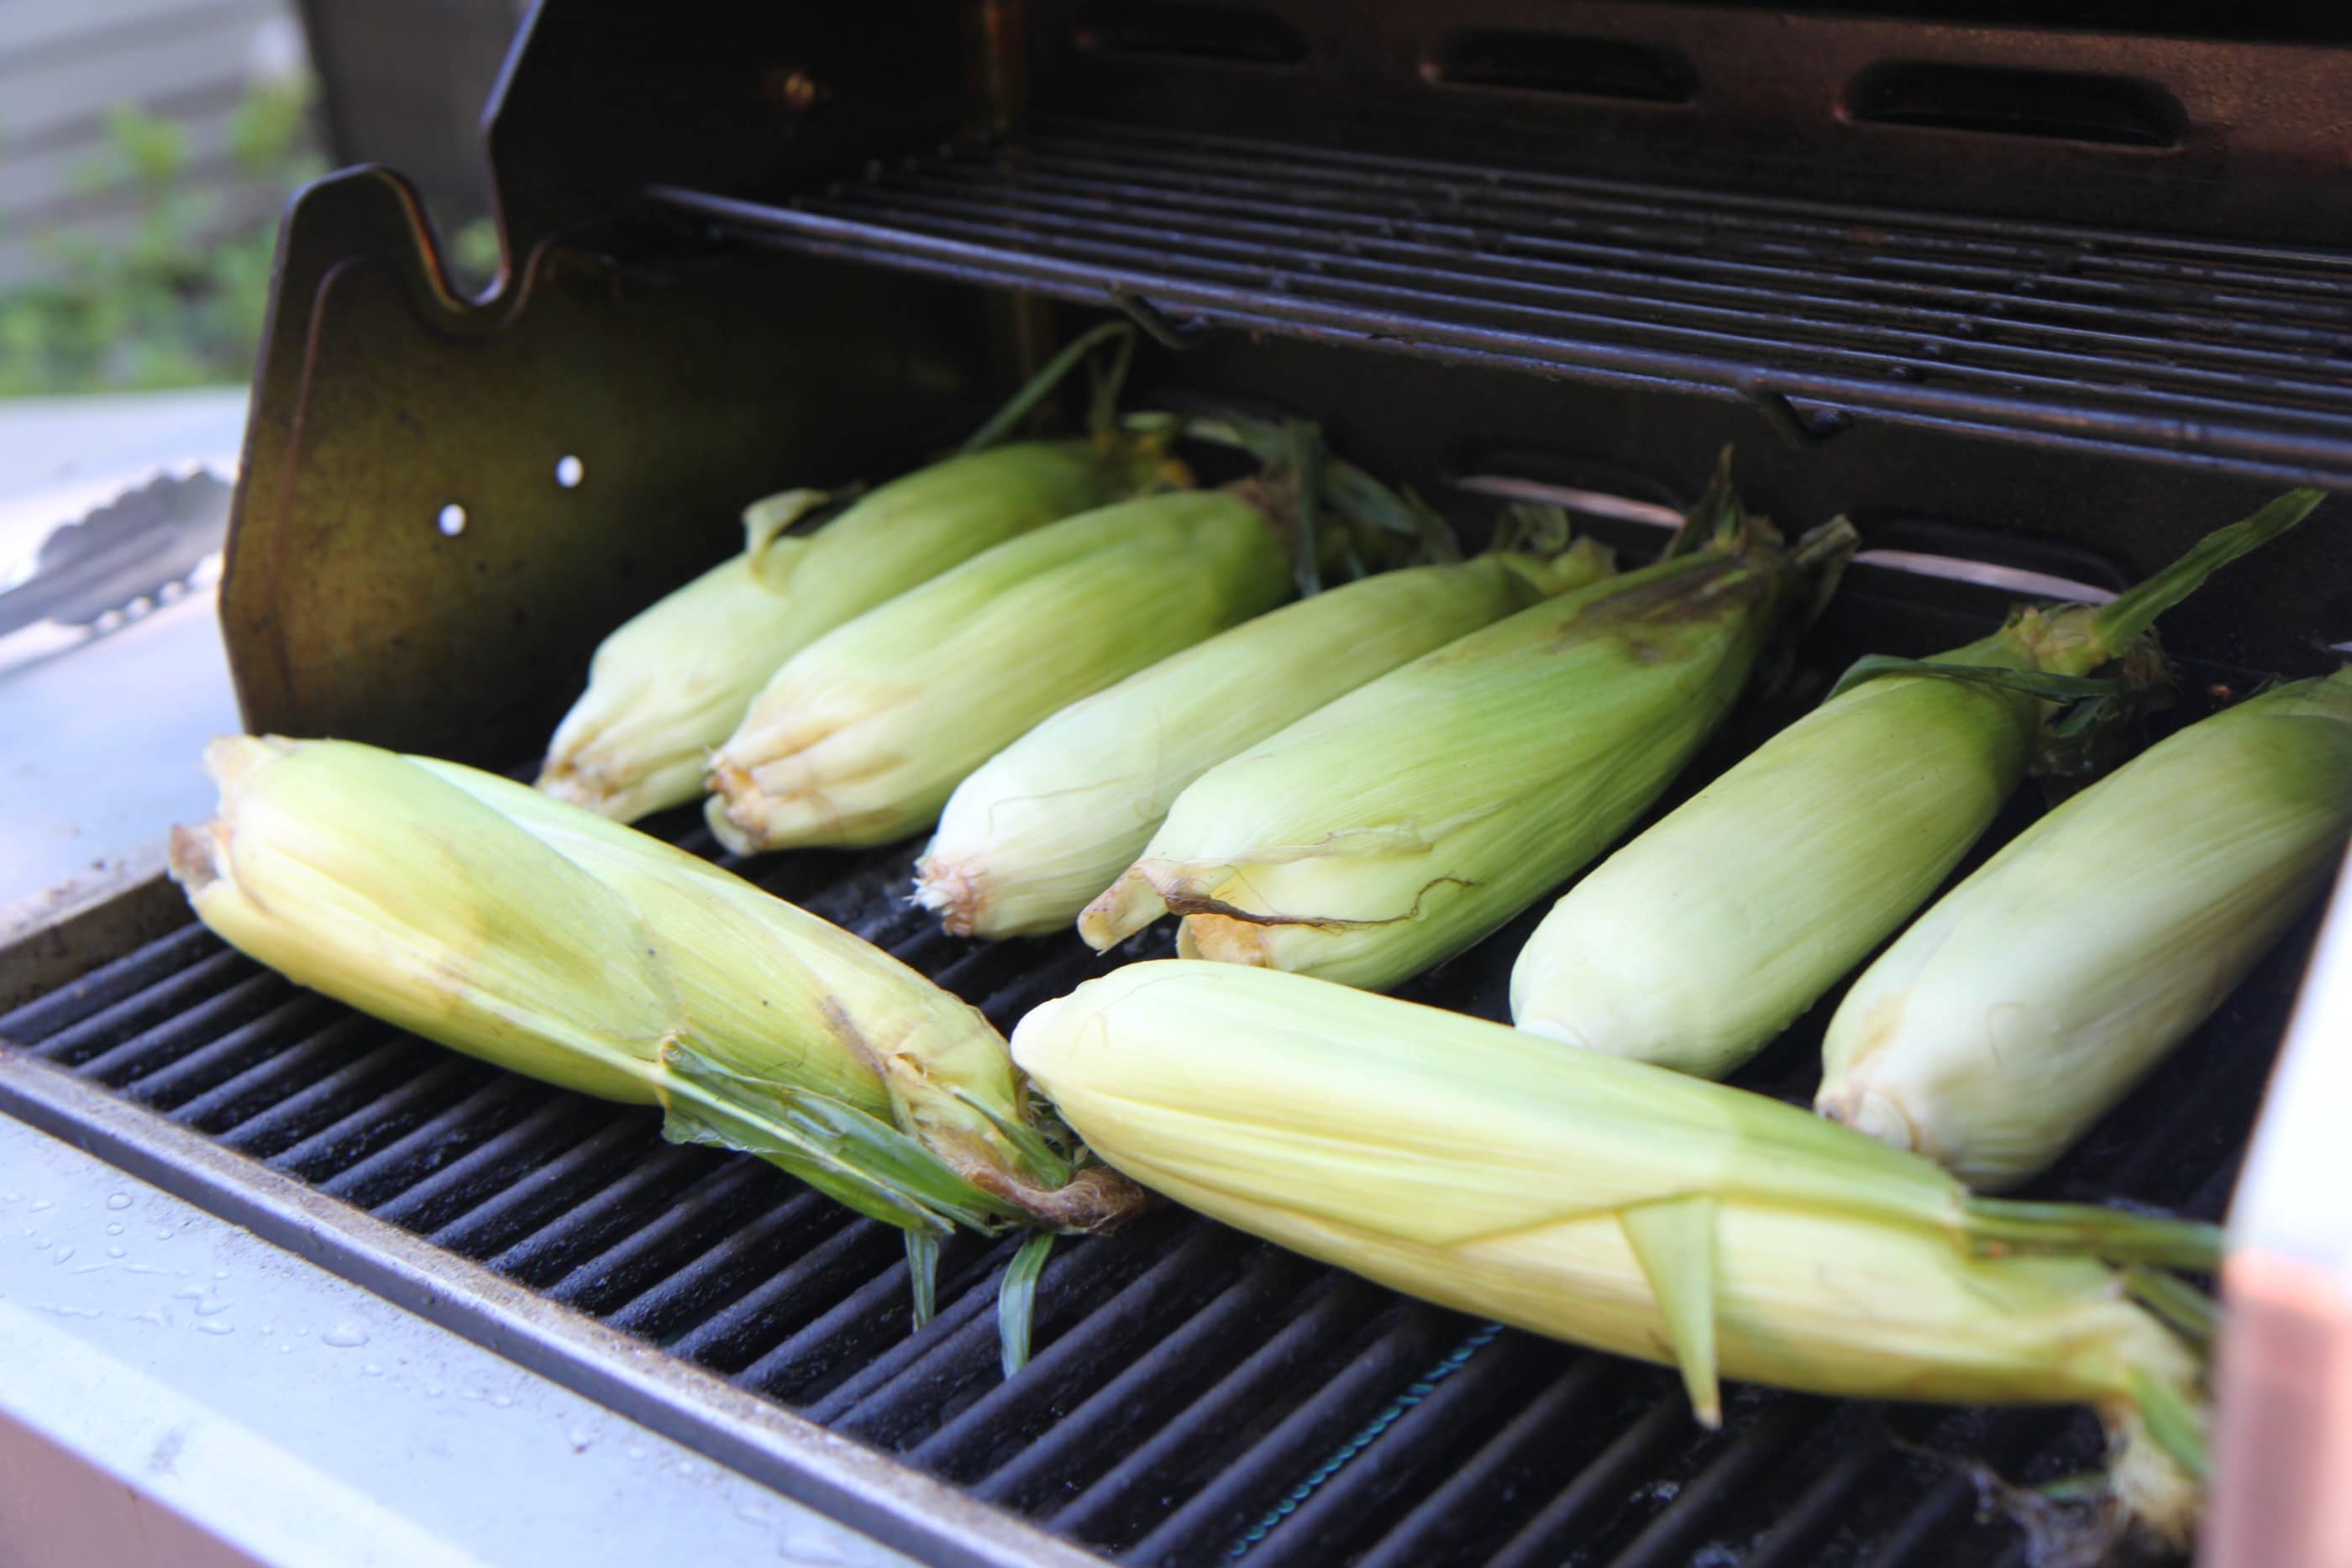
Corn in Husks On Grill

How Do I Prepare Corn on the Cob for the Grill?

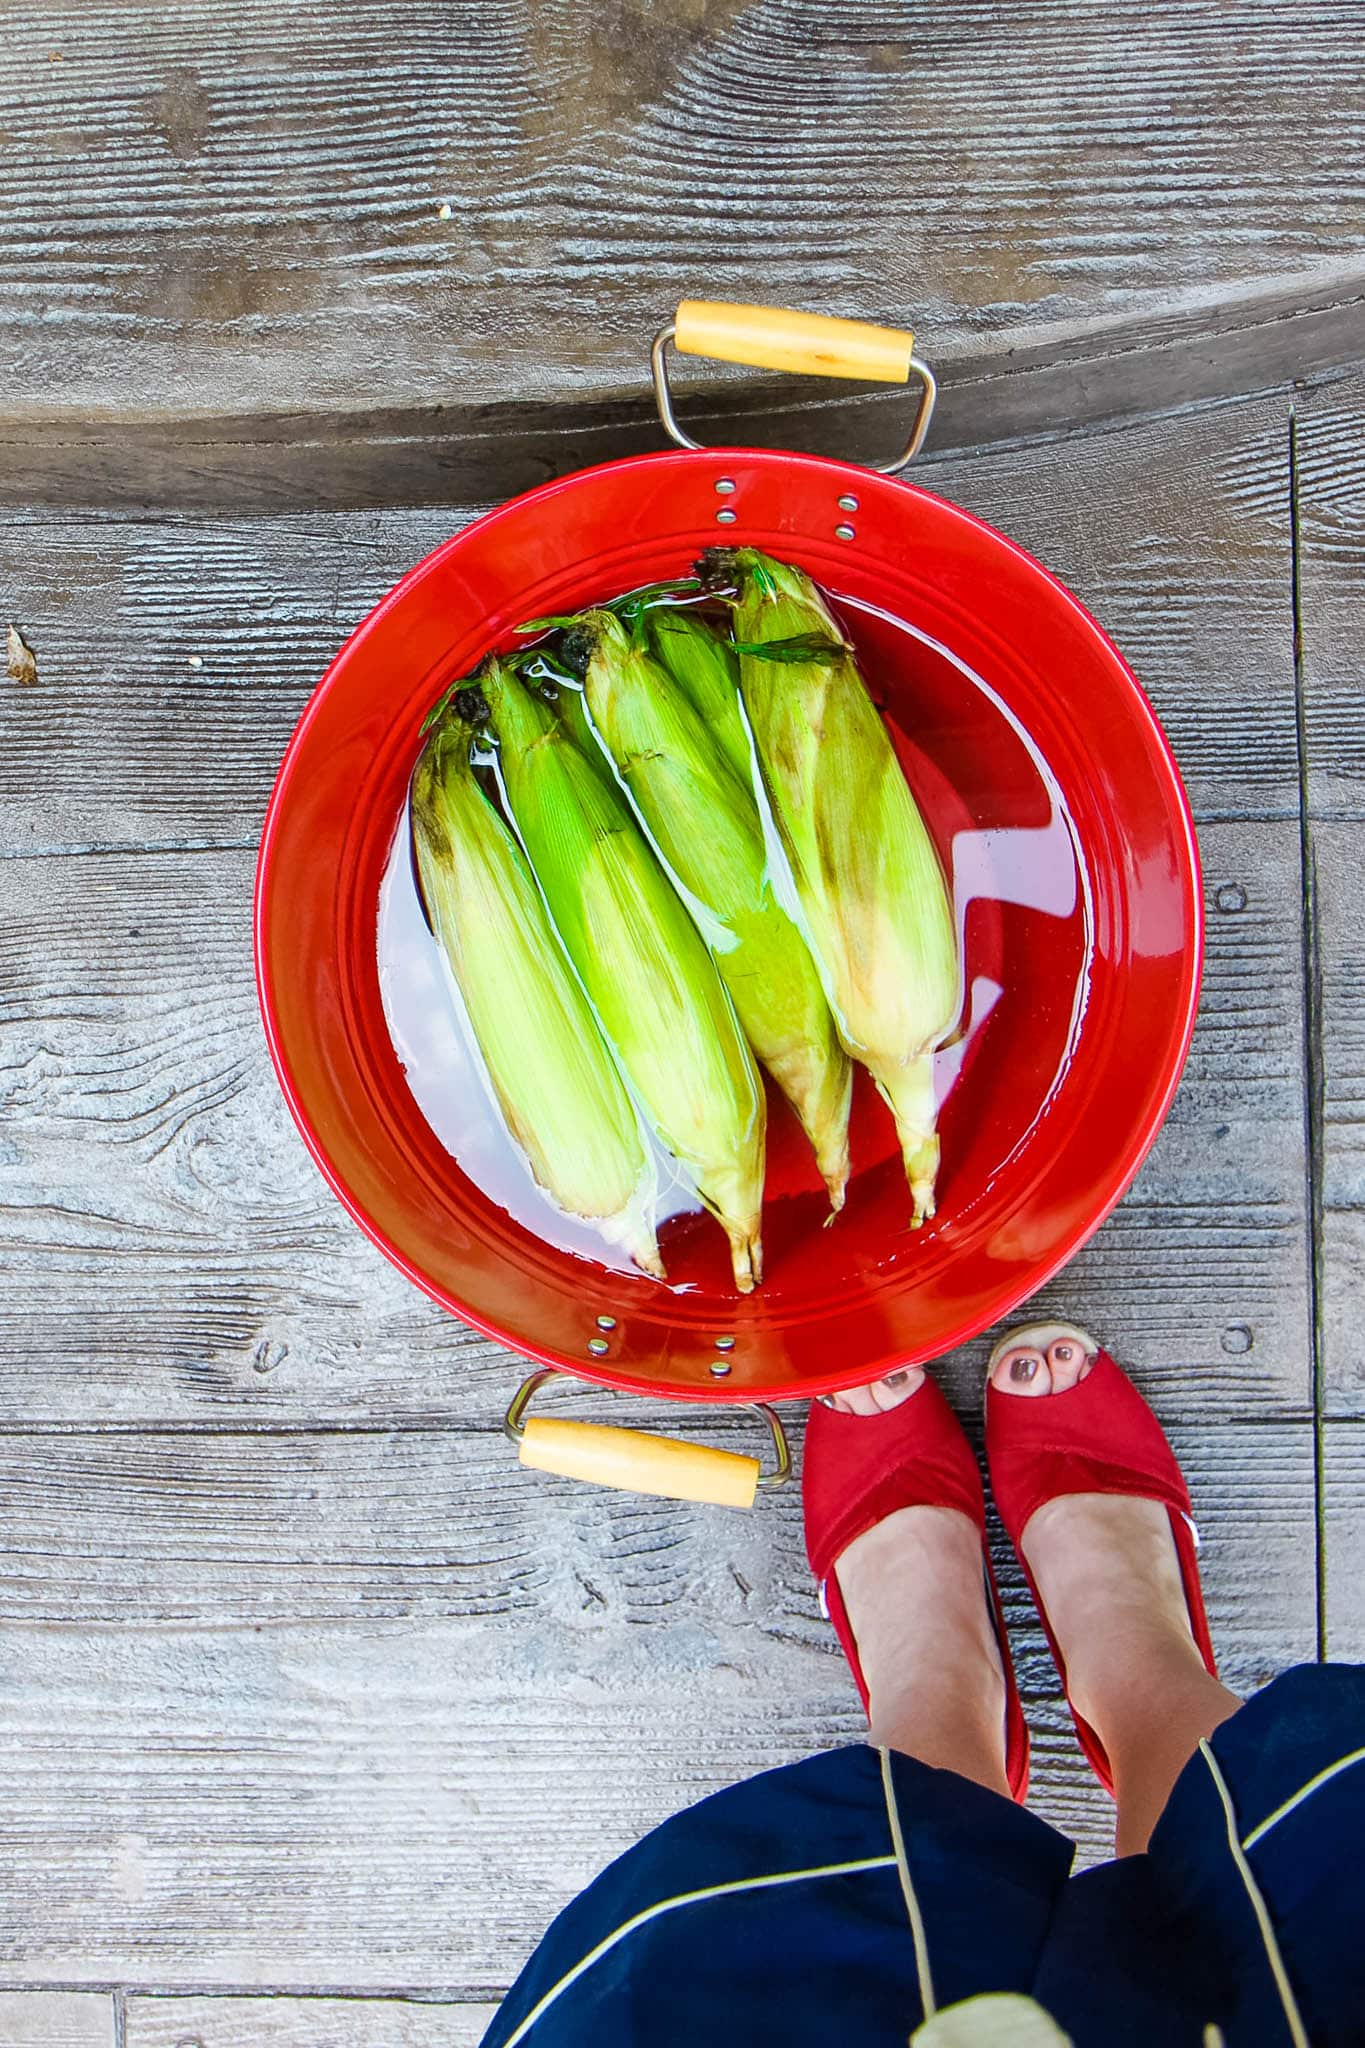
To prevent your corn from becoming burned (or catching on fire), it is important that you soak your corn (in its husk- do not remove!) in a bucket of water.

Ideally, you want the corn to soak for two to three hours. As they soak, be sure to rotate the ears so that all of the sides are properly soaked for the grill.

While you may think to only use this grilling technique at home, it is a really great one when you want to grill corn on the cob when camping.

Grilling Corn on the Cob In Foil

I Prefer Grilling Corn in Foil. Do You Have Any Tips?

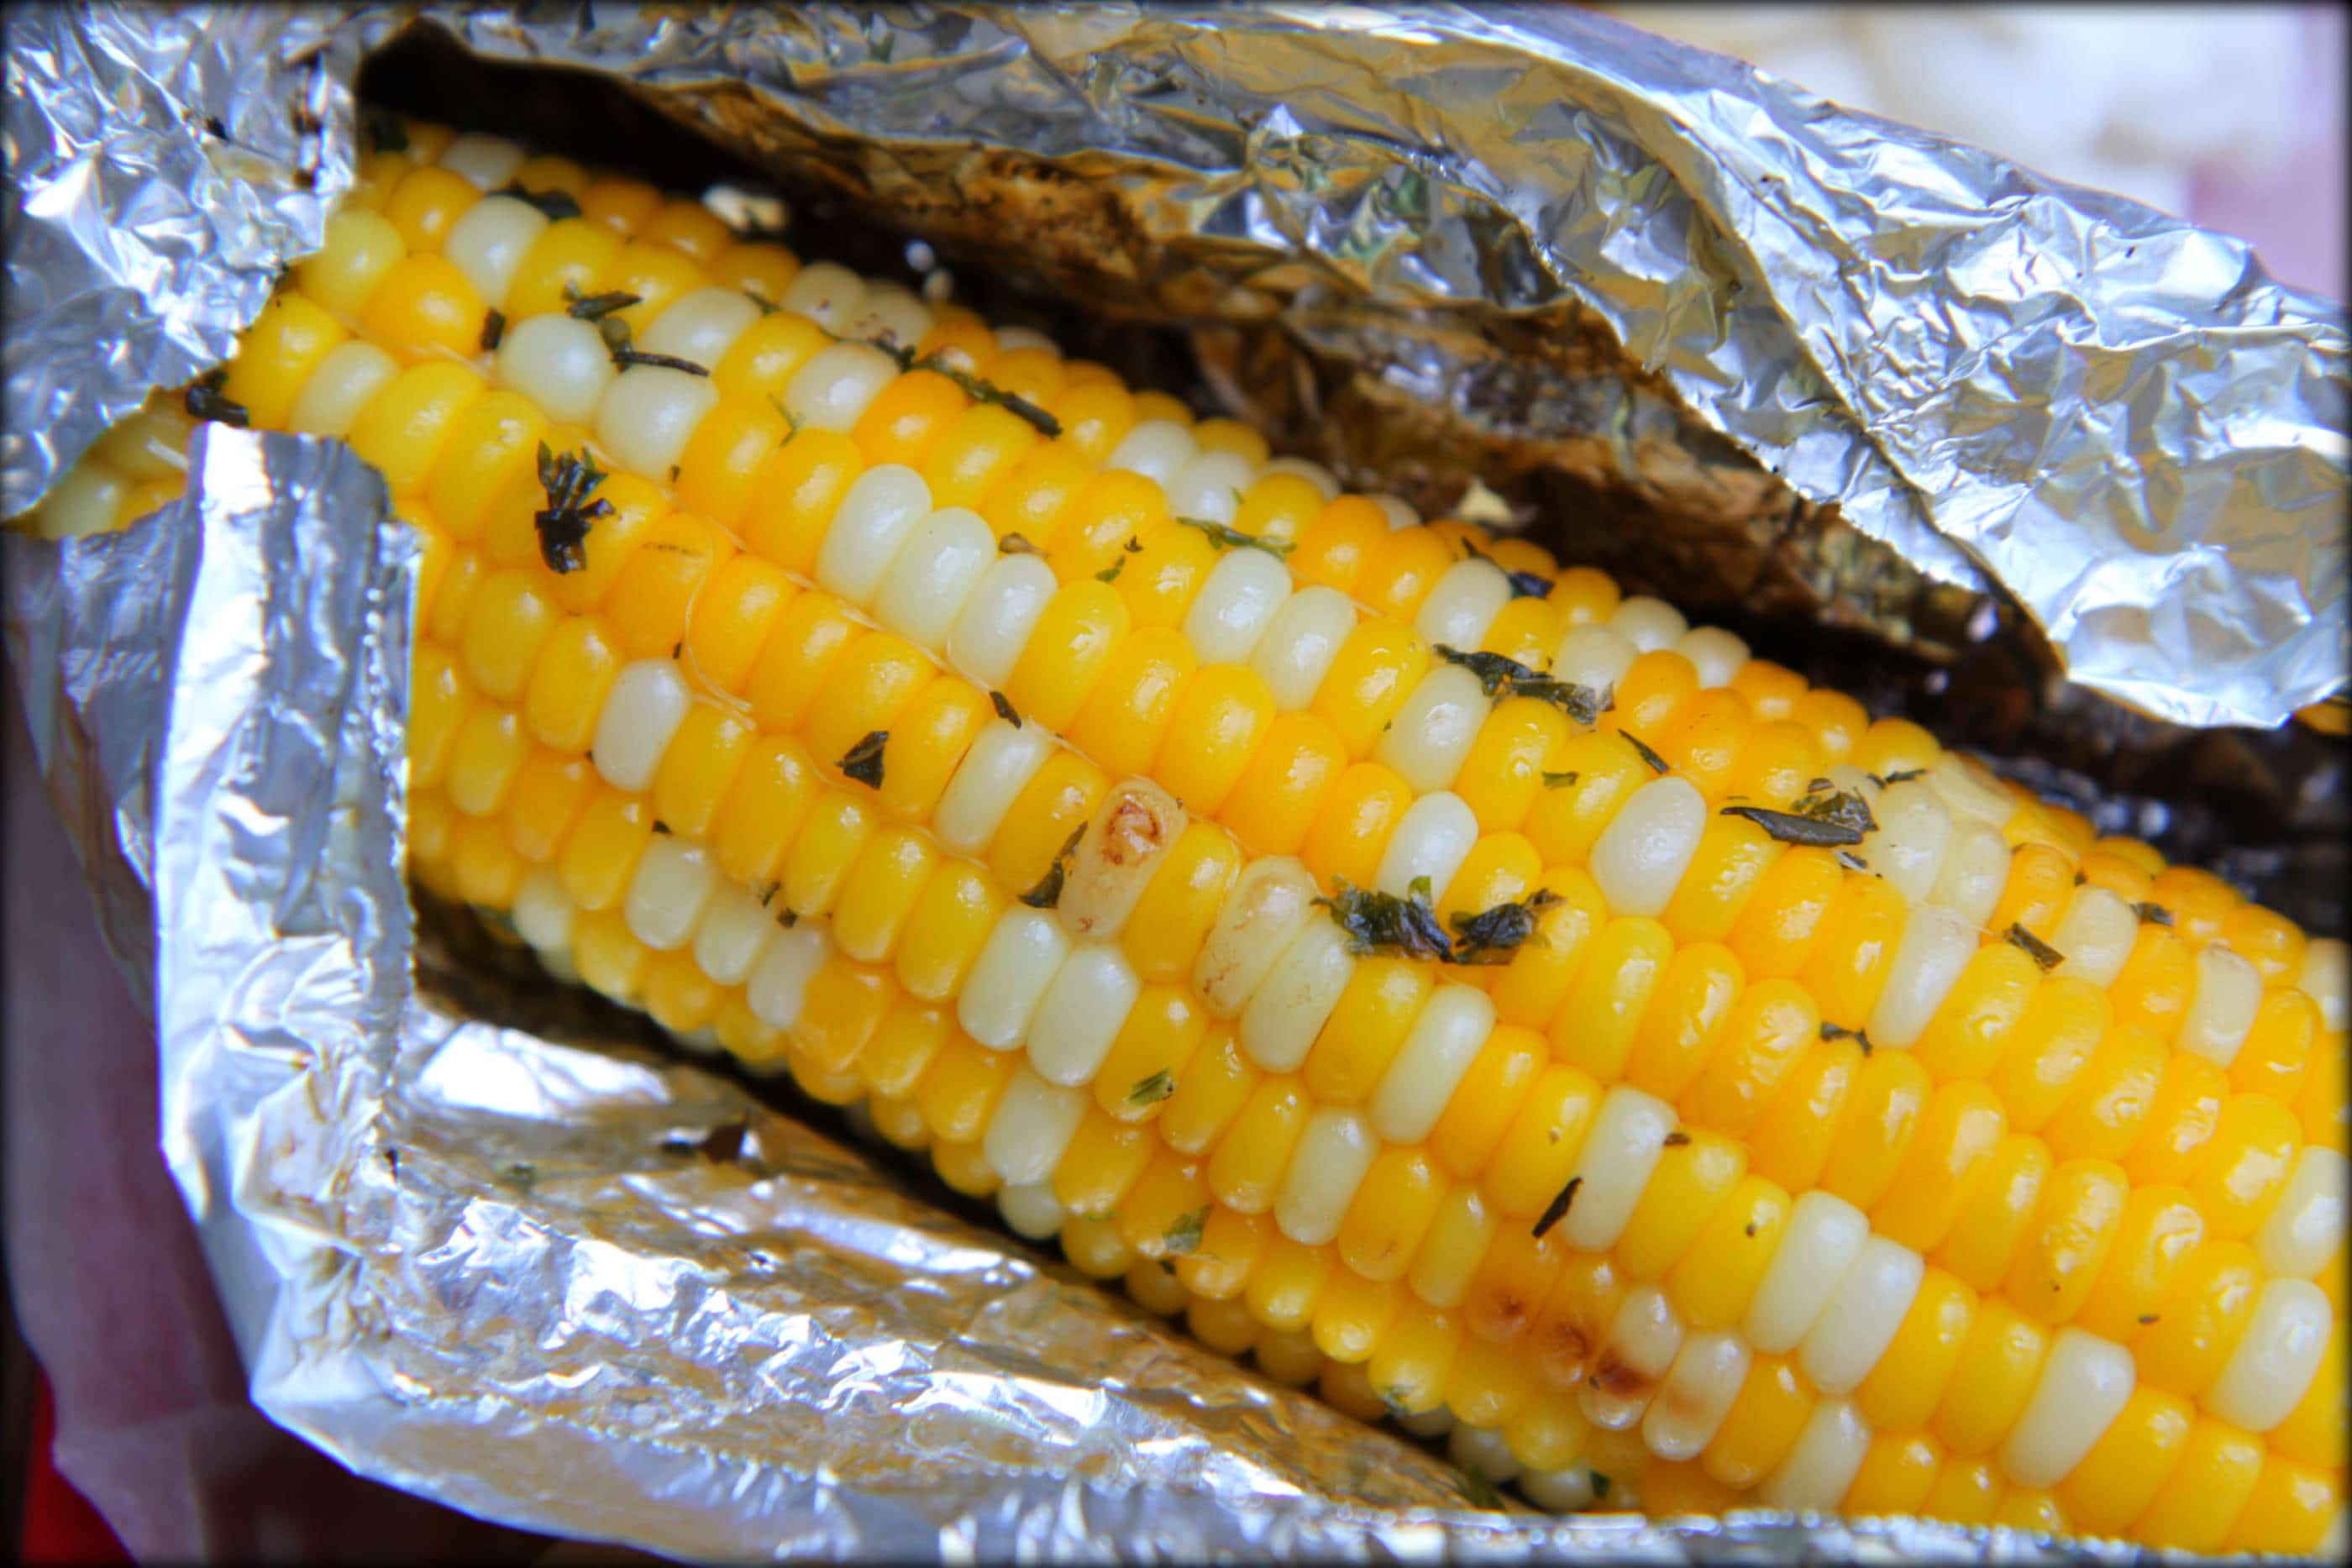
If I am going to the trouble of cleaning the corn, I love to just slather the corn cobs with herbed butter BEFORE you wrap them in foil. This herbed butter grilled corn recipe is a perfect one to create.

If you are wrapping your corn cobs in foil, you just want to make sure that they are wrapped tightly (to prevent any potential grill fires from the buttered topping) and they can be grilled for 15 minutes, turning often.

I Don’t Have a Grill. Do You Have Any Suggestions On How to Boil Corn Instead?

I learned a trick for boiling corn in milk and brown sugar, to really enhance the sweetness and I can’t rave about it enough.

This combination works really well when corn isn’t in season and you are looking to\ bring a little more sweetness to your corn.

I admit, it is an usual way to do it, but the combination makes corn taste like it is in season all year long.

Another option, of course, is to boil the corn in boiling salted water.

It should take just seven to eight minutes to cook.

What Can I Do With Leftover Corn on the Cob?

It never fails that we have a few ears of corn leftover from a cookout.

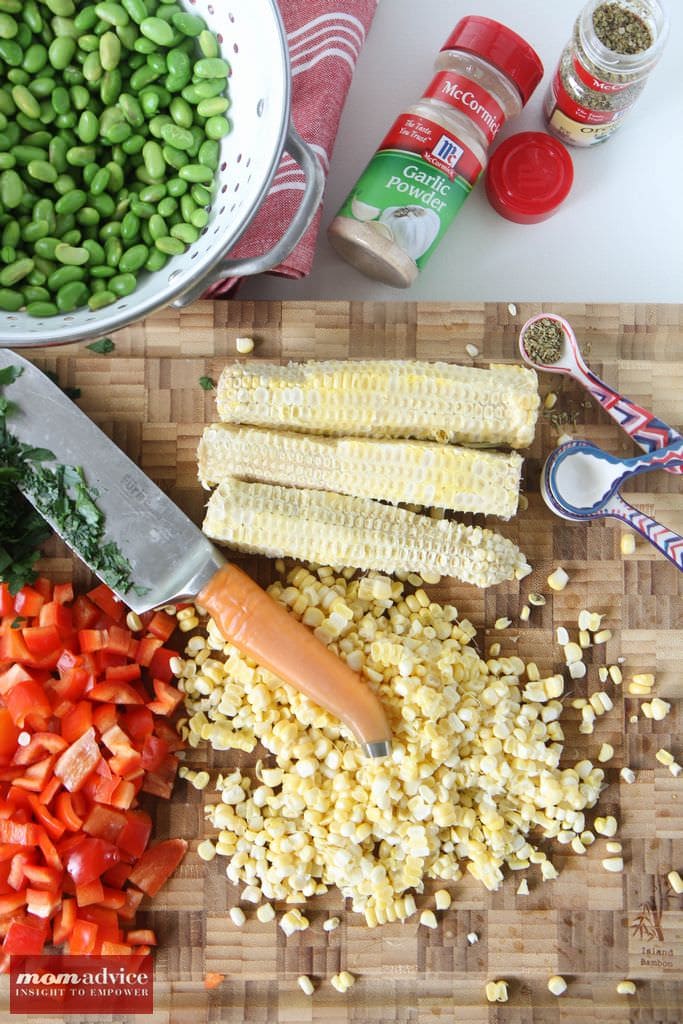
Personally, I love to shave the corn and add it to a summer salad.

Shaving Grilled Corn for Salad

Looking for a unique salad combination? This Edamame & Corn Salad is always a cookout winner.

Shaved corn can also be made into a delicious roasted corn salsa, as a fun appetizer to munch on with your leftovers.

Adding a layer of roasting, to the corn kernels, really adds smoky flavor to your salsa.

Admittedly, shaving corn can be a messy affair, but these tips are genius for keeping the corn mess to a minimum.

Don’t feel like making the effort to shave corn? 

I’ve got another great recipe idea for you!

Another simple way you can use up those ears of corn are to reserve them for a shrimp boil on another night. Just add the already cooked corn cobs, at the end of your boiling time, to warm.

Corn on the Cob on the Grill
 
Recipe Type: Grilling
Author: MomAdvice.com
Prep time:
Cook time:
Total time:
Serves: 6
This corn recipe is the time-saving strategy you need for your next cookout. Learn how to grill corn on the cob without removing the husks. Serve this cookout side with toppings for guests to season the corn.
Ingredients
  • 6 ears of corn (or as many as you like)
  • 1 bucket of fresh water
  • Butter, Salt, & Pepper (optional) for topping
Instructions
  1. Place corn (husk and all) in a bucket of cold water. Let the corn soak for two to three hours, rotating the corn in the bucket to assure that all of the ears get soaked.
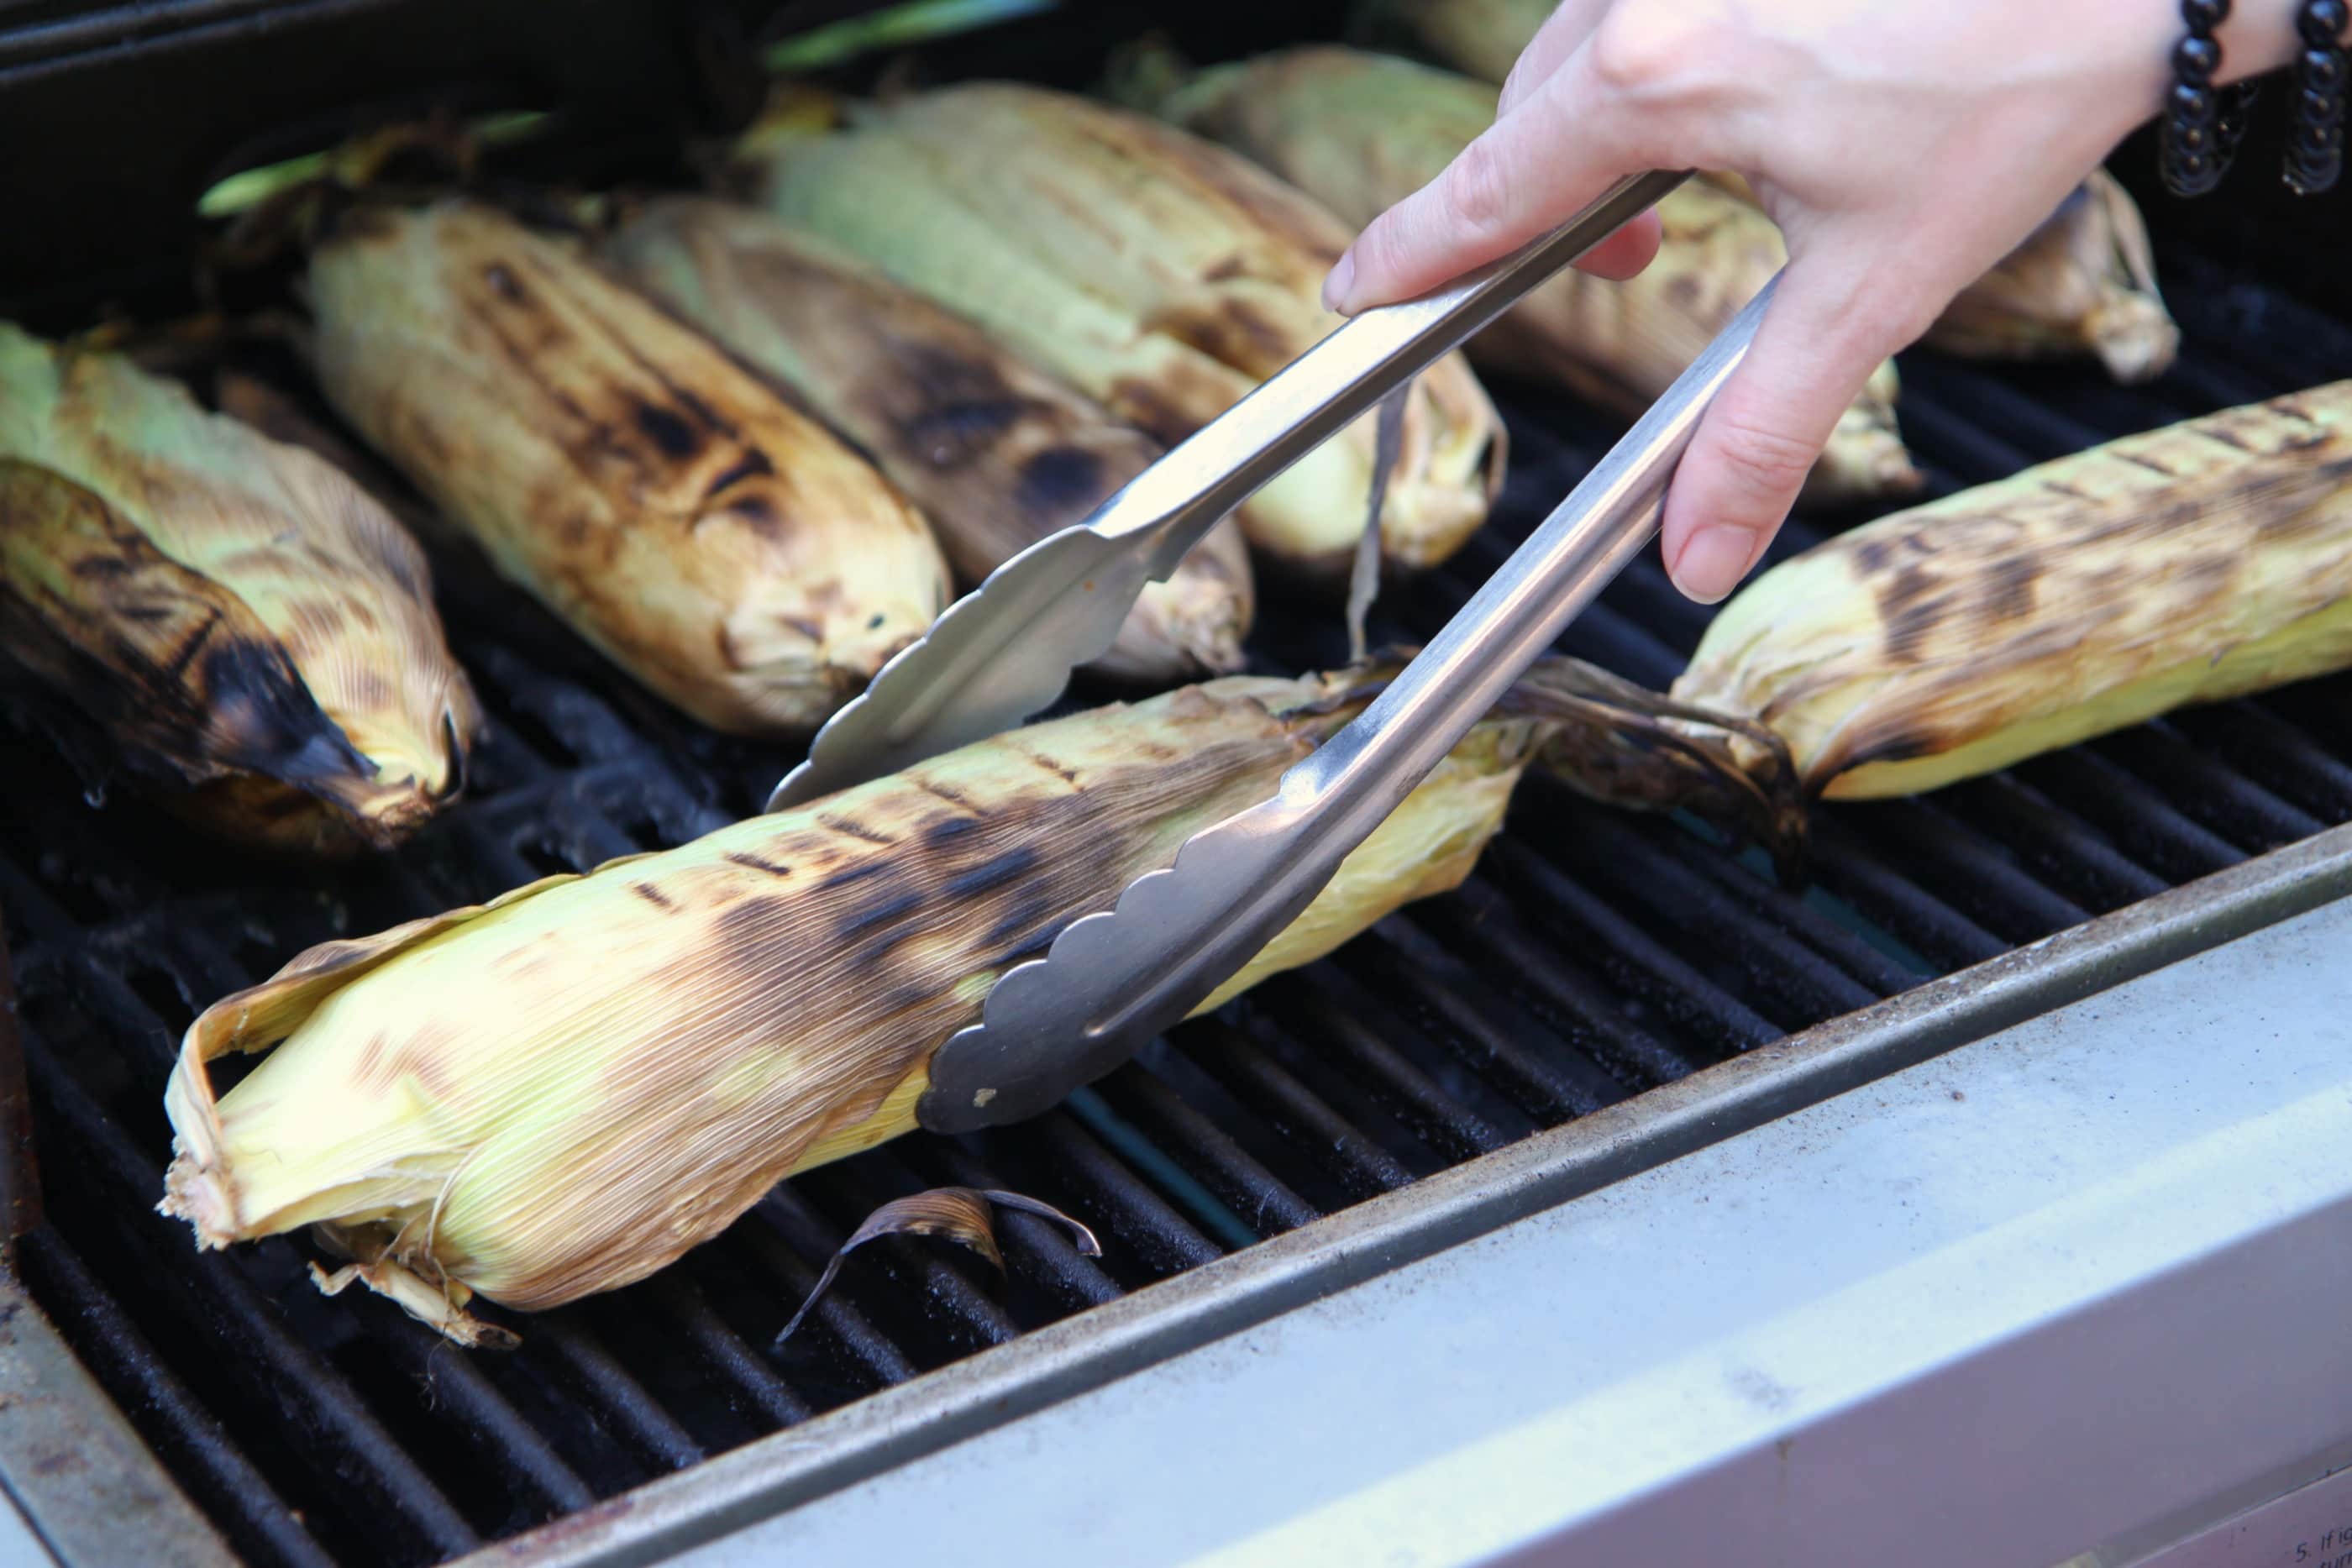
  2. Preheat your grill to medium high heat. Place corn on your hot grill and cook for 15 to 20 minutes, flipping the corn after fifteen minutes.
  3. The corn husks may become charred, but the corn inside remains intact.
  4. The corn will stay hot for thirty minutes after being removed from the grill and the corn husk will peel very easily from the corn.
  5. Have guests peel back the husks and then season with butter, salt, and pepper.
 

As an Amazon Associate I earn from qualifying purchases.

Looking for more fun grilling ideas? Check out this fun recipes!

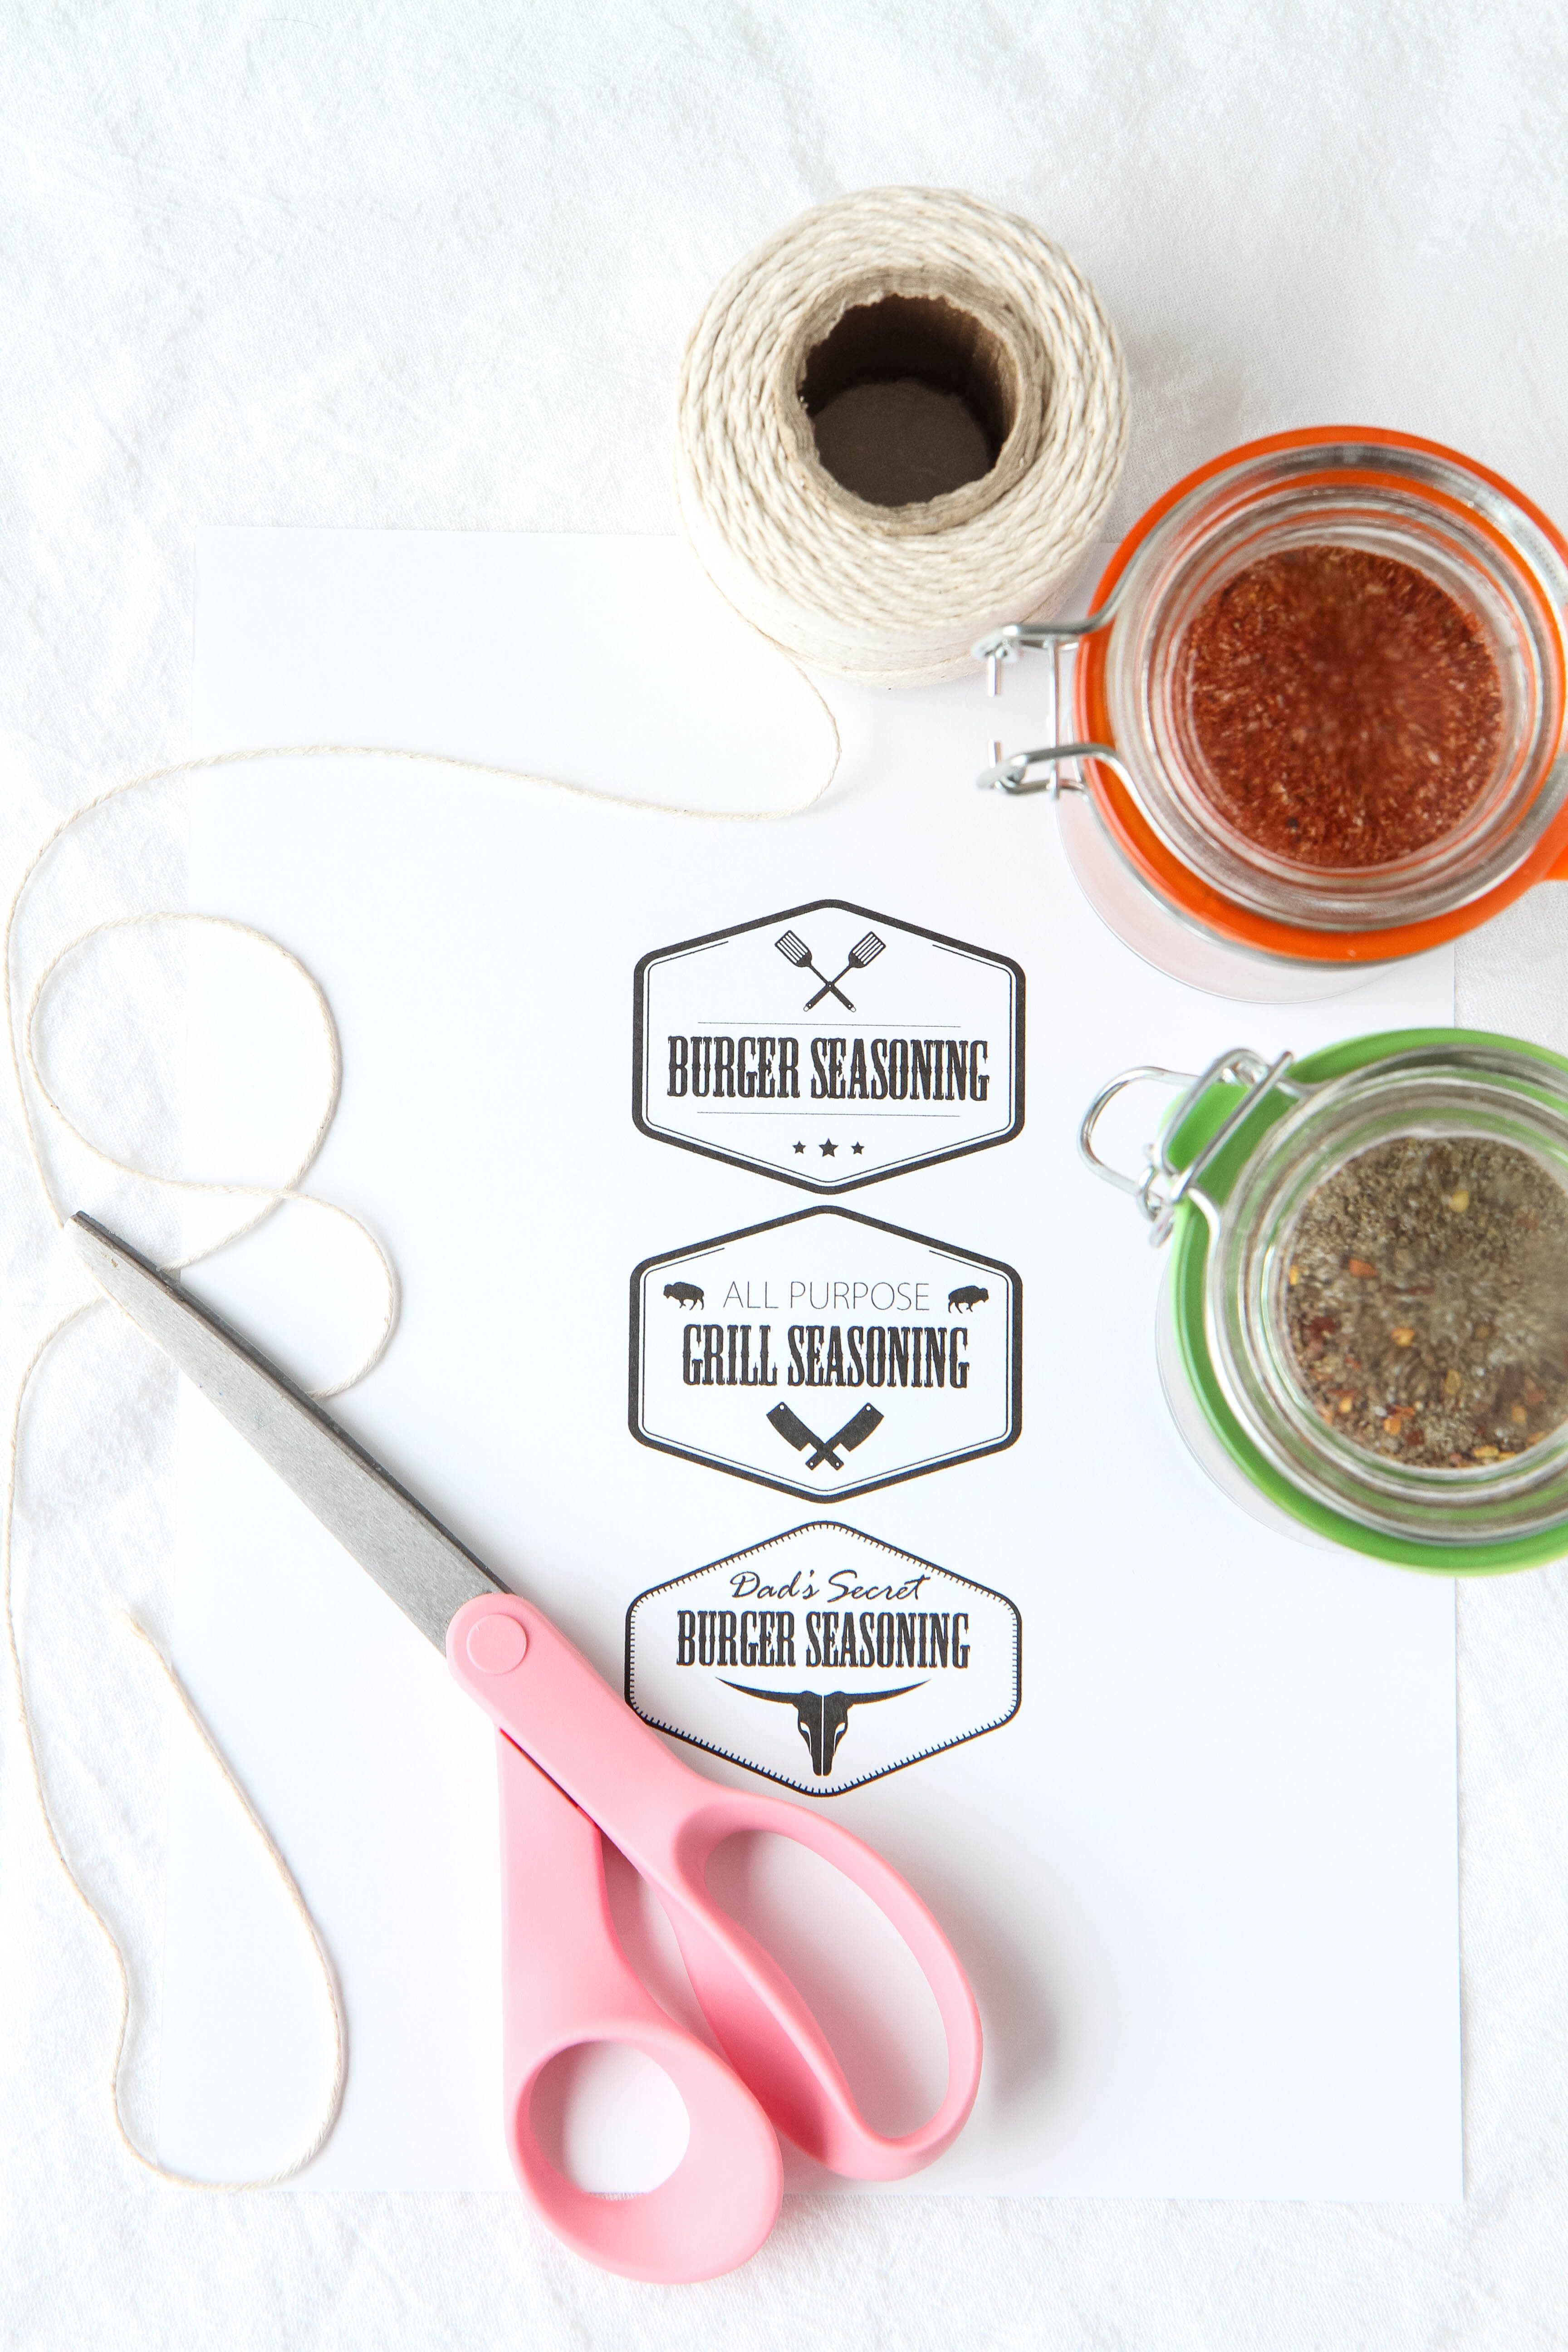
DIY grill seasonings plus free printable labels for gift giving! mix up your own grill seasoning mixes with these diy recipes


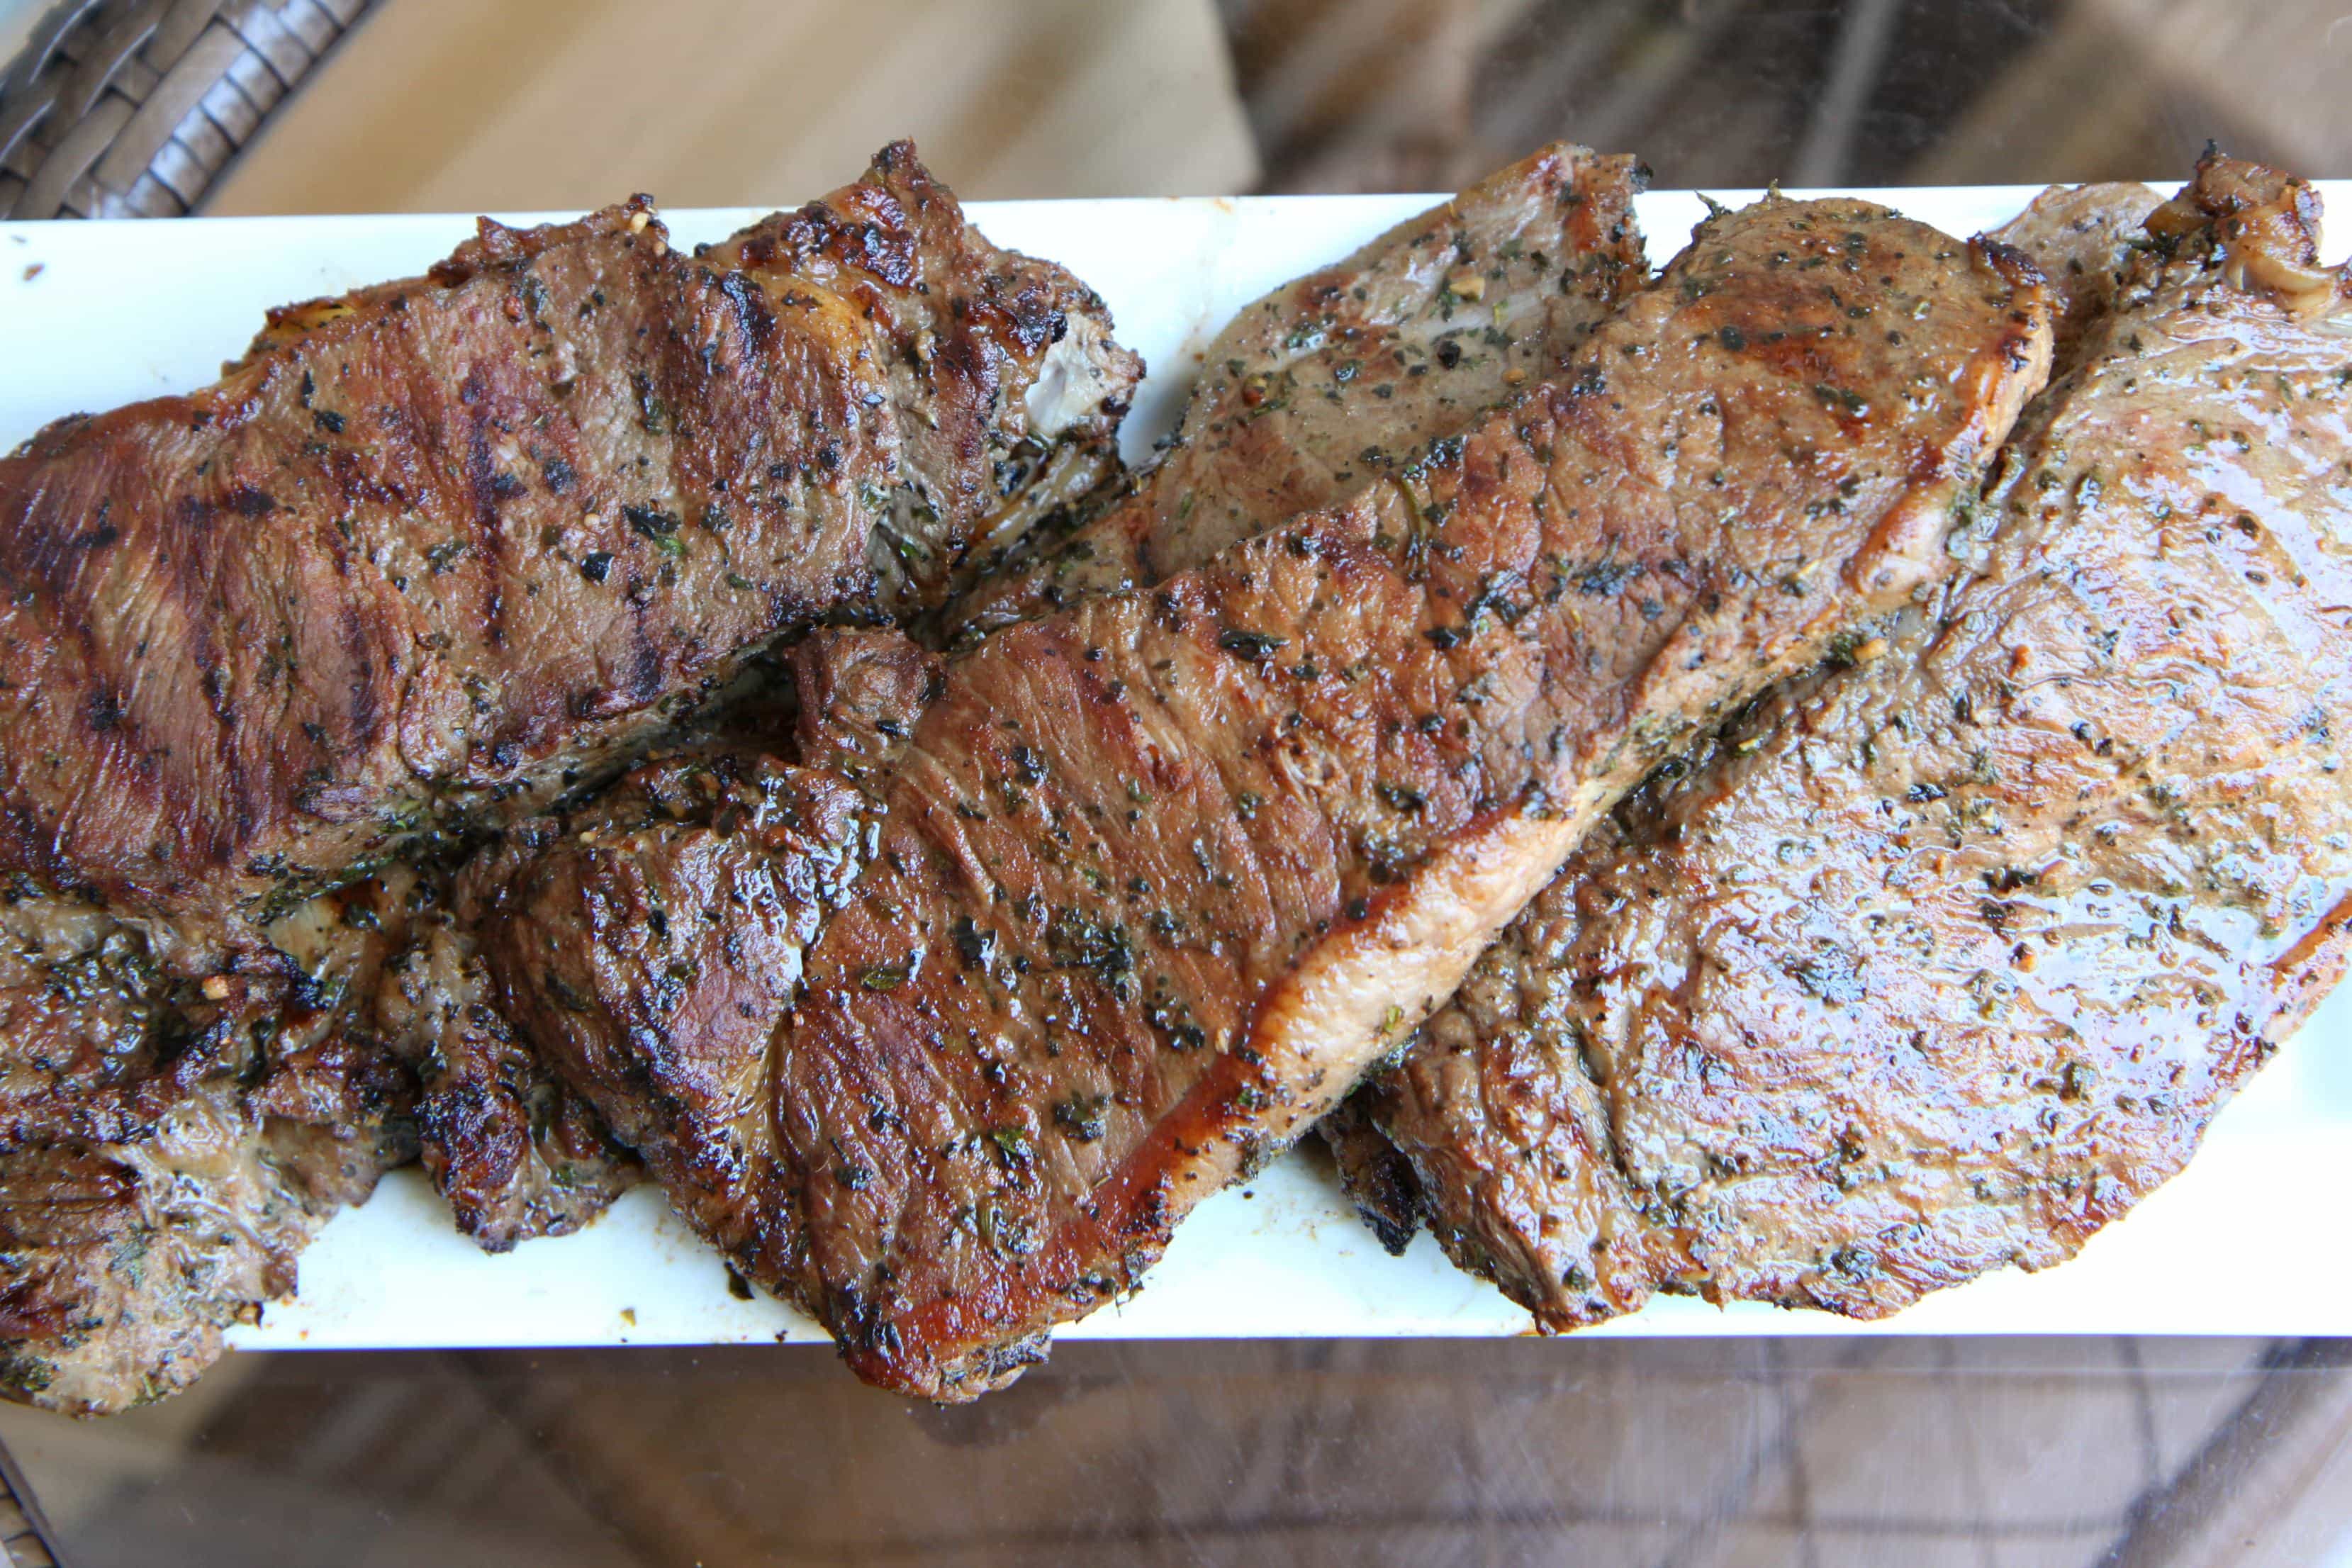
steak marinade recipe try my favorite steak marinade recipe (great for those cheaper cuts of meat)

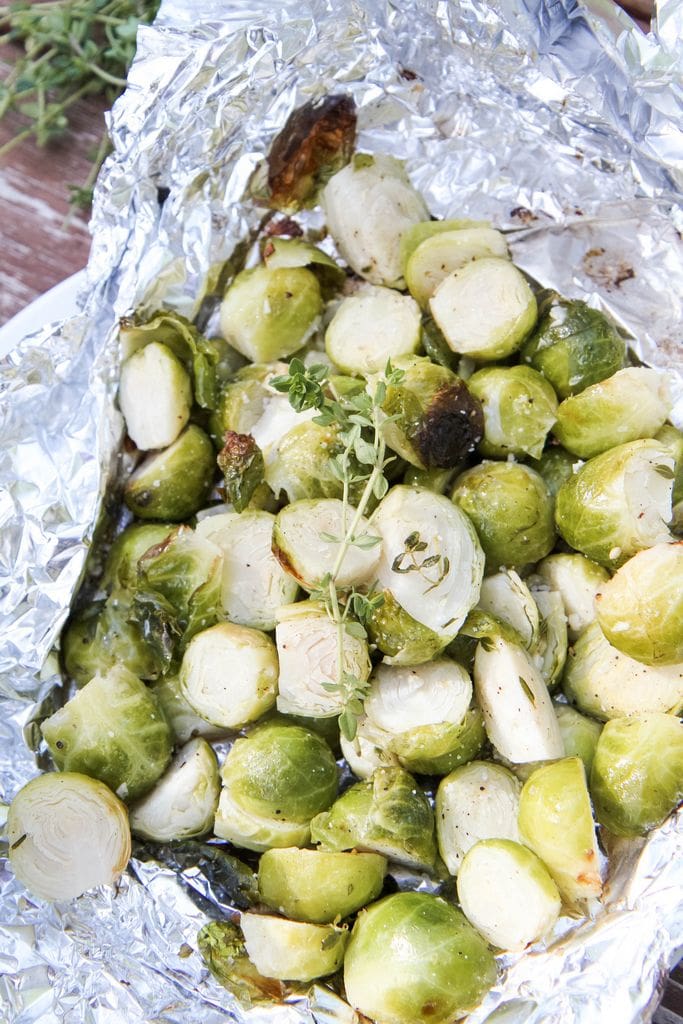
grilled burssels sprouts grill your brussels sprouts on your grill with this easy foil packet recipe

What are some of your favorite ways to prepare corn for the grill? Let me know in the comments below!

Happy grilling!