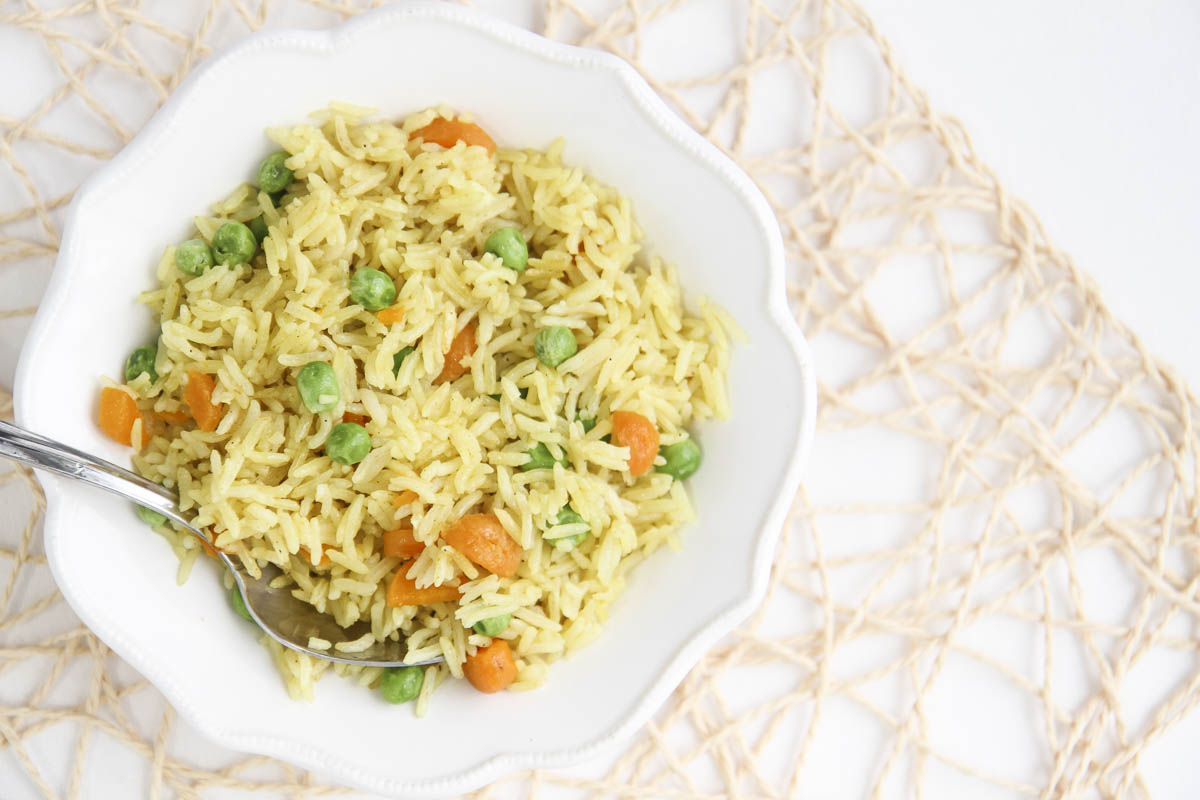
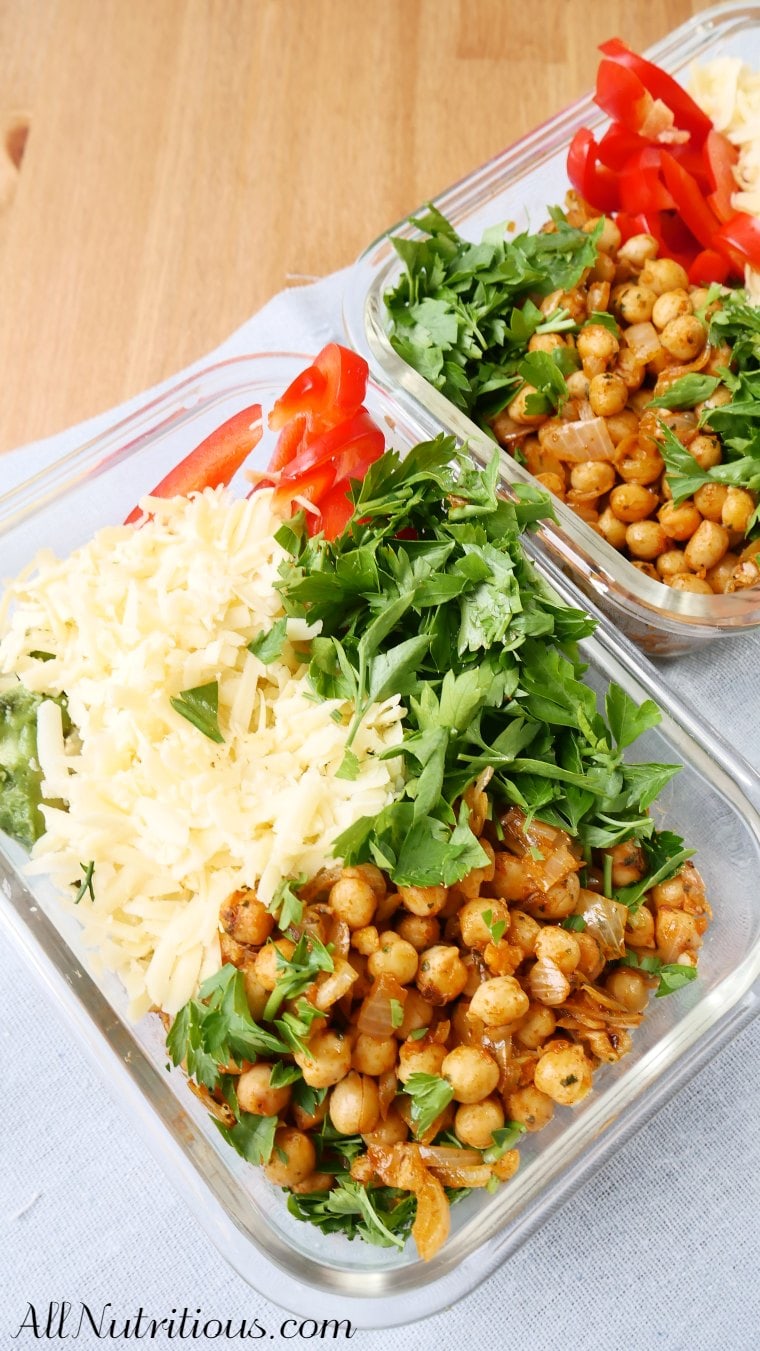
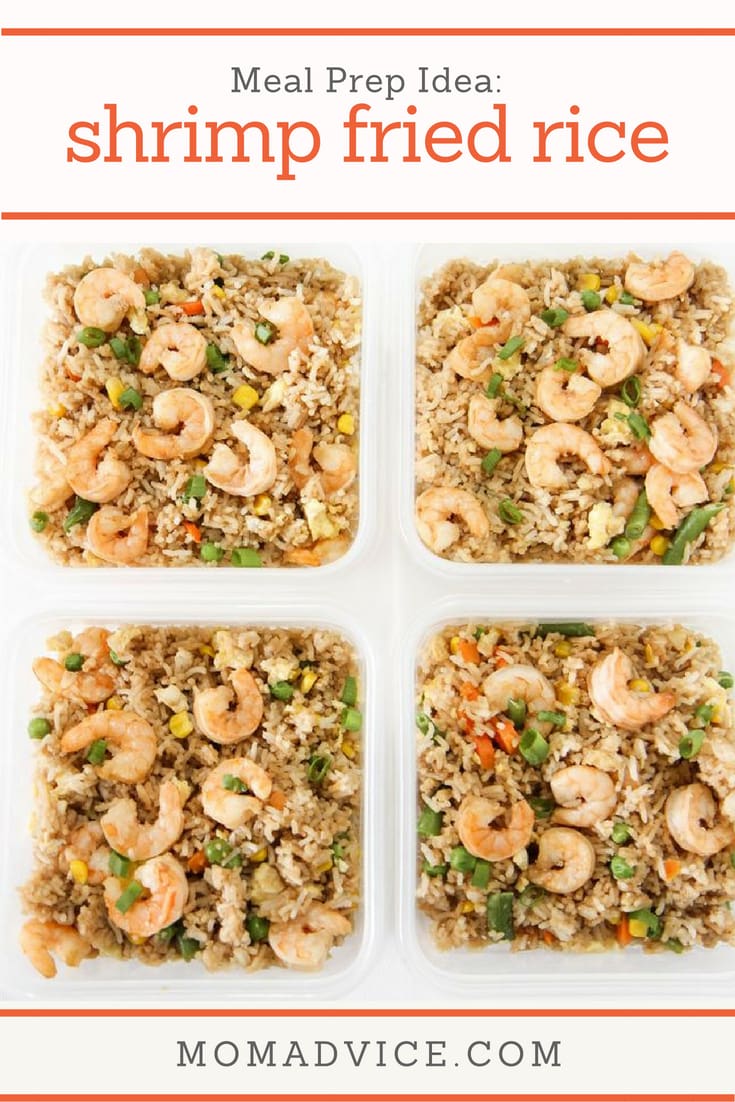
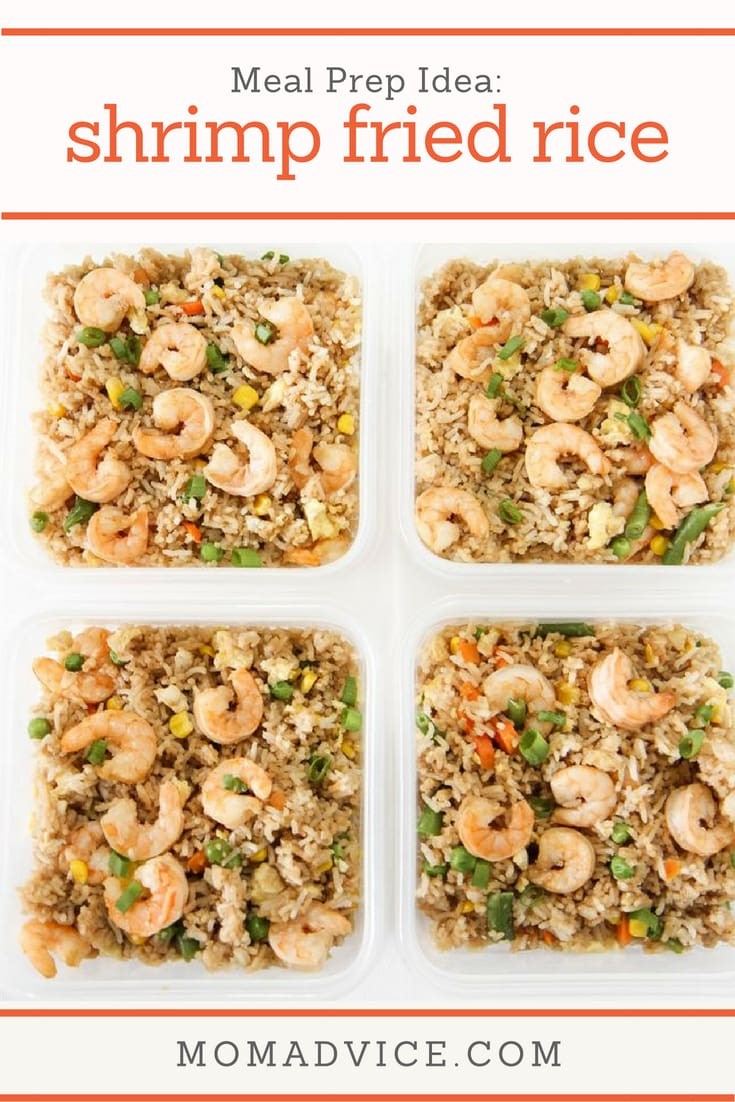
Meal prep this seafood Fried Rice from leftover rice, soy sauce, veggies, and your favorite seafood. Try this better than takeout shrimp fried recipe today.
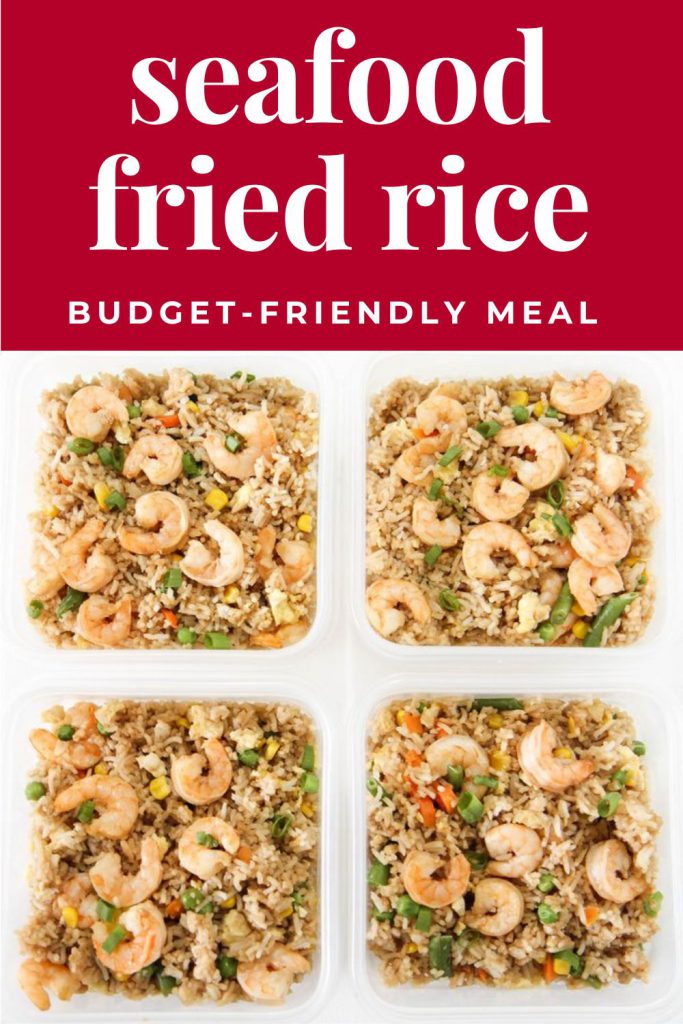
Are you looking for a versatile and budget-friendly dish to help you put those odds and ends in your fridge to good use?
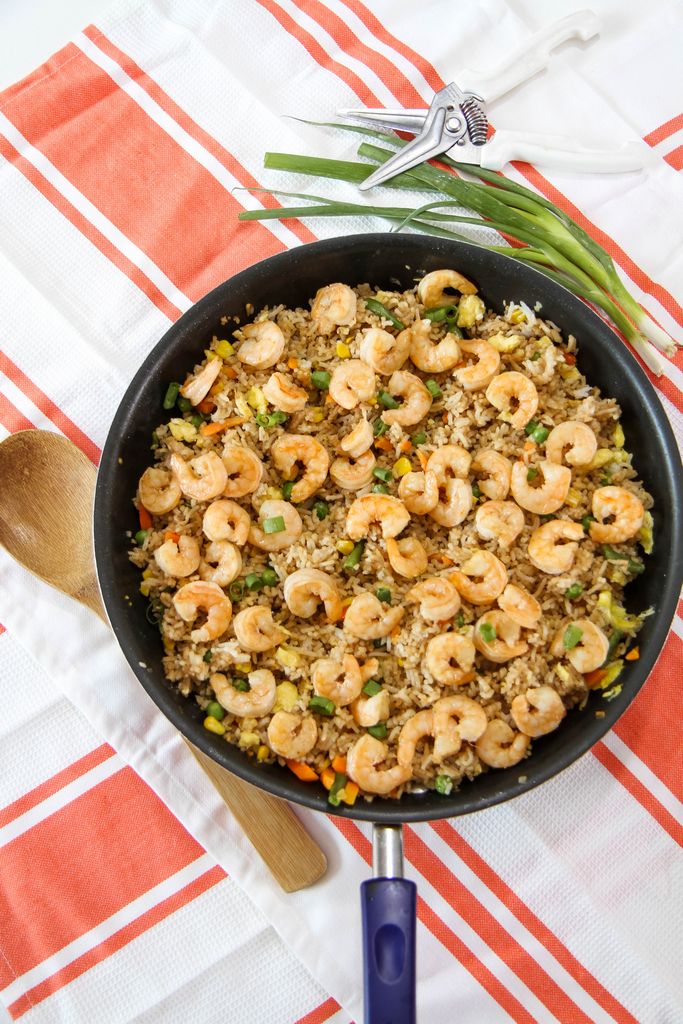
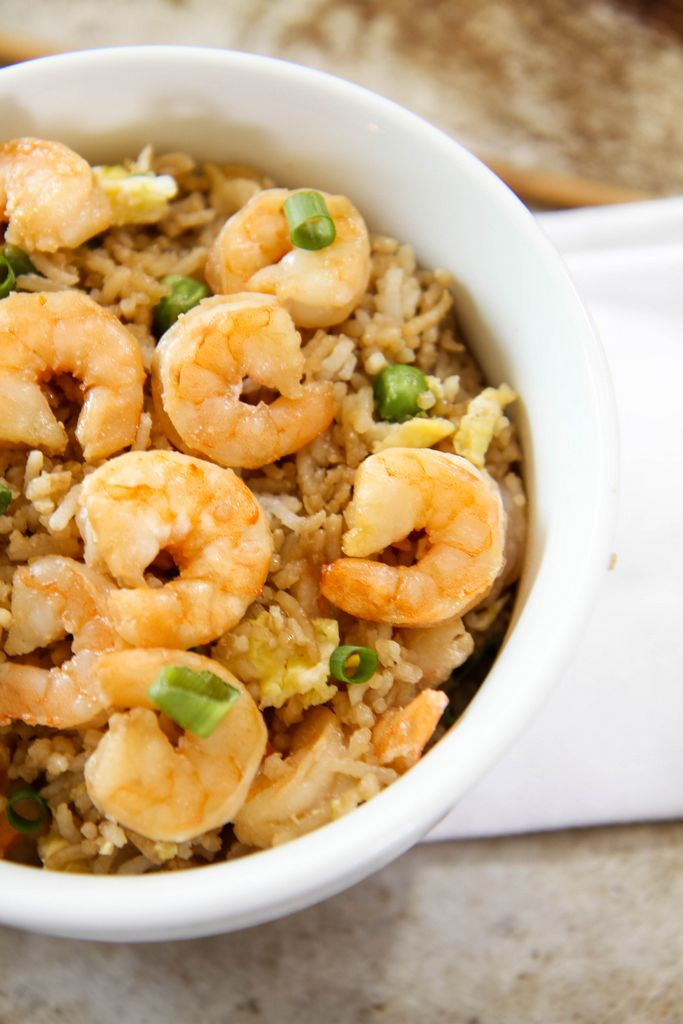
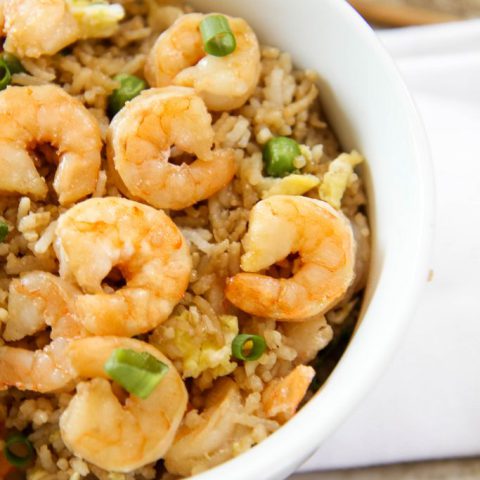
Look no further than this Seafood Fried Rice recipe!
This flavorful meal transforms leftovers into a tasty lunch option and can be customized to suit your dietary preferences, such as using cauliflower rice for a lower-carb version.
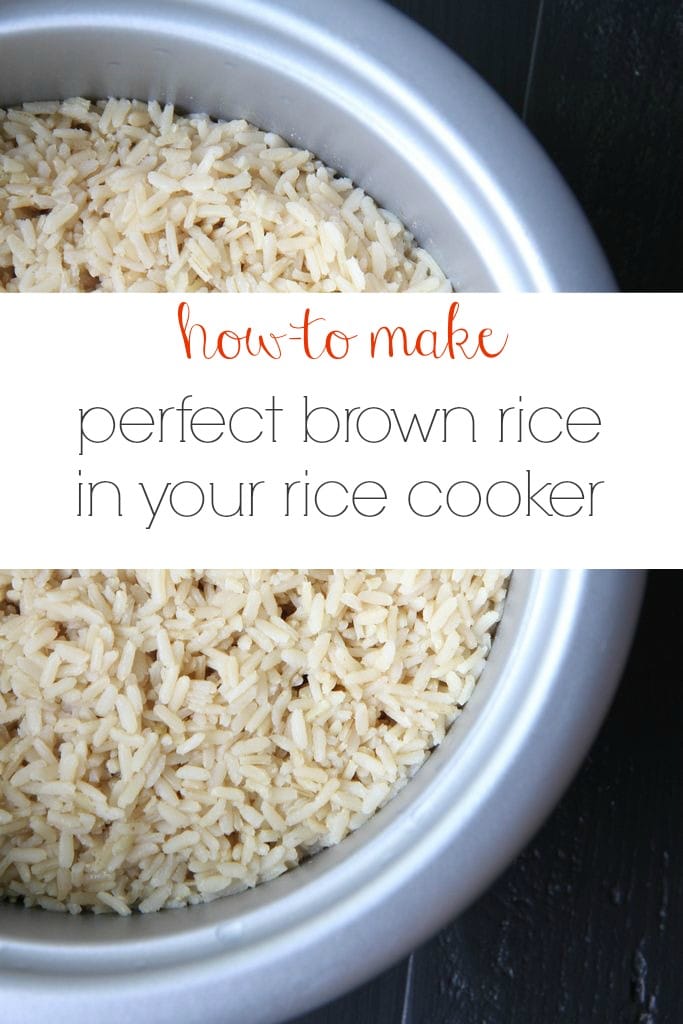
If you meal prep brown rice in your rice cooker like we do each week, you already have a wonderful base for this recipe. Learn how to cook brown rice in rice cooker today.
In this blog post, we’ll walk you through simple steps to create a delicious Shrimp Fried Rice that’s a healthier and more satisfying alternative to your takeout cravings.
How to Cook Fried Rice With Shrimp or Prawns
Scroll down to see the complete ingredient list and printable step-by-step instructions.
Shrimp or Prawns
Cooked rice (day-old rice works best)
Frozen mixed vegetables
Eggs
Soy sauce
Cooking oil
Optional extras (see below for ideas)
Step 1: Prep Your Ingredients
Gather your ingredients- Shrimp or Prawns, cooked rice (day-old rice works best), frozen mixed vegetables, eggs, soy sauce, cooking oil, and any optional extras (see below for ideas).
If using day-old rice, break up any clumps so that it’s easier to work with in the pan.
Measure your frozen veggies.
Beat the eggs in a small bowl and set them aside.
Step 2: Sauté Your Veggies
Heat some cooking oil in a large pan or wok over medium-high heat.
Add your chopped vegetables to the pan and stir-fry them until they’re tender but still crisp. This should take about 3-4 minutes.
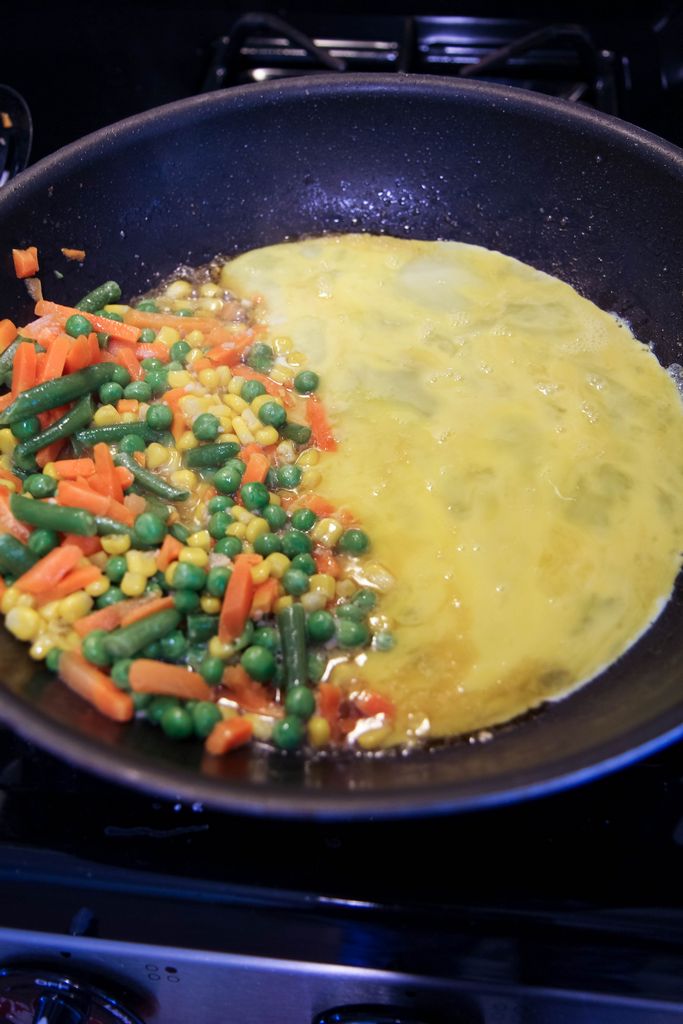
Step 3: Scramble the Eggs
Push the sautéed vegetables to one side of the pan to make space.
Pour the beaten eggs into the empty side of the pan. Allow them to cook without stirring for a few seconds.
Once they start to set, scramble the eggs until fully cooked.
Now, mix the scrambled eggs with the cooked vegetables in the pan.
Step 4: Add Seafood and Rice
Add your cooked shrimp or prawns to the pan with the vegetables and eggs.
Next, add the cooked rice. Stir everything together to combine.
Step 5: Season to Perfection
Drizzle soy sauce over the mixture to add flavor and color. Be sure to taste as you adjust the seasoning to your liking.
If you like a bit of heat, you can also add a dash of sriracha sauce or crushed red pepper flakes.

Seafood Options You Can Try In your Fried Rice
Shrimp: Cooked shrimp adds a delicious seafood flavor and texture to the fried rice.
Crab Meat: Lump crab meat or imitation crab can be flaked into the rice for a sweet and briny taste.
Scallops: Sliced or chopped scallops provide a tender and mildly sweet seafood element.
Mussels: Steamed and shelled mussels can be mixed into the fried rice for a unique taste and texture.
Fish Fillets: Small pieces of white fish, such as tilapia or cod, can be lightly seasoned and pan-fried, then added to the rice.
Lobster: Lobster meat, diced into chunks, offers a luxurious addition to seafood fried rice.
Fish Roe: Roe from fish like salmon or flying fish can be used as a garnish for a burst of salty flavor.
Oysters: Fresh or canned oysters can be chopped and stirred into the fried rice for a unique taste.
Smoked Salmon: Flaked or thinly sliced smoked salmon can add a delightful smoky flavor.
Sardines: Canned sardines can be flaked and mixed into the rice for a strong, savory taste.
Seafood Fried Rice Toppings to Try:
Chopped green onions or chives for freshness
Pineapple chunks for a sweet and tangy twist
Sesame seeds for a crunchy texture
Cashews or peanuts for added crunch and protein.
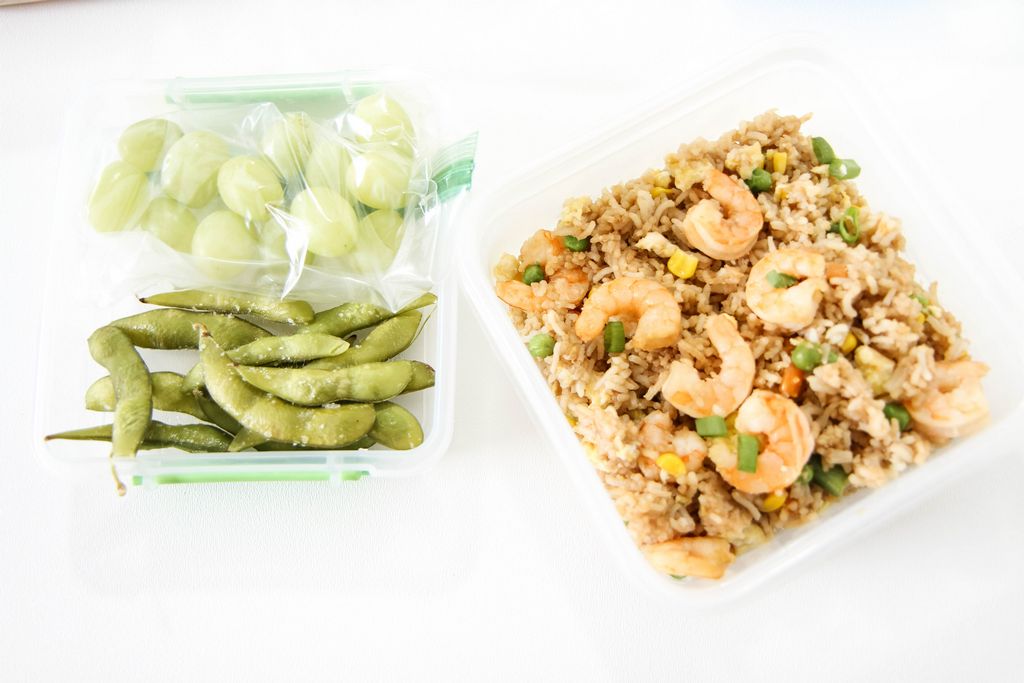
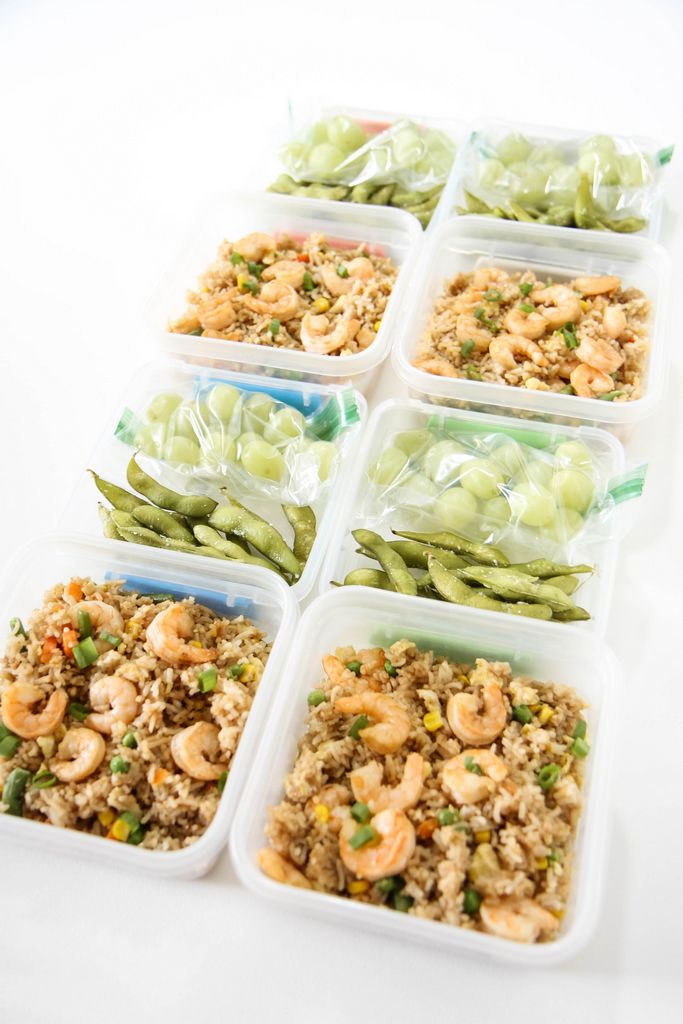
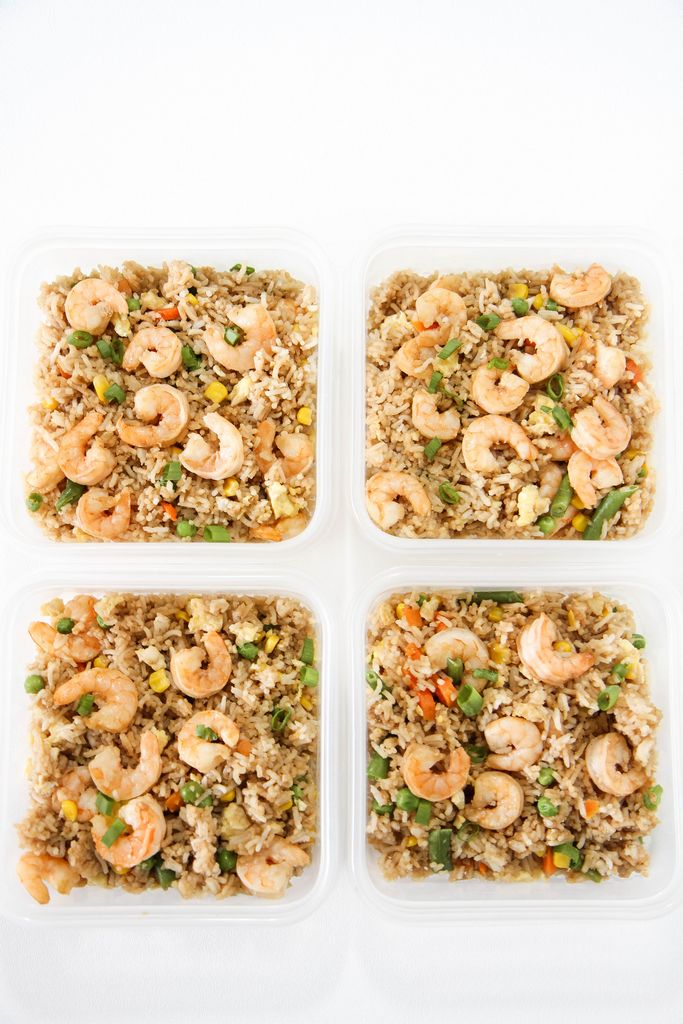
What Goes With Shrimp Fried Rice?
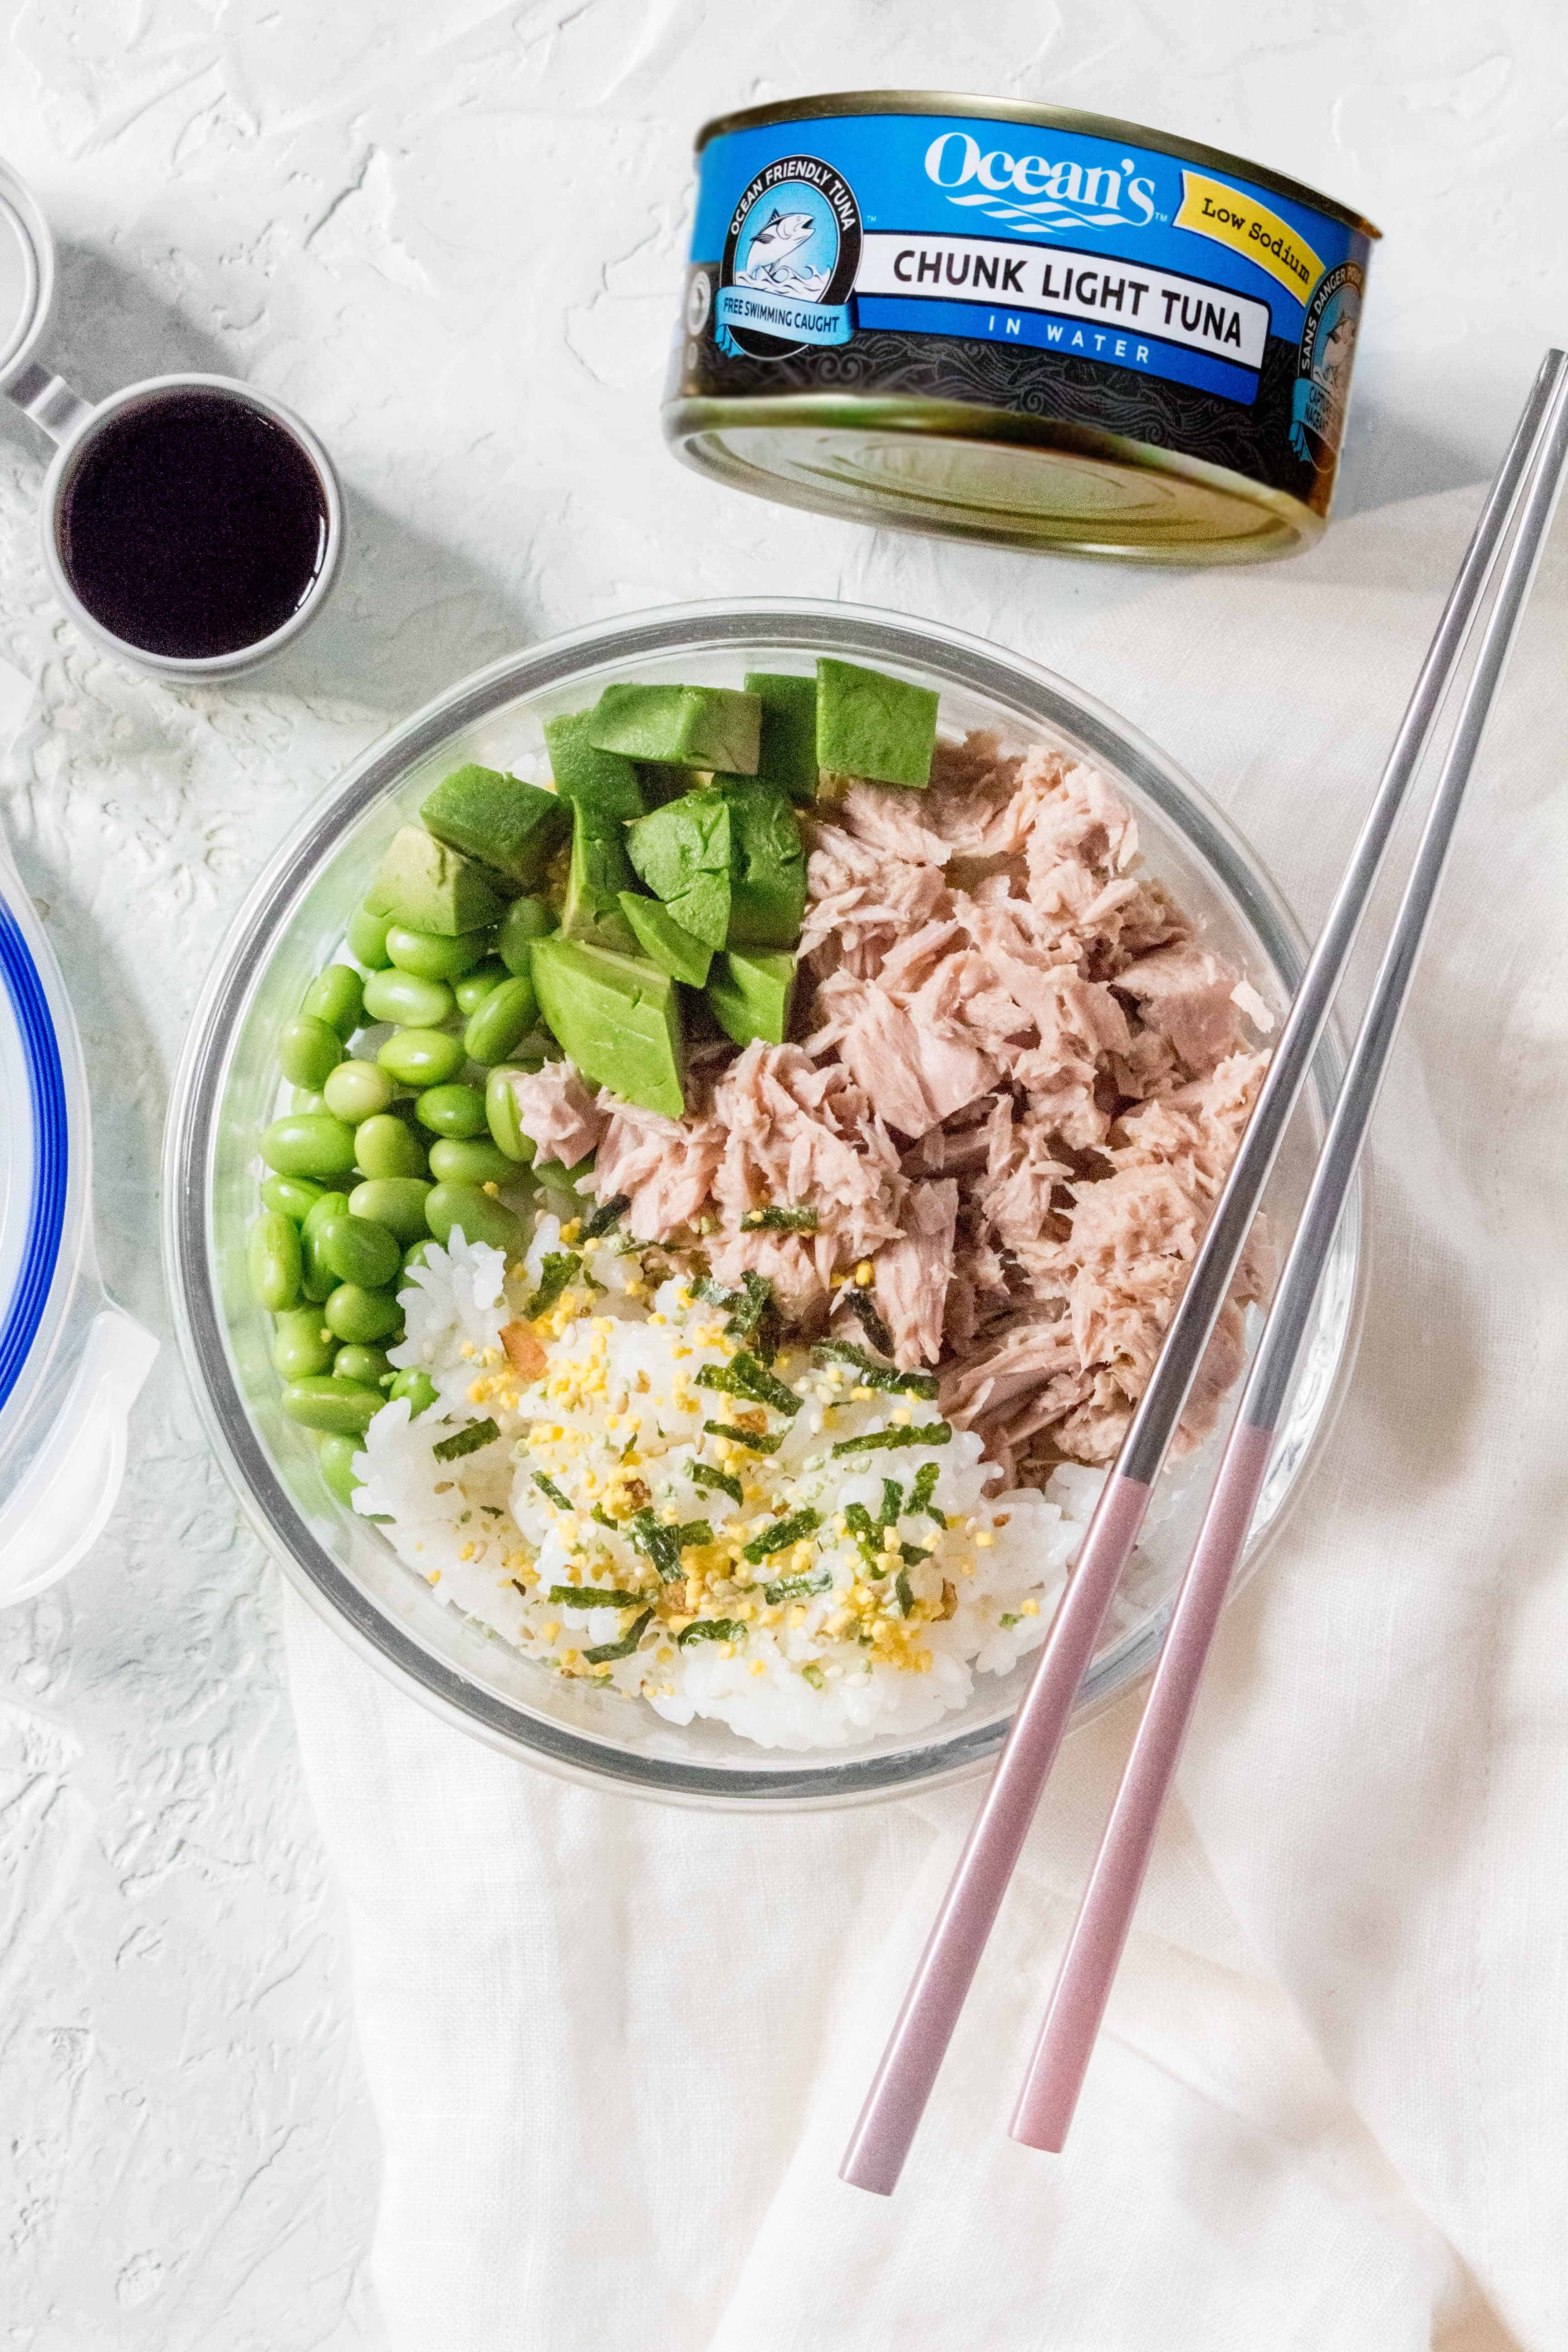
For lunch meal prep, I paired this Shrimp Fried Rice recipe with bags of green grapes and some prepared edamame for a delicious lunch.
Be sure to scroll down for even more meal prep ideas!
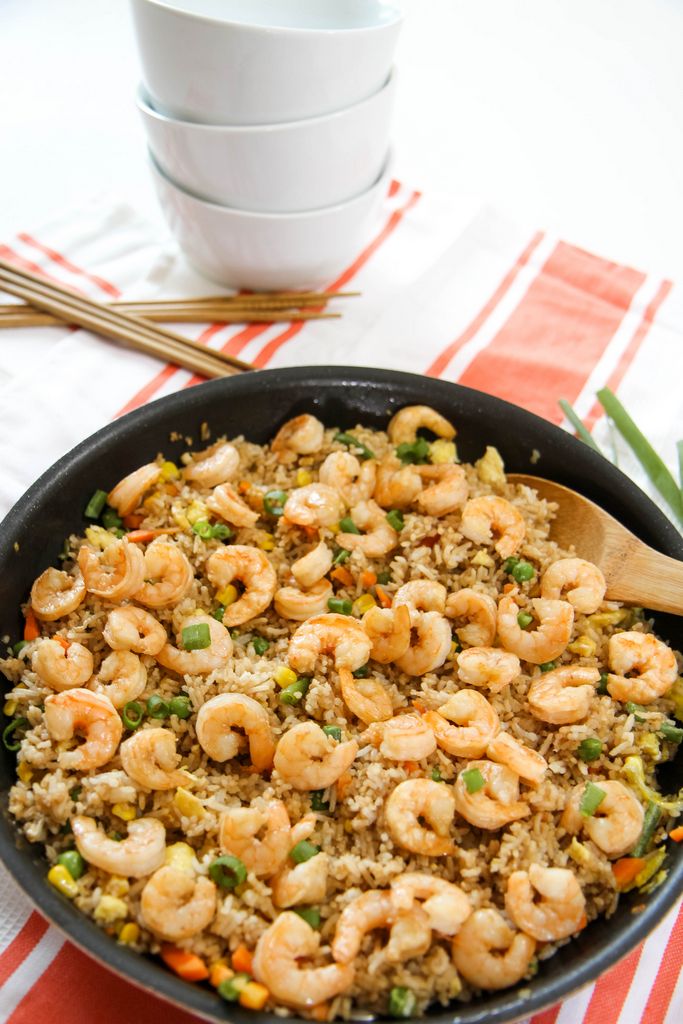
Seafood Fried Rice
A frugal chef’s dream dish made from leftover rice and veggies. Try this shrimp fried rice for a meat-free night at your house or any other suggested seafood combination.
Ingredients
- 2 tablespoons sesame oil
- 2 tablespoons canola oil
- 1 pound medium prepared fresh shrimp or prawns (see post for more seafood options)
- 2 cups frozen mixed vegetables (any mix of frozen peas, carrots, corn, and green beans)
- 3 minced garlic cloves
- 1 teaspoon fresh ginger
- 3 large eggs, lightly beaten
- 4 cups cooked jasmine or other long-grain white rice, preferably cold and day-old
- 4 tablespoons soy sauce
- Salt to taste
Instructions
- In a large skillet or wok, heat sesame oil and canola oil.
- Add shrimp or prawns and cook for 3 minutes or until pink and done. With a slotted spoon, remove the seafood into a bowl and set aside.
- Add your choice of veggies and cook for two minutes.
- Add garlic and ginger and cook for one more minute.
- Scoot your veggies to one side and add your beaten eggs to the wok (see the picture in this post for guidance). Scramble the eggs well.
- Finish by adding the cooked rice, soy sauce, and salt to taste. Stir to combine.
- Add the seafood and toss well.
Notes
For variations on seafood options, see today's post with tinned fish and fresh seafood options. Shrimp rice topping suggestions can also be found for variations.
Recommended Products
As an Amazon Associate and member of other affiliate programs, I earn from qualifying purchases.


Nutrition Information:
Yield: 6 Serving Size: 1Amount Per Serving: Calories: 376Total Fat: 12gSaturated Fat: 2gTrans Fat: 0gUnsaturated Fat: 10gCholesterol: 238mgSodium: 831mgCarbohydrates: 39gFiber: 3gSugar: 2gProtein: 27g
The calorie and nutrition information provided with our recipes is intended to be an estimate based on commonly used ingredients and serving sizes. However, individual nutritional needs may vary, and the actual values can depend on factors such as specific brands of ingredients, preparation methods, and portion sizes. Please use these figures as estimates.
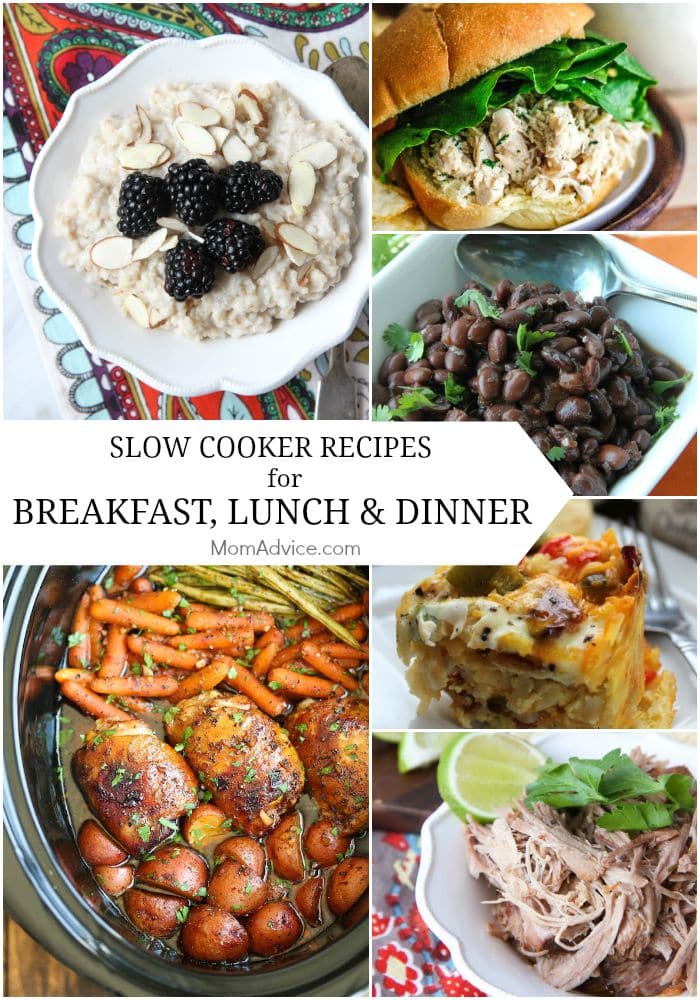
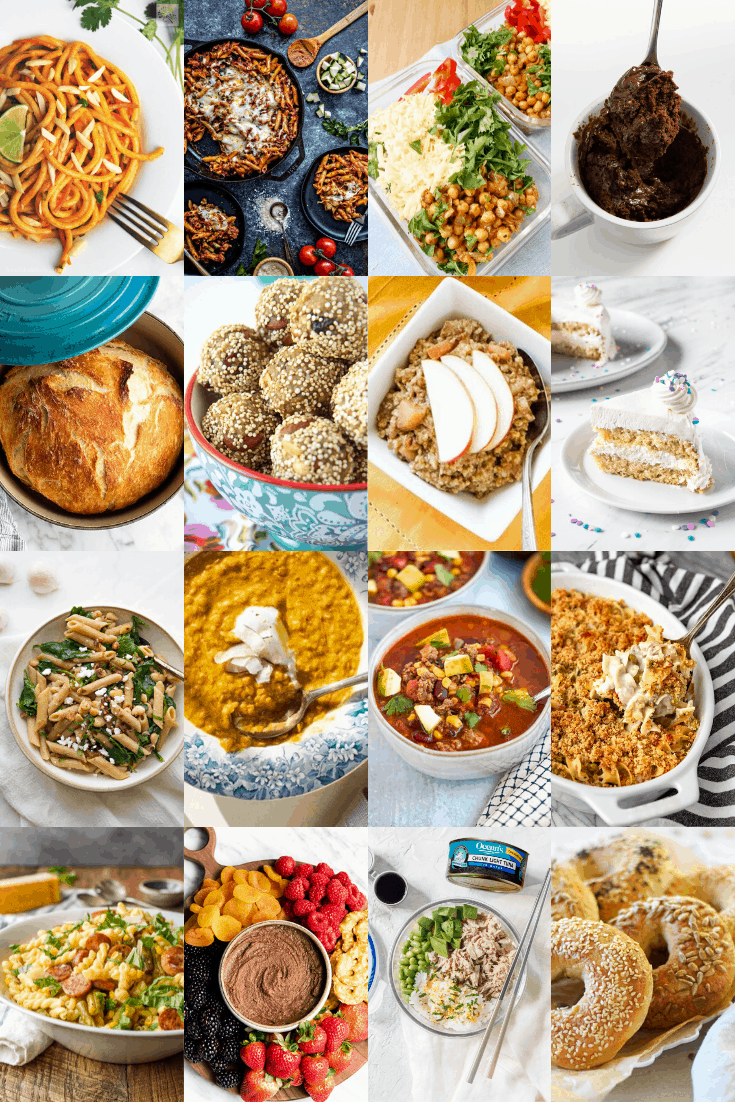
Easy Meal Prep Ideas
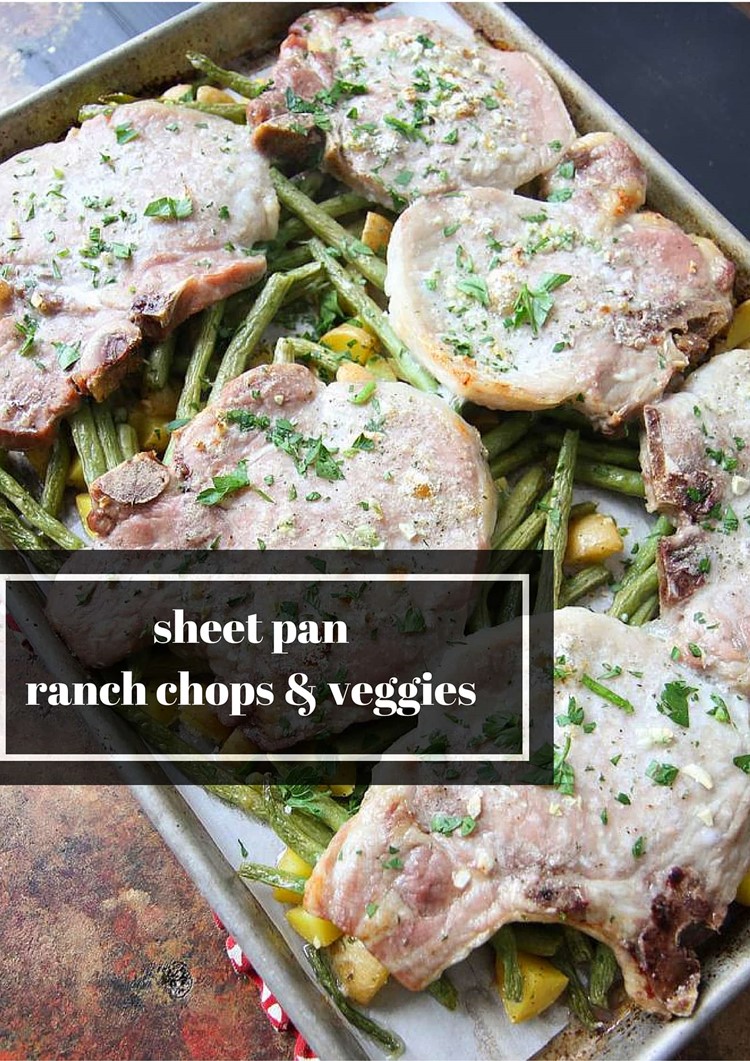
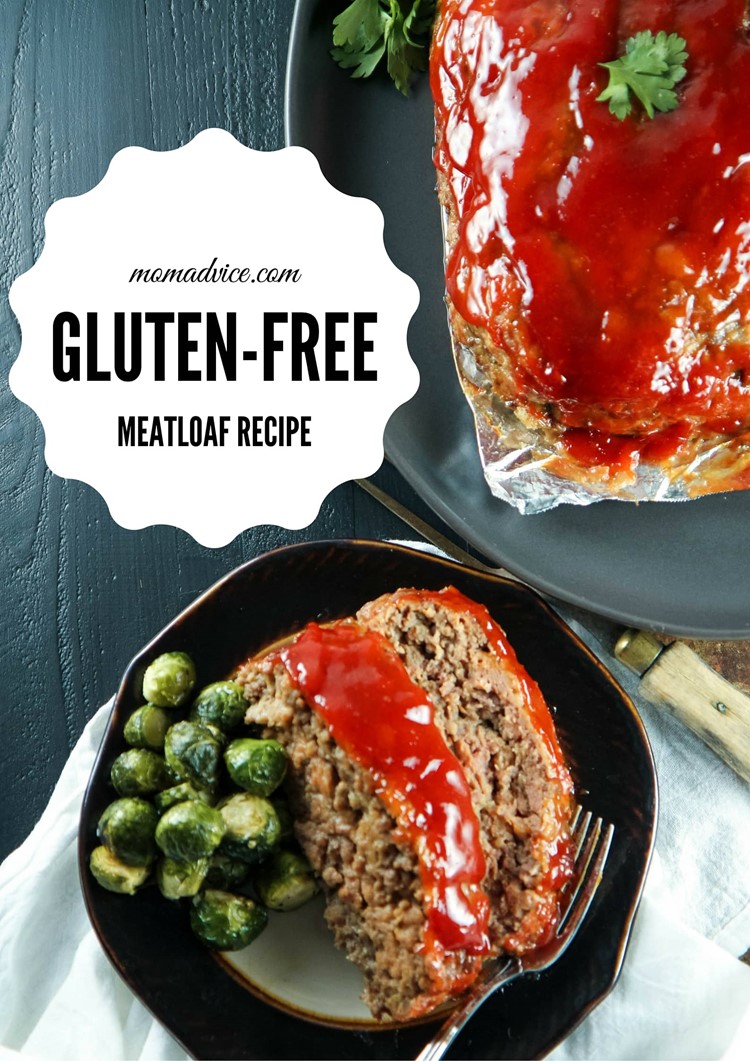
Try these 3 other meal prep ideas for lunch or dinner.
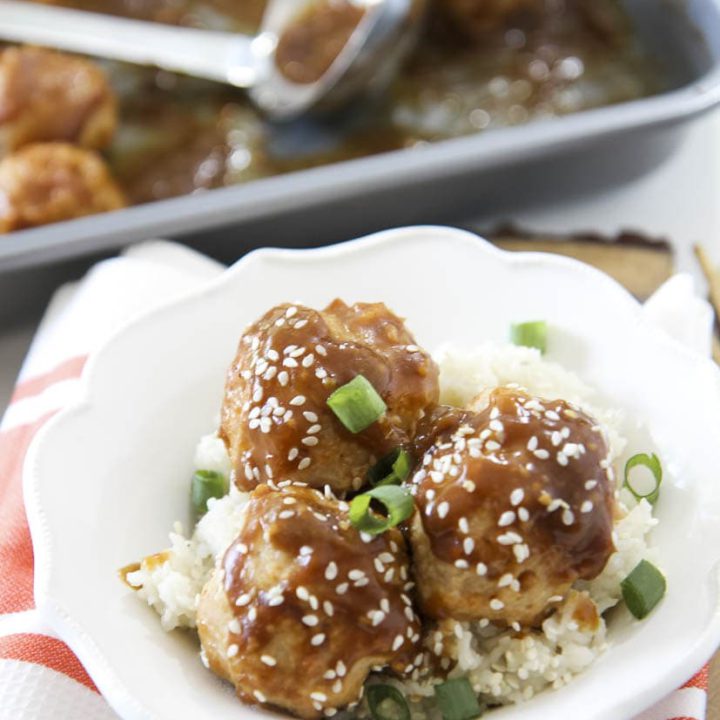
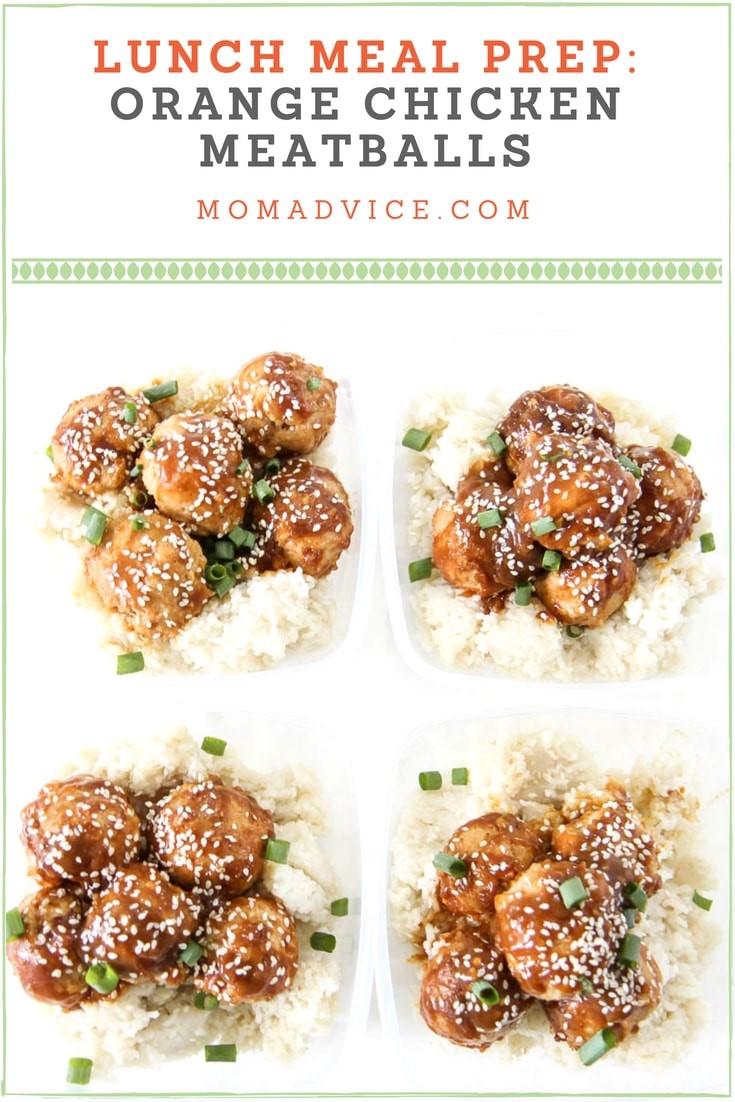
Baked Orange Chicken Meatballs
These baked orange chicken meatballs can be served with leftover rice and prepped ahead.
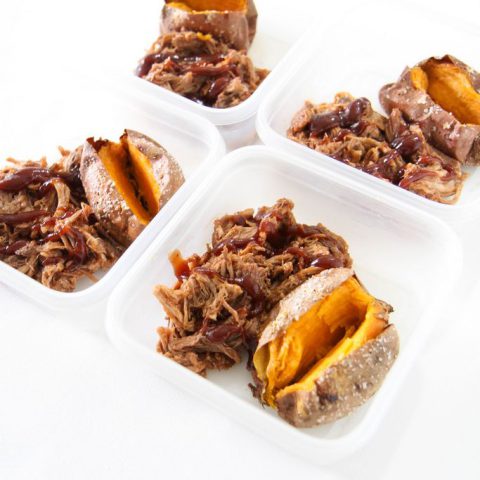
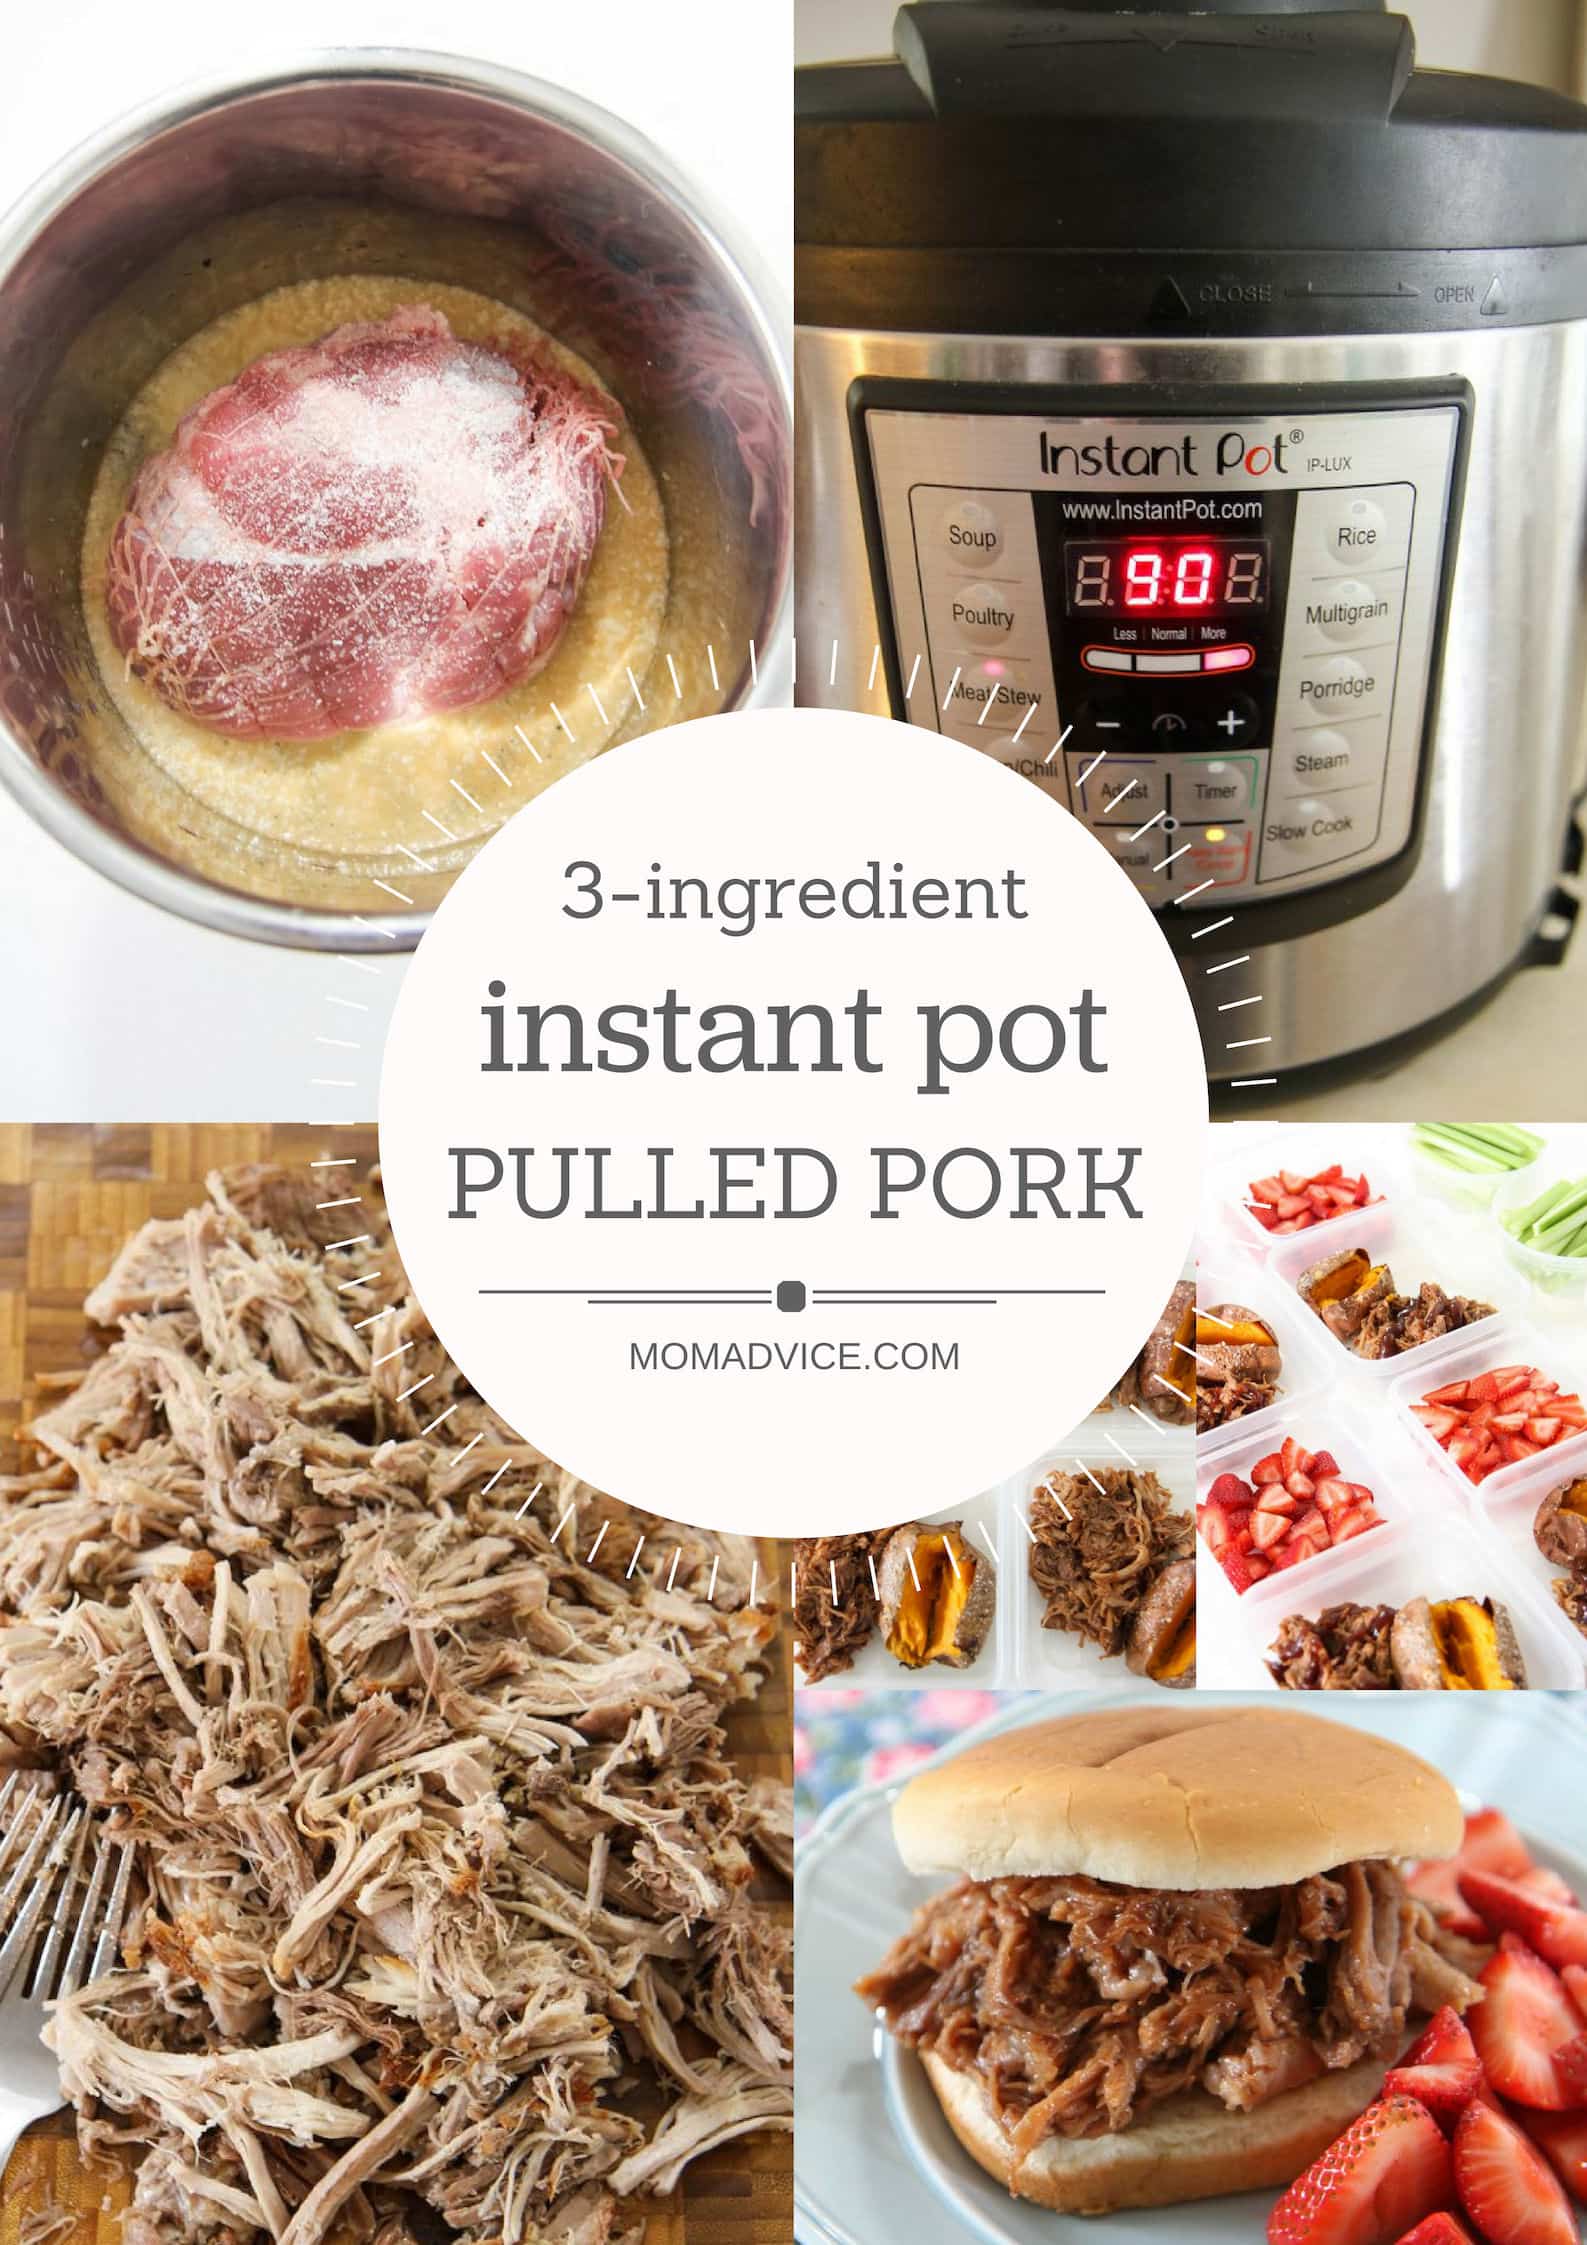
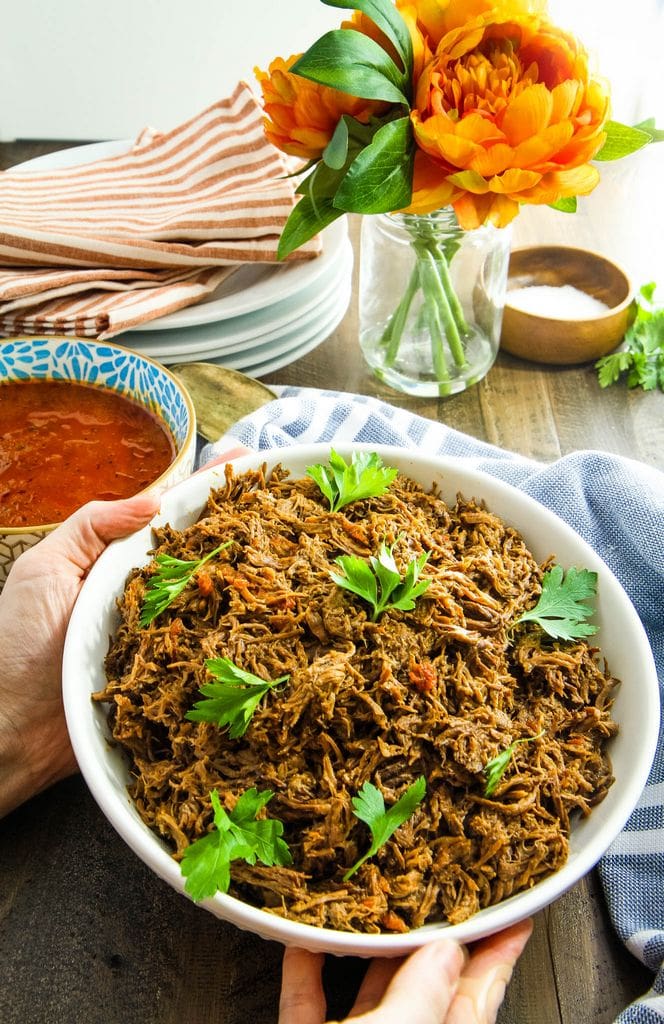
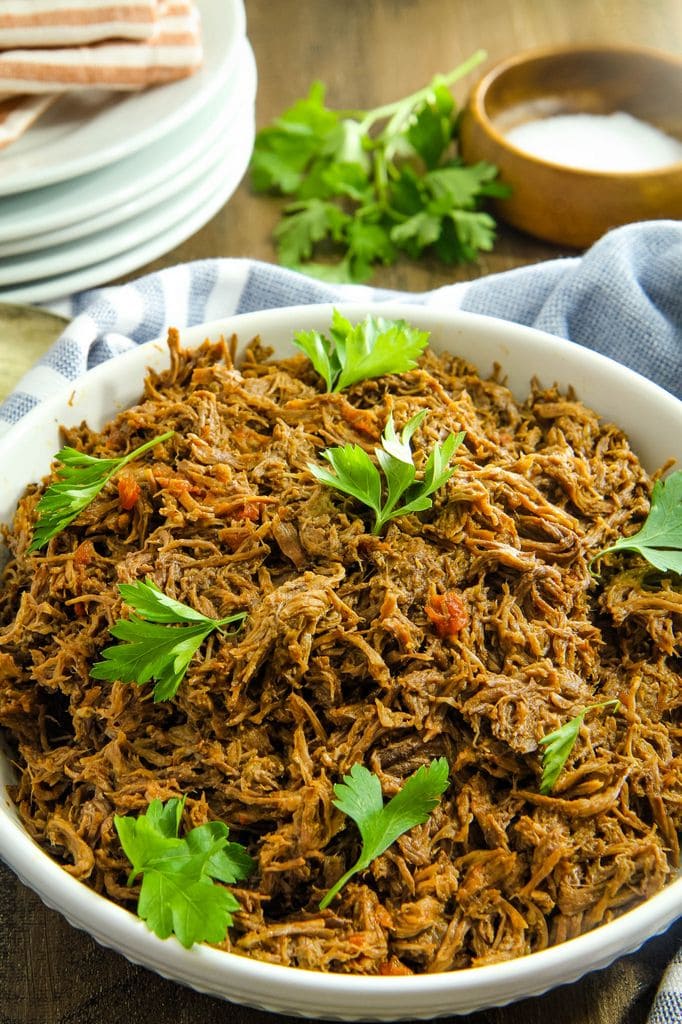
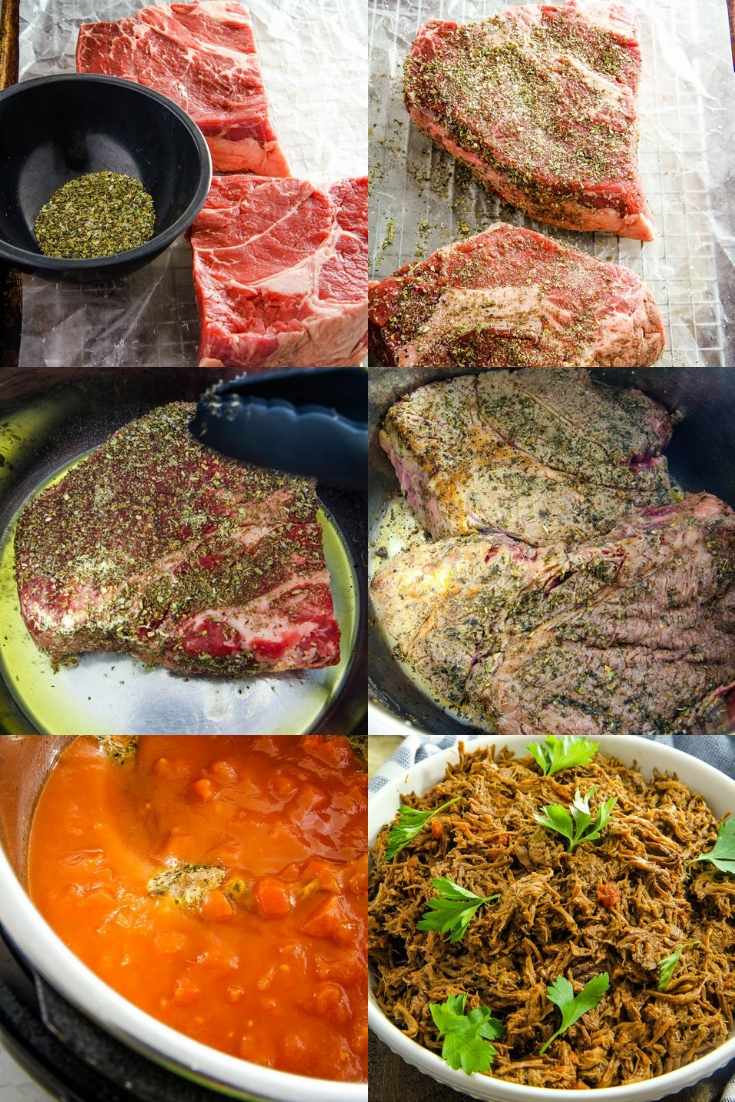
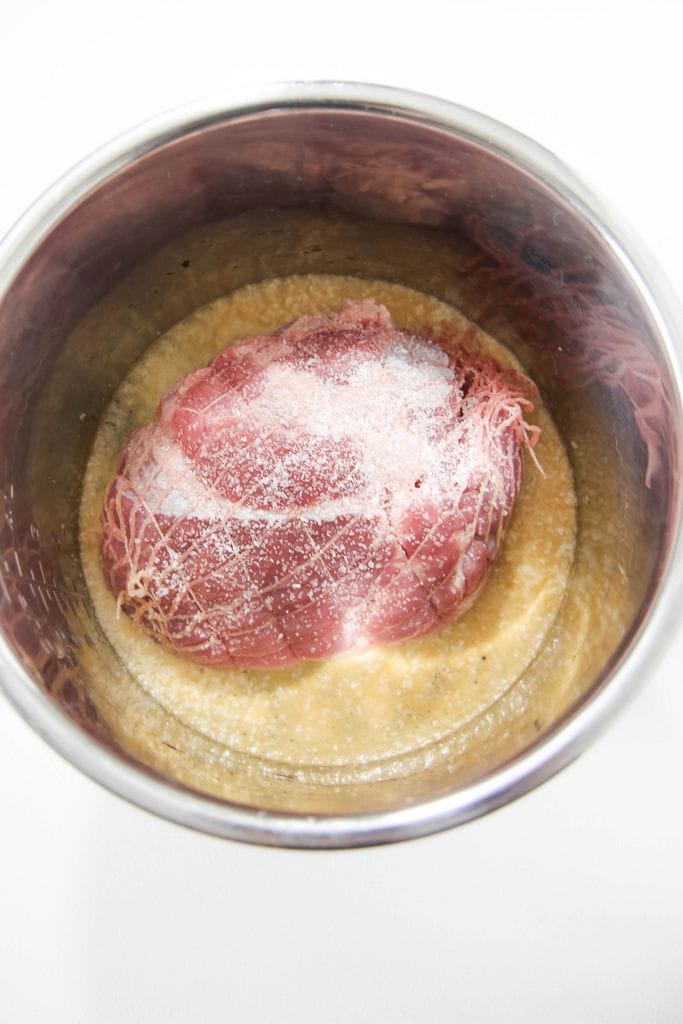
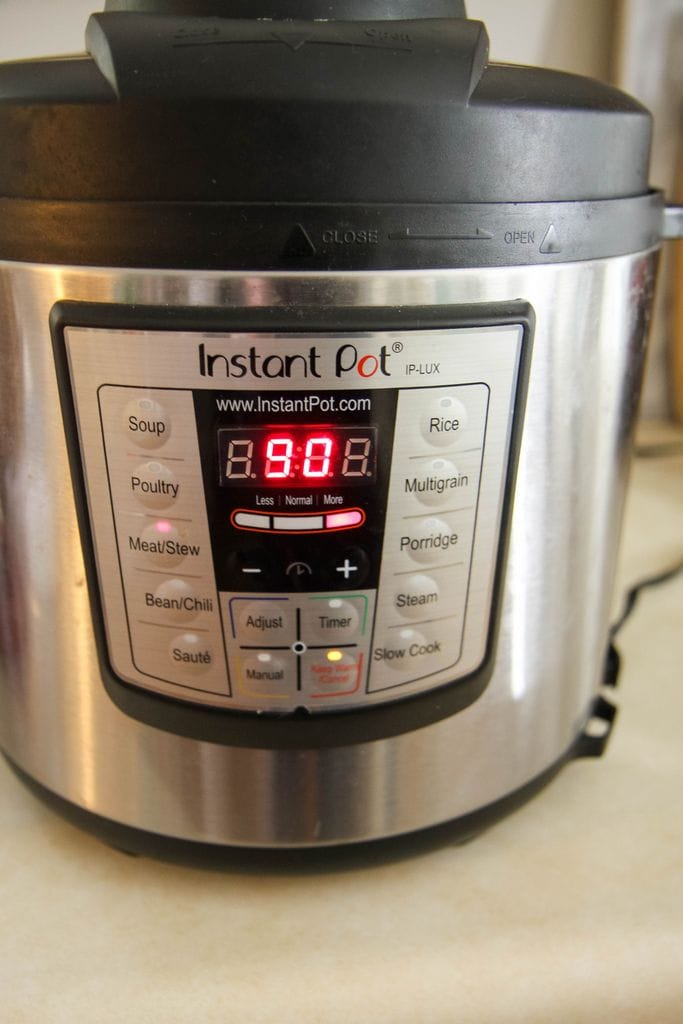
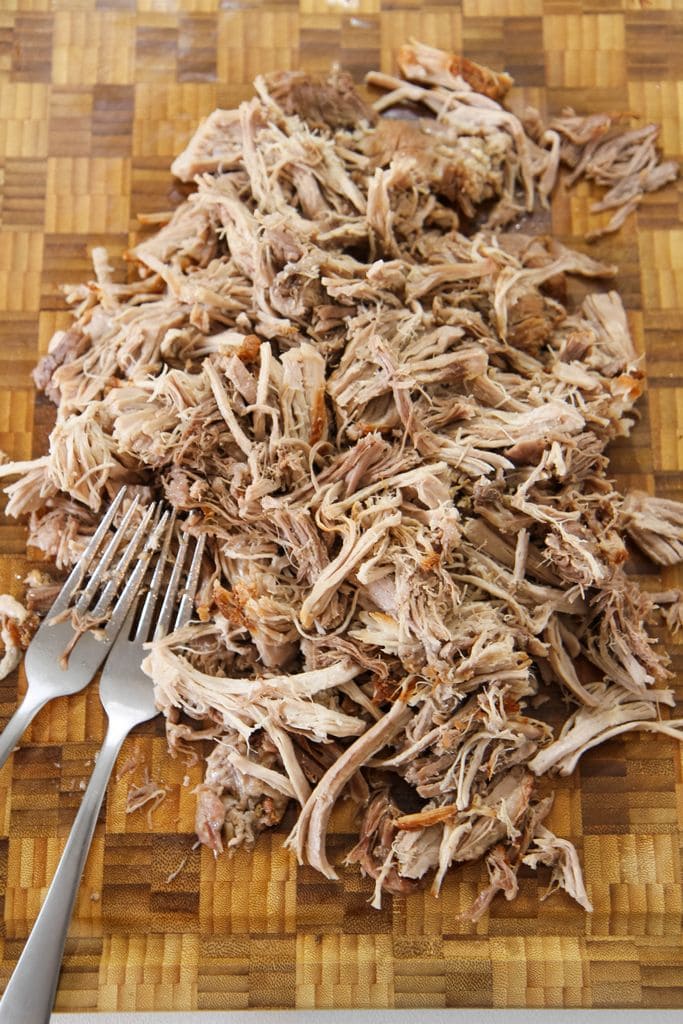
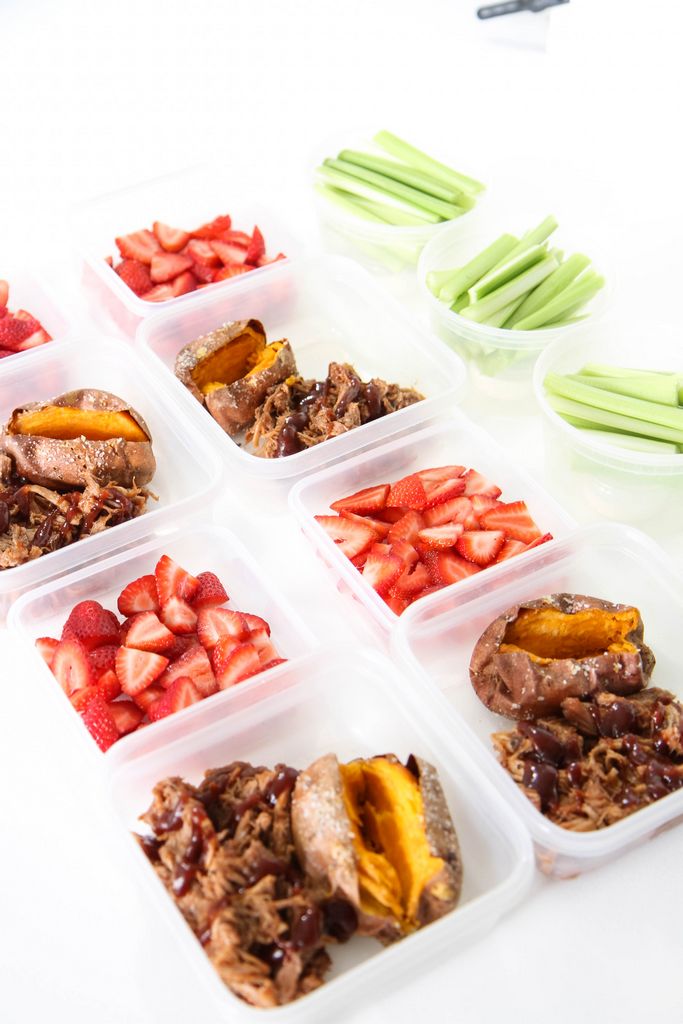
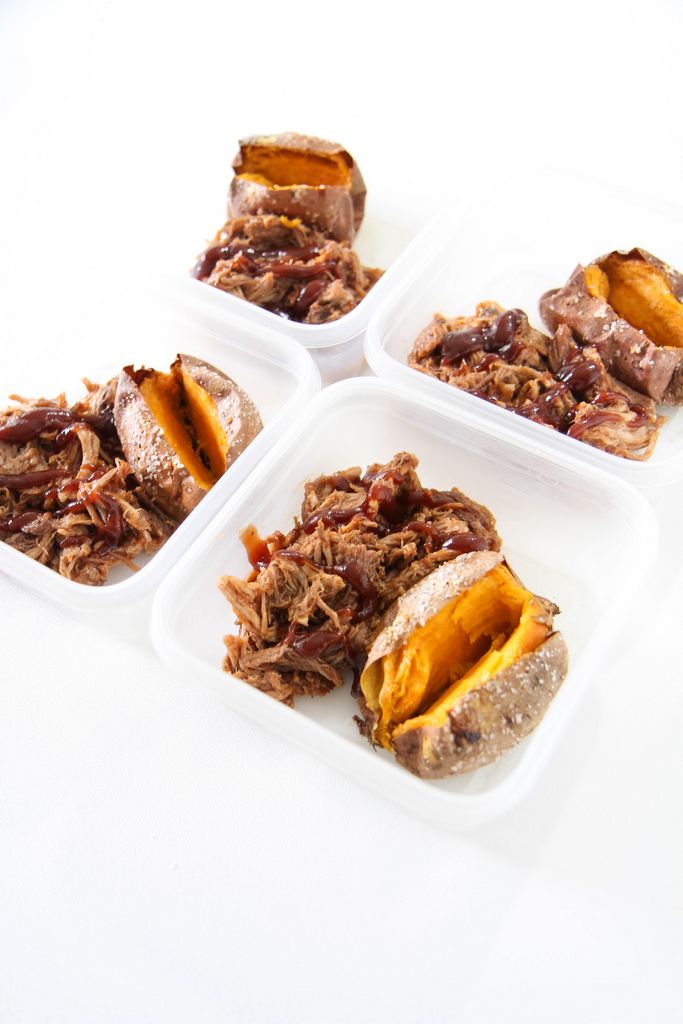
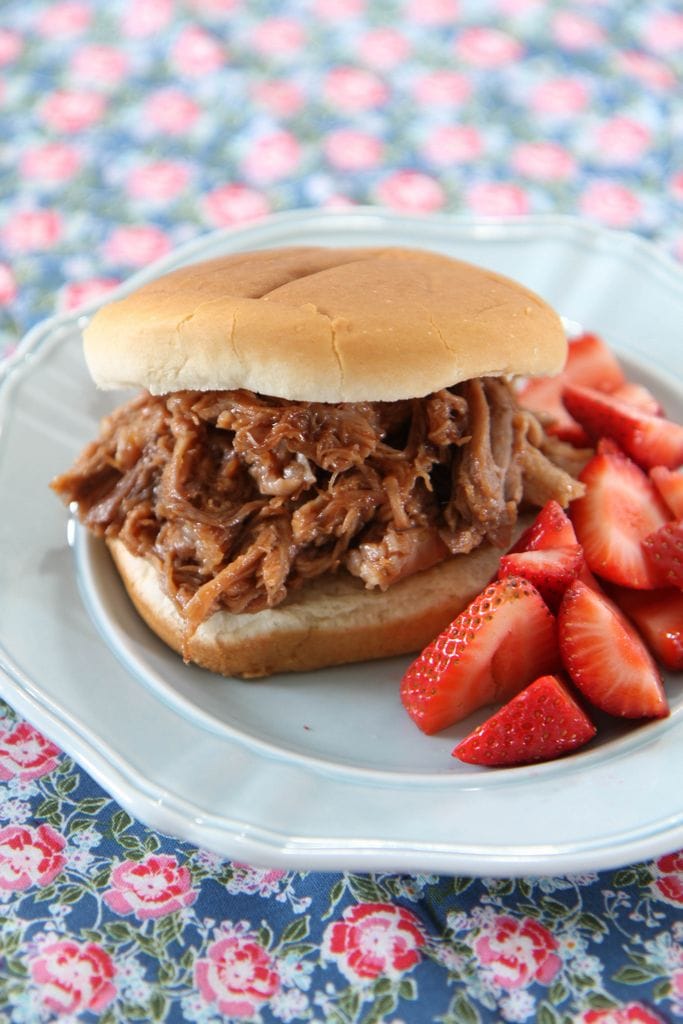
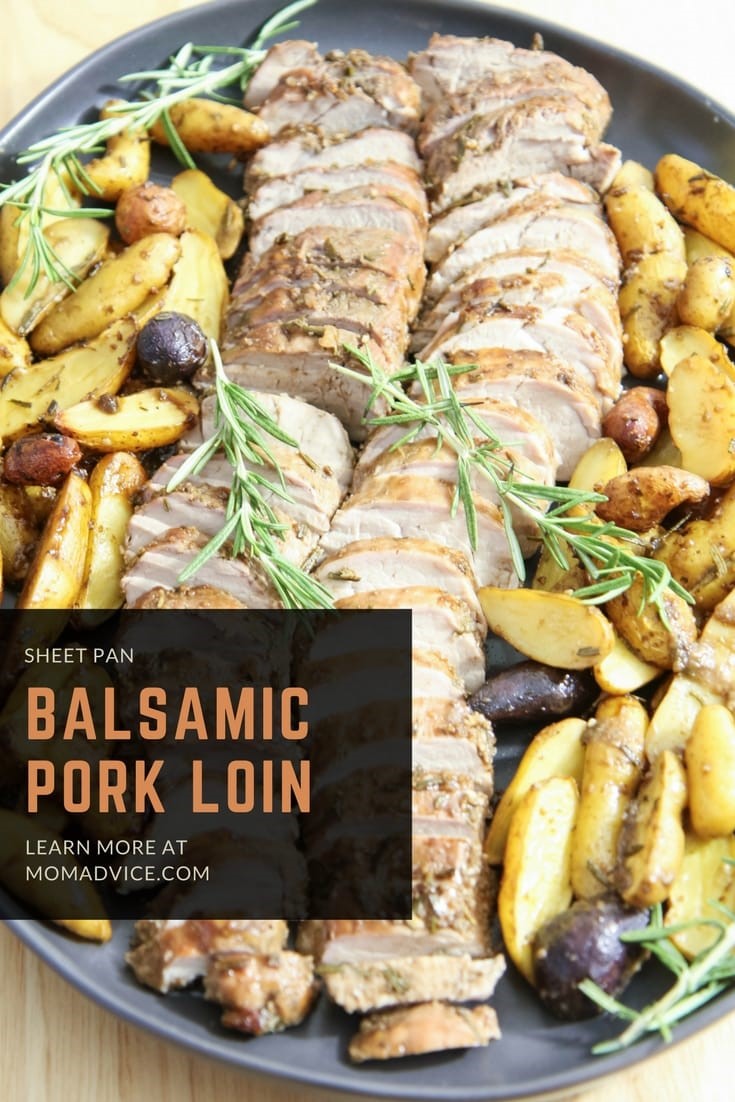
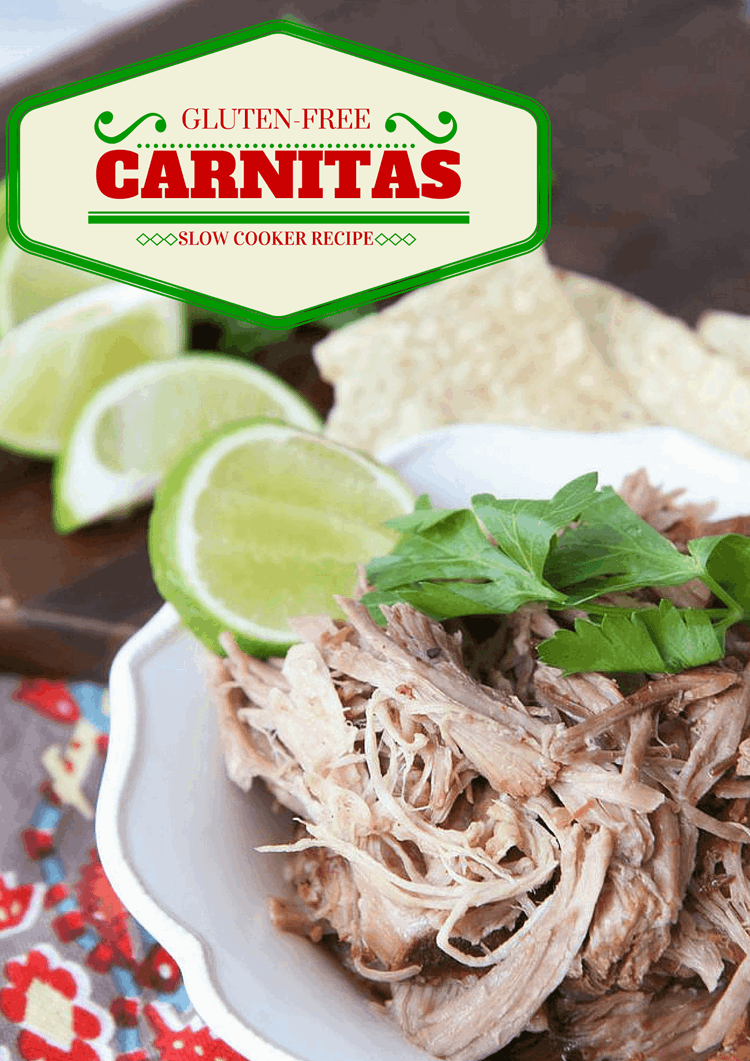
3-Ingredient Instant Pot Pulled Pork
This 3-ingredient pulled pork recipe can be paired with baked sweet potatoes for a fast and filling gluten-free lunch.
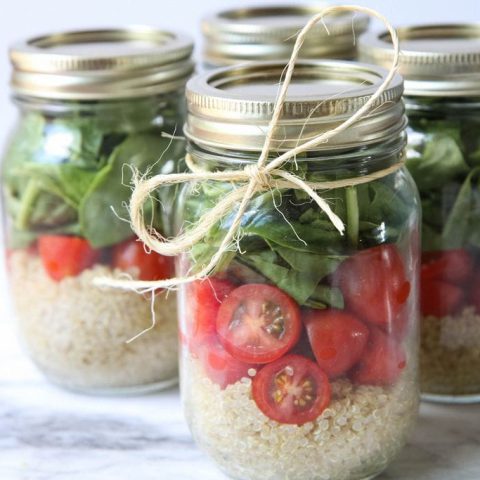
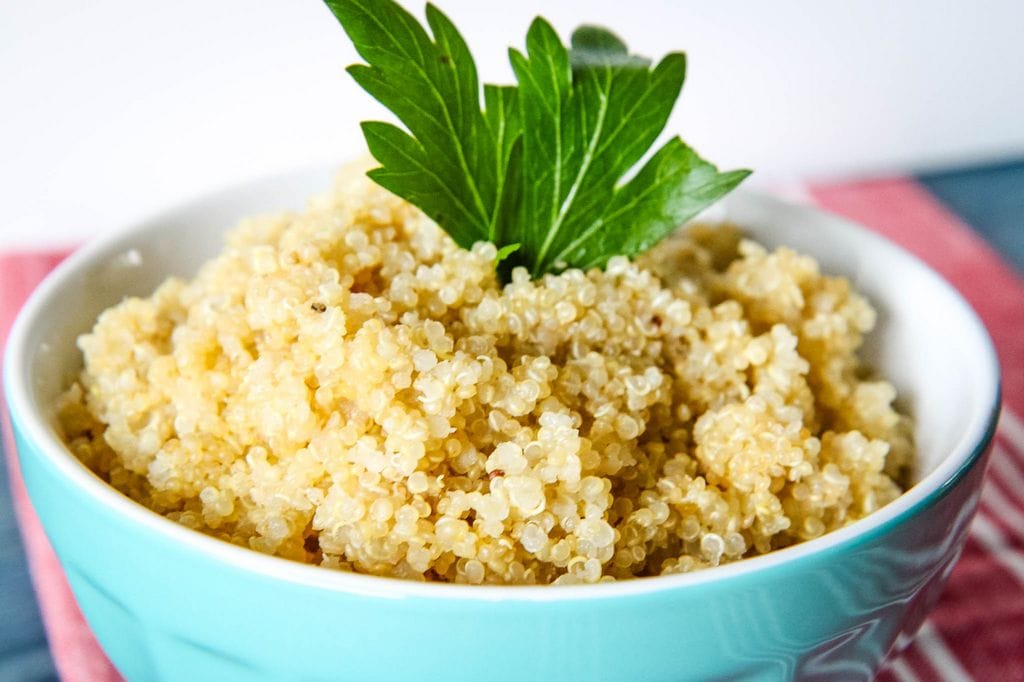
Easy Quinoa Salad With Spinach and Tomatoes
This easy quinoa salad is perfect for a fast and flavorful lunch. Learn how to cook chicken breast from frozen for an additional protein topping.


