
This quick fish taco recipe is the perfect recipe to get dinner on the table in under 15 minutes. Customize these baked fish tacos with my list of fun toppings. This is a quick and easy dinner that your whole family will love.
Looking for a recipe that you can prepare in ten minutes ? Today I’m sharing one of my tried-and-true weeknight dishes that has become a regular part of our menu rotation.
Are you a big fan of fish tacos?
After having some delicious fish tacos, in California, I wanted to enjoy this fish taco treat at home.
These tacos can be created from any white fish, depending on your family’s preference.
Personally, we are a big fans of tilapia that can be found over in the frozen foods aisle.
Not only is tilapia a mild white fish, it also comes with an affordable price tag.
You can also find some additional white fish ideas in the frequently asked questions below.
This weeknight meal is one that I regularly rely on for a meat-free taco night that our whole family loves.
10 Minute Fish Tacos Recipe
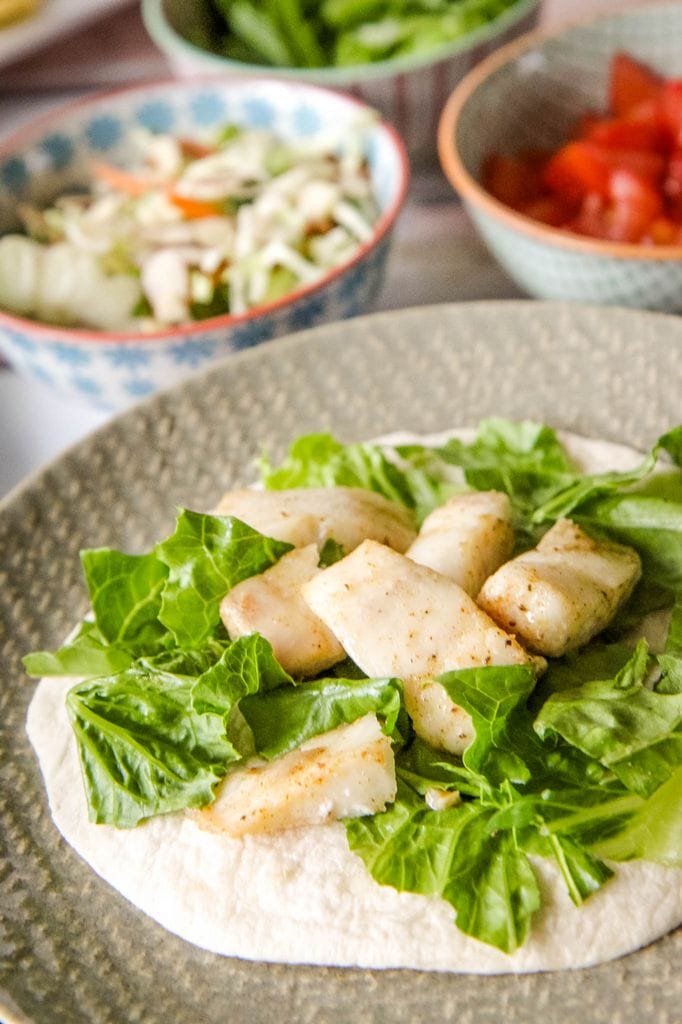
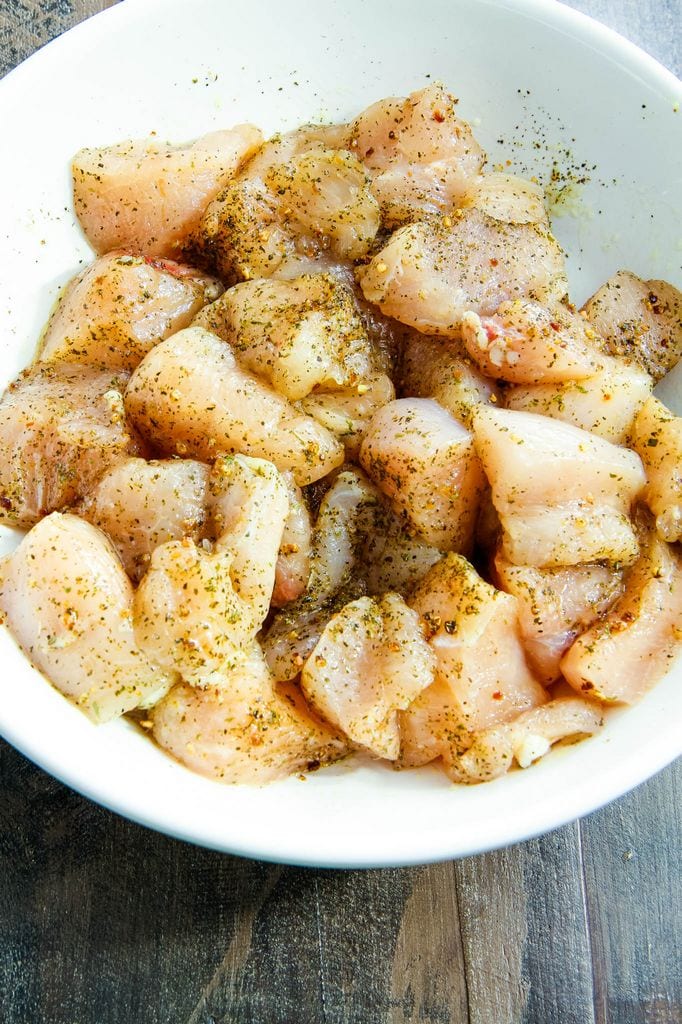
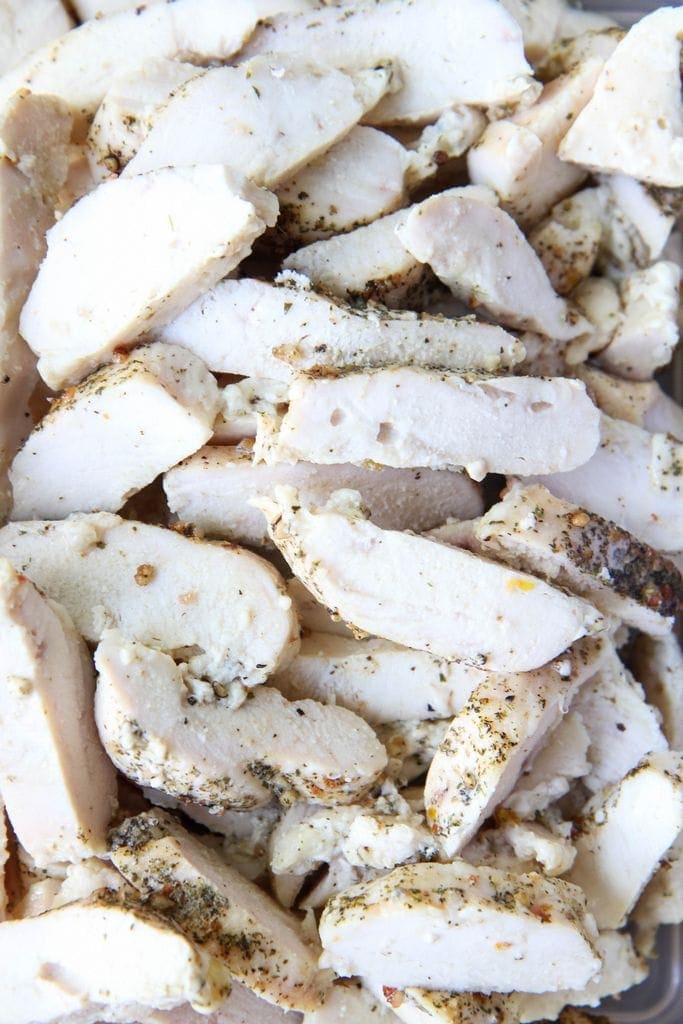
To prepare the fish quickly and easily, dice up the fish and put it in a medium bowl.
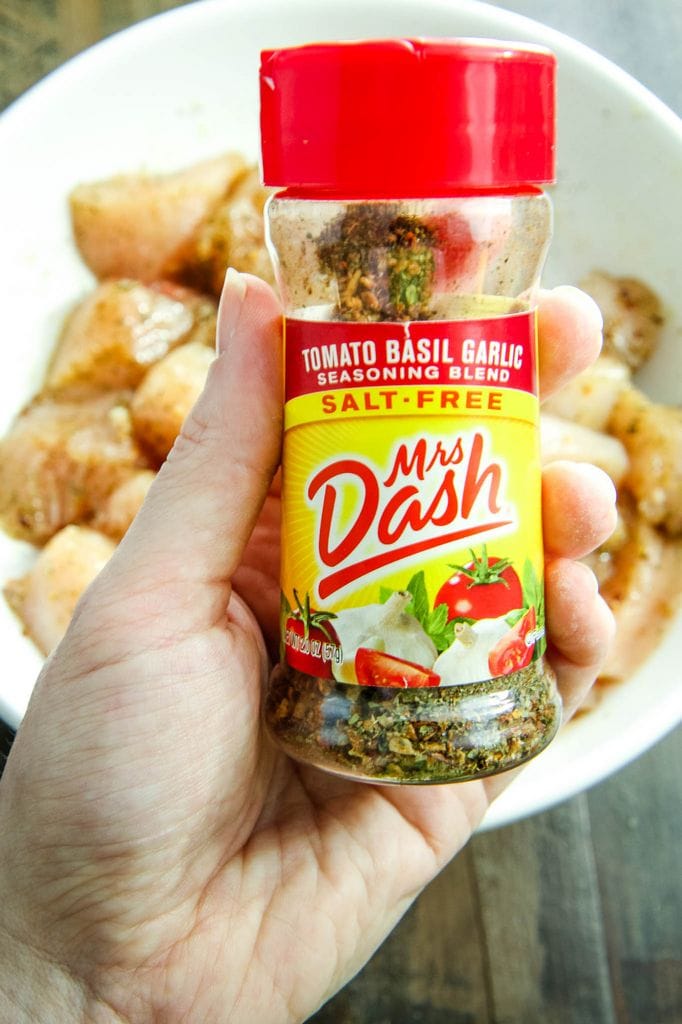
Toss the fish with your favorite spice blend with olive oil.
Spread the fish on a parchment-lined cookie sheet and then cook it at the suggested temperature for 4-6 minutes.
While the fish is cooking, you can prepare a variety of fun toppings.
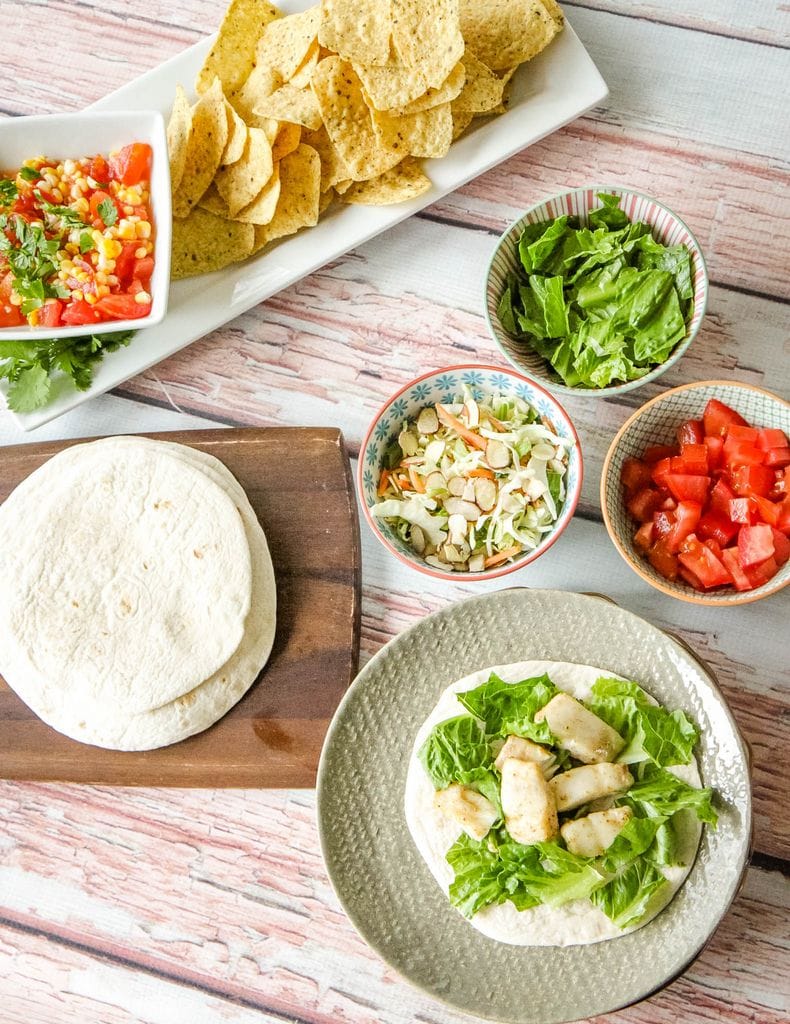
Fun Taco Toppings To Try
Traditional toppings for tacos are fun, but sometimes the taco night needs a little switch up. Try these topping suggestions to make taco nights more fun!
- Salsa- Add a combination of black beans, tomato, corn, chopped jalapeno chile peppers, and cilantro.
- Traditional- Toss shredded cabbage with a little olive oil and lime juice.
- Asian- Add broccoli slaw, toasted sliced almonds, and bottled Asian vinaigrette.
- Fruity- Add fresh fruit salsa made with kiwi, red onion, strawberries, and mango.
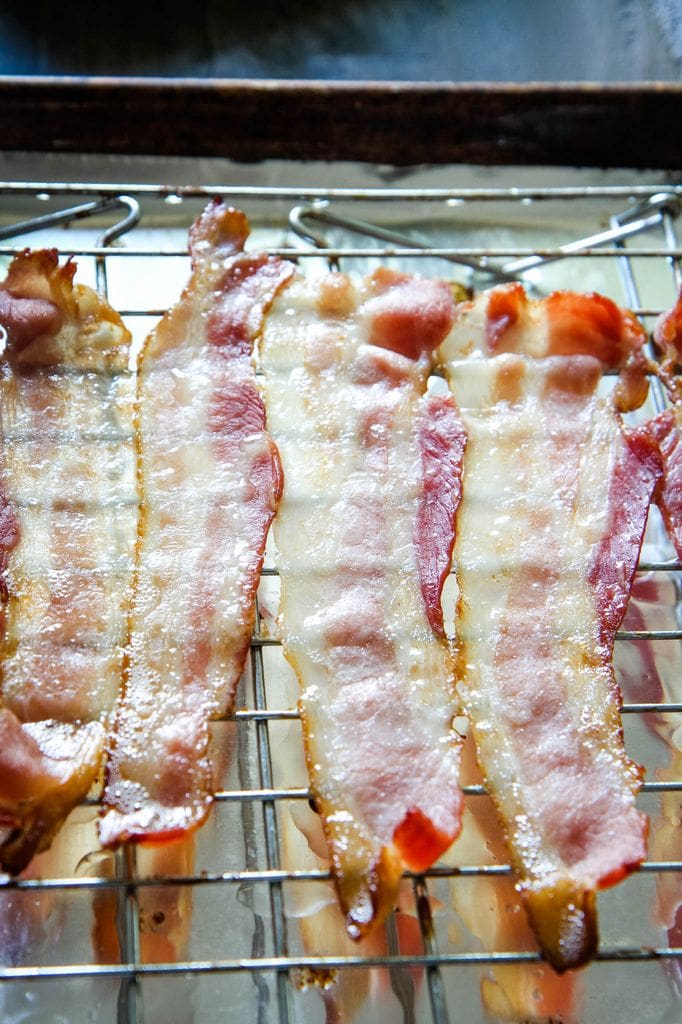
- BLT- Add shredded lettuce, bacon, tomato, and mayo.
- Caprese- Add basil, cubed tomato, cubed mozzarella cheese, and balsamic vinaigrette.
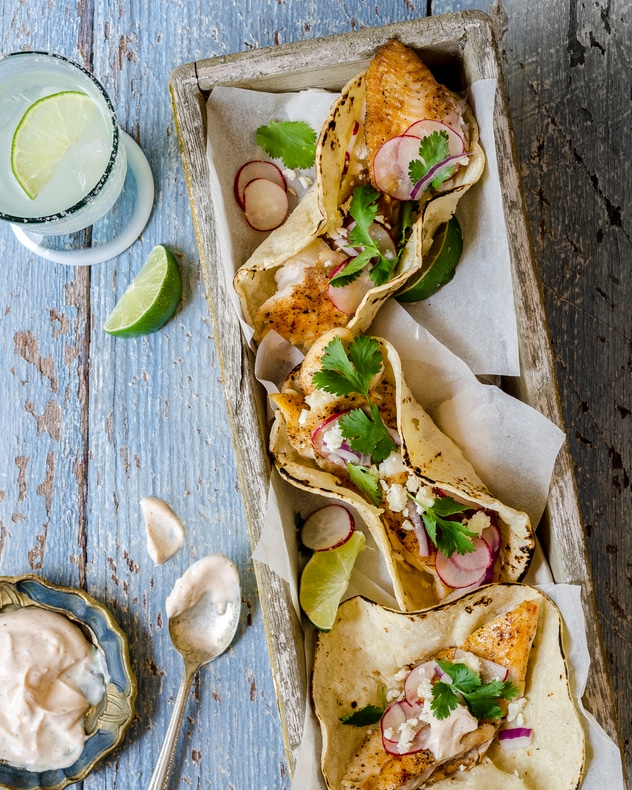
- Other Fun Toppings- Add Greek yogurt, jarred salsa, guacamole, limes, hot sauce, freshly cracked black pepper, cheese, thinly sliced radishes, fresh cilantro, and shredded lettuce to your taco condiment bar.
- Fish Taco Sauce Recipe- Looking for a sauce to add to your tacos? Mix together a 1/2 cup sour cream 1/3 cup Mayo, juice from one lime, and a teaspoon of garlic powder. To spice it up, add a little Sriracha sauce or a generous shake of Old Bay seasoning in your sauce.
Here a few other commonly asked questions about this recipe!
If my family doesn’t like tilapia, what are some other mild white fish options for my tacos?
Flounder, hake and tilapia are all white fish with mild taste.
Looking for other options? Snapper, mahi mahi, grouper, flounder, halibut, or cod are also excellent inexpensive options.
If you want to skip the white fish altogether, salmon can also be a great option. I recommend this easy method for broiling salmon for tacos.
I don’t want to bake my fish. Can you tell me how to prepare fish tacos on the stove top?
You can prepare fish tacos in a skillet, if this works better for your family. Spice up your fish, just as you would for the baked version. Make sure that you pat your fish, with a paper towel, before cooking so that it gets a nice crust. Over medium high heat, cook for 4-5 minutes on each side.
Can I substitute with frozen fish sticks for my tacos?
Baking the fish, as prepared in this recipe, is healthier and takes a lot less time than preparing fish sticks.
If you prefer to use these, preheat your oven to 475ºF.
Line a baking sheet with foil and arrange the fish sticks on baking sheet.
Sprinkle with the seasonings recommended below and bake for 11-13 minutes.
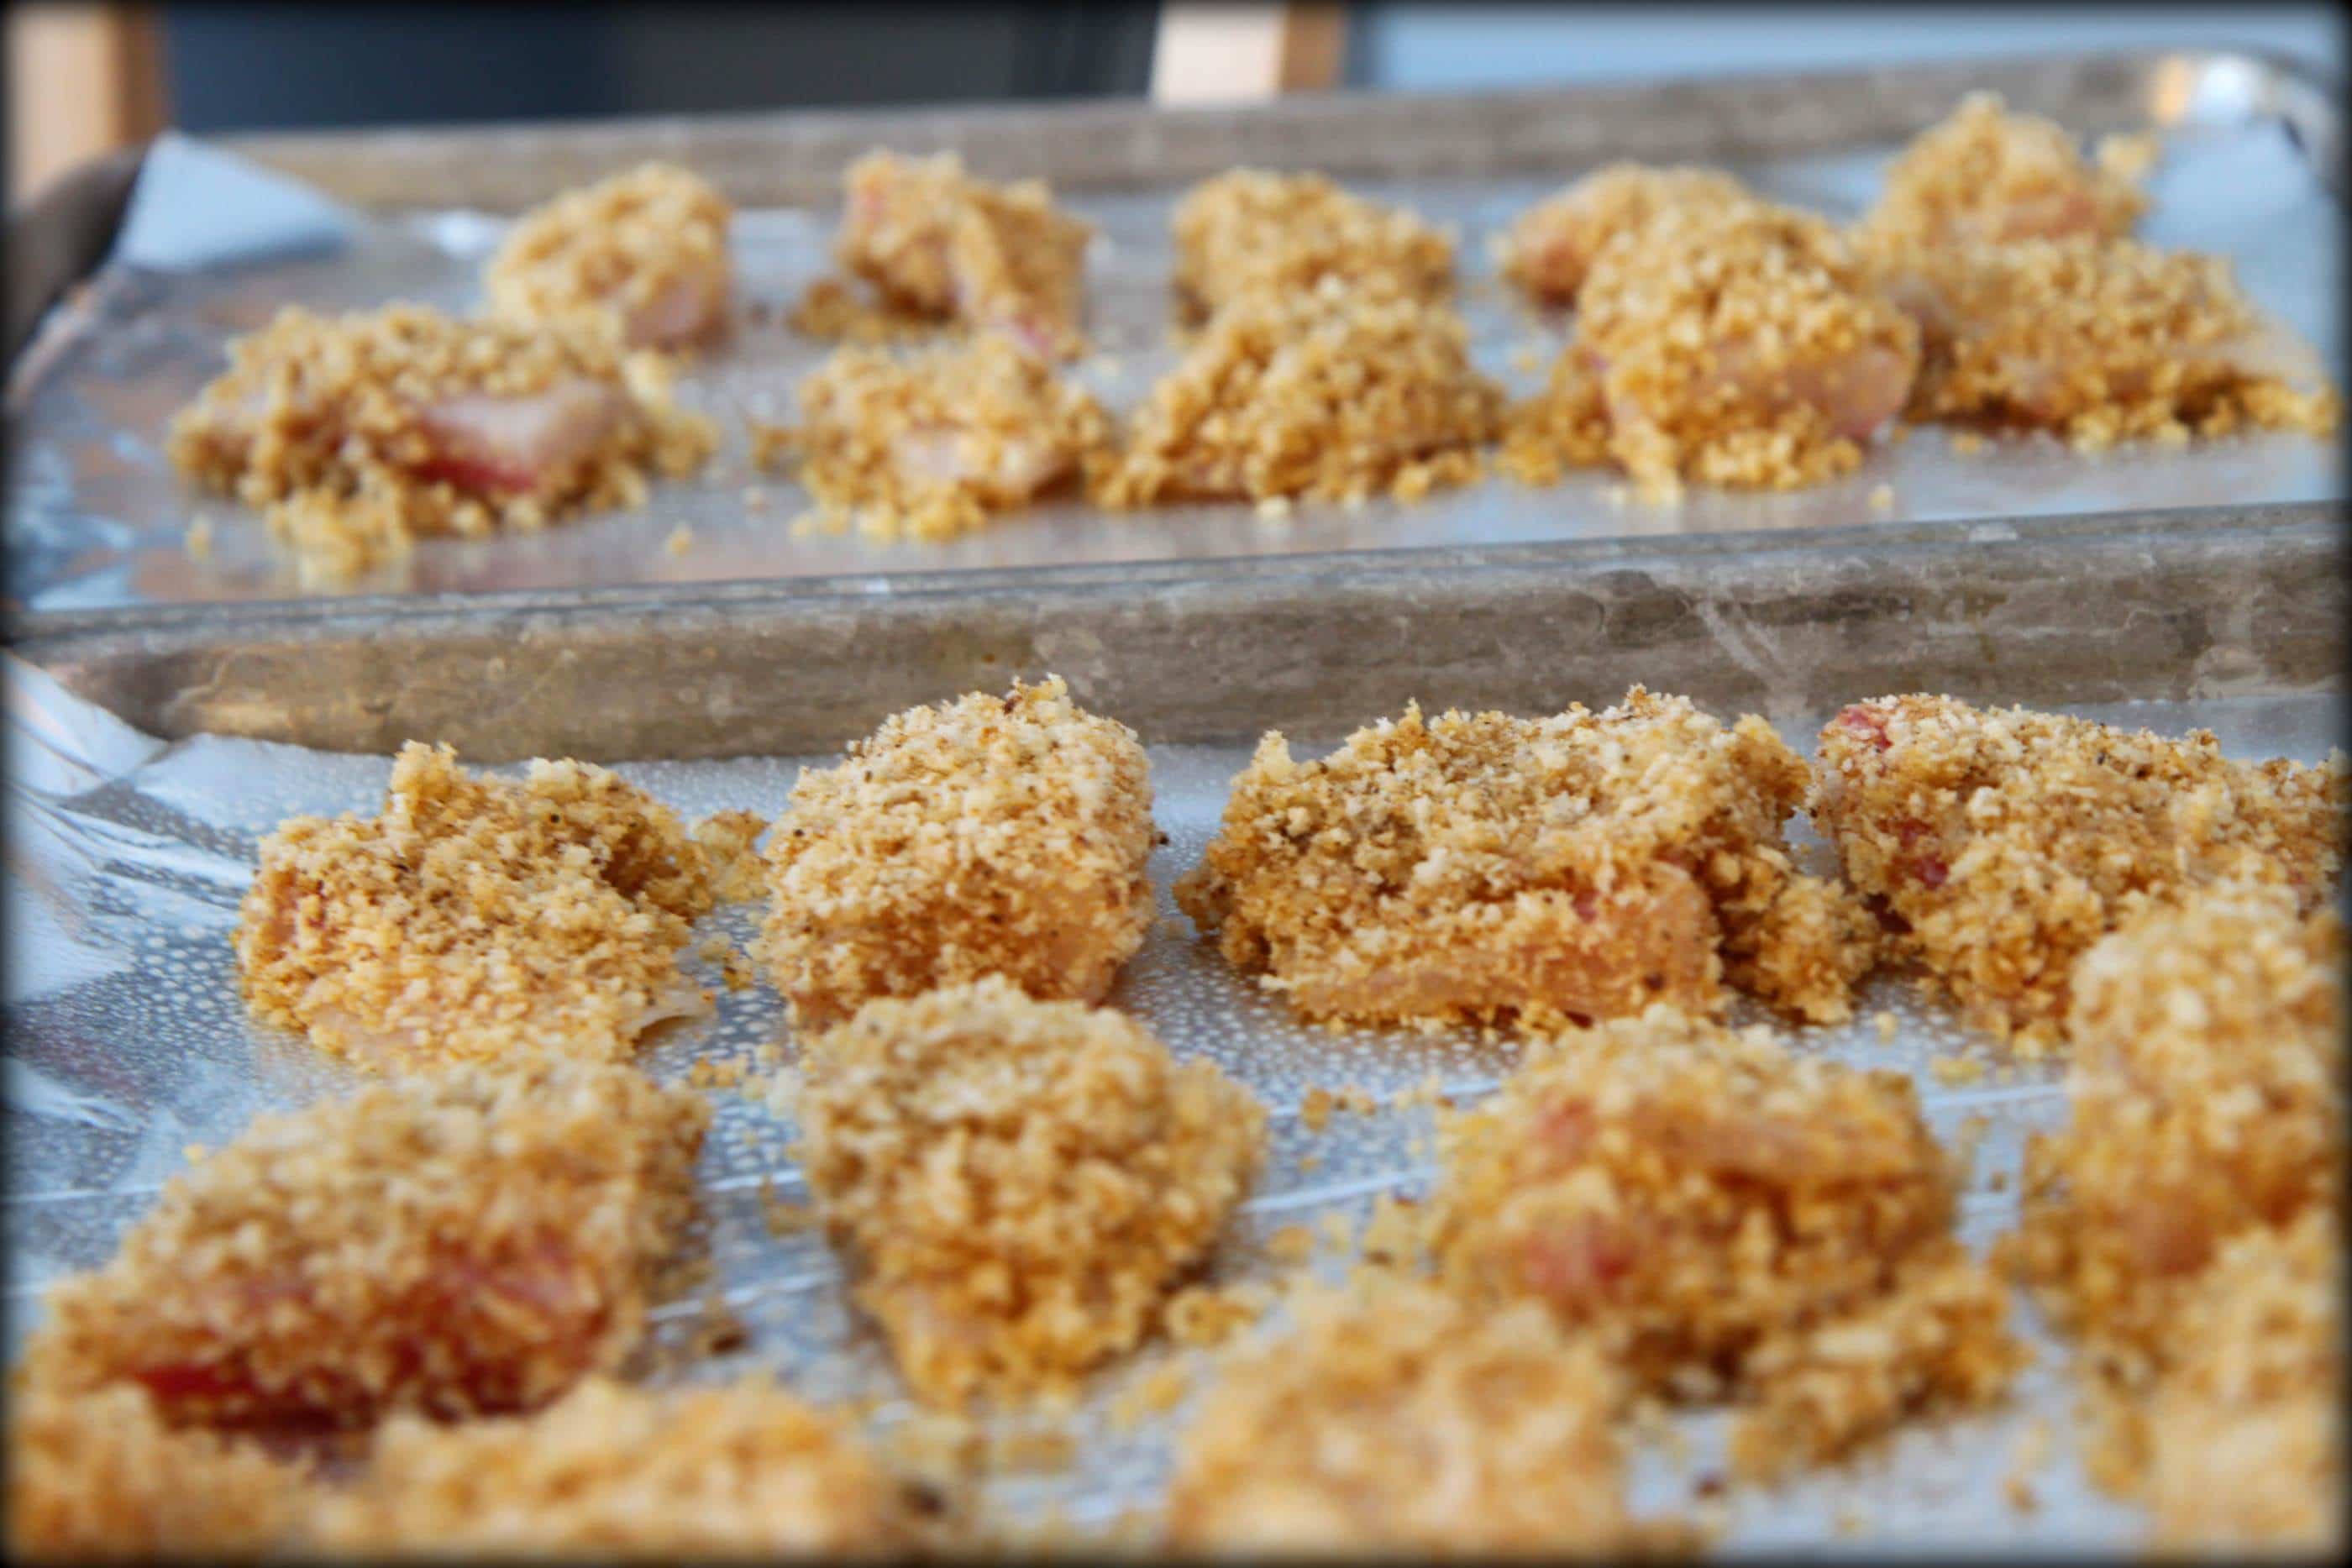
You can also make your own fish nuggets for taco stuffing. This is our family’s favorite panko crusted tilapia nuggets recipe.
How do I remove the fish odor from my home after baking?
Simmer a small pot of water with a few cut lemons to cut the smell.
I’m also a huge fan of this citrus oil for my diffuser.
I use it for kitchen scents AND diffuse it in my office in the mornings to wake me up!
What sides are good with fish tacos?
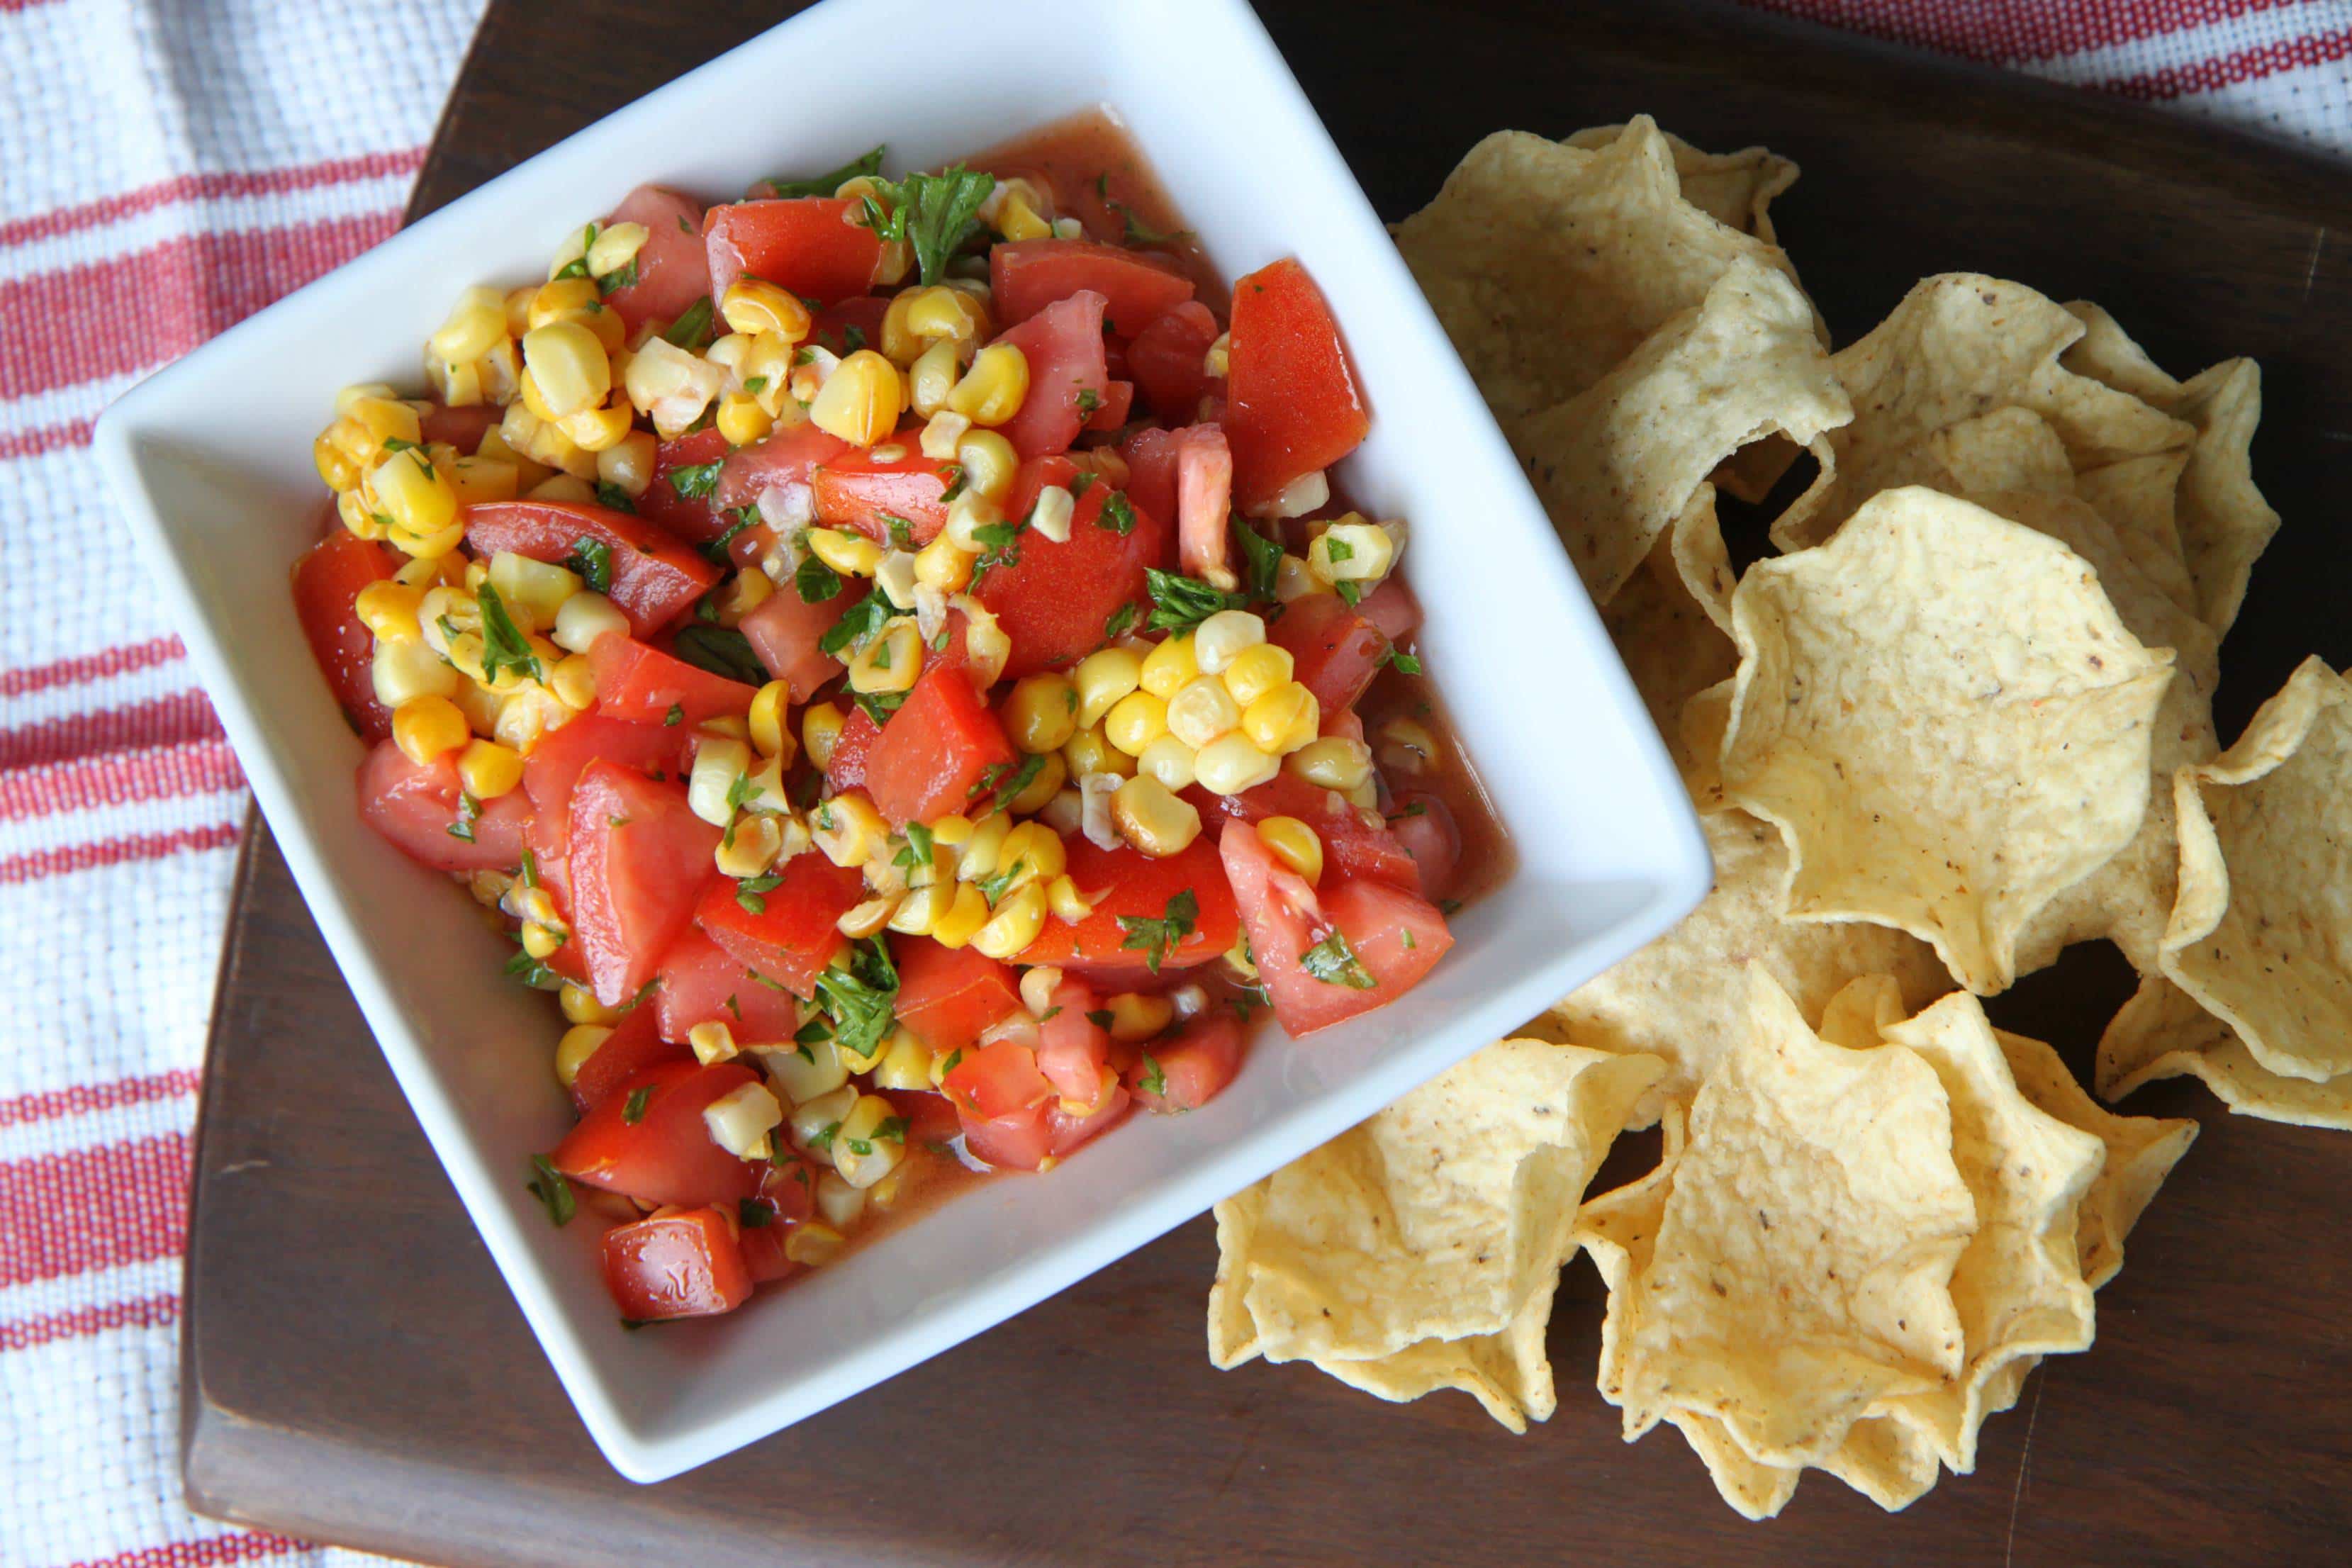
Personally, we are fans of tortilla chips with salsa and guacamole.
Looking for a fresh spin for dipping?
Try my roasted corn salsa as a chip dip or as a topping for your fish tacos.
If you are looking for other fish taco sides, check out this list of 20 quick and easy sides for fish tacos.
- 1- 16 ounce bag of frozen tilapia (or your favorite white fish), thawed
- 2 tablespoons olive oil
- ½ teaspoon salt
- ½ teaspoon ground cumin
- ½ teaspoon garlic powder
- 1 teaspoon Old Bay seasoning (found over by the seafood counter)
- Salt and pepper
- 1½ cups shredded lettuce, shredded cabbage, tomatoes, lime, or salsa (optional)
- Taco shell, flour tortillas, or corn tortillas (warmed)
- Preheat oven to 450 degrees.
- Rinse fish, pat dry with paper towels.
- Cut fish crosswise into ¾ inch slices and place them in a mixing bowl.
- Combine the fish with the olive oil and seasonings, tossing gently. Make sure the fish is throughly coated with the spices and oil.
- Dump the prepared fish on a parchment-lined cookie sheet, adjusting the pieces of fish so that none are overlapping. 6. Bake for 4-6 minutes or until fish begins to flake when tested with a fork.
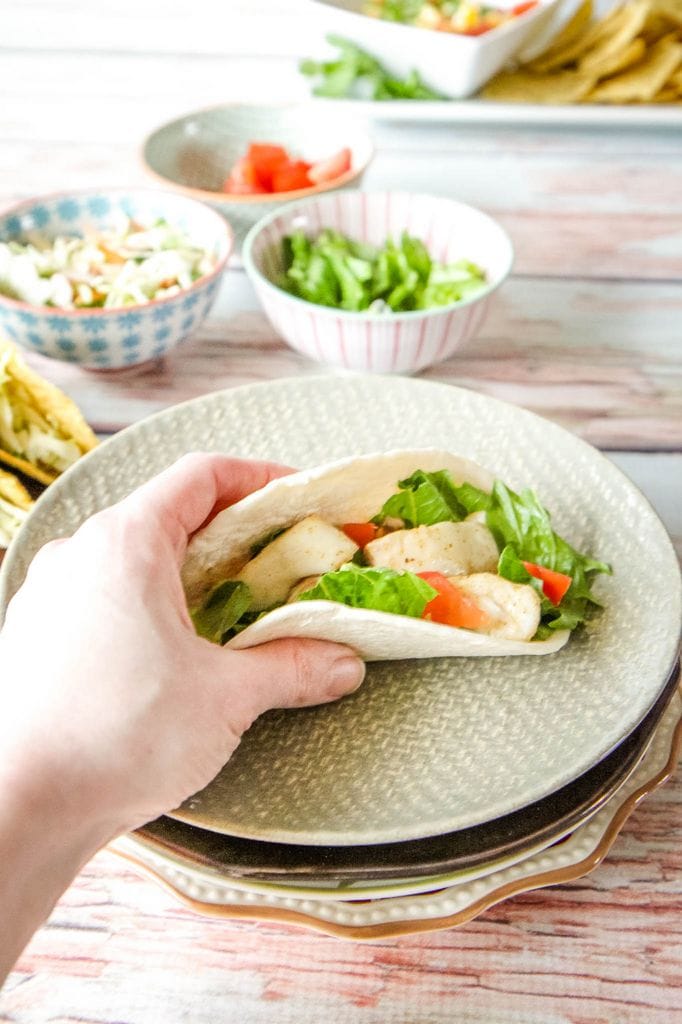
- To serve, spoon lettuce and tomato into each taco shell, add fish slices, and top with salsa or your favorite toppings.
As an Amazon Associate I earn from qualifying purchases.
I am a RewardStyle affiliate and I earn from qualifying purchases.
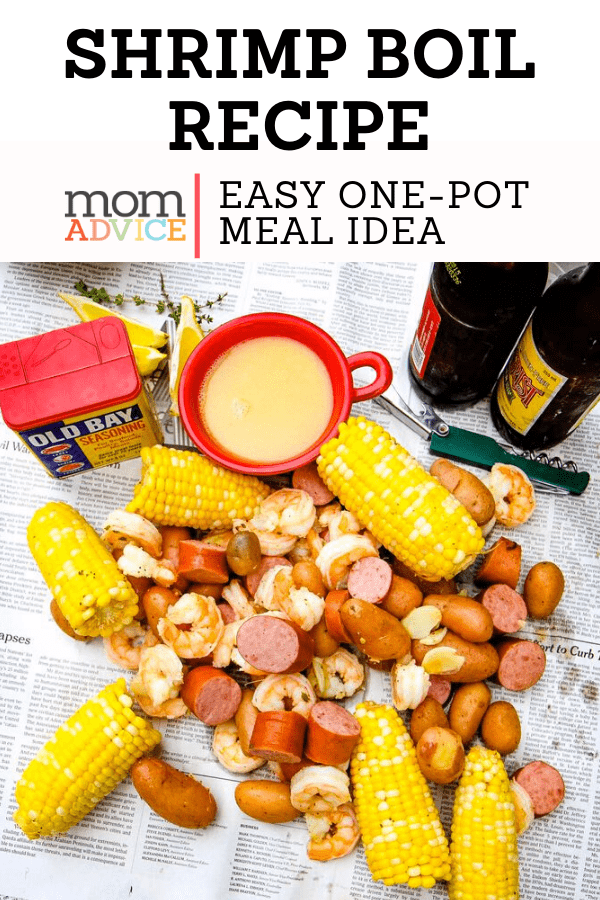
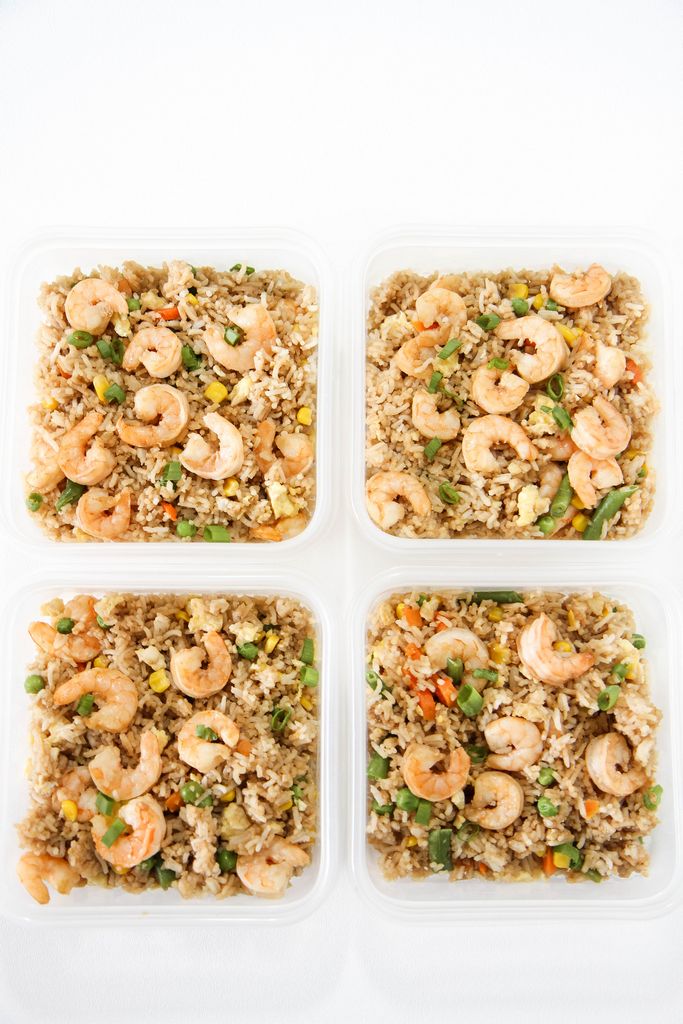
Love this recipe? Check out our other favorite meat-free and seafood dinner ideas!
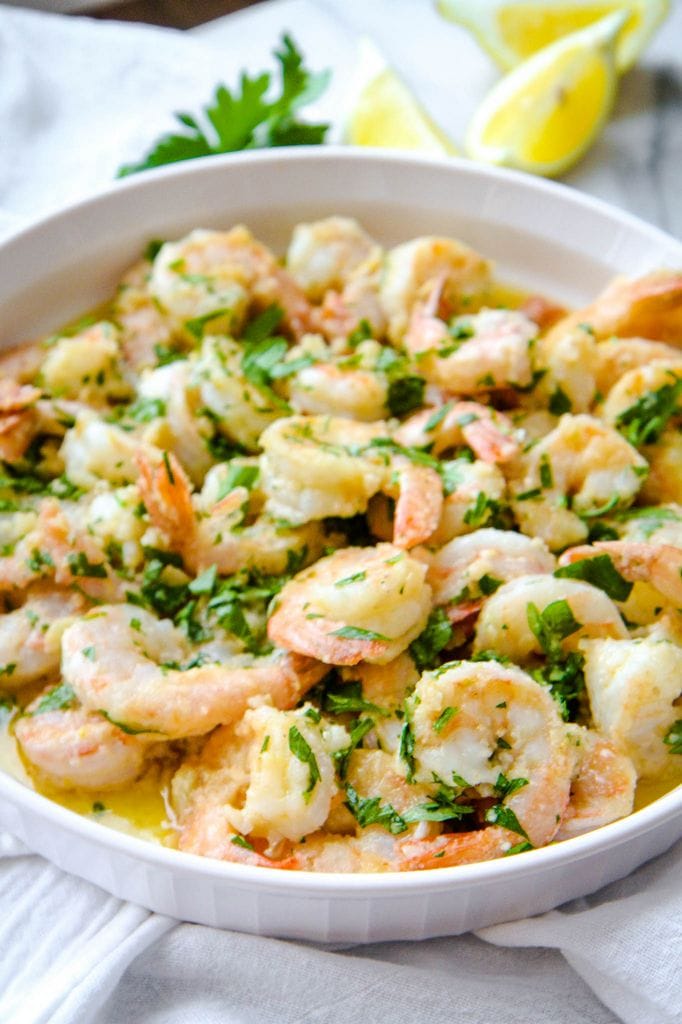
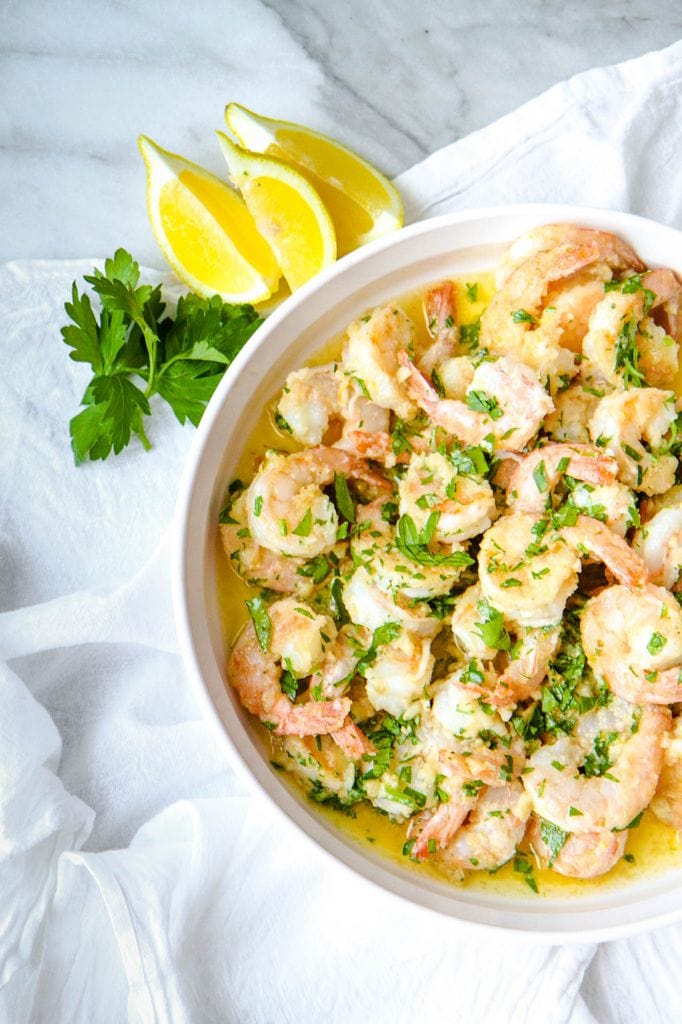
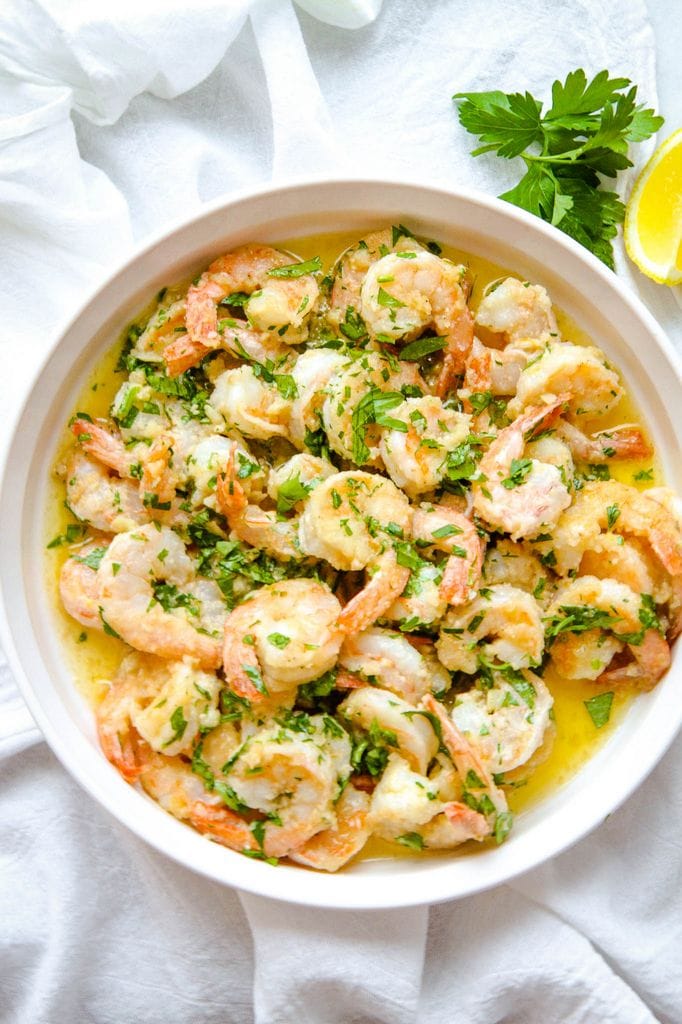
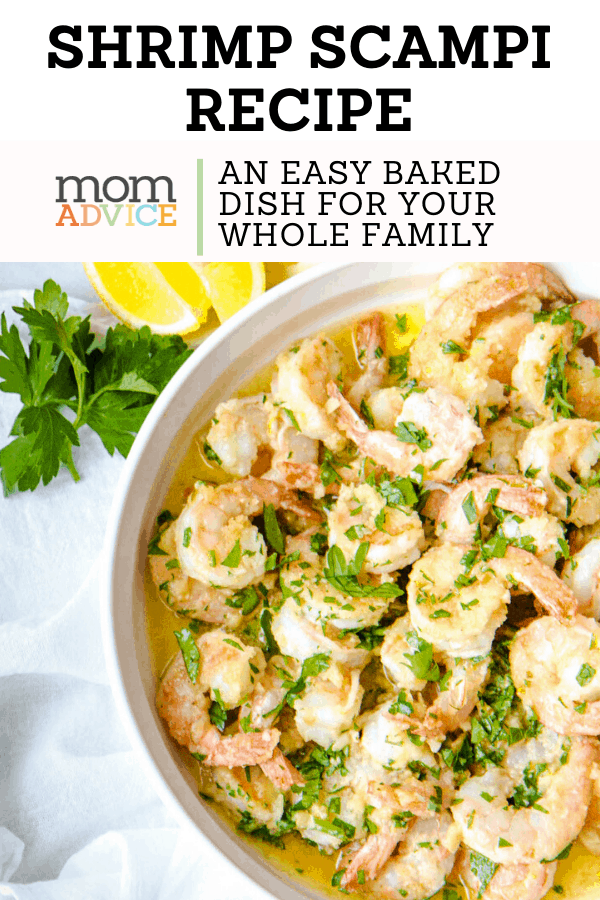
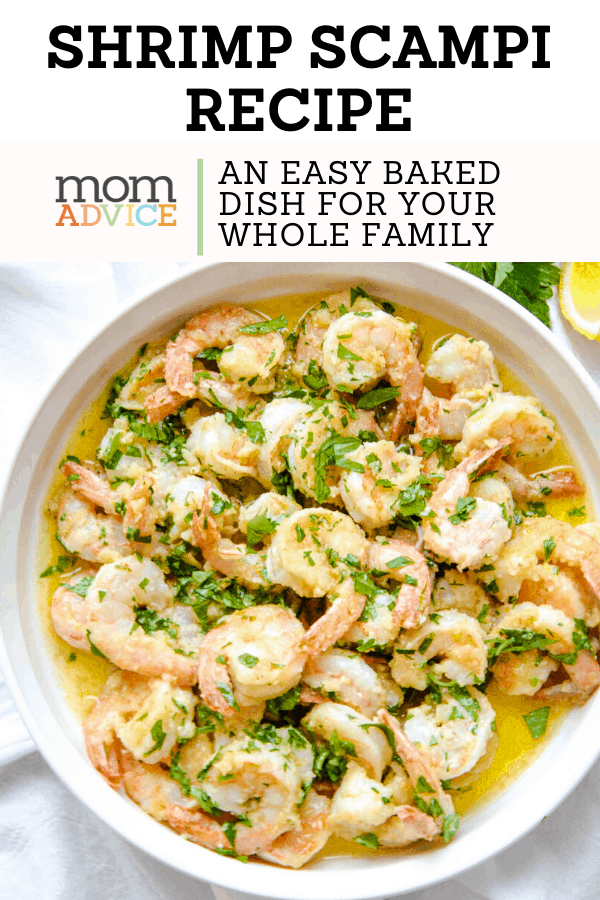 shrimp scampi recipe (can be made gluten-free)
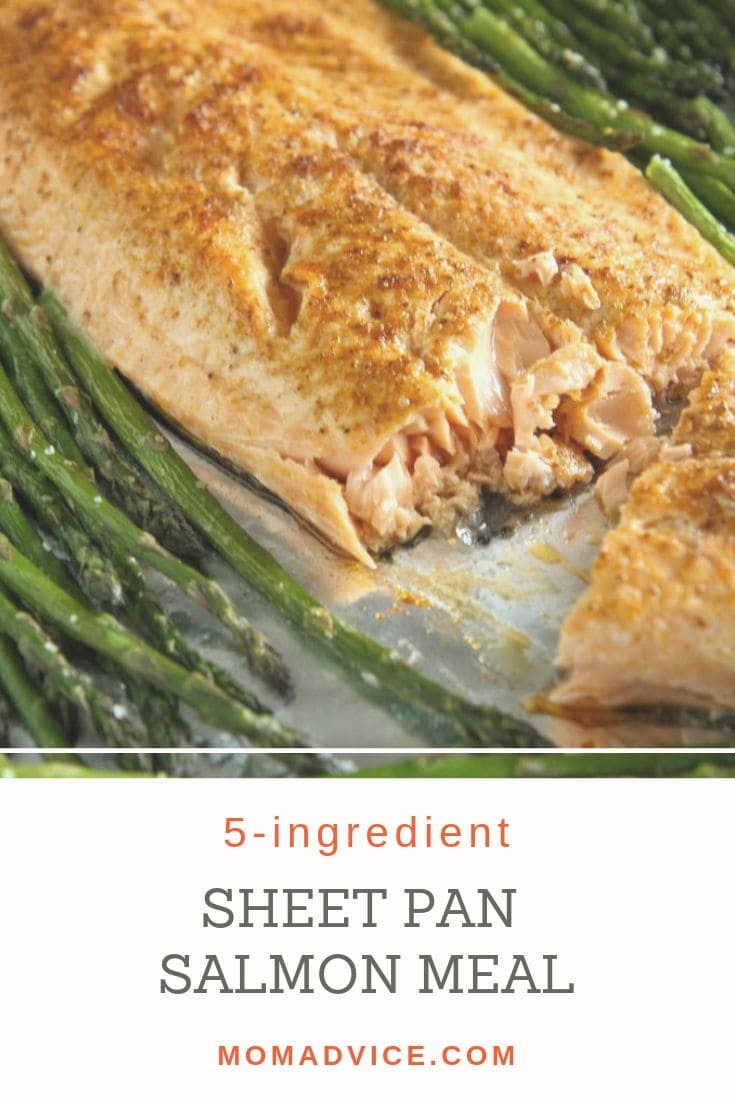
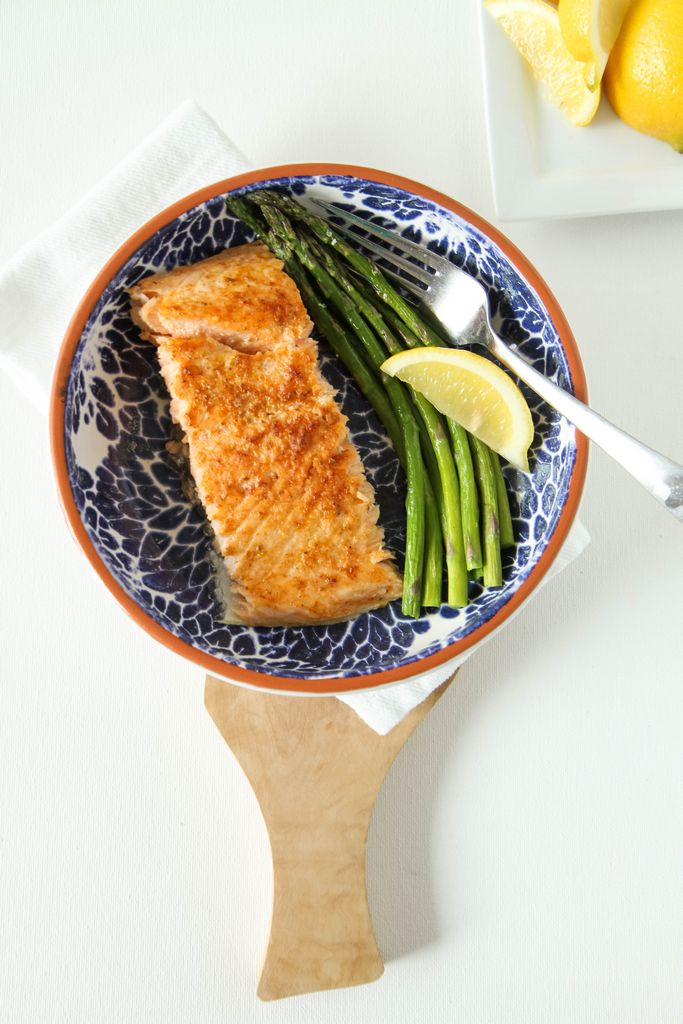 5-ingredient salmon sheet pan meal
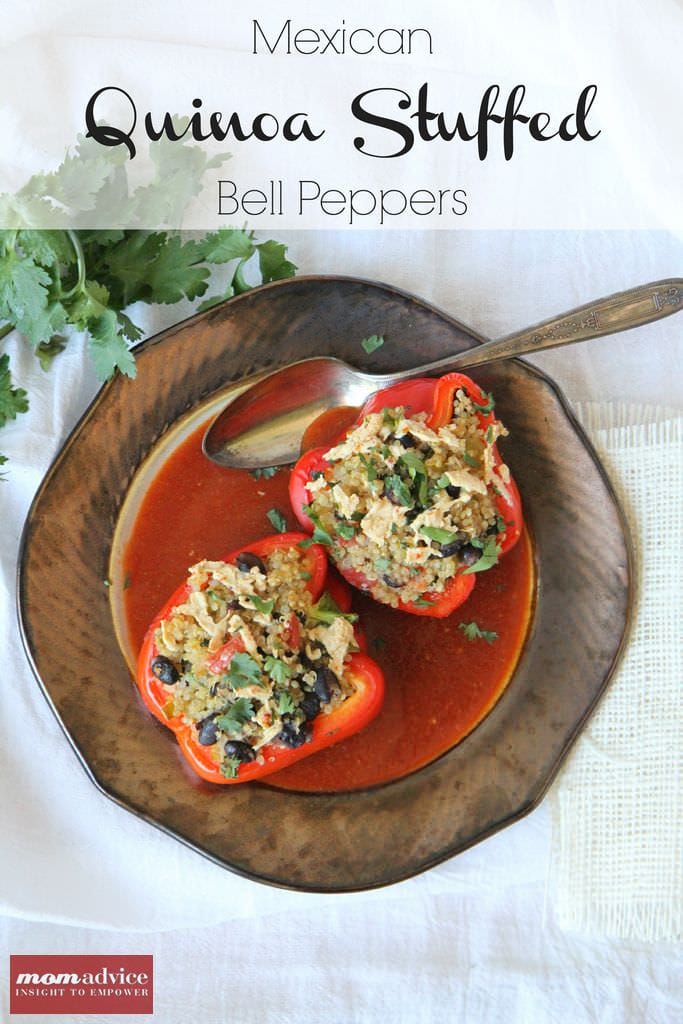 mexican quinoa stuffed bell peppers (dairy-free and gluten-free)
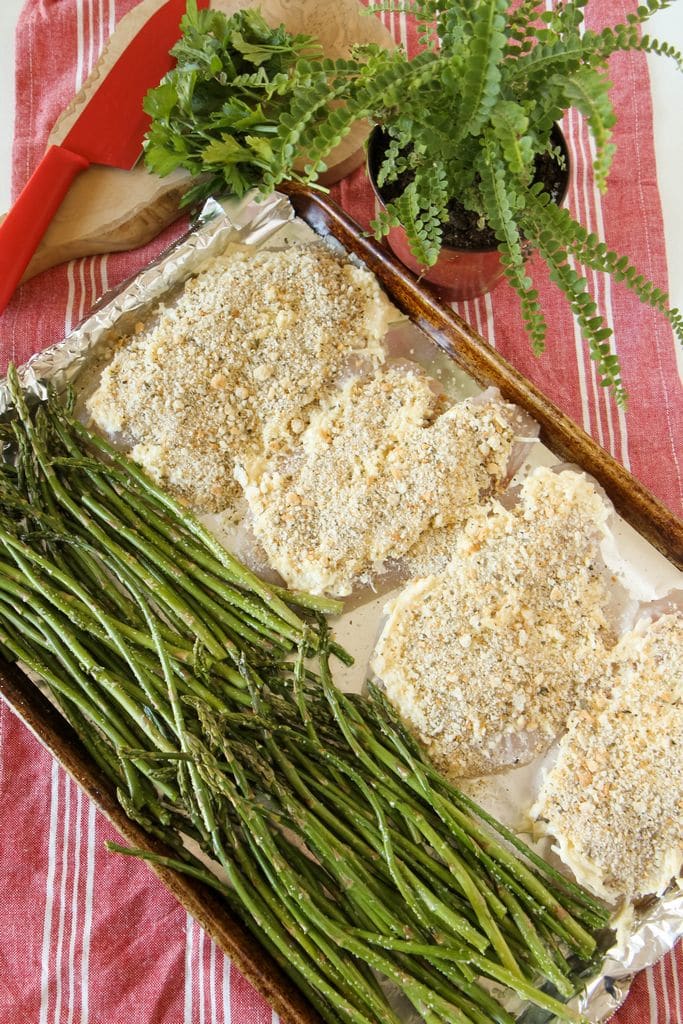 herb baked tilapia sheet pan meal
Happy cooking!


