Basic Vinaigrette (courtesy of, “How to Cook Everything”)
1/4 cup good vinegar (you can use sherry, balsamic, red, or white wine vinegar)
1/2 teaspoon salt, plus more if needed
1/2 teaspoon Dijon mustard
3/4 cup extra-virgin olive oil
2 teaspoons minced shallots (optional & I leave these out)
Freshly ground black pepper to taste
Briefly mix the vinegar, salt, and optional mustard with an immersion blender, food processor or blender, or with a fork or wire whisk. Slowly add the oil in a stream (drop by drop if whisking) until an emulsion forms or just whisk everything together briefly. Add the remaining oil faster, but still in a stream. Taste to adjust salt and add more oil or viengar if needed. Add the shallots and pepper. This is best made fresh, but will keep, refrigerated for a few days; bring back to room temperature before using.
To make a small amount of Basic Vinaigrette: Combine 1 to 1 1/2 tablespoons vinegar, 1/4 teaspoon salt, 1/2 teaspoon mustard, 3 to 4 tablespoons oil, and 1/2 teaspoon minced shallots as above. Add pepper, then taste and add more vinegar, salt, or oil as necessary.
1 can sweetened condensed milk (or make your own sweetened condensed milk)
1 1/2 cups nonfat milk (I used prepared powdered milk)
3 Tablespoons unsweetened cocoa
Blend all ingredients together in your blender. Pour into a mason jar or your old coffee creamer dispenser. This creamer will keep up to two weeks in your fridge.
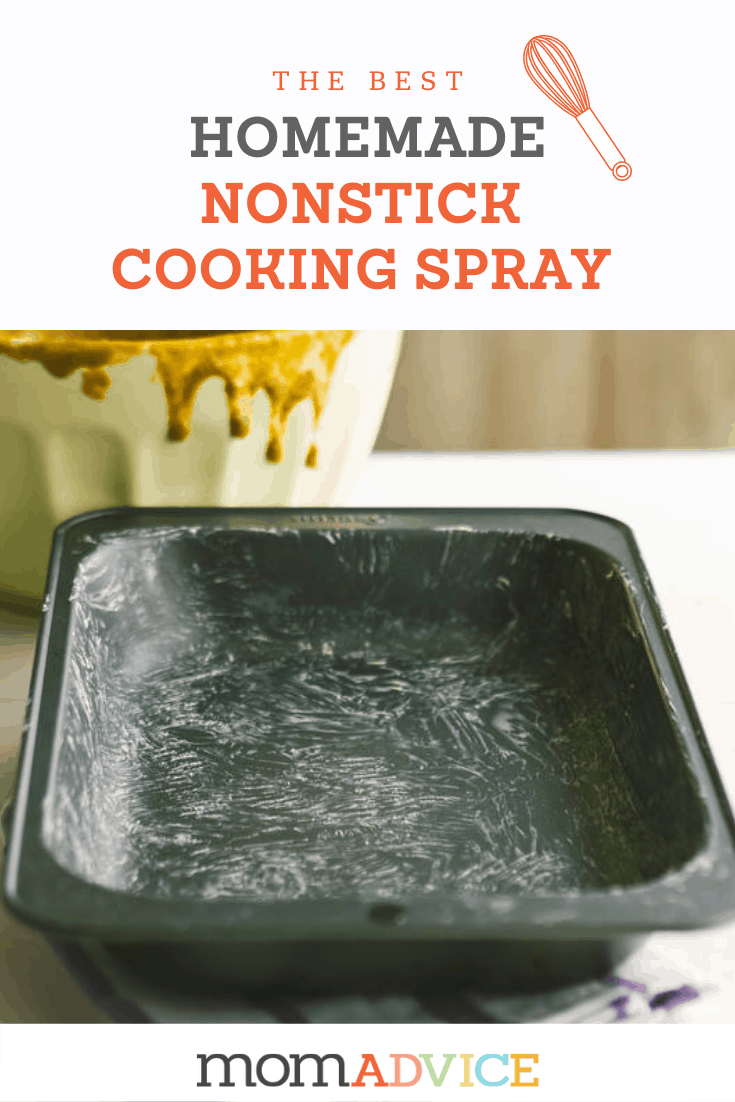
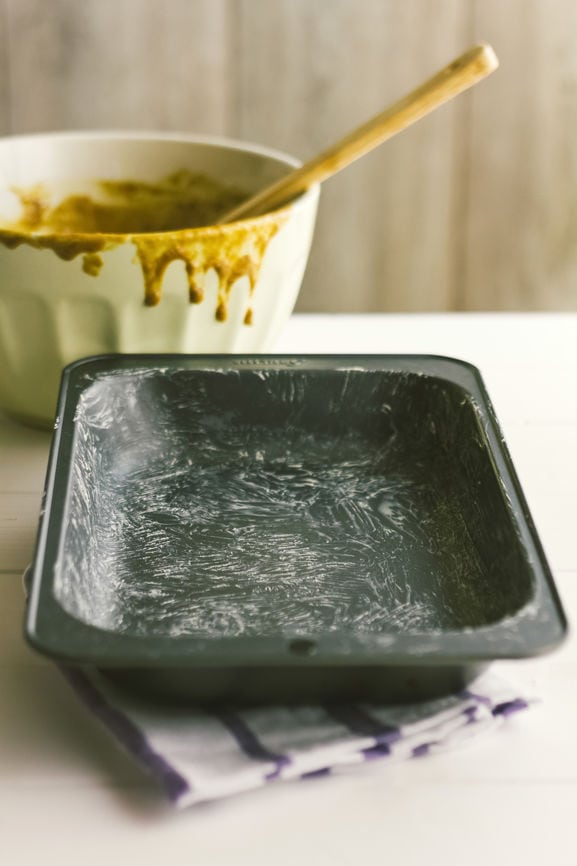
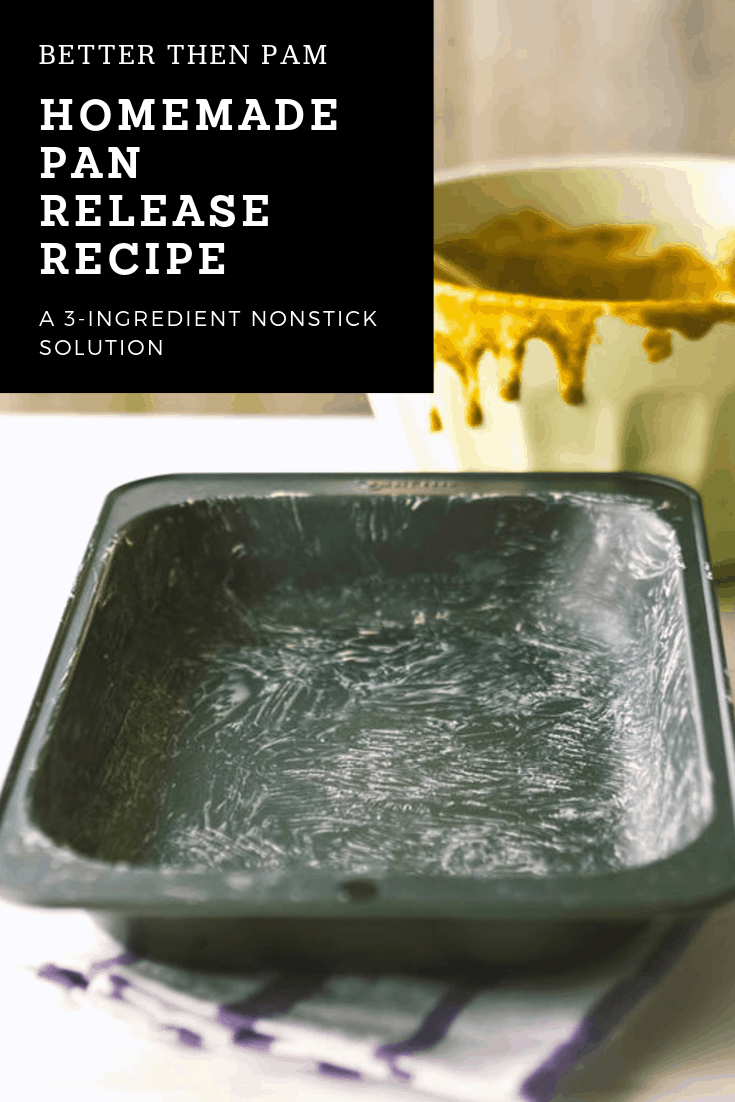
Did you know that you can substitute your Pam cooking spray with this amazing diy pan release recipe. Stored at room temperature, this homemade version works great and won’t gunk up your pans like the usual cooking oil sprays. You won’t believe how easy it is to whip up this homemade cooking spray for all your baking needs.
Did you know that you can make your own pan release with just a few simple pantry ingredients.
When I first began baking, I relied heavily on store bought sprays to insure that my baked goods wouldn’t stick.
What I didn’t realize was the gunk that can build up on my pans from these sprays. Experts say that gunk can be removed, from your pans with a soak of baking soda and vinegar. I’ll be honest though, I have found it pretty darn impossible to remove this residue from my pans.
One popular substitute is a to purchase a spray bottle oil mister. These reusable misters can be filled with your olive oil (or vegetable oil) and applied just as you would with Pam.
Even after buying this kitchen gadget, I found my cakes and quick breads continued to stick to the pans. This green alternative just didn’t end up begin the solution I thought it would be.
You could say that my cake pans and these spray misters went together like oil and water.
Hahaha!
What’s the Secret to A Nonstick Spray That Doesn’t Gunk Up Your Pans?
I discovered this recipe when I signed up for a cake decorating course, at my local Michael’s.
I couldn’t wait to learn the secrets to perfect cakes and one of her best tips was on cake removal. I assumed she would tell us a product to buy, but it ended up being a pantry recipe that anyone could make.
Instead of commercial sprays, she greased her pans with a homemade mixture of oils and flour.
Say what?
That sounds way more affordable!
While fancy commercial cake release sprays were available, she found making her very own version of this yielded way better results.
I decided to take her word for it and can’t believe how beautifully it performed. I was no longer battling the icky residue.
How Do You make DIY Pan Release Spray?
DIY Pam Spray can be made with equal parts canola oil and vegetable shortening. Finally, the addition of flour, is added in to give this mixture a marshmallow creme consistency. I have found the use of a stand mixer makes this even easier to pull together!
How Do I Store My Homemade Non Stick Spray?
No need to refrigerate this because it can be stored at room temperature. I keep mine in a simple mason jar and apply it with a pastry brush.
Unlike coconut oil, you don’t need to worry about warming up your oil before applying it to your griddles and pans.
These ingredients may separate, but I just use a spoon to mix them back together when that happens.
How Do I Use DIY Pan Release Spray?
Keep in mind, a little goes a long way so start small. I find it is easiest to apply with a simple pastry brush. Dip your pastry brush, into the pan release, and paint it on your pans. This can be used to create nonstick surfaces on cake pans, bundt cake pans, griddles, and cake pans.
This recipe is so inexpensive so you will save some money at the grocery store too! I hope you can try it- you really won’t believe how great the results are. I won’t ever use anything else again!
How to Make Homemade Nonstick Spray (DIY Pan Release Spray)
Author: MomAdvice.com
Prep time:
Total time:
Serves: 1 1/2 cups
Did you know that you can substitute your Pam cooking spray with this amazing diy pan release recipe. Stored at room temperature, this homemade version works great and won’t gunk up your pans like the usual cooking oil sprays. You won’t believe how easy it is to whip up this homemade cooking spray for all your baking needs.
Ingredients
1/2 cup canola oil
1/2 cup vegetable shortening (room temperature)
1/2 cup all-purpose flour
Instructions
Place all ingredients in a mixing bowl.
Using an electric mixer beat until mixture has increased in volume slightly and resembles marshmallow cream.
Place in an airtight container with a lid (like a mason jar). This can be stored in your cupboard. In the warmer months, you can keep it in your refrigerator.
If your mixture separates, just stir to bring these ingredients back together.
Use a pastry brush to brush on the your homemade cake release. Remember, a little goes a long way.
3.4.3177
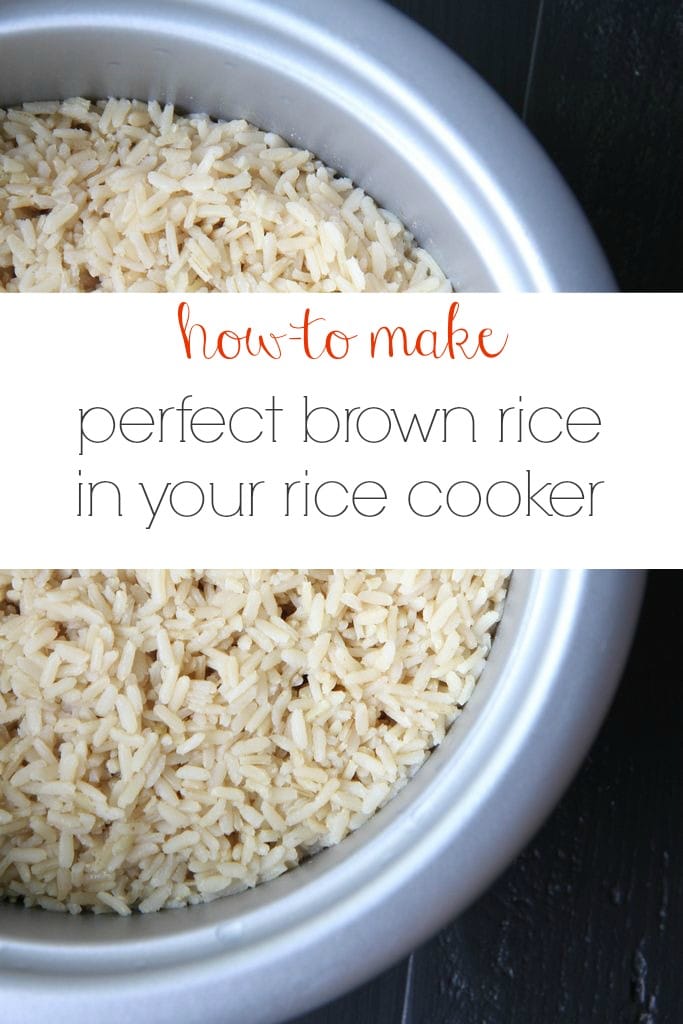
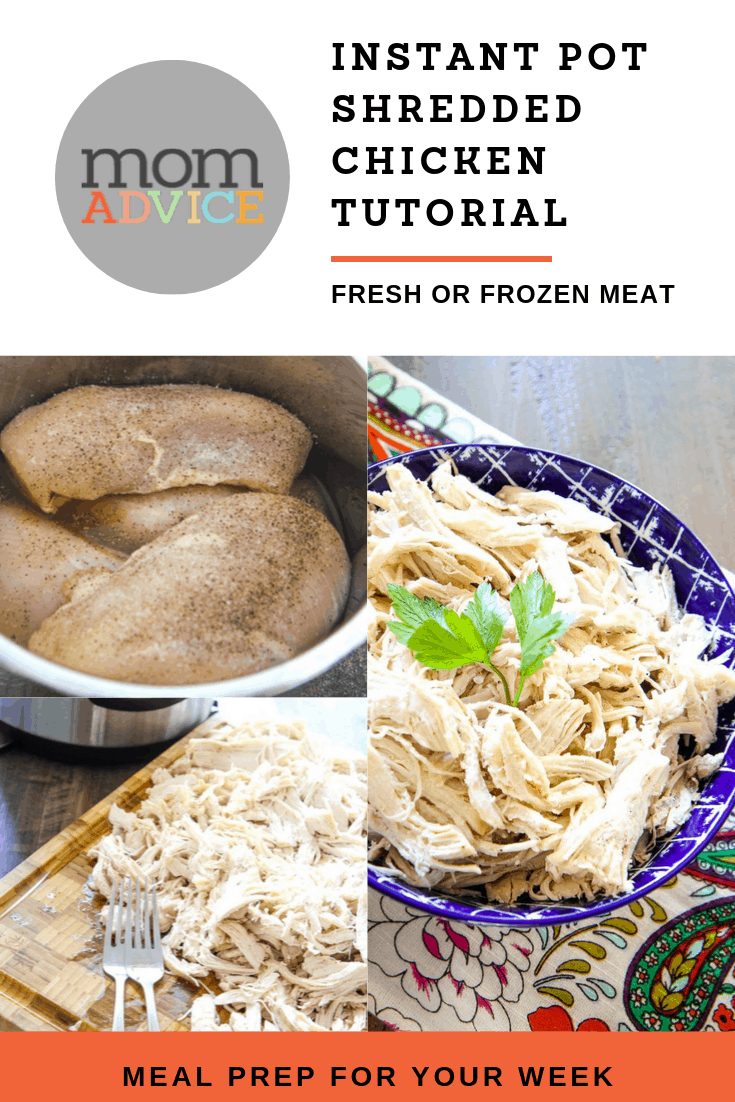
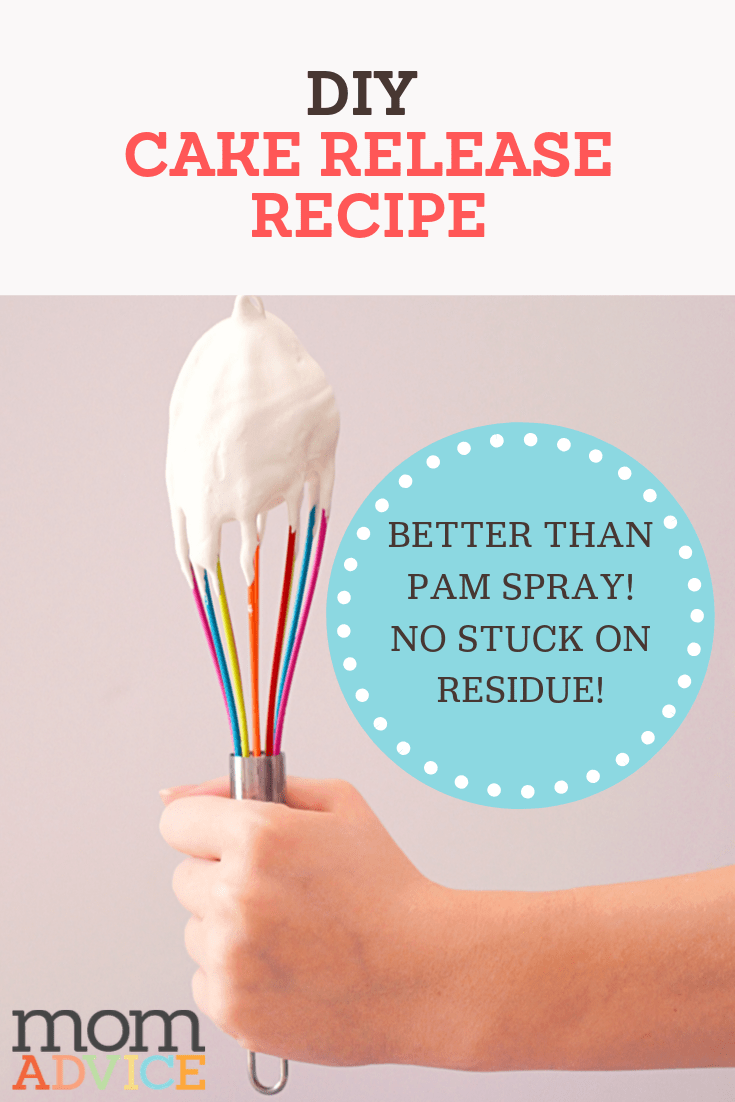
Love this tutorial? Here are three other DIY projects I think you might like!