
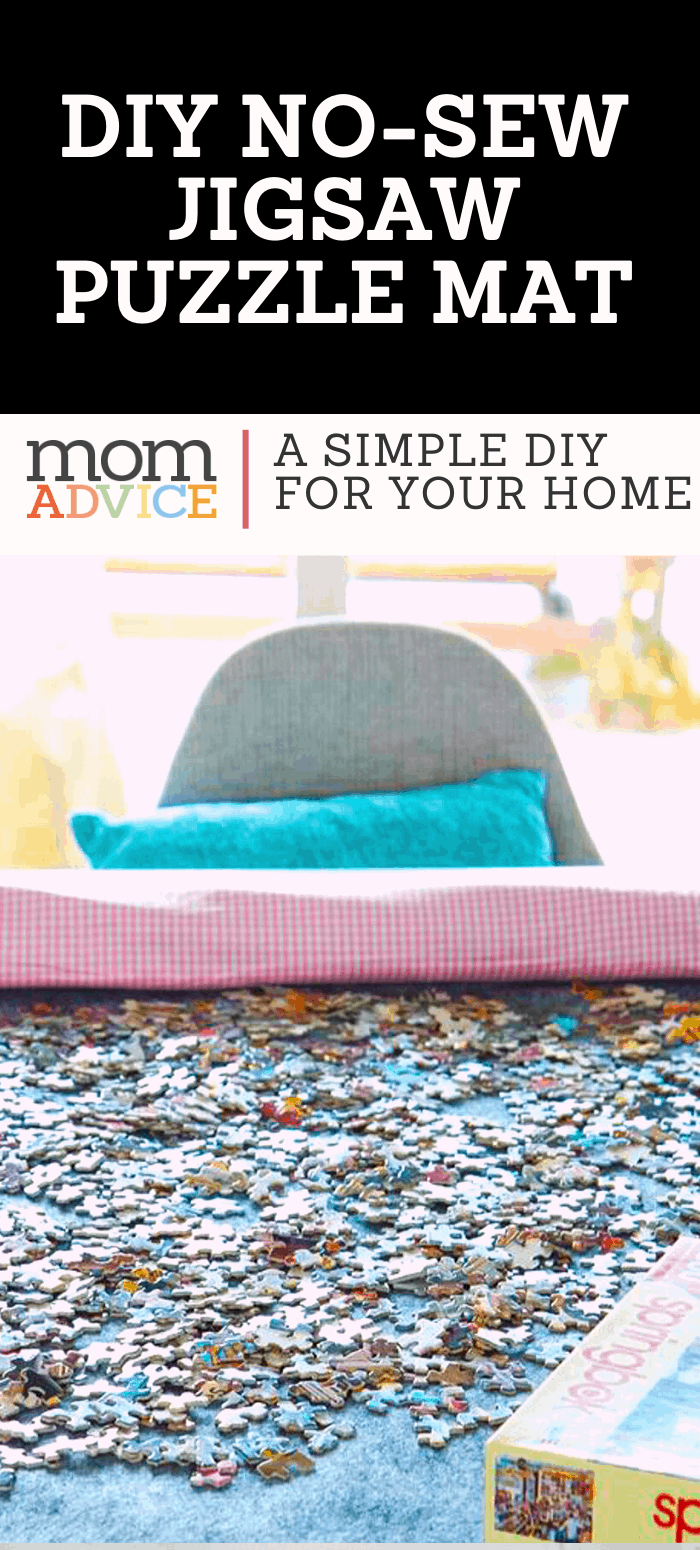
This no-sew felt puzzle mat is the perfect foundation to build your puzzles on, allowing you to relocate your puzzle when you need to. Check out this fun DIY in honor of National Puzzle Day!
This post was created in partnership with Waverly Inspirations. Thank you for supporting the companies that support our site!
What shows your love for someone more than something handmade by you?
Today I am sharing a tutorial for an easy no-sew DIY Roll-Up Jigsaw Puzzle Mat that I created for my family.
This mat makes it easy to relocate your puzzle projects when you need to use your table and it’s made with just a few inexpensive materials!
Are you addicted to jigsaw puzzles like us?
My kids are at a fun age right now where we are really enjoying playing board games and assembling puzzles together.
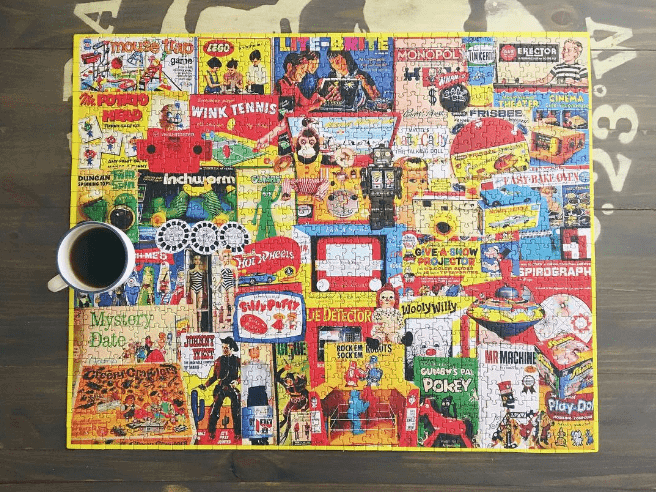
Right now we are tackling 1,000 piece puzzles which feels so ADULT. We haven’t had the courage to go beyond that size yet, but I’m sure we will get there.
Even after our kids have headed to bed, the hubby and I spend time together listening to podcasts or good music, while piecing together puzzles. I find it be quite therapeutic after sitting in front of a screen all day. It helps me decompress in the evening while giving my brain a break from my to-do lists.
To maximize our jigsaw puzzle collection, a couple friends and I trade puzzles after we finish them which has been great because we always have something to work on, while keeping it rather frugal in the process.
Trading puzzles has been a great way to keep our collection fresh and continue to keep our kids interested in putting these together with us.
My only gripe with puzzles is where to relocate them when we need to eat at the table.
We also happen to have a, “helper,” in our house who likes to flip puzzle pieces when her mother is ignoring her (we love you, Lulu the Cat!). I thought a mat might be a great way to discourage our helper and could be a quick way to clear the table for the dinner hour!
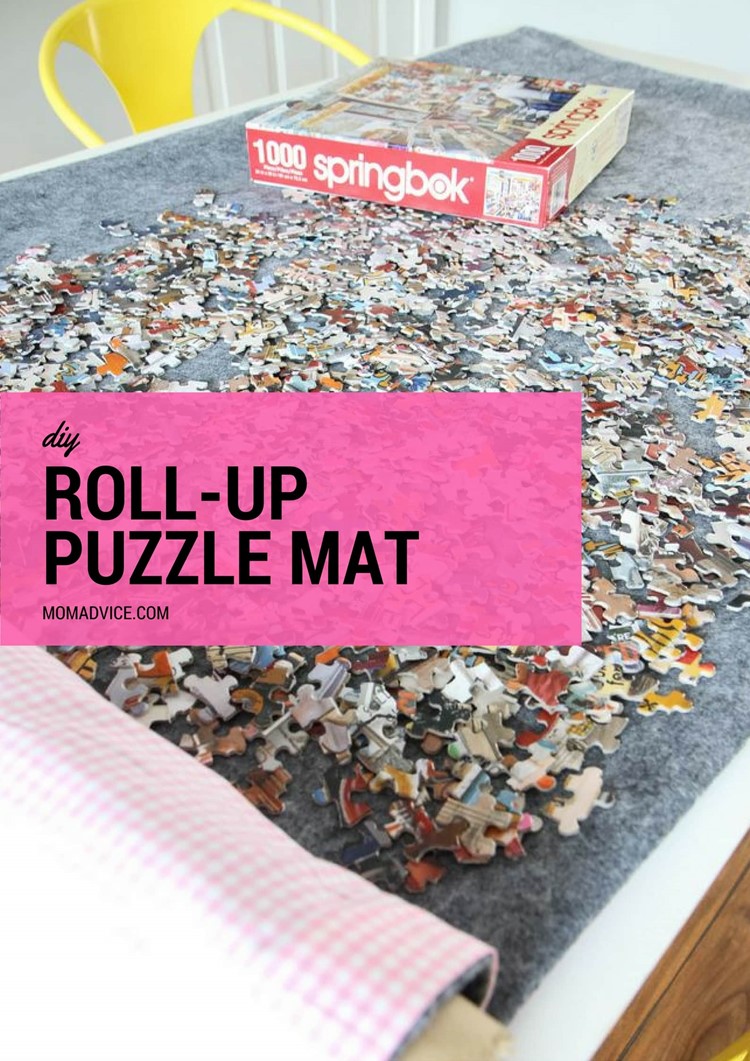
Let’s create this easy no-sew roll-up jigsaw puzzle mat!
DIY Roll-Up Jigsaw Puzzle Mat Tutorial

Supplies Needed (all of these supplies can be found at Walmart!)
1 yard of Waverly Inspirations Fabric (check out the fresh new Valentine’s Day prints, I picked a classic pink gingham!)
1 yard of felt fabric (any coordinating color)
1 package of Waverly Inspirations Ribbon (any coordinating color)
Cardboard tube (you can use a durable mailing tube, gift wrap roll, or even use plastic PVC pipe)
Razor blade (if cutting to size)
Hemming Tape or fabric glue
Scissors
Waverly Chalk Paint in a coordinating color and paint brush (optional, but you can paint the cardboard roll to coordinate- I decided to leave mine in its natural state!)
PUZZLES!! (check out my suggestions below for a few of our faves!)
How to Make a DIY Jigsaw Puzzle Mat

1. Much like our reversible seat cushion project, we are going to begin by lining up the two fabrics with the right-side of the fabric facing INSIDE towards each other. That means the wrong sides will be facing out!
Trim your fabric and felt to the same size.
Remember, this mat can be ANY size that you want.
If you want it be the size of your kitchen table, for example, measure that first and use this as your guide for creating your mat. I created a generous mat for our large puzzles!

2. Once your fabric has been trimmed, use your fabric tape and line all the sides , making sure to leave an opening so that you can turn the mat out once you have sealed all the seams.
Using a very hot iron, carefully and slowly, begin ironing to seal the seam (you can see another example of what sealing this seam looks like over here!).
Typically doing this requires pinning, but I did find that the felt held the tape in place and made it an easy project to do without pinning.
Do this along all the sides (make sure you left that opening to turn it out!!) until the two pieces are fused together.
Carefully, turn the right sides out and then finish by sealing that last opening with fabric tape or a little fabric glue.

3. Trim your cardboard tube to the length of your finished mat.
If you want to paint this, you can! I finished each end with a little tied ribbon that can be used to tie the entire mat up when we are storing it.


As you can see, you can roll up those puzzles (take your time and roll carefully!) when not in use.
Please keep in mind, it is not recommended for long-term storage since it can damage your puzzle pieces, but it is recommended for a quick relocation so you can use your table when you need it.
I am so excited to break this in and I’m guessing it is going to be a smart item to take when we rent our summer cottages too!
Looking for a few great jigsaw puzzles? Here are a few of my favorites!
PS- Seriously, start a puzzle exchange with your friends. You won’t regret it!
Looking for ways to store those jigsaw puzzles? This strategy works so well at our house!
Happy crafting!!

Do you want more craft inspiration from Waverly? Try these!
DIY No-Sew Reversible Chair Cushions
Fabric Wreath & Matching Garland
Fabric Bulletin Board Tutorial
Painting Pumpkins With Acrylic Paints
DIY No-Sew Hand Warmers
DIY Ottoman Serving Tray
15-Minute Scrappy Fabric Trees
Kid Craft: Easy Technique for Painting Gift Wrap
DIY Phone Charging Station
This post was created in partnership with Waverly Inspirations. Thank you for supporting the companies that support our site!
Pin It