Entertaining is my thing. There’s nothing I love more than getting friends and family together for a great time.
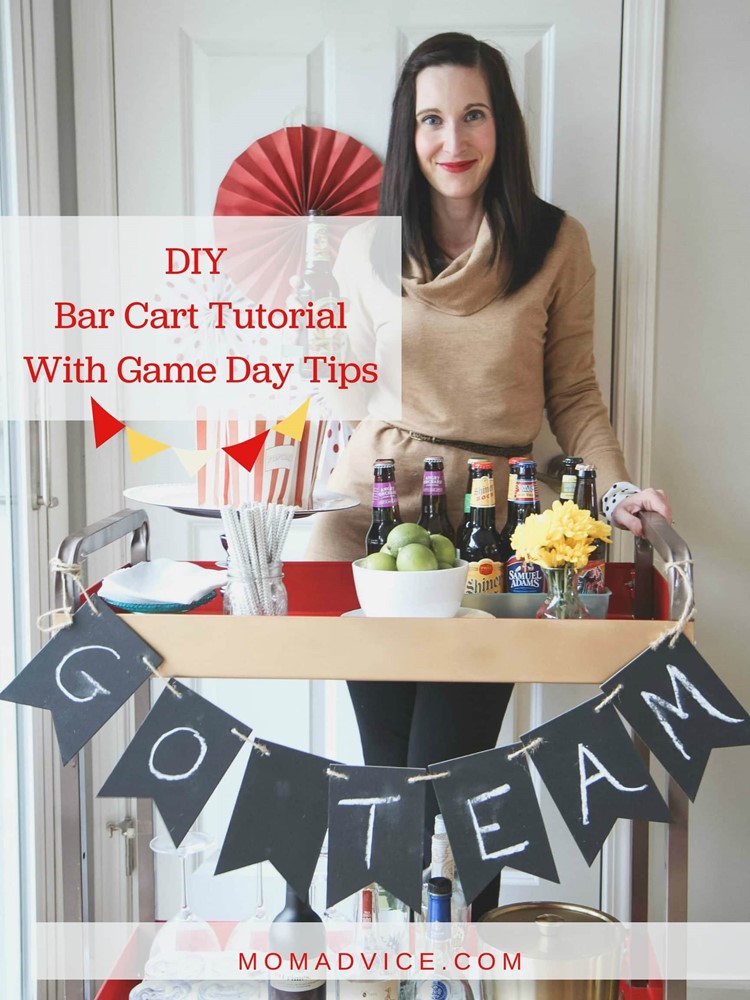
And with a certain important game day party coming up, I knew just what I wanted to assemble to show off for my guests — a game day bar cart!
My favorite bar cart in our home is actually a tool cart transformed into this super functional and fun bar cart, so you can make your own too!
For my cart design, I decided to keep parts of the original surface paired with a metallic shade, but you can personalize this to your own taste and color scheme.
Just follow along with step two on the inside of your bar cart and apply your choice of paint if you so choose.
DIY Bar Cart Made from a Tool Cart Tutorial
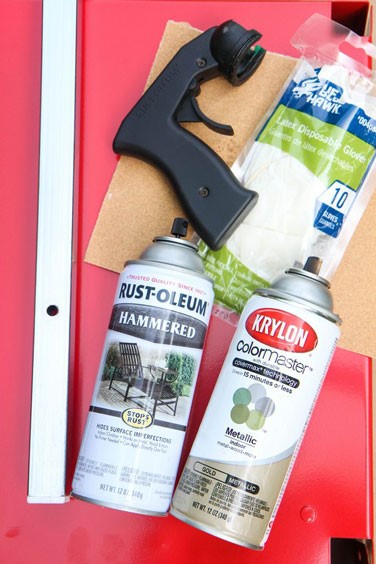
Supplies Needed
Metal Tool Cart (check here or here or here to pick your favorite)
2 cans Krylon Colormaster in Metallic Gold (indoor) Spray Paint
1 can Rust-Oleum Hammered Brown Spray Paint
1 Spray Paint Trigger (should be in the same aisle as the spray paint)
Sandpaper
Painter’s Tape (to tape off your wheels)
Gloves
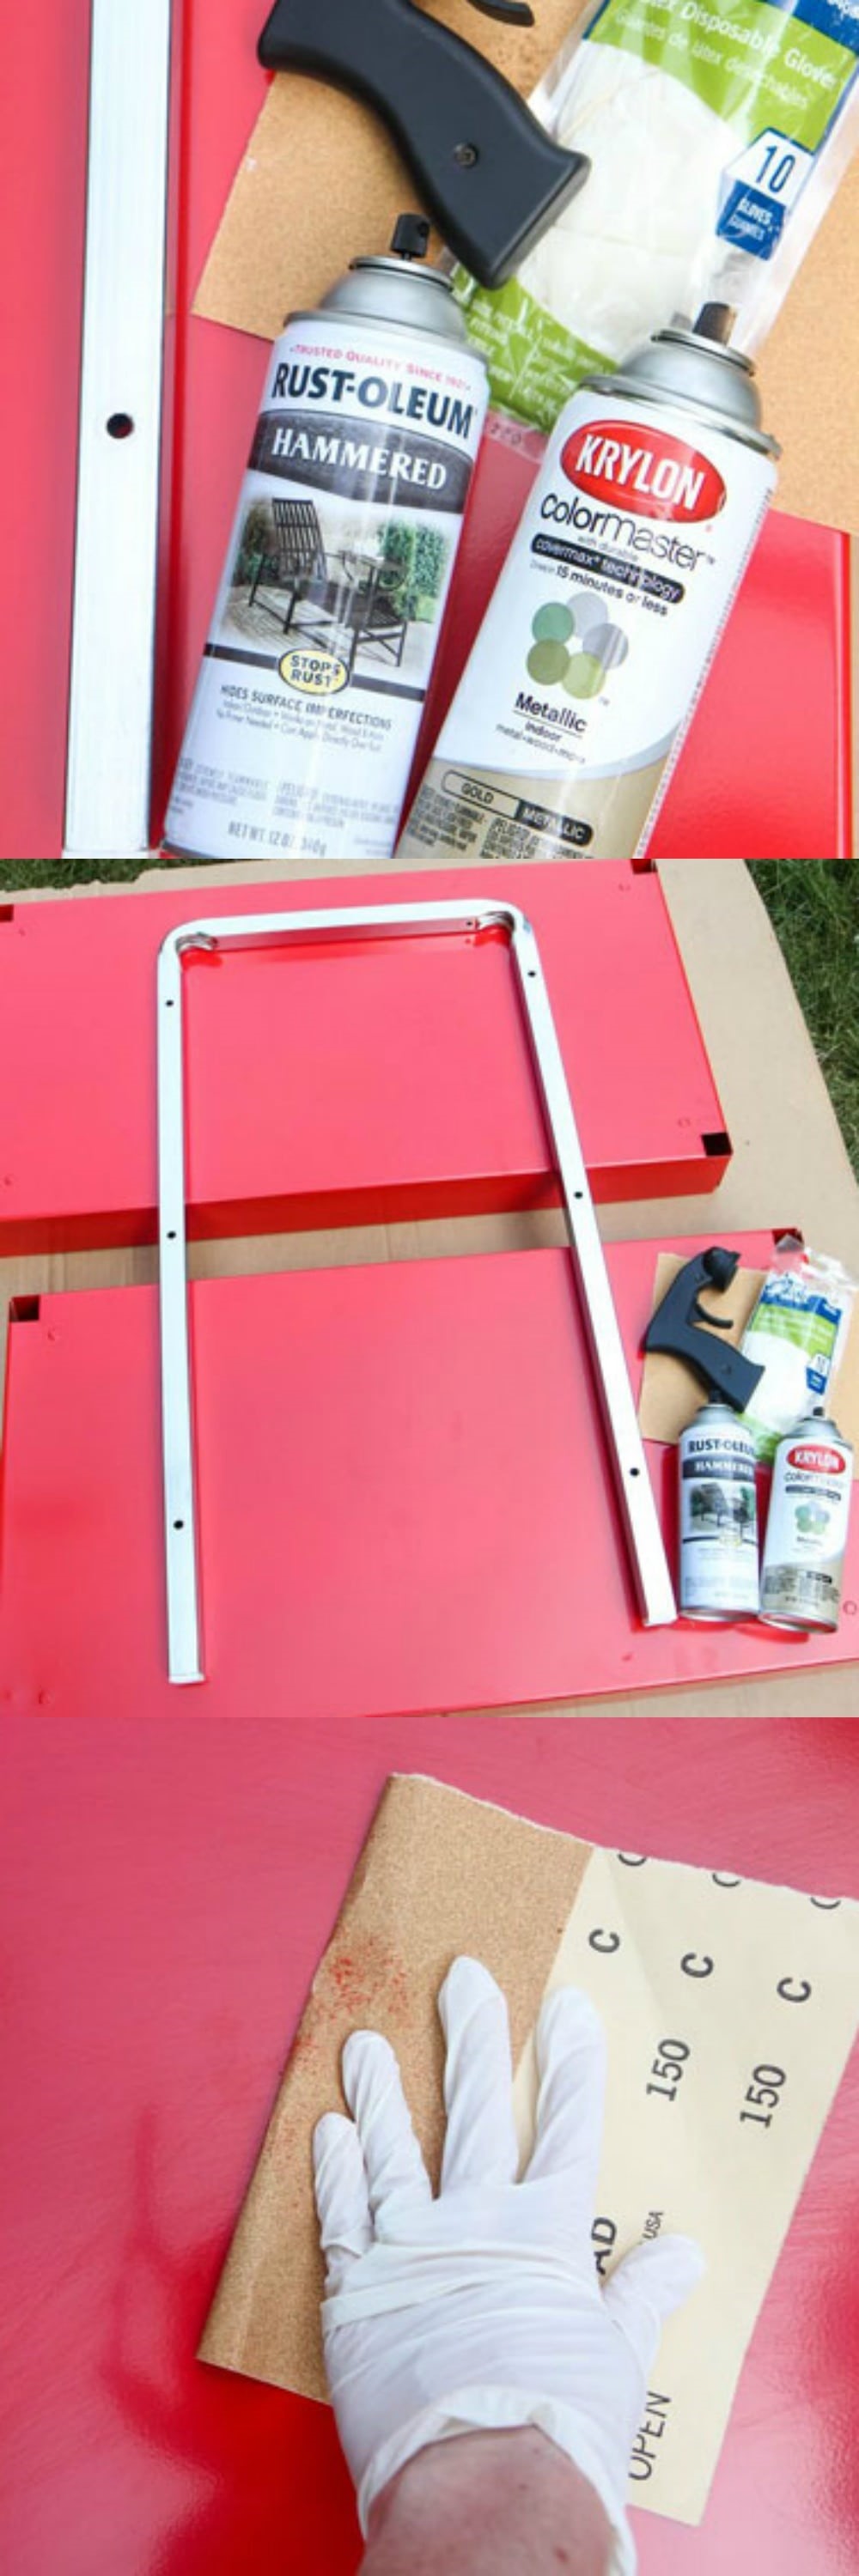
Directions
1. Begin by removing all of the parts and lining them up on cardboard or a drop cloth for painting. You will want the trays on this piece to be upside down since we are only spray painting the exterior of the tray. This will not only save you time spray painting, but the cart already has a nice finish on it that is easy to wipe and clean.
2. Rough up the exterior with medium-grit sandpaper. This will help our gold paint adhere to this smooth surface better.
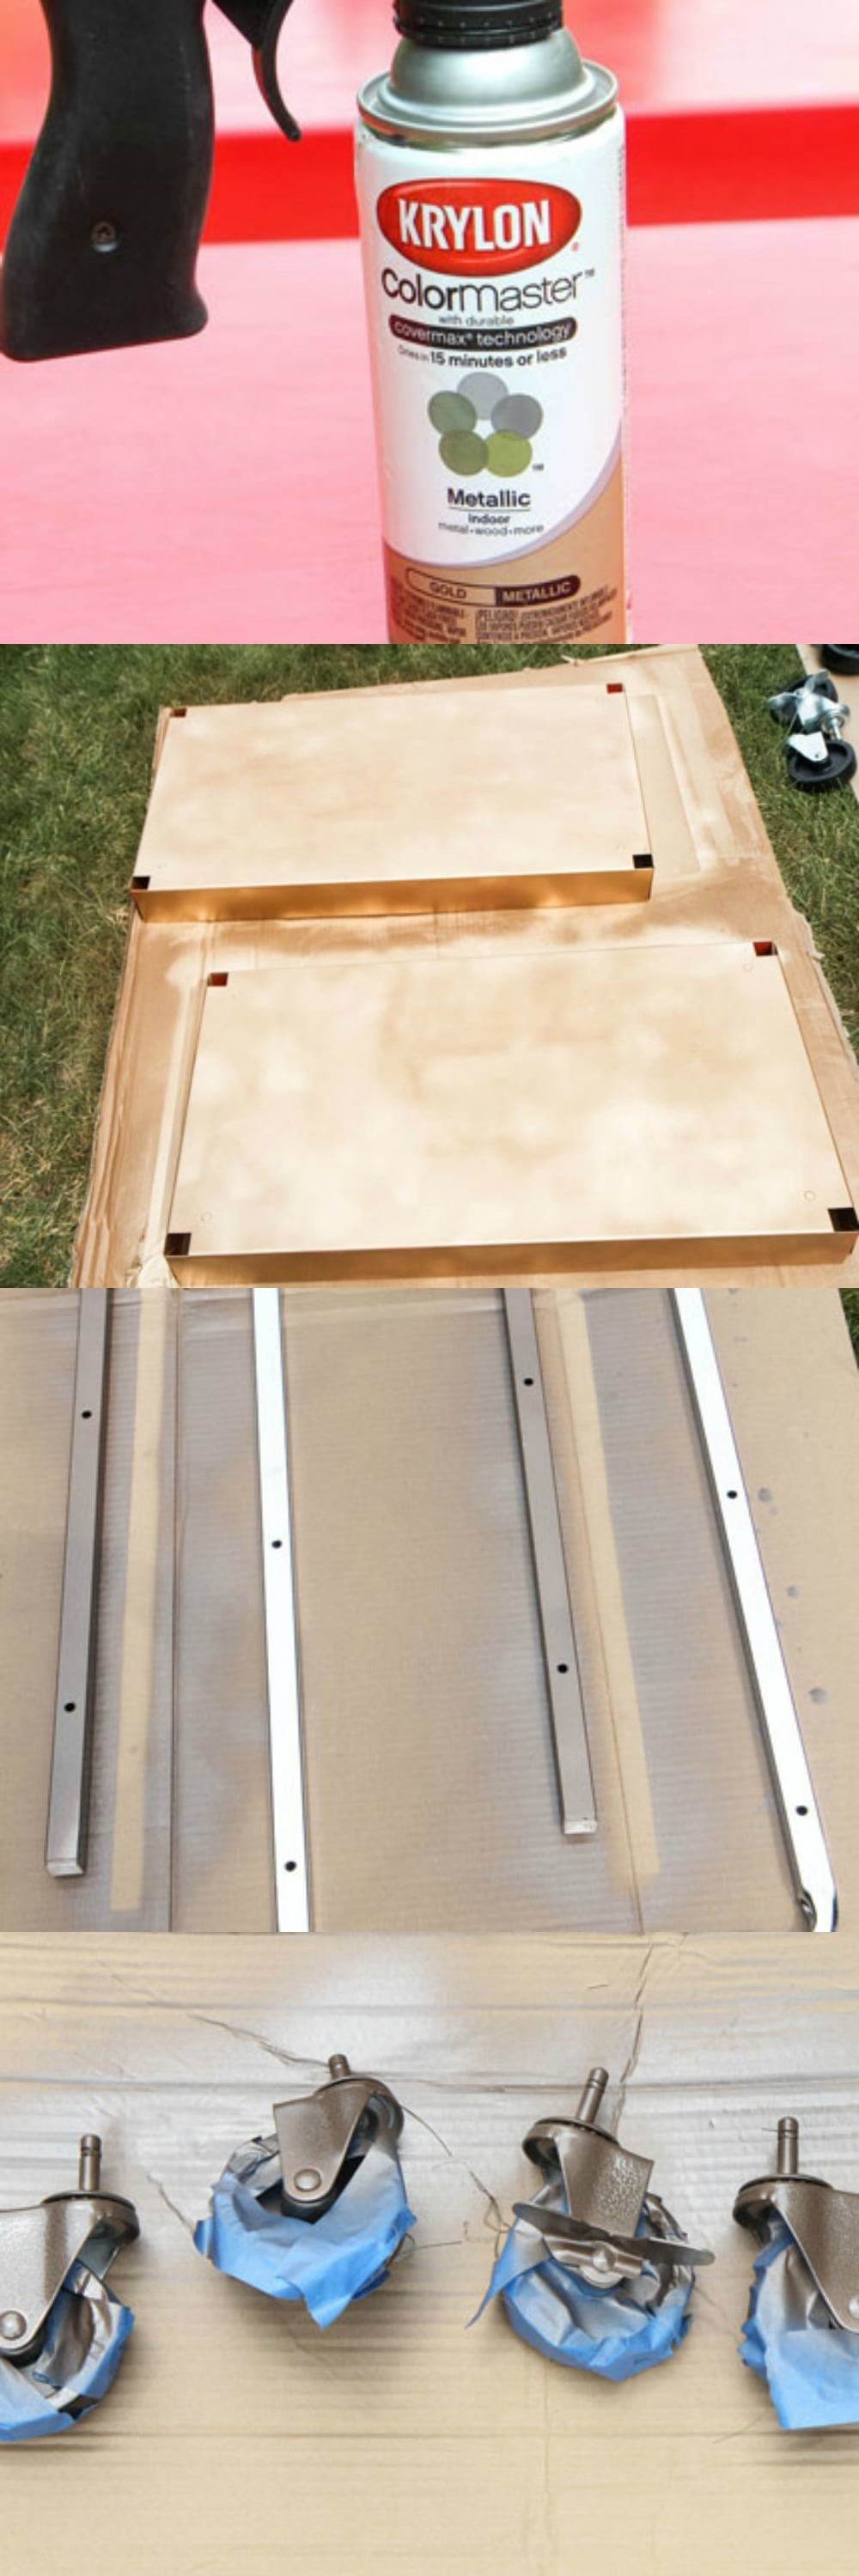
3. Apply the trigger handle to your spray paint can. If you haven’t used one of these before it is a life-changing spray painting tool that offers even coverage and saves your poor trigger finger for long projects.
Begin by shaking your can for 1-2 minutes and periodically during use. Hold the can 10” – 12” from your surface, and spray in sweeping motions from side to side with a slight overlap.
Apply multiple thin coats, wait one minute between each.
You can add a top coat, if you like, with a clear topcoat, but it does dull the metallic sheen from this paint.
I chose to leave it without the clear coat, because I like the roughness and loveliness of the sheen of this paint.
I did find that this does adhere a bit unevenly to the surface, but creates more of the hammered metal look that I was going for.
4. Remove the trigger handle and now place it on your hammered metal spray paint that we are using for the handles and wheels on our bar cart.
Using the same technique, hold the can 10” – 12” from your surface, and spray in sweeping motions from side to side with a slight overlap.
Allow these to dry fully and then flip to the other side to spray paint the flip-side of these.
5. Tape off your wheels as best as you can and spray paint these with the same spray paint.
Allow them to dry and then flip to the other side and spray paint the flip-side.
When you remove the tape, if any of the paint has gotten on the wheel, just use your sandpaper to rough up the wheel to remove the paint.
6. Assemble after your cart, and all of its parts, are fully dry.
Keep your spray paint handy for final touch-ups and use a piece of cardboard to block and protect the areas around where you need to touch-up.
Allow this to fully dry before loading it with your drinks.
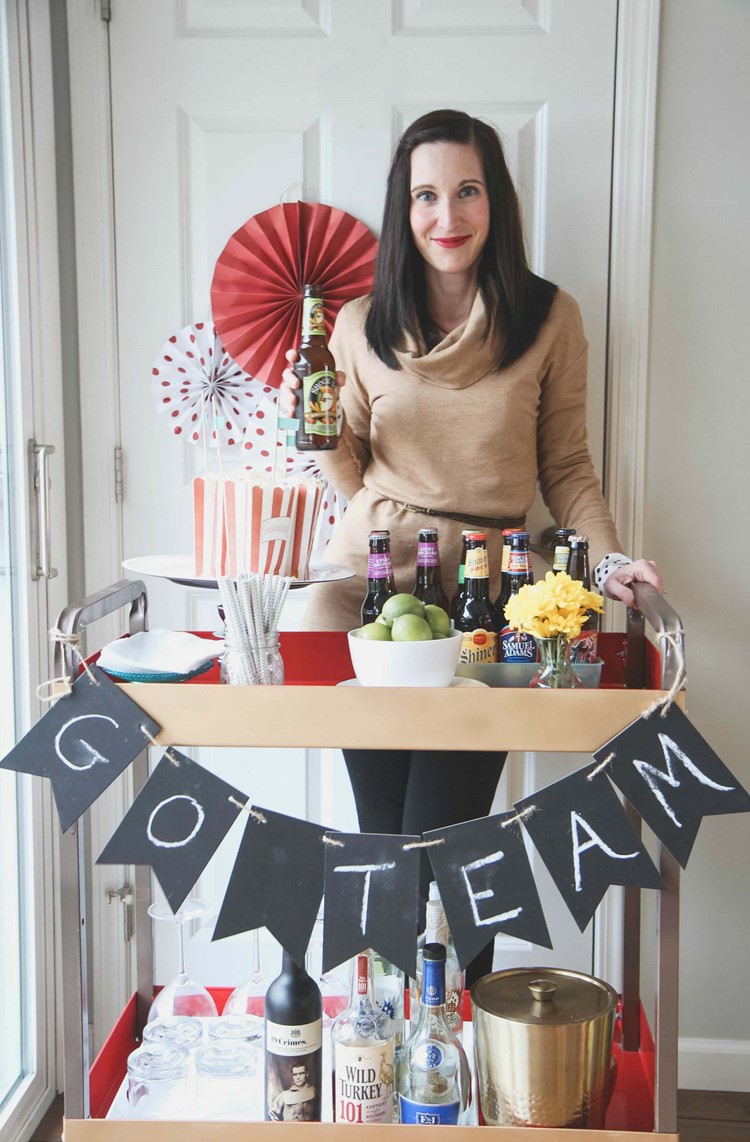
Once everything is assembled and dried, you can add your beverages of choice!
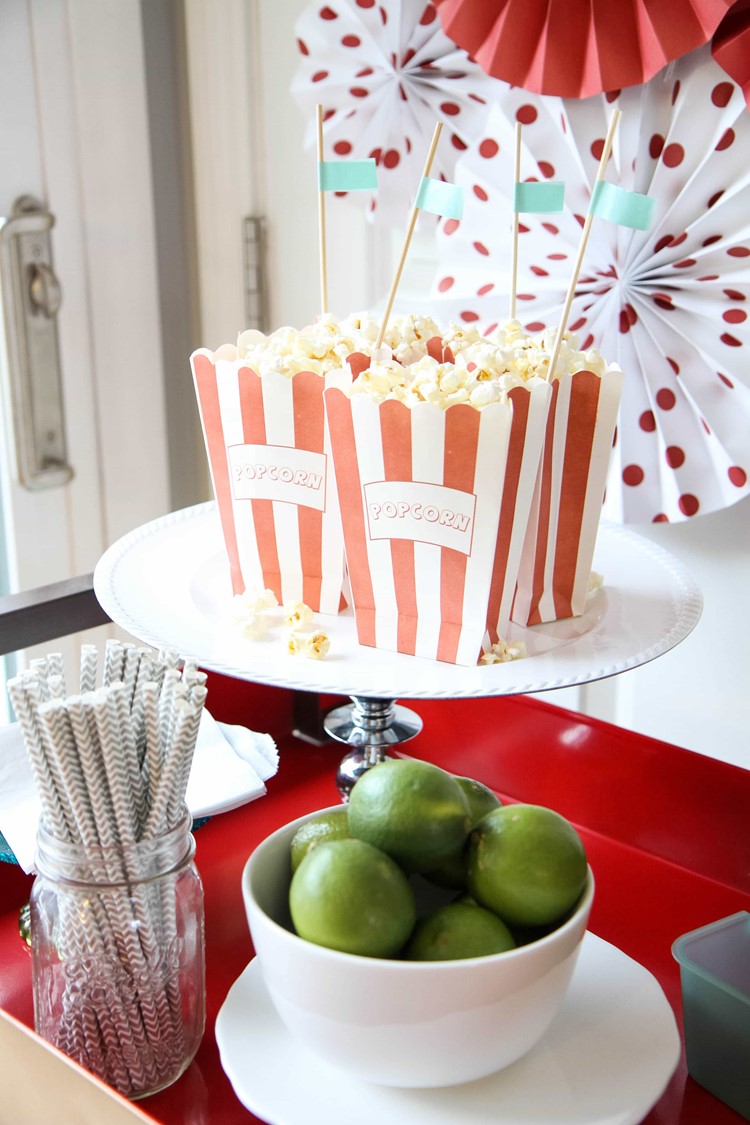
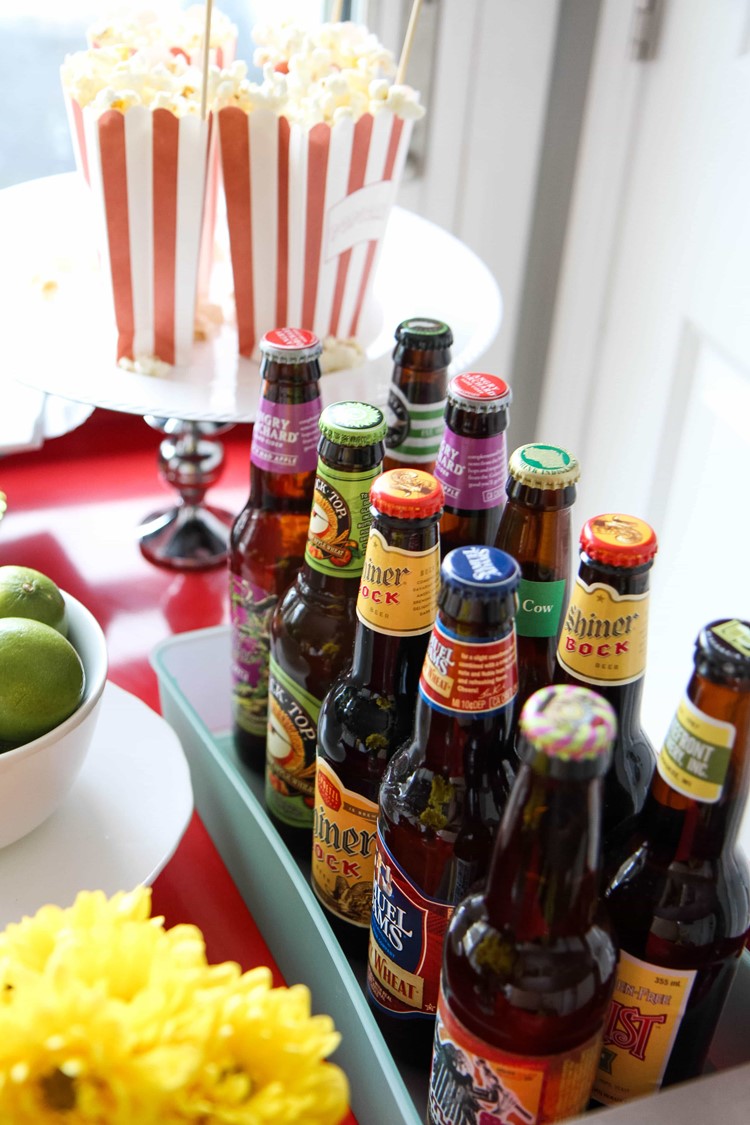
I decided to add my favorite beers to the top shelf for easy access, along with garnishes and drink tools.
On the bottom shelf I have glasses and liquors that can be wheeled around as needed.
Feel free to add any additional decorations like small treats, a chalkboard sign to message for guests or paper creations sporting the colors of your favorite team. Most of all, have fun!
Need More Game Day Party Tips?
Keep decorations simple for your game day party
Faux grass can act as a tablecloth for your table and a simple pennant banner can be created with your team’s favorite colors.
Add some fun football trophies to decorate around the food to pull your table theme together.
Have guests make their own food
Make creating your own food fun for your guests by creating a sub or Panini sandwich station from an assortment breads, cheeses, cold cuts, and a variety of toppings for your guests.
Each person can customize their own sandwich with their favorite additions.
Don’t forget to add a few gourmet flavors like pesto, Gouda cheese, apple slices, smoked bacon or prosciutto, & brie to your toppings bar.
These gourmet toppings will take your ordinary sandwiches into extraordinary ones and each guest can create their own unique combination.
The same idea can be applied to a fun slider bar, soup topping bar, hot dog bar, or baked potato bar.
Host a soup cookoff
Have guests bring a pot of their favorite soup to share for a soup cook-off.
Have guests place votes on their favorite and present the winner with one of your fun football trophies from your table display to take home as the champion.
Not only will this be a fun way to sample some new soup recipes, but it will also relieve you of having to create as many dishes for your big game day party.
Round out the meal
Round out your soup & sandwich menu with an easy cheese platter, dips, a vegetable tray, and a fruit tray. Make the easy dips to go with your favorite crackers, but save some time in the kitchen and visit the deli in your store to pick up a simple fruit or vegetable platter to add on the side to save time spent chopping in the kitchen.
Invest in some inexpensive plastic containers for game day leftovers and send goodie bags home with your guests so they can enjoy the leftovers all weekend long.
Don’t forget to give the guests that stick around to help clean up afterwards a Most Valuable Player award for their assistance with the kitchen clean-up.
Love this DIY project? Here are a few others I think you will enjoy!
How do you celebrate game days at your house? I’d love to hear your tips for entertaining!
Pin It