
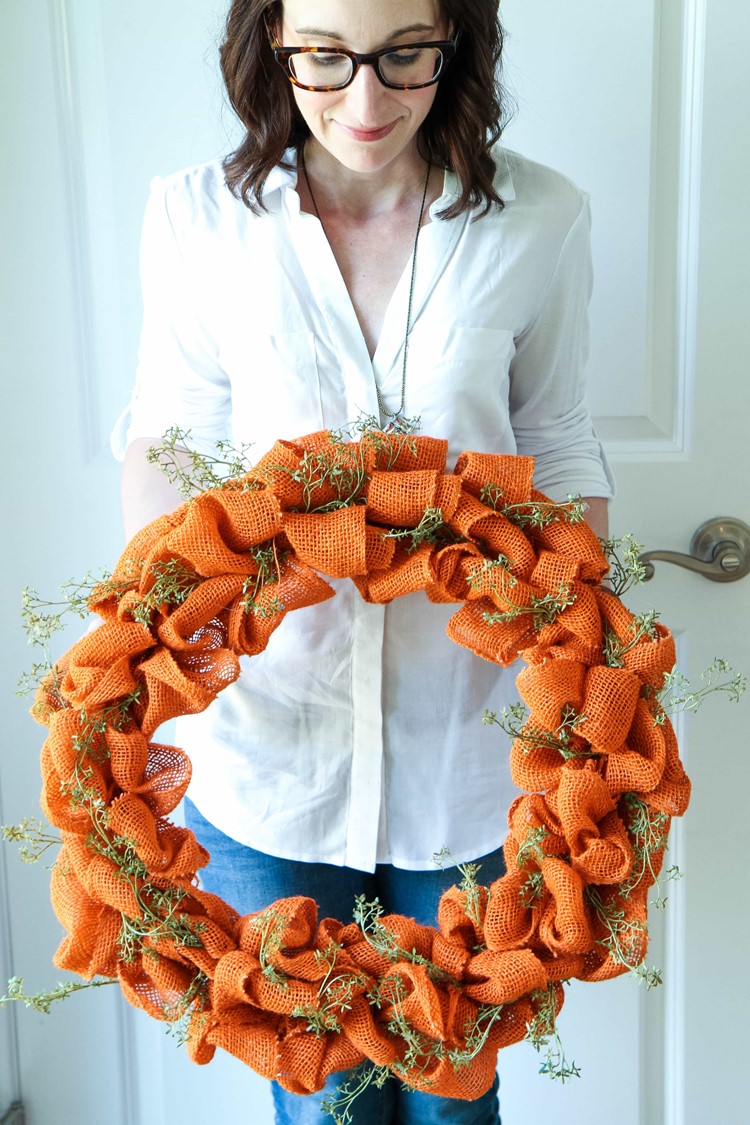
This diy burlap wreath is eye-catching and oh-so-easy to make. Let me show you how to make an autumn burlap wreath for your door with this simple tutorial and just a few craft supplies items!
Have you made a burlap wreath before? If you can believe it, our most popular craft on our website is this simple burlap wreath that can be used for just about any holiday. It was with that in mind that I decided to explore some new ways to play with burlap in our craft room.
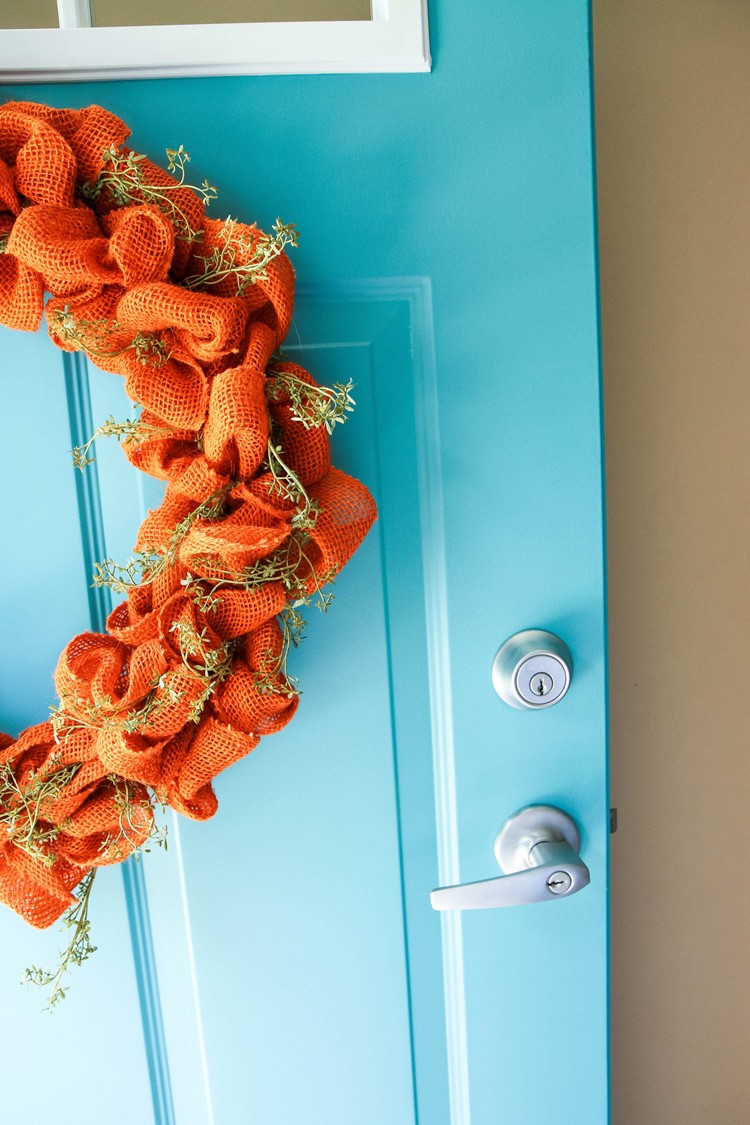
Honestly, I can’t begin to tell you how happy this autumn wreath makes me hanging our front door and the pop of color this fall wreath brings to our home decor. This orange hue is just what our door needs for the holidays and this wreath is perfect for all fall through Halloween and Thanksgiving.
If you haven’t made a burlap wreath before, this tutorial is for you! It outlines step-by-step how to recreate this wreath with my picture tutorial.
The crisp coolness of fall is moving in here in the Midwest and with it comes the urge to decorate every square inch of my home to honor it.
Dare I say that we do more fall decorating than we do Christmas decorating?
With simplifying as our goal, though, instead of decorating for Halloween and decorating for Thanksgiving, I am trying to create pieces that can double for both holidays and be appreciated until it’s time to break out the Christmas decorations.
The best part is that this burlap wreath requires no crafting skills, no cutting, and is very inexpensive to create.
The one thing I will say with making burlap wreaths is that you need to have a little patience with yourself in the beginning. My first wreath, I took apart three times before I got the hang of it.
Once you get the bubbling of the burlap down though, this really is a quick and easy craft and such a great way to dress up a door.
If you are feeling inspired, I highly recommend making a craft date with a good friend. My best friend and I got together to make our holiday crafts and she was quite amused when I stood up her chair to take photos of my process to make my first wreath.
The thing was, NO ONE showed you how to actually start a burlap wreath and how you were supposed to be even feeding this burlap ribbon into the wire wreath frame.
I told her that I just knew that this was going to be a popular post and just in the last 30 days, that image has been viewed over 322,000 times and pinned countless times.
Do I know my audience OR WHAT?
Let’s get started with this super easy craft that would be fun for your door or to share as a holiday gift with someone you love!
How to Make an Autumn Burlap Wreath
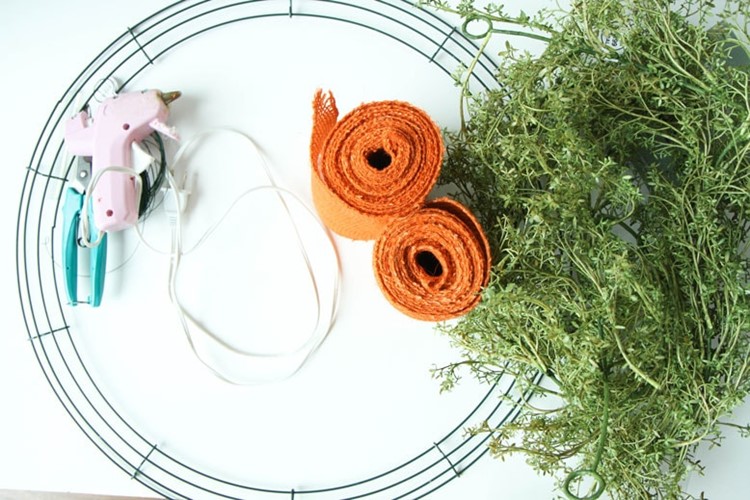 Supplies Needed:
Directions:
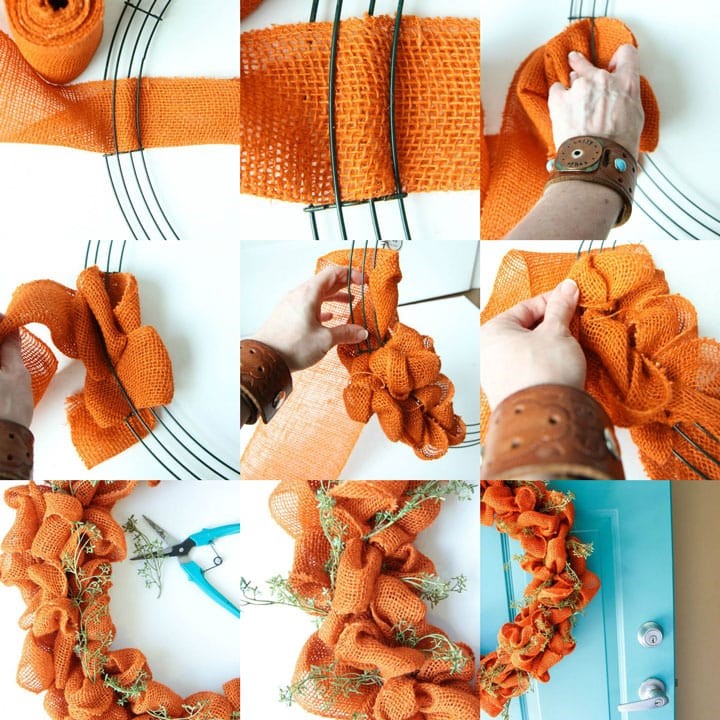
Begin by folding your burlap in half, like I have shown above, and keep the fold going as we go along.
Select one section of the wire wreath to start in.
Feed the beginning end through the wreath as shown above: over the outer ring, under the next, over the next, and under to finish.
Leave a little loose end to tuck in or you can wire it to the wreath with a little floral wire in the back. Now you have started your wreath- super easy! This is the technique we are using throughout.
Note: I am showing it to you tightly so you can see how this will work, when you do this, you will actually be pulling out the burlap a bit to give it to that bubble effect that we are going for.
Using the working end of the burlap (the working end is the side that isn’t the final end of the burlap, but in the end you are working with), we are going to begin making the bubbled burlap right next to this row, within the same section of that metal wreath, but we will begin weaving in the opposite direction, continuing to pull out and bubble the burlap as we go, moving the working burlap into each section, weaving one direction than weaving the other direction.
If you are still confused, this is the most pinned article on our website that shows you how to get this wreath started easily.
When you run out of burlap (it should be when you are about halfway through covering the wreath), tuck the end towards the back and pick up where you left off. Again, you can wire these ends with a little floral wire on the back.
Once the entire wreath is covered, secure the final end with floral wire on the back of the wreath to make sure everything is held into place, twisted around one of the metal strands of the wreath.
Now you can fluff your burlap out to create that bubbly effect and to cover any of the metal you can see peeking out..
Clip small stems of your greenery to weave into your wreath. Starting with the front, add bits here and there, but not in a pattern, to make it look natural. Repeat this process with the middle layer and then finally attach a few towards the back to add texture to this wreath.
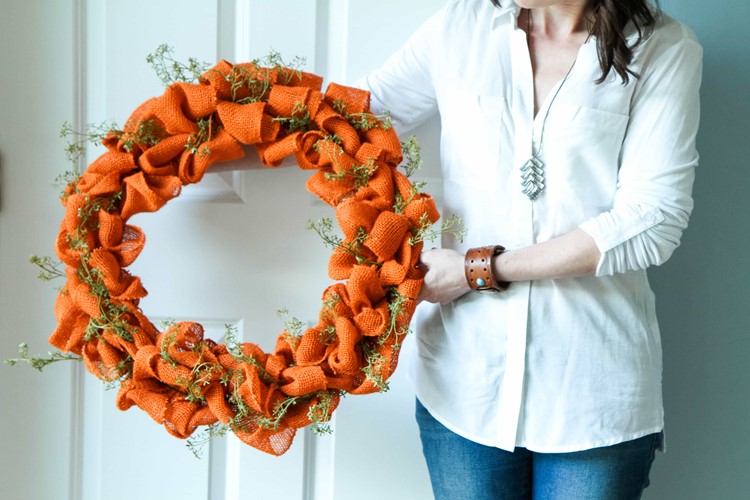
I don’t want to brag, but doesn’t this look like something out of a magazine?
Weaving in the texture of the greenery really makes this wreath pop and looks professional.
Thanks to catching some half-off sales at our local craft store, I was able to make this beauty for less than $20 which also makes me very happy!
I hope you can dress your home up simply and beautifully for the fall holidays with this fun idea!
Are you looking for more wreath ideas? Check out these fun craft ideas below for fall or visit our entire crafts section for more inspiration!
Happy crafting!
This post contains affiliate links.
Pin It