
Some people lean towards the spooky decorating for Halloween. This girl leans towards a more classic look from dressing up my front door for the season to the small nod to autumn through our home decor. I have loved our knitted leaf centerpiece so much that I thought it would be fun to add some knitted pumpkins to the mix this year. Since Walmart challenged me to take on a Halloween craft, I thought it would be the perfect time to try something new. Not only are these a knitted stuffed item (something new for me), but they are also felted.
Before you run away, I was SO scared of felting that I have thought about felting for years and never tried it. Seriously, folks, could NOT be easier.
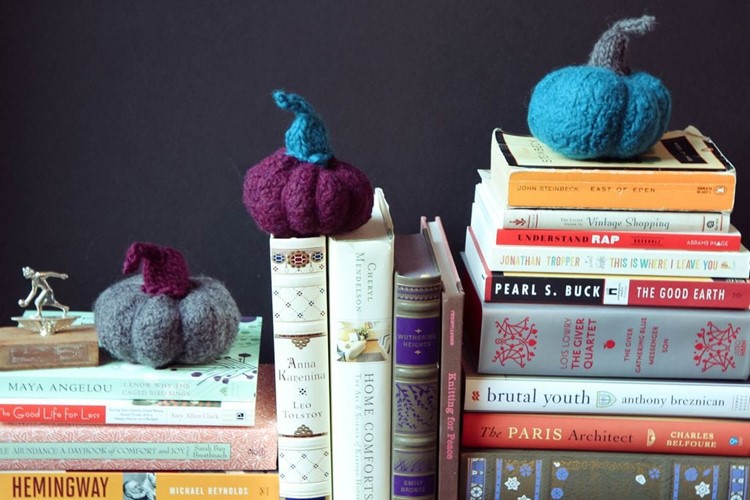
This project is super fast to create and will get lots of love in your home as a fun addition to a bookcase, a cute centerpiece for a Halloween party, or could even make a place card holder for the Thanksgiving table.
Supplies List
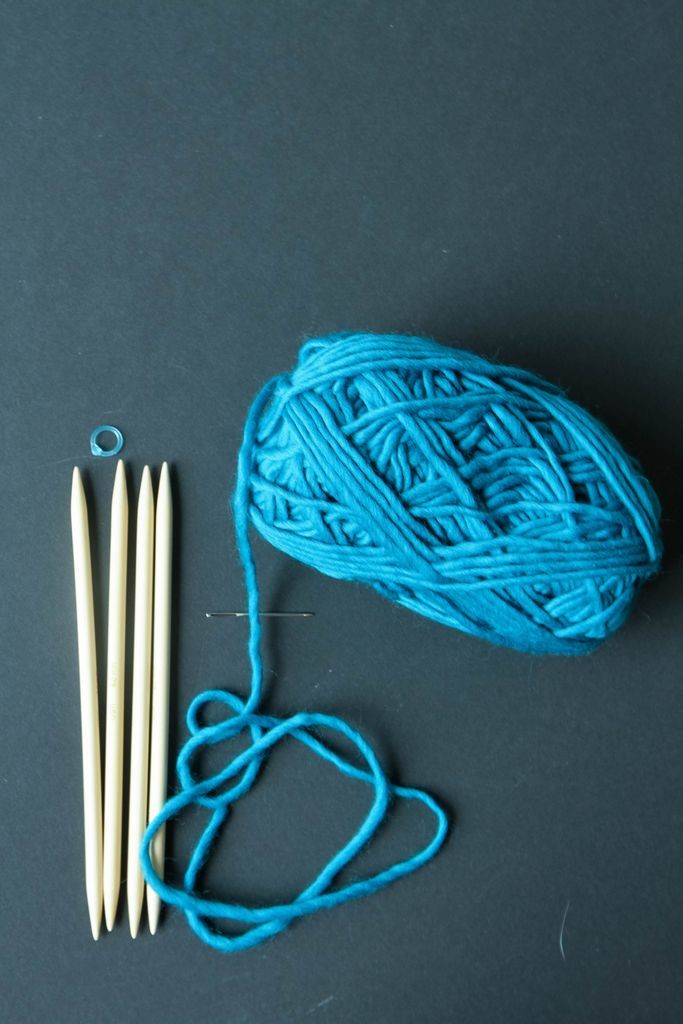
4- US Size 11 double pointed needles (I prefer bamboo for their gripping ability in this project)
4- US Size 6 double pointed needles
Natural Fiber Yarn (any color) that will shrink (Walmart offers this inexpensive option for wool)
Poly-fill Stuffing (something like this)
Free Miniature Felted Pumpkin Pattern FOR FREE HERE
Skills Needed to Tackle This Project
You need to be able to knit in the round- This is much easier than knitting a hat and can teach you how to increase and decrease your stitches. If you have never knitted in the round before, check out this picture tutorial that I created to help you navigate the tricky terrain of 4 needles. You will need to be able to knit both the body and the stem in the round. I actually find the stem to be more difficult due to its size.
You need to be able to i-cord- The first time I i-corded, I was like…”That’s it?” Seriously, it sounds complex, but it is just moving your stitches back and forth on a double-pointed needle. This is a fantastic video tutorial if you are trying to get the hang of it.
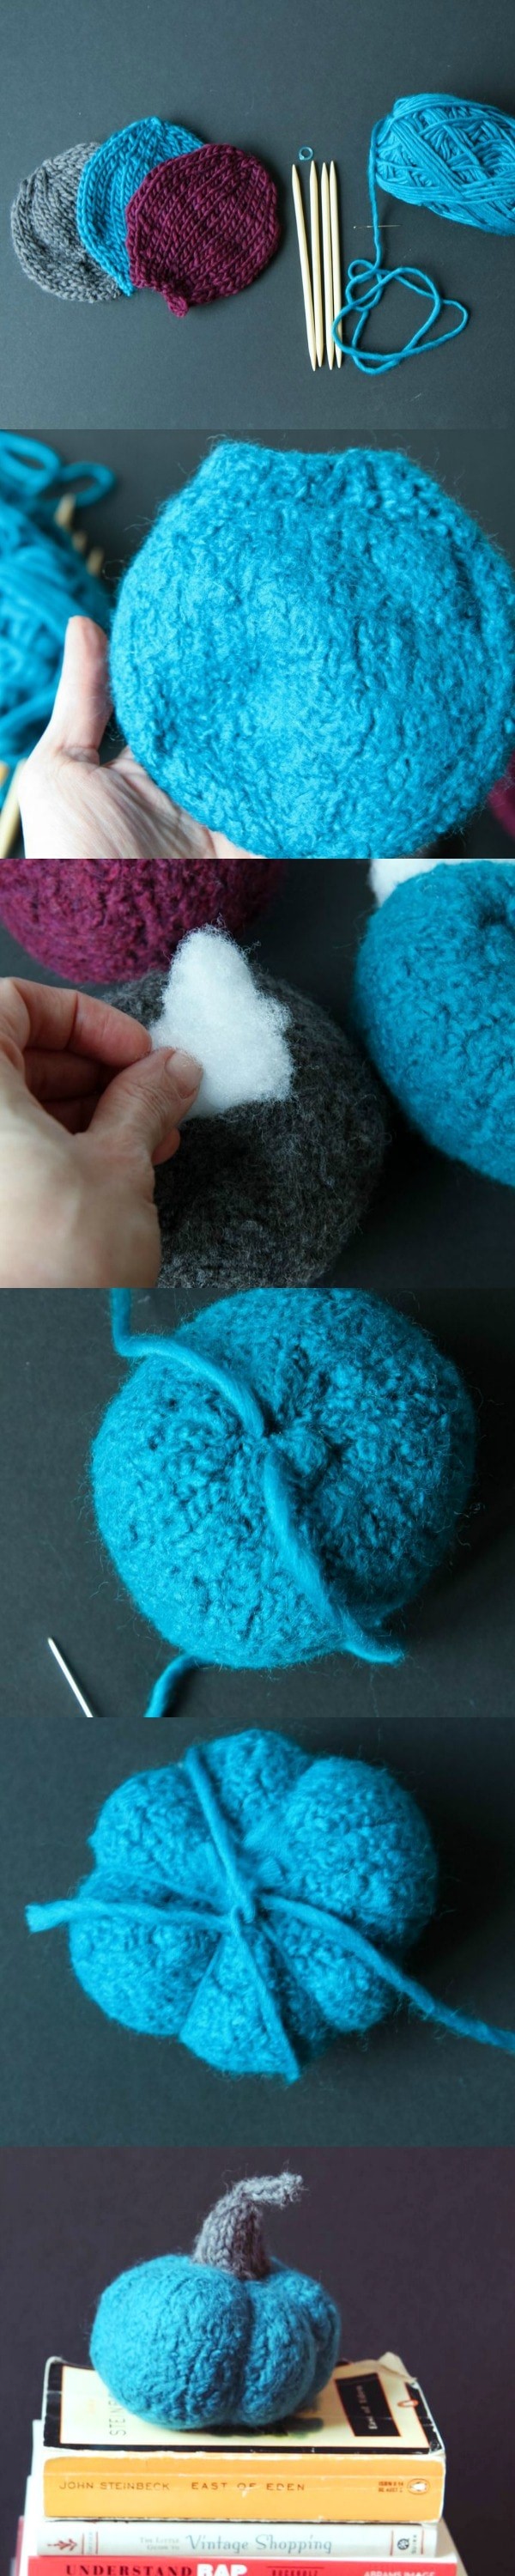
You need to be able to felt– Again, this one was a new one for me, but the pattern I shared offers some great tips for felting. I will note below how I did this in my front-loader.
Words from a First-Time Felter
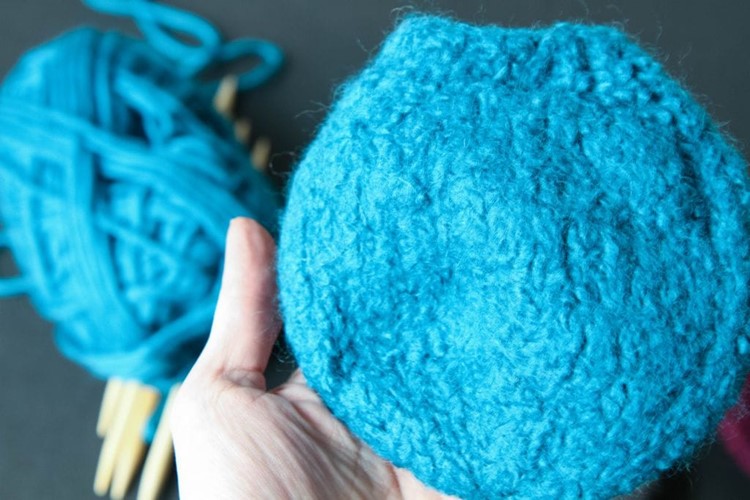
As you can see, wool shrinks up beautifully. I wanted to still have a little bit of stitching showing, but you can continue to shrink your piece if you want it to be completely smooth. For these pumpkins, I knitted them loosely (advice given by my wise knitting pal, Deb) so that the stitches would shrink well. For my front-loader, I placed these in the washing machine with two pairs of my jeans to help create agitation and friction on the yarn. I used the Whitest White cycle (which is the hottest cycle on my machine) and let the machine decide the level of water. For detergent, I just used a small amount of Woolite (or you can use Eucalan Woolwash). To replicate this, I just ran the cycle for ten minutes and then hit cancel. I then ran a spin & drain cycle just for a few minutes to get rid of the excess water and then stuffed my pumpkins while they were still damp.
You can read more about felting in the pattern above.
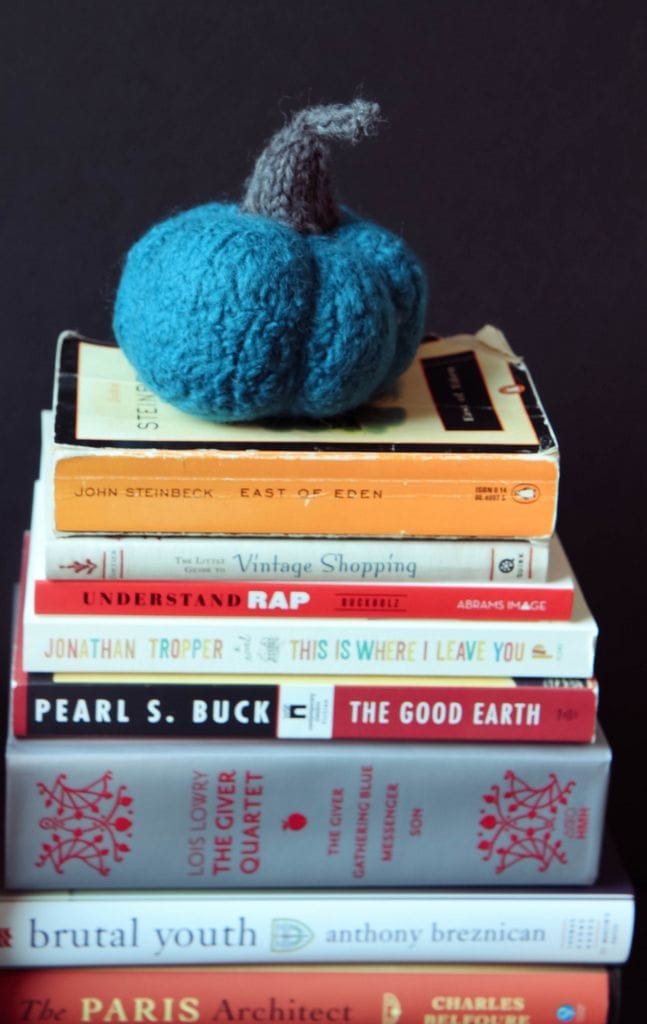

Aren’t they adorable? Feel free to friend me on Ravelry and visit the Knitting section of our site for more cute yarn-lovin’ projects!

Pin It