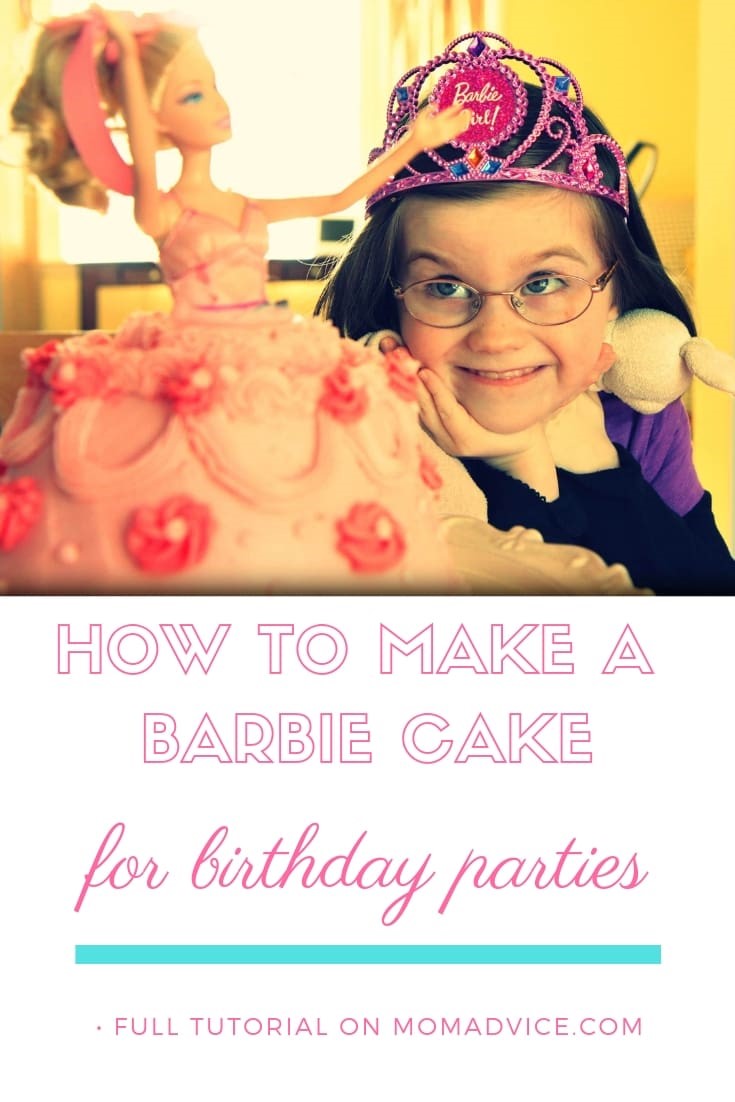
Make the birthday cake of your daughter’s dreams with this DIY Barbie Doll Cake Tutorial. This simple bowl cake is the base of the Barbie dress to make a perfect princess cake.
Over the month of December we celebrated Emily’s 5th birthday. This was the year of the Barbie which thrilled me to no end as I had envisioned a DIY Barbie Cake for my little girl long before she was even a twinkle in our eye. Barbie birthday cakes are a true labor of love by the mothers who create them and this cake was a testament to my undying love for my daughter.
Today I wanted to share with you how we created our Barbie cake and some tips for creating this cake for your own little princess! The week will be filled with oodles of tutorials and ideas for making your Barbie party special and I hope to add a little inspiration to your own Barbie-inspired party!

For this cake you will need a white cake mix, strawberry gelatin dessert, eggs, milk, canola oil, a package of fresh strawberries, and your doll.
The doll that is pictured in this tutorial ended up not being used because the cake was not tall enough to form her dress and stand her upright. Doll toppers can be purchased specifically for your cake or you can ask your bakery if they will sell you a doll that you can use for roughly the same amount. My girlfriend also found a shorter generic one that could be found at the dollar store because the generic ones are not as tall as the real Barbies.
My best friend broke the legs of her Barbie for my cake. May you all have a super awesome mafia friend like me who is willing to donate her legless Barbie for your project.

This cake recipe is an easy mix and dump cake, but you will need to finely chop your strawberries to mix into the cake. I used my food chopper to chop these up evenly and fine for the cake. Once you have done that, you have the brunt of the cake mixing portion done.


Dump all of the ingredients into your mixer, including those finely chopped berries, and give it a good mix. I let it run for a good minute or two while my oven was preheating to 350 degrees.

Pour your batter into a greased mixing bowl. The mixing bowl I used for this project is a two-quart Batter Bowl that I had in my kitchen, a long ago purchase that I made with Pampered Chef. Many years ago when I bought it, the consultant had shared with me that it would make the perfect Barbie cake.
It doesn’t have to be a Pampered Chef bowl though, any two quart ovenproof glass mixing bowl should do the job!

Now let Barbie sit back and take a little nap while her dress bakes.
Because of the depth of the cake, this cake will take roughly an hour and ten minutes to bake.
You want to make sure that the rack is not too high on your oven or it will really brown the top of your cake.
You will also want to keep an eye on it and test the center after an hour to see how it is doing. Mine took the full hour and ten minutes for this cake though.

Once the cake is done baking, you can pull it out and let it rest for at least fifteen minutes. Invert your cake on a cooling rack and let it cool for three hours before decorating.

I prefer to make my cakes in a two day process so I went ahead and wrapped the cooled Barbie cake in plastic wrap and rested it on top of a dish, then covered the whole thing in foil. Make sure that your cake is completely cool before wrapping it for freezing. I tucked this in our freezer in a cake pan for support.
When the cake is frozen it is much easier to decorate and I have a lot less crumbs to have to work around. That little tip came courtesy of a Michael’s cake decorating course I took and has served me well over the years of making and decorating special occasion cakes.


Now it is time to make the frosting.
You can definitely skip this step and just use two 16 ounce containers of vanilla frosting (tinted to your favorite cake dress color), but the jarred frosting won’t give you the stiffness you need if you want to decorate and embellish the dress.
This buttercream decorator’s frosting uses the confectioner’s sugar, shortening, milk, clear butter flavor (pictured above and purchased at Michael’s) and a little Meringue Powder that gives it a yummy whipped and buttered taste without adding any off-colors to your frosting.

Making frosting is a messy, messy job and is one of my least favorite parts about cake decorating. One way you can really cut down on the mess is to dampen a kitchen towel and drape it over your mixer while you are whipping up your frosting. This will cut down on the confectioner’s sugar dust clouds that you will find all over the kitchen and you can wipe down your mixer when you are all done.

Really try hard to resist eating this frosting. You really will need all of it to decorate your cake.
Doesn’t it look delicious though?
Tint the frosting, with food coloring, in your desired color. In our case it was Emily’s two favorites…pink and dark pink.

Now it is time to frost your cake. I frost my cakes frozen and they turn out beautifully. You just want to give your decorated cake a few hours to thaw before the guests arrive, but frozen cake frosting is so darn easy that you will never go back. It, basically, eliminates the need to do a crumb coat entirely. Frost it the best you can and remember that you can add as many details as you need to and that will cover up any of the imperfect parts.

To get the surface even smoother, dip your clean spatula in hot water and run it across the surface of the cake in long strokes. This will melt the frosting slightly to help remove stroke marks. Wipe the spatula clean and dip it in the hot water before each stroke.

Once your cake is smooth (ish), you are ready to add your embellishments to decorate your dress. Assemble your pastry bag with some of your extra frosting. I used Wilton Tips #2D to make swirl flowers and my zigzag border, tip 3 to make the centers of the flowers and added dots to her dresses, and tip 21 for the shell borders and little loops on her dress.

You can add whatever details you prefer on your cake, that is the beauty of making your own Barbie cake. Embrace your inner-fashionista and have a blast making Barbie’s party dress!


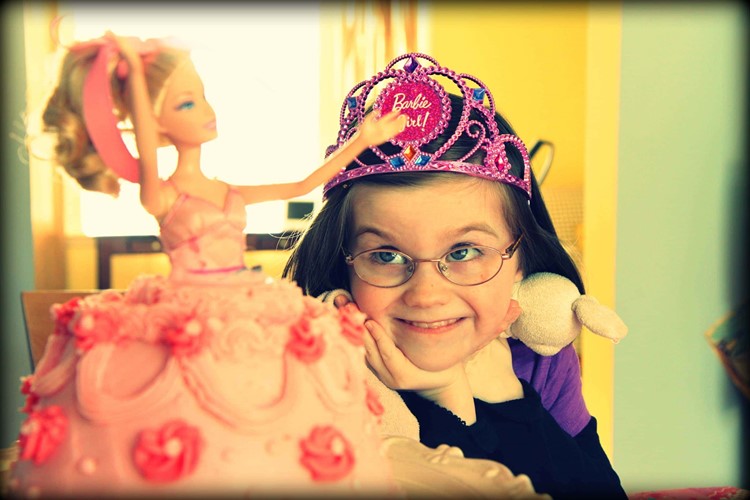
Here is our finished diy barbie cake.
I left the top of Barbie’s dress on and tried to incorporate the lower half into looking like a continuation of her top.
Her hair was tied with a little leftover grosgrain ribbon.
If your Barbie has legs, you can wrap her in plastic before inserting her.
There is no need to cut a circle, she should wedge pretty easily without the extra step.
After Barbie was done with this party, I put her dress top in the dishwasher and it came out clean and perfect. Barbie just got a good wash in the sink and I put her away…just in case we might need her next year.

The Perfect Pink Barbie Cake With Buttercream Frosting
Recipe Type: Dessert
Author: Adapted from The Cake Doctor Cookbook
Prep time:
Cook time:
Total time:
Serves: 10
This cake is so moist and full of strawberry flavor. The color from the gelatin adds a vivid pink hue and the flecks of fresh berry take these pantry ingredients to another level. If a Barbie cake isn’t your thing, wait for your post next week where these are transformed into a grown-up cupcake complete with a Strawberry Cream Cheese Frosting. While buttercream icing is not my favorite tasting frosting, this frosting is ideal for decorating and piping beautiful decorations on your Barbie cake. The butter flavor really adds a lot of richness to this frosting. This recipe creates a batch and a half (or approximately five cups of frosting). This will likely be more than you need, but I would rather have extra frosting than not enough and make it all over again. Extra frosting can also be used to decorate a batch of cupcakes for the adults!
- 1 package (18.25 ounces) plain white cake mix
- 1 package (3 ounces) strawberry gelatin
- 1 cup finely chopped fresh strawberries with juice (approximately 1 1/2 cups whole berries)
- 3/4 cup milk
- 3/4 cup canola oil
- 4 large eggs
- For Buttercream Icing (Medium Consistency): 1 1/2 cups solid white shortening
- 1 1/2 teaspoons [url href=”https://amzn.to/2HYXsjs” target=”_blank”]Wilton Butter Flavor[/url]
- 4-5 tablespoons milk
- 6 cups confectioners sugar
- 1 1/2 tablespoon [url href=”https://amzn.to/2Wu2Rmu” target=”_blank”]Wilton Meringue Powder[/url]
- Pinch of Salt (optional)
- [url href=”https://amzn.to/2V0n2bf” target=”_blank”]2 quart oven-safe batter bowl[/url]
- Place your oven rack into the center of the oven and preheat the oven to 350 degrees.
- Prepare a 2 quart oven-safe batter bowl by greasing heavily with cooking spray.
- Place the cake mix, gelatin strawberries and their juice, milk, oil, and eggs in a large mixing bowl.
- Blend with an electric mixer on low speed for thirty seconds. Stop the machine and scrape down the sides of the bowl with a rubber spatula. Increase the mixer speed to medium and beat two more minutes.
- Pour batter carefully into your prepared batter bowl.
- Bake for 1 hour and ten minutes or until the cake springs back when pressed with your finger and a cake tester comes out clean.
- Cool for fifteen minutes and then invert your cake on a cooling rack. Allow the cake to cool for a minimum of three hours before decorating. For more tips see the post above.
- For icing: Cream shortening flavoring, and water.
- Add dry ingredients and mix on medium speed until all ingredients have been thoroughly mixed together. Blend an additional minute or so until creamy.
- Tint as desired.
3.4.3177
Love this tutorial? Here are a few of our other favorite family birthday cake recipes!
this post contains affiliate links.
Have any cake decorating tips? What was your proudest birthday cake moment? Feel free to share them here!
Pin It