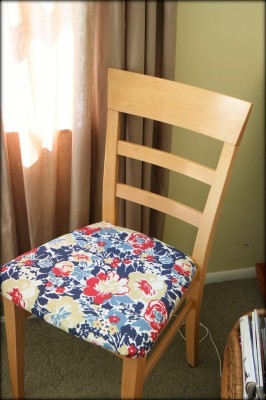
We have been hard at work on completely redoing our old dining set. My kitchen chairs were in solid condition and didn’t require any painting, but I was tired of the faux leather fabric that I had purchased for the chairs when my kids were little. Today I wanted to share with you just how easy it is to reupholster those chairs and add a little pizzazz to a tired dining set for very little money.
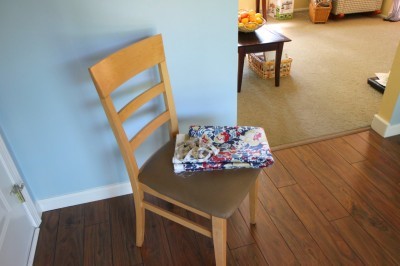

Supplies Needed For This Project
New Fabric (I am using outdoor fabric to help prevent staining from spills. You could also choose a faux leather fabric or any type of fabric and then treat it with Scotch Guard to prevent staining). This fabric should be measured to the width of your chair and then add 4 inches to each measurement so you have enough fabric to reach around the cushion. My chair seat was 20×20 so I needed 24×24 for each seat. For all six seats it required 2 yards of fabric total.
Upholstery Staple Gun (available at fabric stores)
Upholstery Staples (heavy-duty)
Needle-nose pliers
Screwdriver
Pinking Shears (or regular sewing scissors)
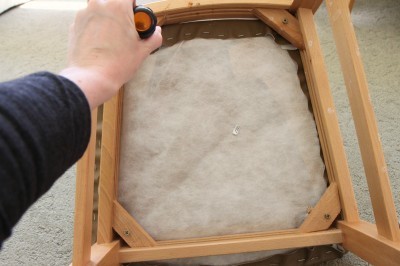
Invert your chair and use your screwdriver to remove the four screws on the bottom that are securing your cushion to the chair.
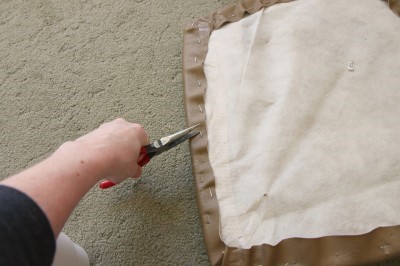
If the cushion has fabric stapled on it already, use your needle-nose pliers to remove the old staples and fabric from the cushion. If you only have one layer of fabric, it should be okay, but this chair had two so I had to remove my last round of reupholstering to get back to the base of the chair.
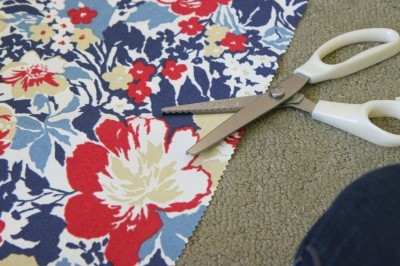 Now it is time to cut your new fabric to replace the old fabric that was on your chair. This fabric should be measured to the width of your chair and then add 4 inches to each measurement so you have enough fabric to reach around the cushion. My chair seat was 20×20 so I needed 24×24 for each seat. For all six seats it required 2 yards of fabric total.
I prefer to cut my fabric with a pair of pinking shears instead of regular scissors because the fabric does not fray with these and I don’t have to mess with trimming and pulling strings on fabric. If you don’t have a pair of these though, you can always use regular shears.
When buying your fabric, be sure to ask if they offer any specials or discounts to customers. I got this fabric at Jo-Ann Fabrics and signed up for their email list while I was at the register. They gave me a coupon that took $16 off of my total fabric purchase so I was able to get fabric for six chairs for $25!
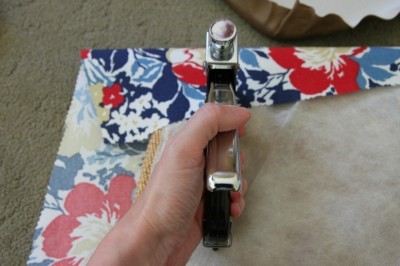
Once you have your fabric cut, it is time to staple. Center your cushion upside down and make sure there is approximately the same amount of fabric on all four sides and then pull the fabric tightly over your cushion and staple it. You are going to want to put your whole body into this one, friends. Staple all the fabric down along the cushion securely.
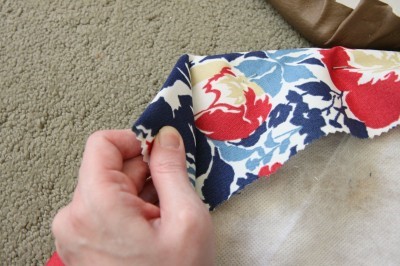
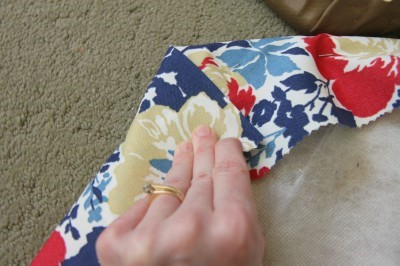
Corners can be a tricky terrain, but they don’t have to be. I like to bring the top part down and then fold in the other side of the fabric on top. You can do your corners on your cushion however you like. I think the trick with this one is just to play with it, flip it over and take a peek, and then play with the fabric again until you find a corner you like. Once you figure out how you like your corners, replicate it with the three other corners and then again on your next chair. Trim the excess corner fabric.
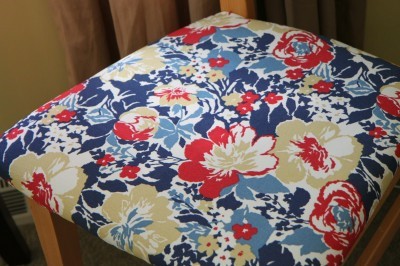
Center your cushion back on your chair and make sure all of the fabric is tucked nicely underneath and on top. Secure your cushion back on with the four screws again.
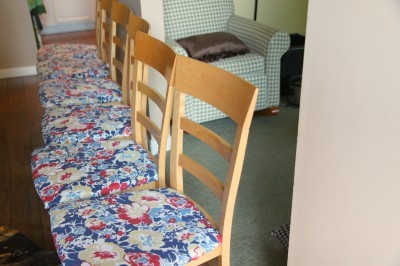
Now just repeat the same process over and over and over again until all of your chairs are done. I was able to get six chairs reupholstered in one afternoon. It isn’t hard to do and is a great job to tackle while watching your favorite shows.
I am madly in love with this fabric that I chose and can’t believe how much more I love these chairs. They look like brand new and I only spent $25 to shine them up.
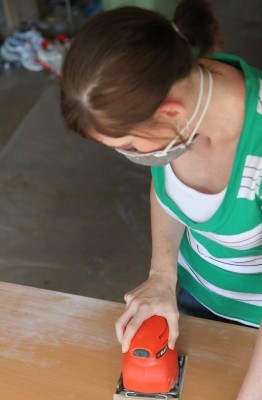
Of course, what are new chairs without a new-to-me table? Looking forward to revealing what I have been up to this past week and sharing with you our new kitchen tabletop!
This tabletop has needed attention for eight years now and I am finally doing it.
Procrastination is the name of the game.
I hope I am not the only one with an eight year project that has been bugging her.
What is one home improvement project you have been vowing to do, but just haven’t made time to tackle yet?