
If there is one thing you know I love around here it is chalkboard paint. Chalkboard painted pumpkins are a fun way to avoid the pumpkin carving and allow your kids to unleash their inner Picasso. Chalkboard pumpkins are easier to make than you might think and today I wanted to show you how to transform ordinary pumpkins into Chalkboard Pumpkin People that lets your kids be creative while creating a unique accessory to your front step!
Let’s get started with creating your very own Chalkboard Pumpkin People.
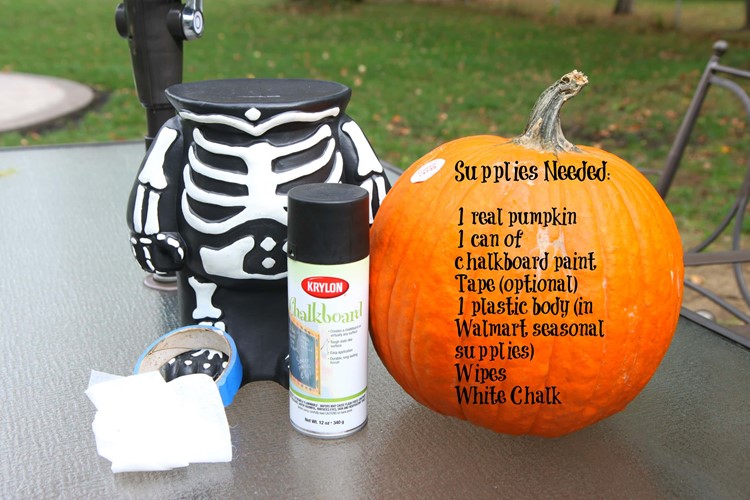 Supplies Needed (all found at Walmart):
1 real pumpkin
1 can of chalkboard paint (over in the hardware department)
Masking or electrical tape (this is optional, I ended up not covering my stem)
Wet wipe
White Chalk
1 Skeleton or Witch Body (these are found in the Halloween supplies by the pumpkin carving tools, $7.97 each)
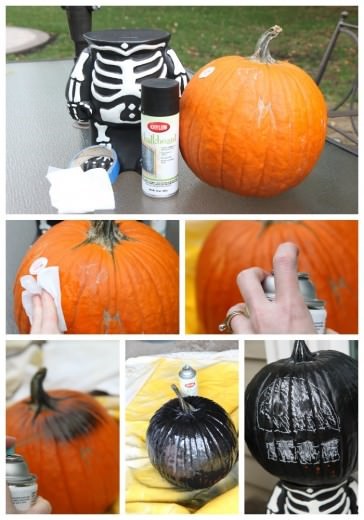 How to Create Your Chalkboard Pumpkin
1. Wipe down your pumpkin well with a wet wipe or damp paper towel to remove any dirt or debris.
2. Hold your can 10-14 inches away from your surface and spray in a sweeping motion side to side with a slight overlap around your entire pumpkin. Follow this pattern horizontally and then vertically. Wait fifteen minutes or so and then apply another coat. You need two coats to create your chalkboard surface.
3. Allow your pumpkin to cure. Do not use any chalk on this for 24 hours! The chalkboard paint will need to harden and will not be ready until then. If you try it before it is ready, it will just scratch the paint through, creating marks and exposing the orange on your pumpkin.
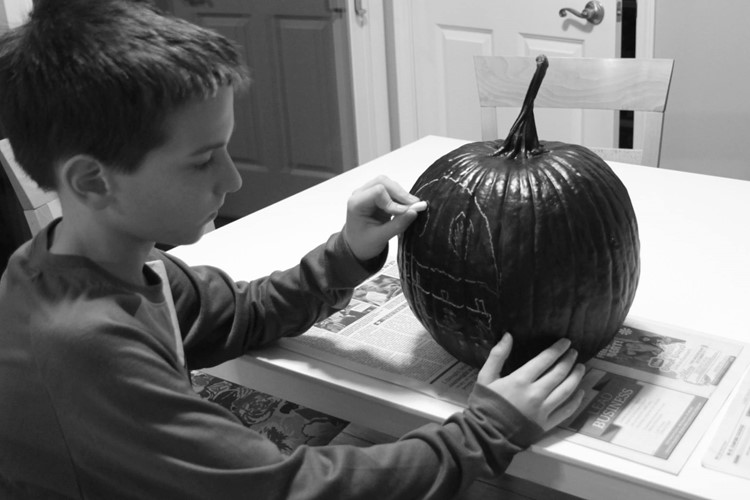
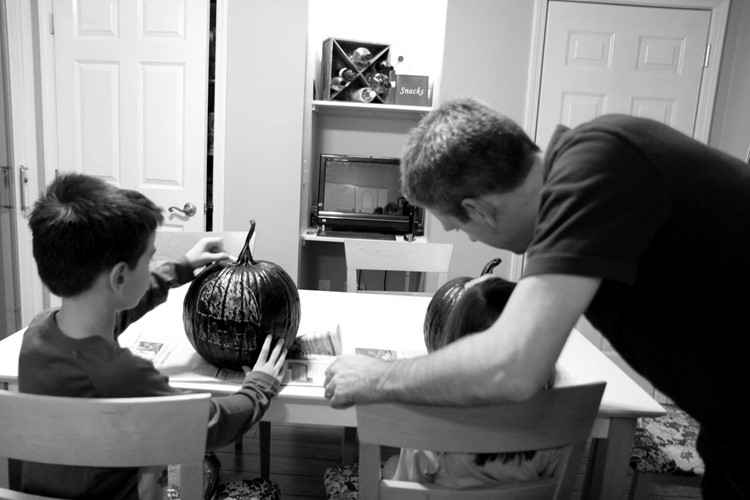 Let your little artists go to work with their chalk. Before giving it to them, make sure to rub down the corners so that they don’t scratch their pumpkin’s surface. I also reminded them to draw gently on these so their paint would remain intact.
Mistakes made? No problem! These can easily be erased and started over again. We had many false starts before deciding on our perfect faces.
 Here are our finished faces that the kids drew (the witch’s creator might have had a little help from her Dad). We really loved these cute little faces and couldn’t wait to put them on the pumpkin bodies.
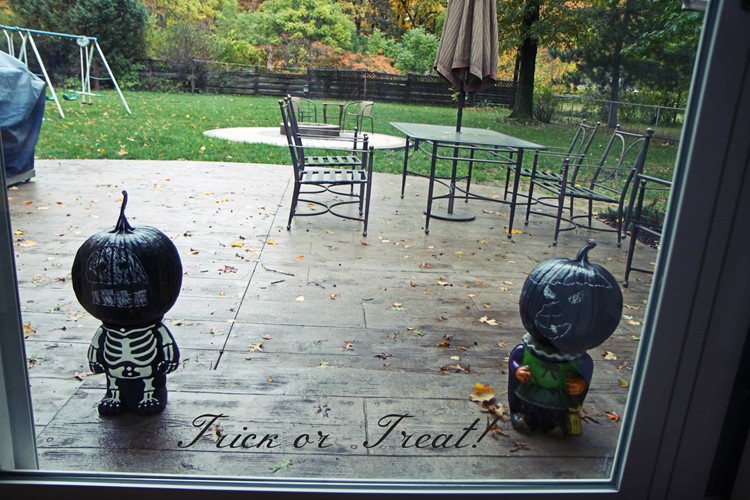
The best part about these though is that you can erase these and use them over and over again through the Thanksgiving holiday with written notes of thankfulness or a countdown to the holidays.
Of course, if you are more of the carving pumpkin type, Walmart has you covered with loads of great carving tools this year!
I am a part of the Walmart Moms program, and Walmart has provided me with compensation for these posts. My participation is voluntary and opinions are always my own.
Pin It