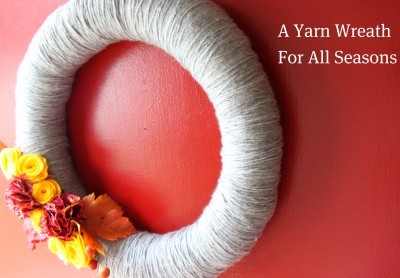
Yarn wreaths are easy to create with a mere ten-fifteen dollars in supplies and a whole lot of your own individual creativity. I have been dying to create my own handmade yarn wreath, but I hate to store out-of-season wreaths in my limited amount of storage in my house. I decided to create a wreath that you could use all year long that would be perfect for your door or to give as a gift this holiday season. I partnered with Walmart on this DIY project and I am excited to share it with you.
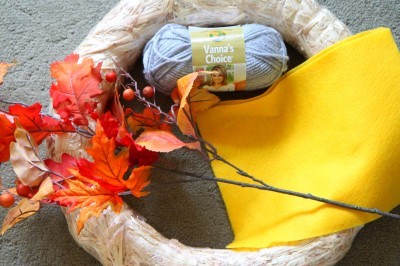
Supplies Needed:
1 straw wreath (large or small- this is the large one, pick this up at your local craft store if your Walmart does not carry floral supplies, approximately $4 for the larger size)
1-2 balls of yarn, depending on your wreath size (I selected Vanna’s Choice in Silver Heather, $2.77)
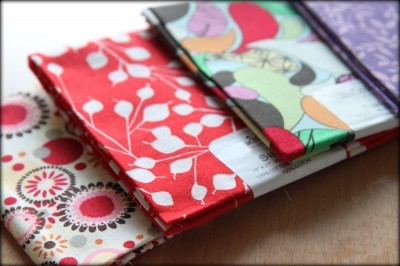
1 fabric quarter ($1.27)
2 pieces of felt ($.20 each)
1 autumn floral pick ($1.99)
8 alligator clips or 1 1/2″ bar pins that can be clipped to the back of your flowers (look for these over by the ribbon section or in the jewelry section of the Craft area, approximately $1.99)
Hot Glue Gun & Glue Sticks
Scissors
Stamina, Pop Tarts, & Food Network for entertainment
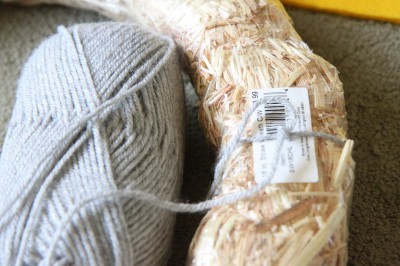
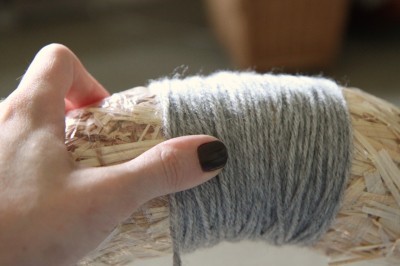
Leave the plastic intact on your wreath to help cut down on the mess as well as to help your yarn to slide into place. Begin by tying a knot on the back of the wreath with the first ball of yarn. Carefully wrap the yarn around the wreath, covering it with the yarn. Continue doing this until the entire wreath is wrapped with yarn and then finish by tying it with a knot again on the back. A small wreath will only use one ball of yarn, but this larger wreath ended up taking 1 1/2 balls to cover it. Covering the larger wreath took me about forty-five minutes. I recommend tackling this with a Food Network marathon. And a box of Pop Tarts.
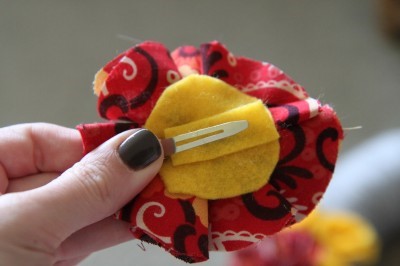
Once your wreath is covered, you can embellish it however you like. For my wreath, I chose two different types of flowers and used alligator clips to clip these to my yarn wreath so I can switch these out with the seasons. To see how to make these easy Fabric Flowers, go to last month’s Close to My Heart Pin to get that tutorial. I am also posting that vlog below for even more visuals on this easy flower. With one fabric quarter, you can make two of these for your wreath. If you want more fabric flowers on your wreath, purchase an additional fabric quarter in the same fabric or another fun fabric. I covered the alligator clip with a little square of felt so I could make sure it doesn’t stick to my wreath.
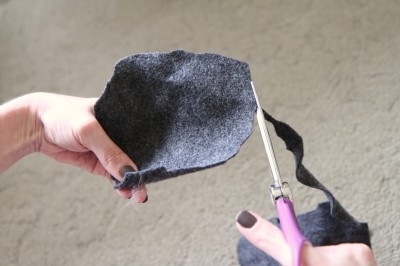
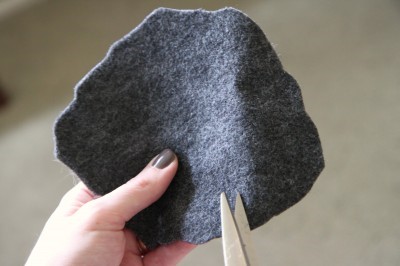
The other type of flower that I added to my wreath is a simple felt flower. These are so easy to make. I am showing you with this gray felt, but made six of these in yellow for my wreath. Begin by cutting a wavy circle out of your felt. The bigger the circle, the bigger the flower, the smaller the circle, the smaller the flower. If you want them all the same size, use the first one as your template for your other flowers.
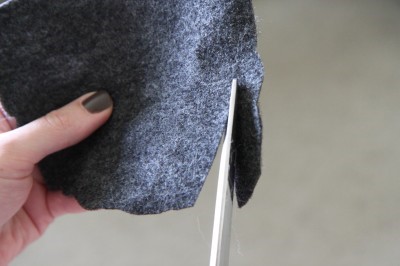
Begin cutting into the circle in a spiral motion. Around and around you go with your scissors until you get to the center. Leave the little circle at the end of your spiral intact.
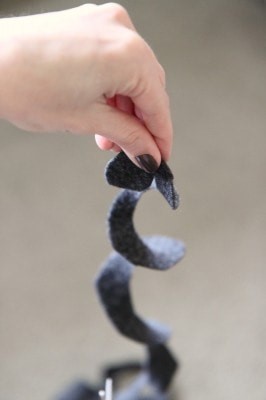
It should look like this long piece of twirly felt. It will not be perfect. Just remember that you can trim and angle everything the way you want it when you start creating your flower. It will look beautiful!
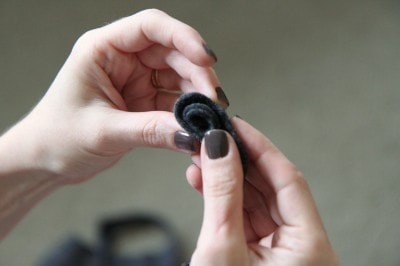
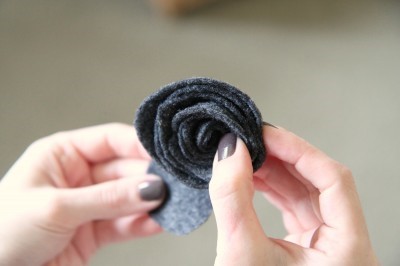
Starting with the end where you begin cutting, roll the felt back up. Keep wrapping and wrapping until you get to that little circle at the end. You can hot glue the felt as you go, but I found that the felt flower holds together well if you wrap it tightly enough. Feel free to trim if you have any bits of felt sticking out or not laying as nicely as you like.
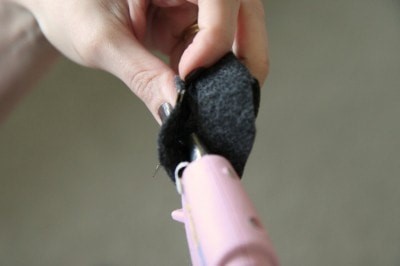
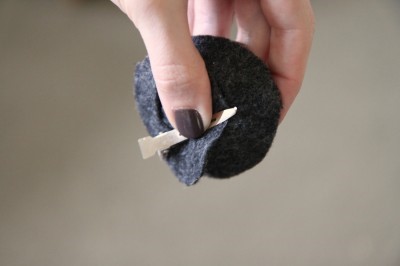 Open an alligator clip up and situated it between that little circle of felt. Secure it to the felt flower with a little hot glue. Make as many of these felt flowers as you like for your wreath. For my wreath, I made six out of the two pieces of felt.
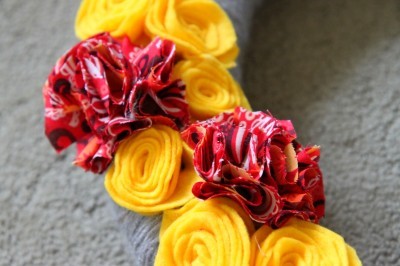
Now comes the fun part. Take your two Fabric Flowers and your six Felt Flowers and begin clipping them on the side of your wreath. The best part about the clips is that you can move them around until you have them situated in the perfect place on your wreath. No worries about gluing to the wrong place.
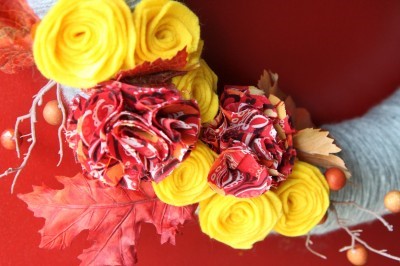
Next fill in around the flowers with bits of your floral pick that you purchased. I weaved in a few leaves and a little of the fun berry foliage until I was happy. You can tuck your floral pieces into the alligator clips of your flowers or weave it under the wrapped yarn, whichever feels more secure.
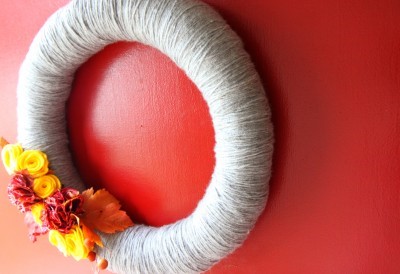
Step back and admire your handiwork. Isn’t she beautiful? We will be revisiting this wreath in the Winter season and I will show you other cute idea for embellishing it. The possibilities with this wreath are truly endless and the best part… no giant wreaths to store until next season!
I am participating in the Nesting Place’s, “You Made a Wreath Out of What?” linky party! If you have a wreath, you should too! Happy wreath making!
I am a part of the Walmart Moms program, and Walmart has provided me with compensation for these posts. My participation is voluntary and opinions are always my own.