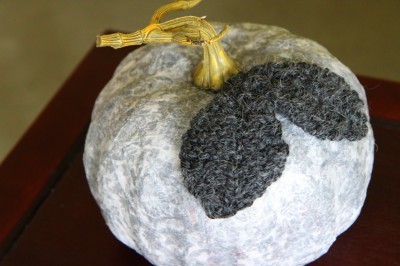
I love to create inexpensive decorations for fall and these easy decoupaged pumpkins are a craft that I have been wanting to try for awhile after spotting this technique in an old issue of Better Homes & Gardens Magazine. You won’t believe how easy it is to decoupage a pumpkin and since they were so easy to create, I made two to adorn each side of my console table. Today I wanted to share with you how to create your own decoupaged pumpkin that you can do with your kids or as a fun craft after the kids head to bed.
All supplies for this project were purchased at Walmart and each pumpkin cost approximately $7 to create.
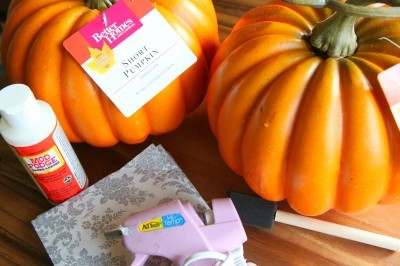
Supplies Needed For This Project
Faux Pumpkin
Modge Podge (or make your own for less)
1 package of paper cocktail napkins (in the party supplies section or in the seasonal section of the store)
Foam brush
Hot Glue Gun & Glue Sticks
Yarn (optional)
Size 5 Double-Pointed Needles (optional)
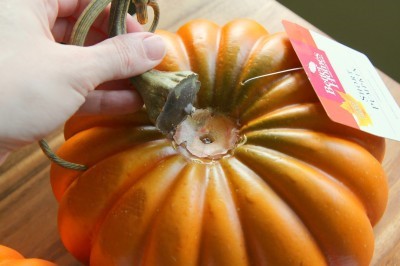
Twist off the stem on your pumpkin. It should come off pretty easily. Set this aside for later.
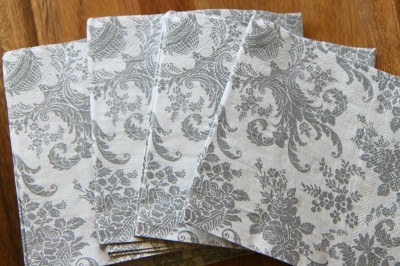
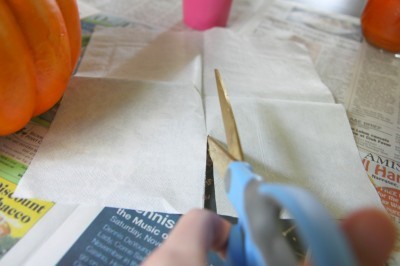
Grab your stack of cocktail napkins. When choosing these, I would go for a darker color than this if you don’t want to have to do two layers. Another option would be to spray paint your pumpkin white. I just did two layers of napkins on mine, but you can do whichever works best for you.
Unfold the napkin, and then cut it into two long rectangles down the middle where the fold is.
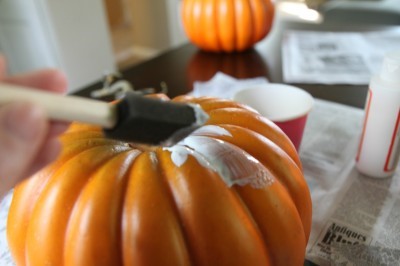
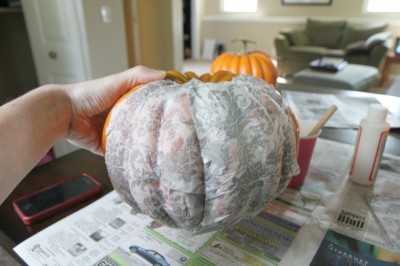
Using your foam brush, spread your Modge Podge on the pumpkin and then cover in one of your paper napkin rectangles. Apply the napkins very gently and try to smooth out any wrinkles as you go. No matter what you do, there will be wrinkles and possibly tears because the napkins are so delicate. I like to think they add a lot of character and texture to the pumpkin though.
Repeat this layer of paper all the way around. Repeat, as needed to cover the pumpkin.
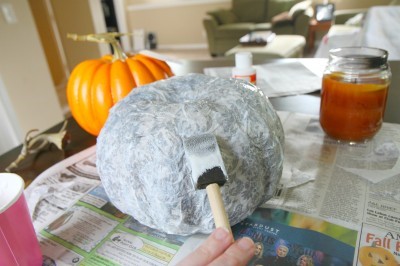
Once the pumpkin is covered in paper to your satisfaction, apply one or two layers of Modge Podge over the entire pumpkin. Allow it to dry for several hours or until the glue has hardened.
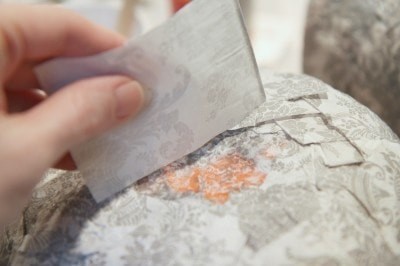
Invert your dried pumpkin, and cut a square of napkin to cover the bottom of the pumpkin. Apply two layers of Modge Podge to the bottom and any missed layers on the bottom of the pumpkin. Let it dry.
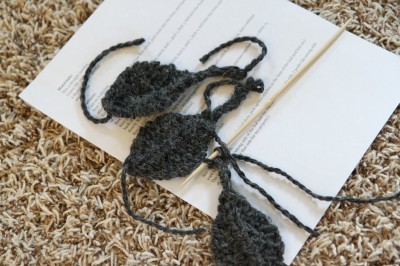
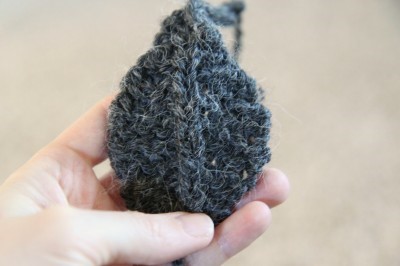
You can leave your pumpkin as is and just hot glue the top back on, but I wanted to add one other layer to these pumpkins. I knitted two leaves for each one, out of scrap yarn, to decorate the top of the pumpkin. This is a great time to use any yarn up that your kids claimed was too scratchy or the end of a ball of yarn that you just couldn’t part with.
I used this free knitted leaf pattern (leaf number one) to create these little yarn leafs for the tops of my pumpkin. The picture above shows the back of the leaf, you want the other side of the leaf to show on your pumpkin. Create your leaf stem as long as you like for your pumpkin.
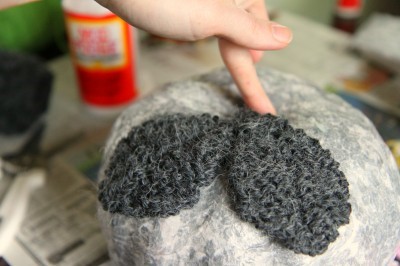
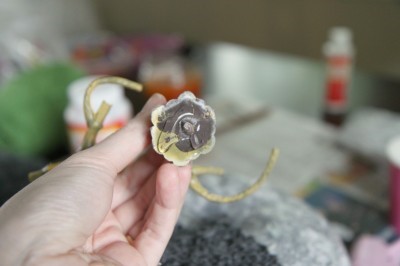
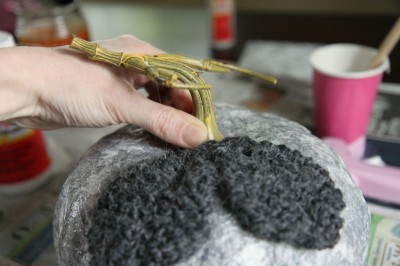
Hot glue the ends of your leaves to the top of your pumpkin. Hot glue underneath the stem, and then secure it to the top of your pumpkin. Hold this all in place for a minute or two to make sure that it is secure.
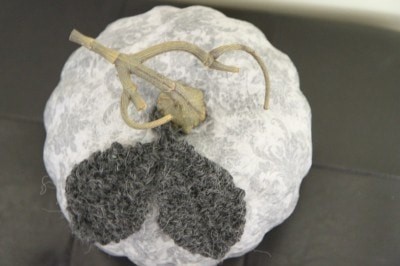
Enjoy your little pumpkins in a favorite corner of your home, on your kitchen table, or wherever else a pumpkin might look beautiful. I am looking forward to using these all through the fall and I even think this gray and white one might be a perfect one for the winter holidays too!
It matches perfectly with my Yarn Wreath on my door and adds a fun element to my fall decorating.
I am a part of the Walmart Moms program, and Walmart has provided me with compensation for these posts. My participation is voluntary and opinions are always my own.