 I love, love, love breakfast tarts and today I wanted to share with you a cute homemade whole wheat toasted tart version of this delicious treat that you can make right in your own kitchen. This recipe for whole wheat toasted tarts is so delicious that you won’t believe how much yum can be packed into one little treat.
These whole wheat toasted tarts incorporate a little whole wheat flour and in lieu of a frosting topping, I have mixed raw sugar & wheat germ for a sweet and toasty combination of deliciousness that is a little bit healthier than sprinkles and frosting (although we do love sprinkles and frosting around here too!).
I had never eaten a homemade toasted tart before and can I say…holy yum?! These are flaky, sweet-but-not-too-sweet, and just the right balance of filling and crust.
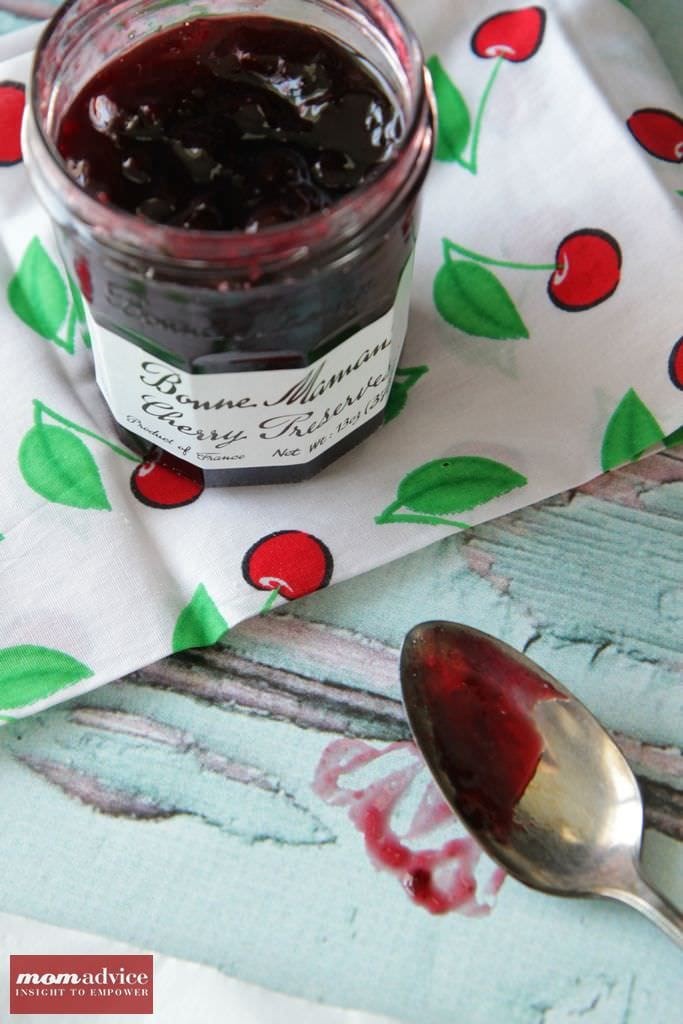
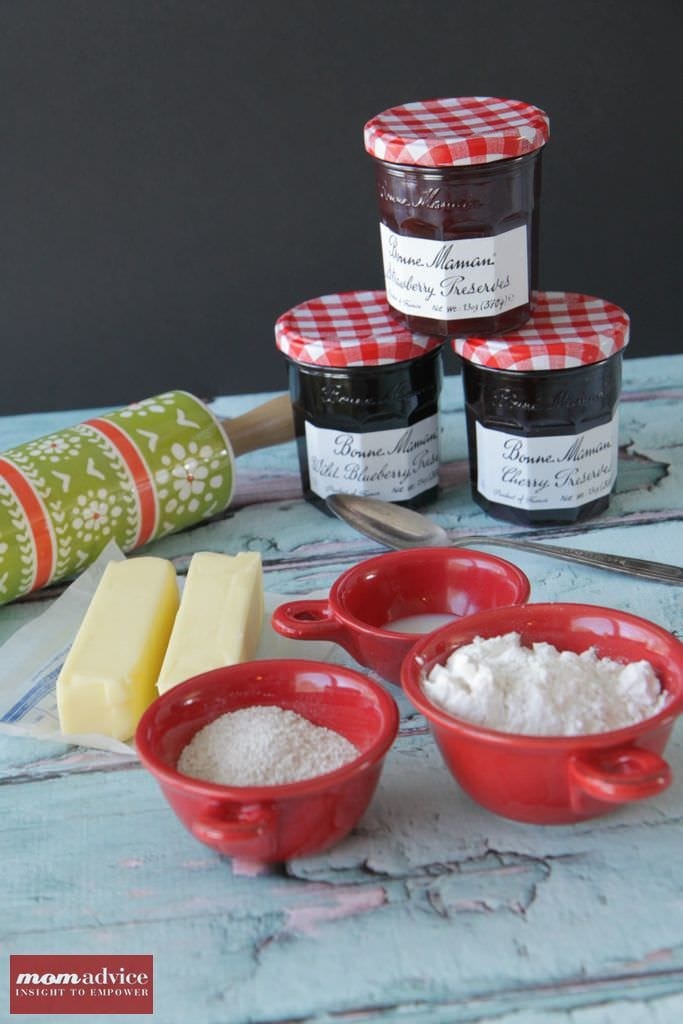 I hit my local Walmart store to grab supplies for this yummy treat. They offer absolutely delicious gourmet Bonne Maman fruit preserves that have become a special treat in our house for everything from waffle topping to my kid’s peanut butter & jellies. They retail for $3.95 each and come in delicious berry combinations, strawberry, cherry, and wild blueberry. One of these days I will get the hang of canning, but for now, these are my go-to preserves and make a delicious filling for homemade toasted tarts.
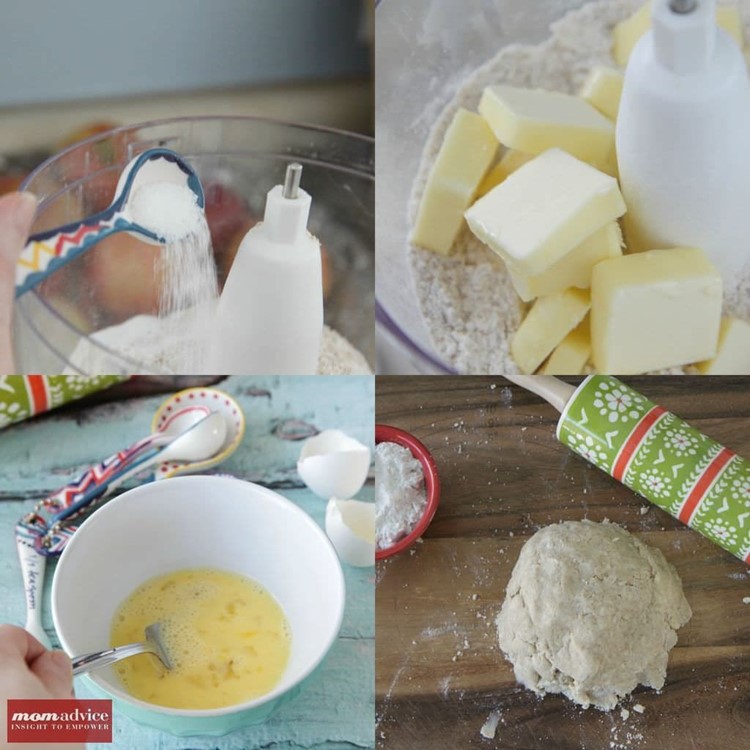 Just like my all butter pie crust (you can check out a picture tutorial over there), I employ the use of my food processor to create an easy crust without the kneading. To make sure I don’t overwork the dough, I only use the Pulse on my food processor so I can make sure that I have a very tender dough. This is really essential for a flaky crust especially since we are creating this dough with whole wheat flour incorporated in it.
You can roll your dough out on a well-floured surface or roll it between two pieces of parchment paper. I highly recommend the parchment paper since this dough is a sticky one!
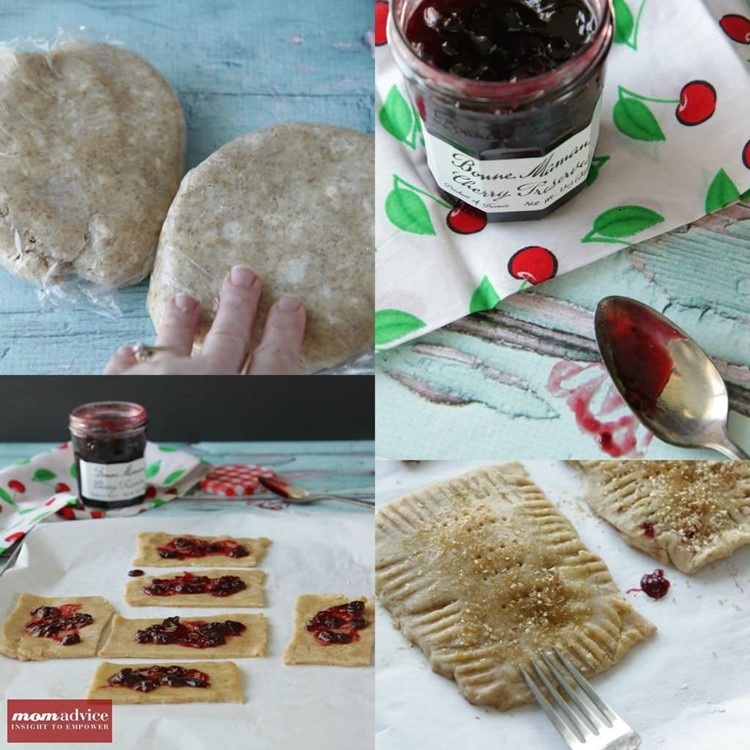 Did I mention sticky? This dough is a tricky little beast for a novice chef. Refrigeration of your crust is really essential for nice crisp edges and workable dough. The experts advise chilling your dough before using it and then chilling your tarts before you bake them to retain their shape. I do the same tactic with my sugar cookies and it yields crisp results. This will be doubly important if you live somewhere with a humid climate or are working in a hot kitchen.
My advice, chill out!
Seriously, just chill out for as long as you can!
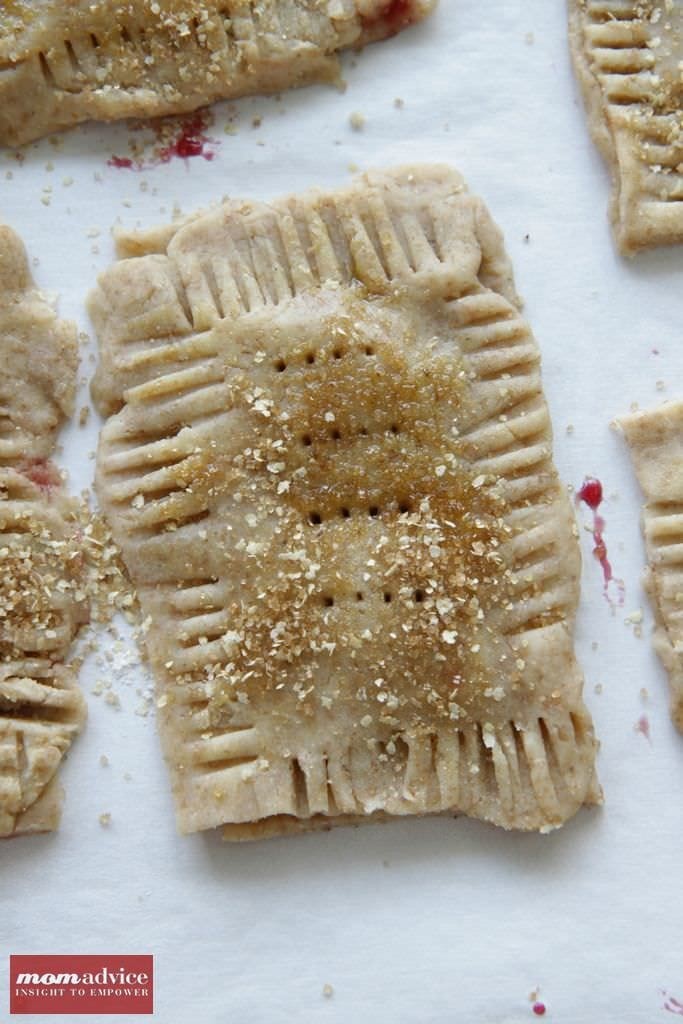 My crunchy & sweet topping is raw sugar mixed with wheat germ. A generous sprinkle of this adds another layer of deliciousness. Although the dough is chock-full of butter (as all good crusts are!), there is very little sugar in the dough itself and the raw sugar adds a crunchy texture as well as a little sweetness to this homemade delight.
These little toasty tarts were meant to be cut in perfect measurements with crisp corners.
I am no baker though, so these are imperfect…
Just like me!
The kids never noticed the difference and busy moms don’t have time for perfection when it comes to snacks.
Can I get an, “Amen?”
Toasted Tart Filling Ideas
Fruit Preserve Filling: 3/4 cup (8 ounces) jam, 1 tablespoon cornstarch mixed with 1 tablespoon cold water. Mix the jam with the cornstarch/water in a small saucepan. Bring the mixture to a boil, and simmer, stirring, for 2 minutes. Remove from the heat, and set aside to cool. Use to fill the pastry tarts.
Cinnamon & Brown Sugar Filling: 1/2 cup brown sugar, 1 to 1 1/2 teaspoons ground cinnamon, & 4 teaspoons flour. Whisk together.
Chocolate Filling: 9 tablespoons mini chocolate chips or 9 tablespoons Nutella. Spread or sprinkle chocolate filling.
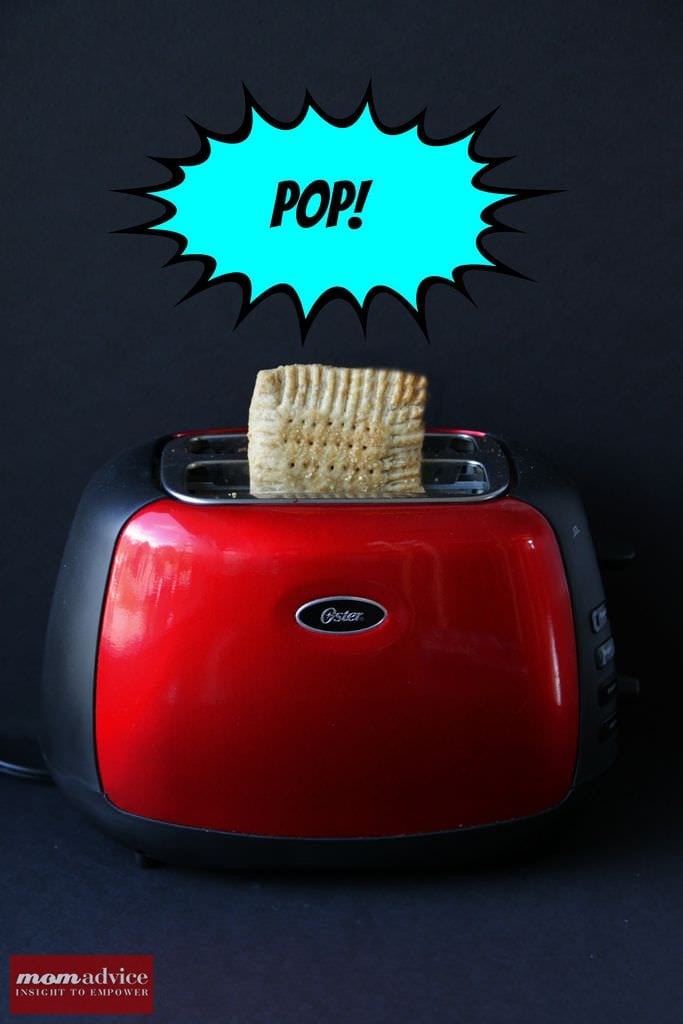
| Homemade Whole Wheat Toasted Tarts |
#ratingval# from #reviews# reviews
|
Print
|
Recipe Type: Dessert
Author: Adapted from King Author Flour
Prep time: 15 mins
Cook time: 1 hour 30 mins
Total time: 1 hour 45 mins
Serves: 9
Surprise the kids with a homemade version of this favorite breakfast treat. Be sure to visit the post for filling ideas for your homemade whole wheat toasted tarts.
- 1 1/2 cups all-purpose flour
- 1/2 cup whole wheat flour
- 1 tablespoon sugar
- 1 teaspoon salt
- 1 cup (2 quarter-pound sticks, 8 ounces) unsalted butter, cut into pats
- 1 large egg
- 2 tablespoons (1 ounce) milk
- 1 additional large egg (for brushing on the pastry)
- 1 tablespoon raw sugar
- 1 tablespoon wheat germ
- Process flour, sugar, and salt together until combined.
- Add butter and pulse until the mixture holds together when you squeeze it, with pecan-sized lumps of butter still visible.
- Mix the egg and milk, and add it to the dough, mixing just until everything is cohesive.
- Divide the dough in half. Wrap in plastic, and refrigerate for up to 2 days or for 30 minutes.
- Remove the chilled dough from the refrigerator and allow it to soften and become workable, about 15 to 30 minutes.
- Place one piece on a lightly floured work surface, and roll it into a rectangle about 1/8″ thick, large enough that you can trim it to an even 9″ x 12″. Laying a 9″ x 13″ pan atop the dough will give you an idea if you’ve rolled it large enough. Trim off the edges; place the scraps on a baking sheet, and set them aside, along with the 9″ x 12″ rectangle of dough.
- Roll the second piece of dough just as you did the first. Press the edge of a ruler into the dough you’ve just rolled, to gently score it in thirds lengthwise and widthwise; you’ll see nine 3″ x 4″ rectangles.
- Beat the egg, and brush it over the entire surface of the dough. Place a heaping tablespoon of filling into the center of each marked rectangle.
- Place the second sheet of dough atop the first, using your fingertips to press firmly around each pocket of jam, sealing the dough well on all sides.
- Brush the tops of the pastry with the remainder of the egg and then sprinkle the wheat germ and raw sugar topping on top of your tart.
- Press the tines of a fork all around the edge of the rectangle. Cut the dough evenly in between the filling mounds to make nine tarts. Press the cut edges with your fingers to seal, then press with a fork, to seal again.
- Gently place the tarts on a lightly greased or parchment-lined baking sheet. Prick the top of each tart multiple times with a fork; you want to make sure steam can escape, or the tarts will become billowy pillows rather than flat toaster pastries. Refrigerate the tarts (they don’t need to be covered) for 30 minutes, while you preheat your oven to 350°F.
- Remove the tarts form the fridge, and bake them for 25-28 minutes, until they’re a light golden brown. Remove them from the oven, and allow them to cool on the pan.
2.2.1
Afraid to tackle a homemade crust? I get it! You can find an easy DIY Pop Tart made from store-bought crust over here!

Pin It