One of the most invaluable appliances in our home is our bread machine and today I wanted to share with you why I think a bread machine is a wise kitchen investment. This tutorial will offer advice on what to look for in a bread machine, how to use your bread machine, and the best bread machine recipes that our family enjoys on a weekly basis.
Perhaps you already have a bread machine that has been gathering dust in your kitchen or basement. Many people buy these appliances and then end up donating them to their local thrift store because they never use them. I think of the bread machine as a modern day convenience, but in a culture where we want everything NOW, waiting for a loaf of bread can seem like an eternity.
Why wait for a hot loaf of fresh bread when you can grab a loaf at your supermarket?
And what exactly is the purpose of that appliance that is taking up space on your shelves? Let’s get to know our bread machines and find a new way to use them.

What is A Bread Machine or Bread Maker?
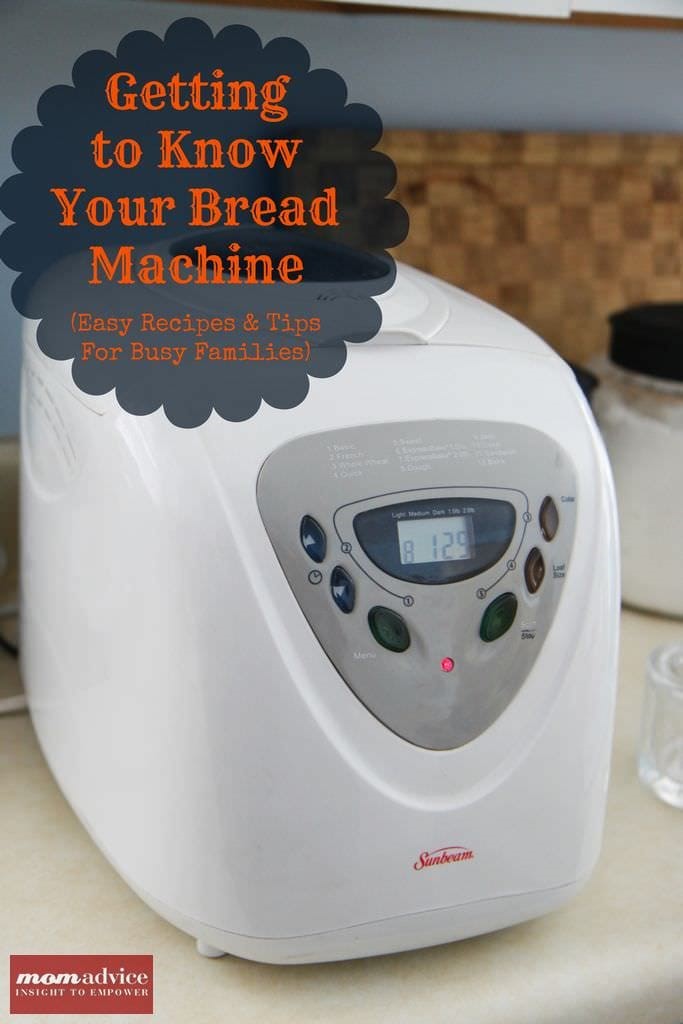
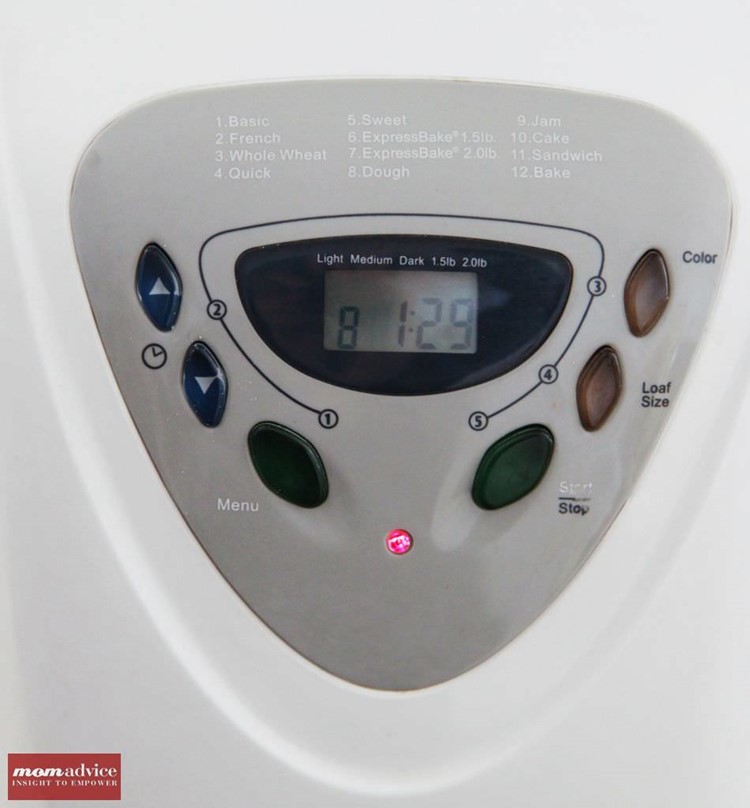
A bread making machine or bread maker is a home appliance for baking bread.The bread machine is simple in its construction and consists of a bread pan (or “tin”), at the bottom of which are one or more built-in paddles, mounted in the center of a small special-purpose oven. This little oven is controlled by a simple built-in computer, the settings for which are inputted on the control panel. Most bread machines have different cycles for different kinds of dough—including white bread, whole grain, European-style (sometimes labeled “French”), and dough-only (for pizza dough and shaped loaves baked in a conventional oven). Many also have a timer to allow the bread machine to activate without operator attendance, and some high-end models allow the user to program a custom cycle.
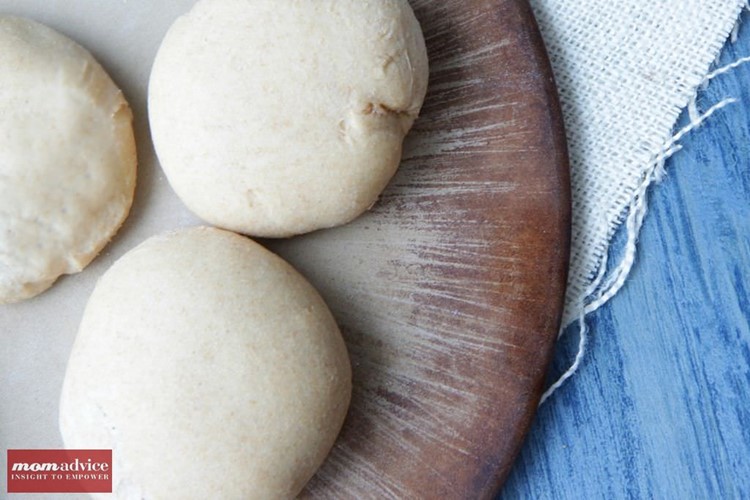
Some of the older machines have just a handful of simple settings while newer machines offer more advanced cycles including a cycle to make jam or to bake cakes. To be honest, I don’t use the fancy cycles on my bread machine and rely mostly on the Basic and the Dough cycle, which can be found on every machine. The basic cycle is just the basic setting for making a loaf of bread. The Dough cycle just completes the kneading and rising of the dough. Once the dough cycle is complete, you can take the dough out and shape it into your loaf pan or do fancy braids or rolls out of the dough.
The purpose of a bread machine is simple; you are able to make fresh bread when you want it. The reasons vary from person to person on why they choose to make their own bread. Many people have concerns about the additives and preservatives that are found in store-bought breads. Another reason that many people choose to make their own bread is because they just enjoy the taste of homemade bread. My reasoning for making our own bread is because I like to save our family money. Making your own bread costs so much less than purchasing a loaf of bread, and the rising grocery costs have only fueled my desire more to make it at home.
How Do You Add Ingredients to a Bread Machine?
Inserting your ingredients into a bread machine is also very straightforward. If you are making the loaf right away, you can insert the ingredients in any way that you want. All of these ingredients will immediately be stirred together and so it will not matter what the order is. If you use a timer delay on your bread machine, delaying the start time of making your loaf, it is imperative that you put the ingredients in the right order or your loaf will not turn out right. The order of ingredients is liquid (liquids include water, oil, milk, eggs, or honey), flour, other dry ingredients (salt, sugar, baking powder, seasonings), and ending the ingredients with your yeast. The most important part of putting the yeast in is to make sure that you make a small indentation into the center of the flour so that the yeast does not react with the other ingredients.
Upon inserting your ingredients, your bread machine will take over the process from there. The machine will knead the ingredients together, give the bread its rising time, and then it will bake the bread. The bread machine will signal when the bread is ready and you can allow the bread to cool inside of the bread bucket.

Do I Need to Buy Bread Machine Mixes For My Bread Machine?
There is no need to spend the money on convenience bread machine mixes; in fact, you can make your own convenient mixes handy for the week. I take plastic storage bags and make an assembly line of the dry ingredients and do my bags once a month. On the outside, just write what liquids you will need to add and you will only have a dirty kitchen once instead of weekly.
What is the difference between Instant Yeast, Bread Machine Yeast and RapidRise Yeast?
Just their names because these are all the same yeast. Nothing like making it EXTRA confusing for a novice bread-maker.
Is There Savings in Making Bread at Home?
A quick glance at grocery store prices and you will wonder how there could be any possible savings with making your bread at home. The key to making this the least expensive on your family is to purchase all of your ingredients at your local wholesale club. With proper storage, you can buy the ingredients in bulk and save your family loads of money.
I don’t use my wholesale club membership very often except for our family’s eye care needs and for the occasional party. I won’t ever let my membership lapse though because with one trip to buy my baking supplies, my wholesale club membership has earned its space in my wallet. I make a trip twice a year to buy all of the necessary supplies for my baking and pizza-making needs.
Don’t believe me? Here is the current prices from my local Sam’s Club:
25 Pounds Bread Flour- $6.59 (needed depending upon the recipe)
25 Pounds All-Purpose Flour- $6.68 (needed depending upon the recipe)
2 Pounds of Yeast- $4.16
Cheese (5 pounds for $10.43) , pepperoni (5 pounds for $11.88), and crushed tomatoes (102 ounces for $2.68) can also be bought at a fraction of the price, but in the past I have lacked the capacity and ambition of storage for all of the ingredients.
As a side note, if you do own a membership to Sam’s Club, they have a wonderful Click ‘N Pull service that you can utilize for your shopping day and they can pull the ingredients right to the front and email you when your order is ready to pick up. This is a fantastic free service for moms with small children or who are short on time!
How Do I Store My Bread Machine Ingredients?
For storage, flour can be stored for up to a year in an airtight container. With bulk storage, a large plastic bin that has been clearly labeled is ideal to keep your flour fresh. Yeast is the easiest ingredient to store and has a very long shelf life. I store my yeast in a mason jar in our refrigerator door. With both of these ingredients, writing an expiration date on the label will also remind you of when the item is going to expire. I have also provided a handy Yeast Freshness Test that you can use to see if your yeast is still working. This will come in handy when buying yeast in bulk.
What Kind of Bread Machine Should I Buy?
If you do not have a bread machine and are looking for one, garage sales and thrift sales are a great place to hunt. I see these machines for $10 or less, and you will definitely get your money back from the savings of making your own bread. When you find one, ask if you can plug it in and make sure it is working. Just check that it actually powers up, that there is a bread bucket inside, and that there is a paddle in the bottom of the bread machine to stir the ingredients. Having a manual with it is handy, but usually can be found by searching online.
Over the past five years, I have been using my Sunbeam Bread Machine with great success. All of my past models have been found at the thrift shops and garage sales, but when our bread machine quit on us, I ran out to our local superstore so we wouldn’t have to miss our weekly pizza night. You know an appliance has become invaluable to you if you can’t imagine a day without it. Our bread machine is that invaluable to us.

What Are Some Foolproof Bread Machine Recipes I Can Try With My Family?
On any given day in our house, you will find our bread machine happily humming along and whipping up fresh dough and bread for us. Not only that, but our bread machine has a regular performance in our house on Friday night for our infamous weekly family pizza night.
Here are a few of our family favorites, but you can learn more in my first book, “The Good Life For Less,” that is available on bookstore shelves now:
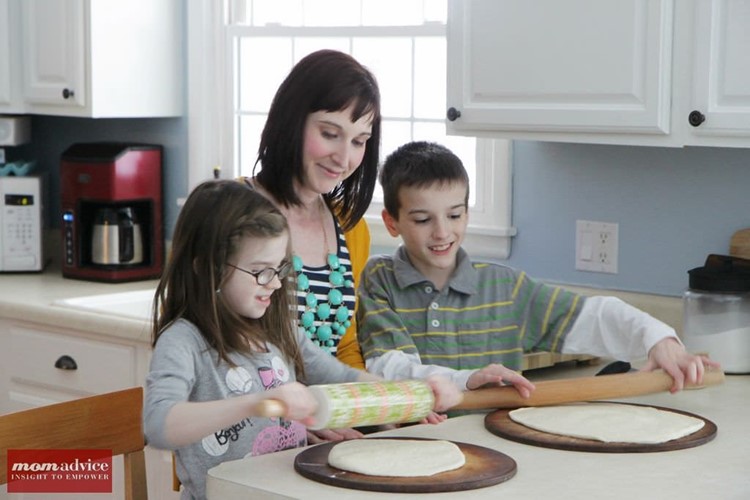
The Perfect Pizza Dough (so easy that your kids can roll this one out on their own!)
Bread Machine Pita Pockets
Bread Machine Hamburger Buns or Hot Dog Buns
Whole Wheat Bread Machine Hamburger Buns or Hot Dog Buns
Bread Machine Calzones
Bread Machine Portuguese White Bread
Bread Machine Monkey Bread/Bunny Bread
Buttery Bread Machine Rolls
Bread Machine Cinnamon Rolls
| Yeast Freshness Test |
#ratingval# from #reviews# reviews
|
Print
|
Prep time: 2 mins
Cook time: 10 mins
Total time: 12 mins
Not sure if your yeast is still fresh and active? This simple test will help determine if your yeast is still performing!
- 1 teaspoon granulated sugar
- 1/2 cup warm tap water (110°F-115°F)
- 2 1/4 teaspoons dry yeast (make sure it is at room temperature)
- Using a one-cup liquid measuring cup, dissolve 1 teaspoon of granulated sugar in 1/2 cup warm tap water at 110°F-115°F. Using a thermometer is the most accurate way to determine the correct liquid temperature. Any thermometer will work as long as it measures temperatures between 75°F and 130°F. If you don’t have a thermometer, the tap water should be warm but NOT hot to the touch.
- Stir in one 1/4 oz. packet (7g) or 2-1/4 tsp of dry yeast until there are no more dry yeast granules on top.
- In three to four minutes, the yeast will have absorbed enough liquid to activate and start to rise.
- After ten minutes, the foamy yeast mixture should have risen to the 1-cup mark and have a rounded top.
- If this is true, your yeast is very active and should be used in your recipe immediately.
- If the yeast did not rise to the 1-cup mark, your yeast has little or no activity. Discard this yeast.
2.2.1
Do you have a bread machine? What is your favorite thing to do with this appliance?
Pin It